How to Make a Shirt with Cricut Infusible Ink
This post and the photos within it may contain affiliate links. As an Amazon associate I earn from qualifying purchases. If you make a purchase through one or more of the links, I may receive a small commission at no extra cost to you.
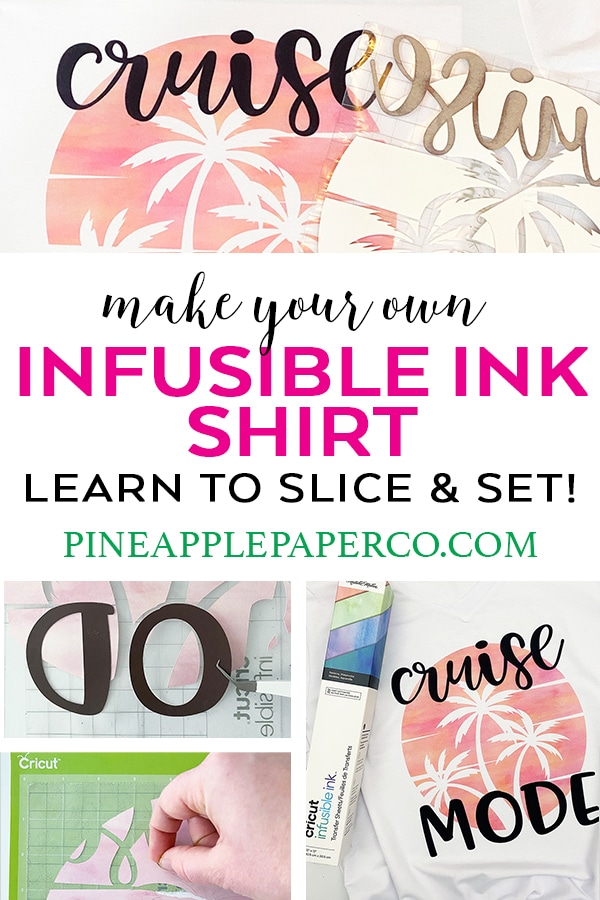
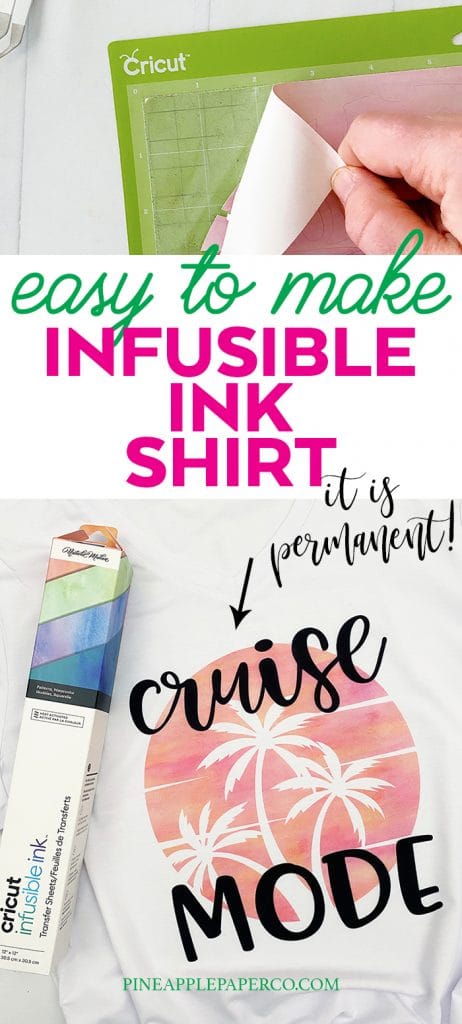
Are you struggling with using Iron On Vinyl to make DIY shirts? Is your Iron On Vinyl cracking or peeling after a few washes? Try making a shirt with Cricut Infusible Ink! I have a step by step tutorial of making an Infusible Ink shirt with two colors. It’s easier than you think!
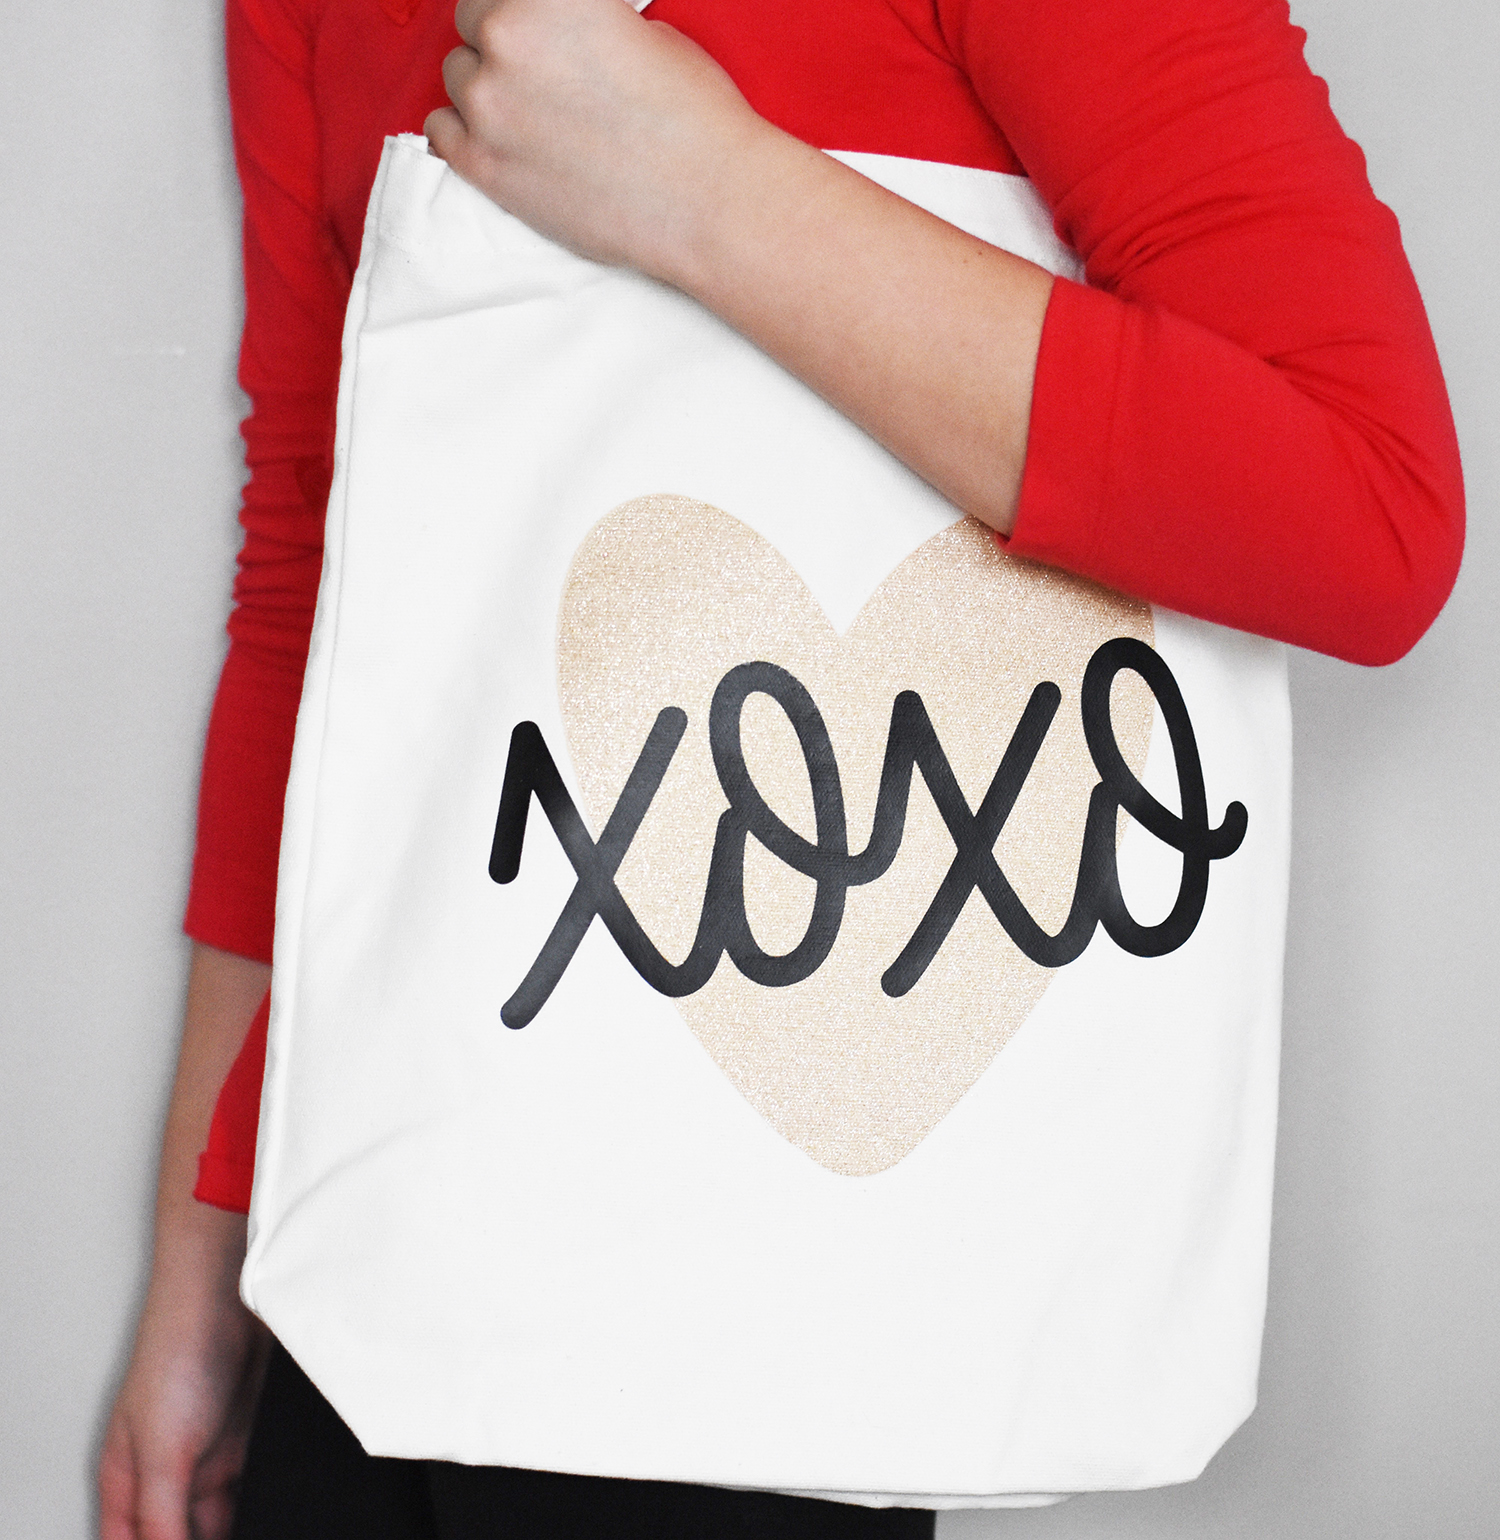
Cricut Infusible Ink is one of my favorite new craft products on the market. I’ve used it to make a tote bag, shirts, a baby onesie, a pencil bag, notebooks, and my favorite – coasters. I’ve even used the Cricut Infusible Ink markers to make my own watercolor paint for these DIY Watercolor Ceramic Coasters.
If you haven’t tried Infusible Ink yet, now is a great time! You’ll love it! It embeds into the material you are using so it is permanent, crack proof, and peel proof. As long as you use a compatible base material (that is polyester based or coated), you’ll get vibrant and long lasting results. No more peeling Iron On vinyl after a couple of washes!
If you’d like to learn ALL about Infusible Ink, check out my in depth Guide to Cricut Infusible Ink – it has all of the details!
I created this tutorial as part of National Craft Week. My blogger friends and I are sharing some fun new DIY projects every day this week – plus we are giving away tons of fun craft supplies! Today’s CRAFTWEEK post is sponsored by Cricut. Make sure to stop by my Instagram to see my other projects! Scroll to the end of the post to see everyone else’s posts from today’s blog hop.
Supplies you Need to Make an Infusible Ink Shirt
To make a Cricut Infusible Ink shirt, you’ll need the following supplies. Some of these items are a little different than what you would normally use with other heat transfer products.
- Cricut Machine
- Cricut Fine Point Blade (comes standard with machines)
- Cricut Standard Grip Mat
- Cricut EasyPress 2 (this is a great time to have a large sized EasyPress 2)
- Cricut EasyPress Mat
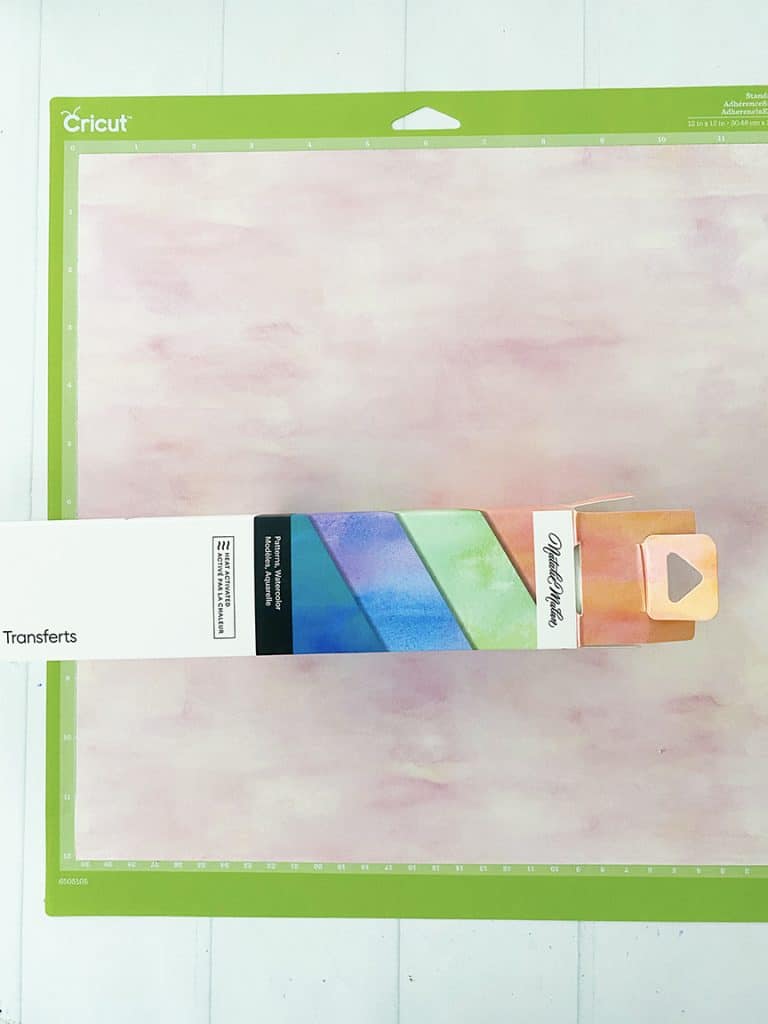
- Cricut Infusible Ink Transfer Sheets in Black and Natalie Malan Watercolor Patterns
- Cricut Blank T Shirt
- Lint Roller
- Butcher Paper (comes in transfer sheet package)
- White Cardstock (to protect your EasyPress Mat)
Infusible Ink comes packaged in a sealed, dark plastic sleeve to protect it from moisture.
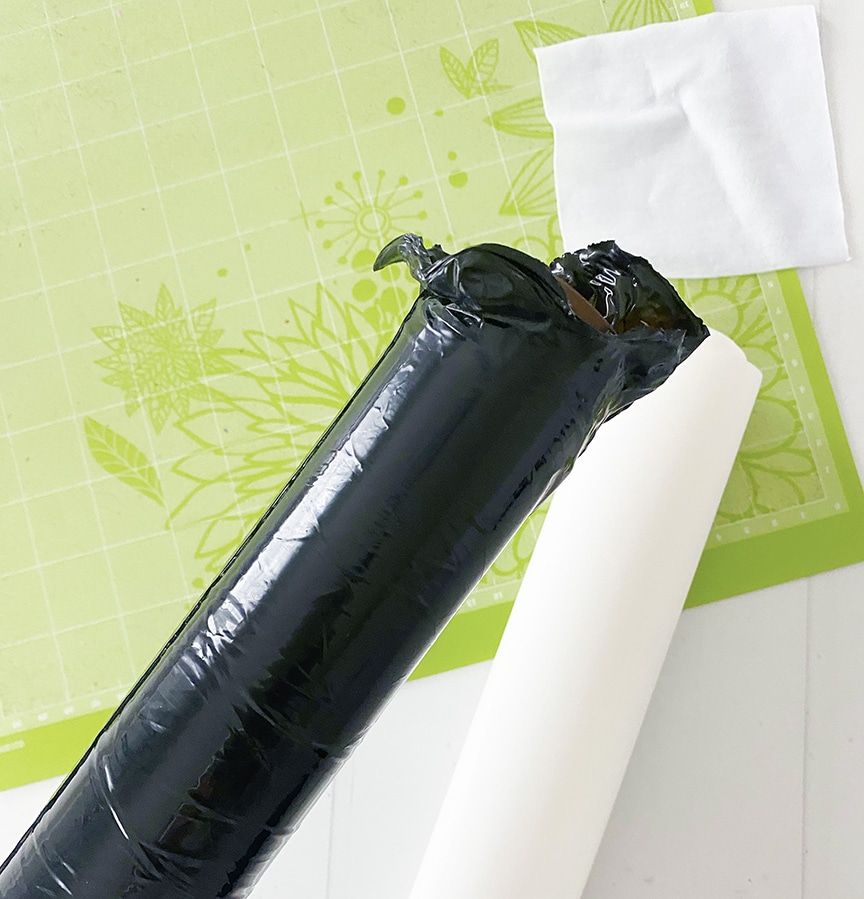
Note: You’ll notice that Infusible Ink transfer sheets seem “dull” when looking at them out of the package. The sheets will show their full color after they are heated – look at the picture below for a comparison between the package (finished color) and the transfer sheet! So don’t worry if the transfer sheets you think that the color is off – they won’t be when you’re done!
How to Make an Infusible Ink Design for a Shirt
Creating an image in Cricut Design Space for use Infusible Ink Transfer Sheets is just like creating an image for any other project! You can upload a design or use a design that is available in Cricut Design Space.
If you’re new to using SVG files with your Cricut machine, make sure you read my full post on How to Upload an SVG to Cricut Design Space.
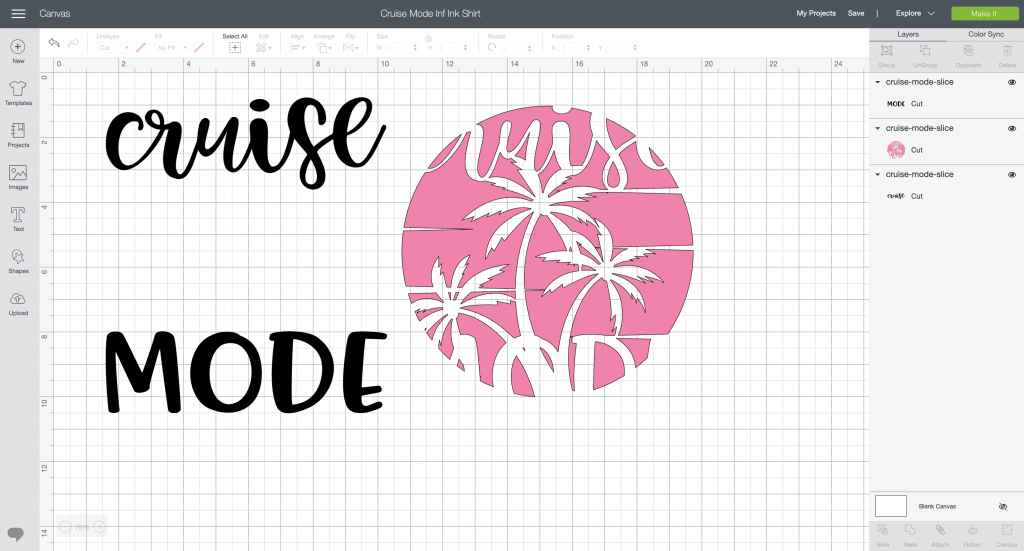
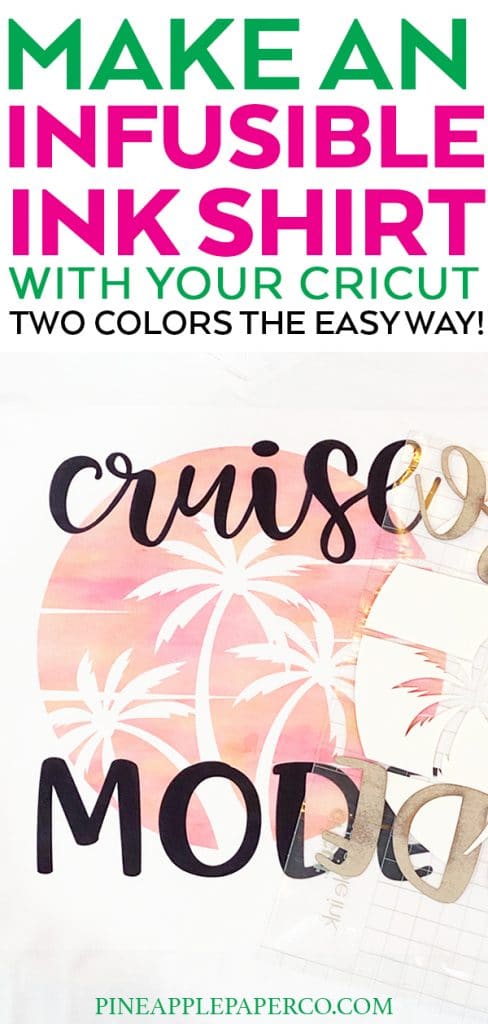
You might be wondering, “What if my design is layered?” If you were to try to heat one layer of Infusible Ink transfer sheet onto your shirt, then go back and apply the next layer, and so on, there’s a good chance you won’t get a good transfer, as you’ll be heating the Infusible Ink multiple times. Make sure you use the “slice” tool as necessary to get all of the designs onto one backing sheet without overlapping. In the picture below, I’ve sliced “Cruise Mode” out of my design so that it will fit together like a puzzle when it’s all cut out.
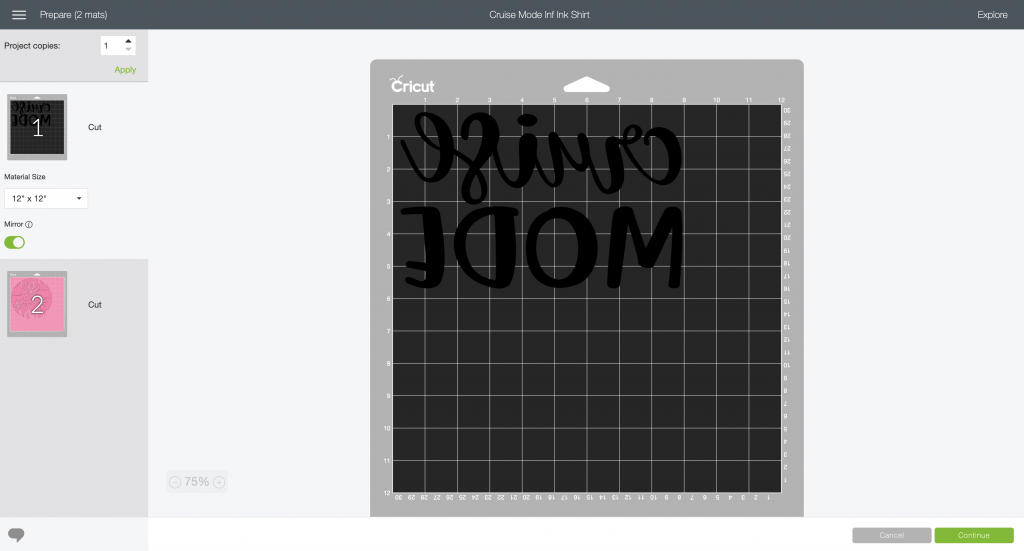
Size the image to fit your shirt, keeping in mind that again, Infusible Ink works best with one “press” with the heat source you’re using. If you’re using the largest EasyPress, to be safe that’s about 9.5×11.5”. When you’re ready to cut, click “Make It.”
On the next screen, you’ll need to set the image to cut in MIRROR. Click the little green slider button to mirror the image.
Set the material to “Infusible Ink Transfer Sheet.” I prefer to set the cut level to “More” as I feel it cuts the whole way through the sheet better than on the “Normal” setting (at least for my machine). Place the Infusible Ink transfer sheet PAPER SIDE UP on your cutting mat, and load into your Cricut Machine. Cut when ready.
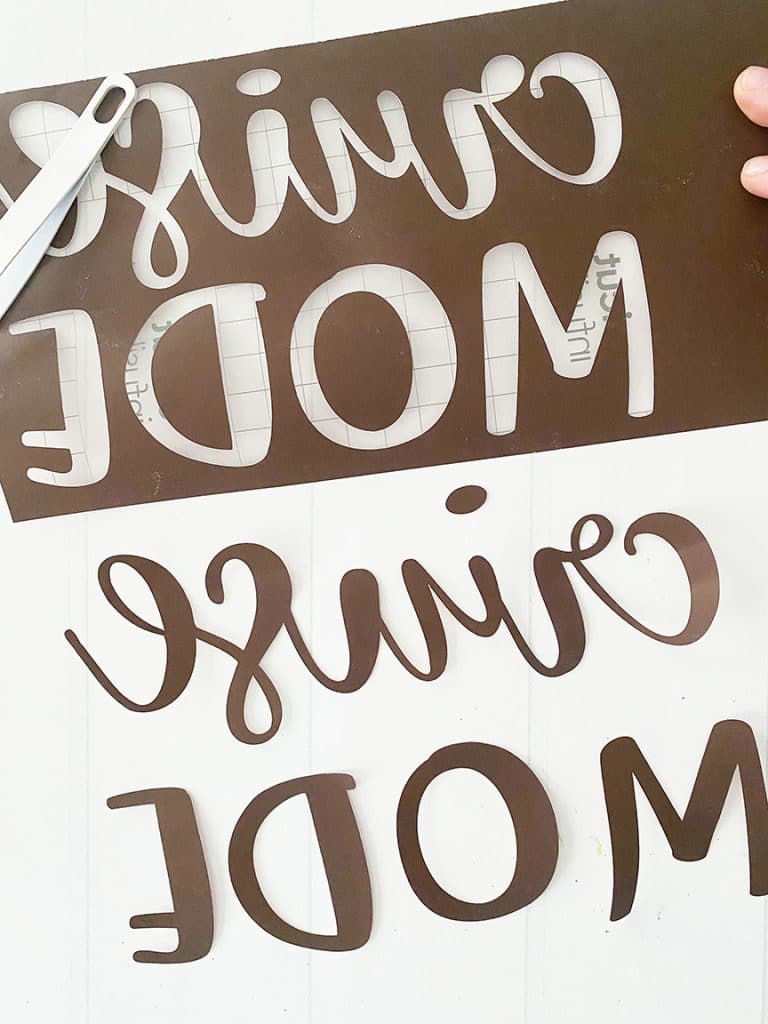
As I mentioned above, when you heat Infusible Ink Transfer Sheets, you only want to press with your heat source once. In order to use two (or more) colors of transfer sheets, you’ll place all of your cut design pieces onto ONE of the backing sheets. For this project, I used the palm tree as my “base,” and added the Cruise Mode text to that backing sheet.
To accomplish this, first remove all of the extra transfer sheet pieces from the palm tree background.
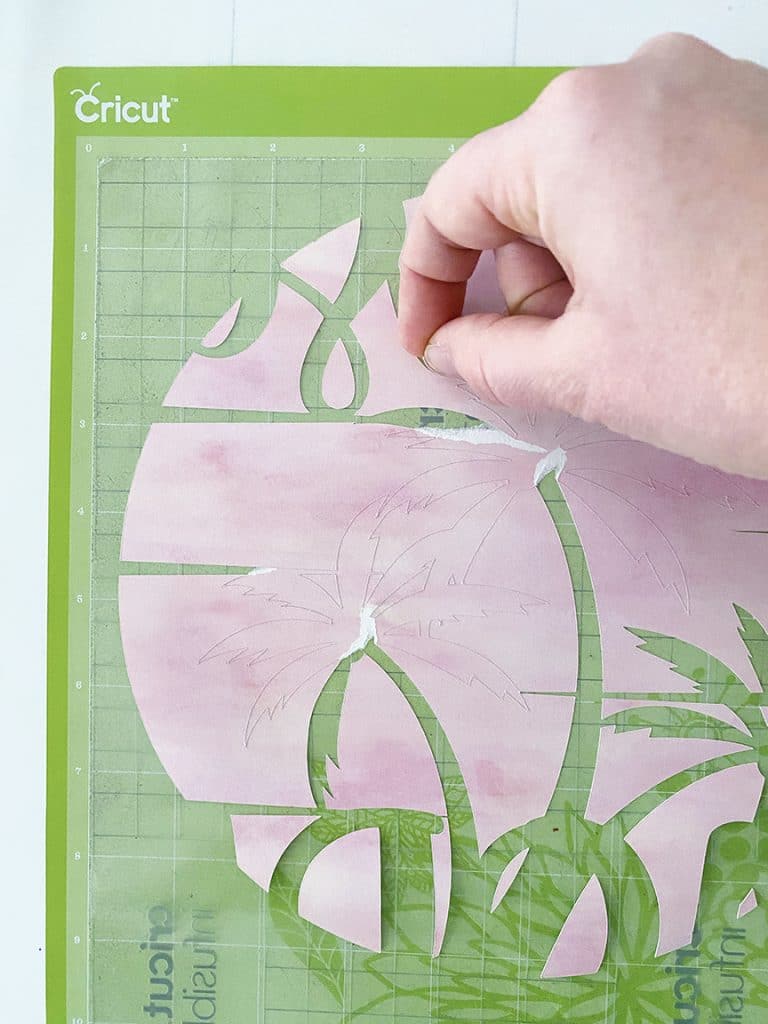
You’ll notice that Infusible Ink transfer sheets are thicker than Iron On Vinyl. With Infusible Ink sheets, you need to “weed” the images with your fingers or tweezers.
Note: Infusible Ink DOES NOT LIKE MOISTURE. Handle the sheets very carefully and try not to touch them more than you have to. If you handle them too much, you can create marks in your finished transfer.
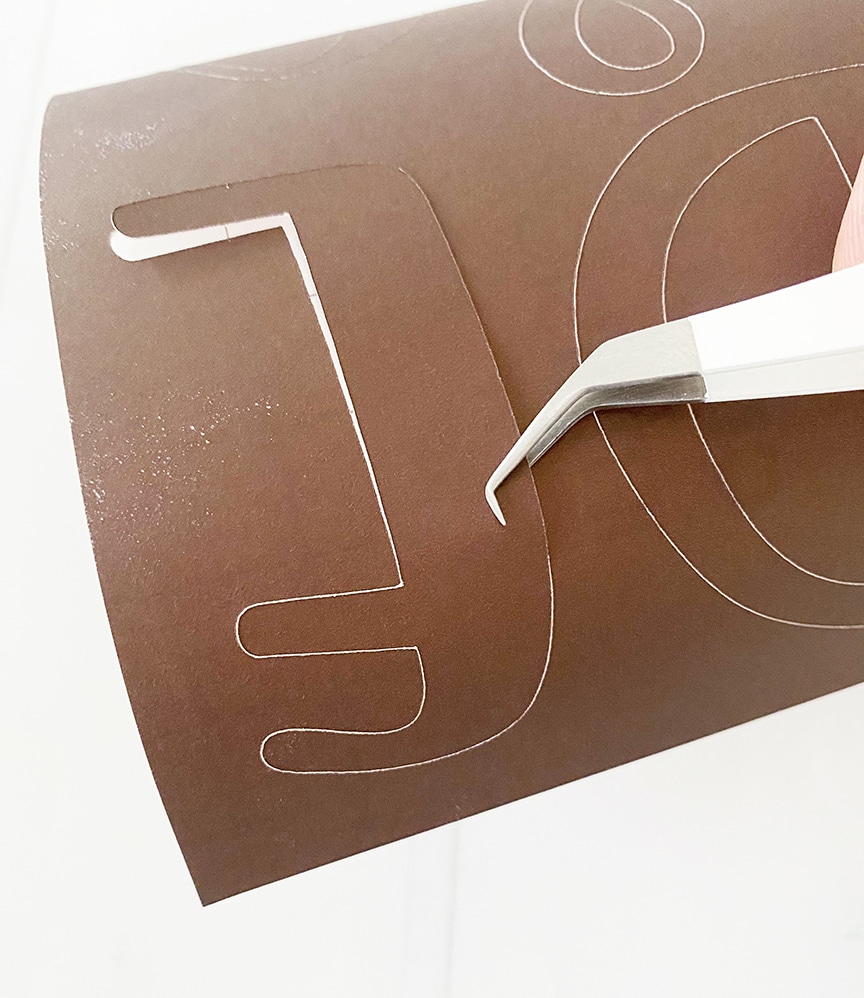
After you have finished weeding the design you’re using as the base, you can remove the “Cruise Mode” text from it’s backing sheet.
With some gentle pressure, it will stick to the new backing sheet for transfer. Fit all of the text pieces into the design like a puzzle, making sure that the pieces are sticking to the backing sheet.
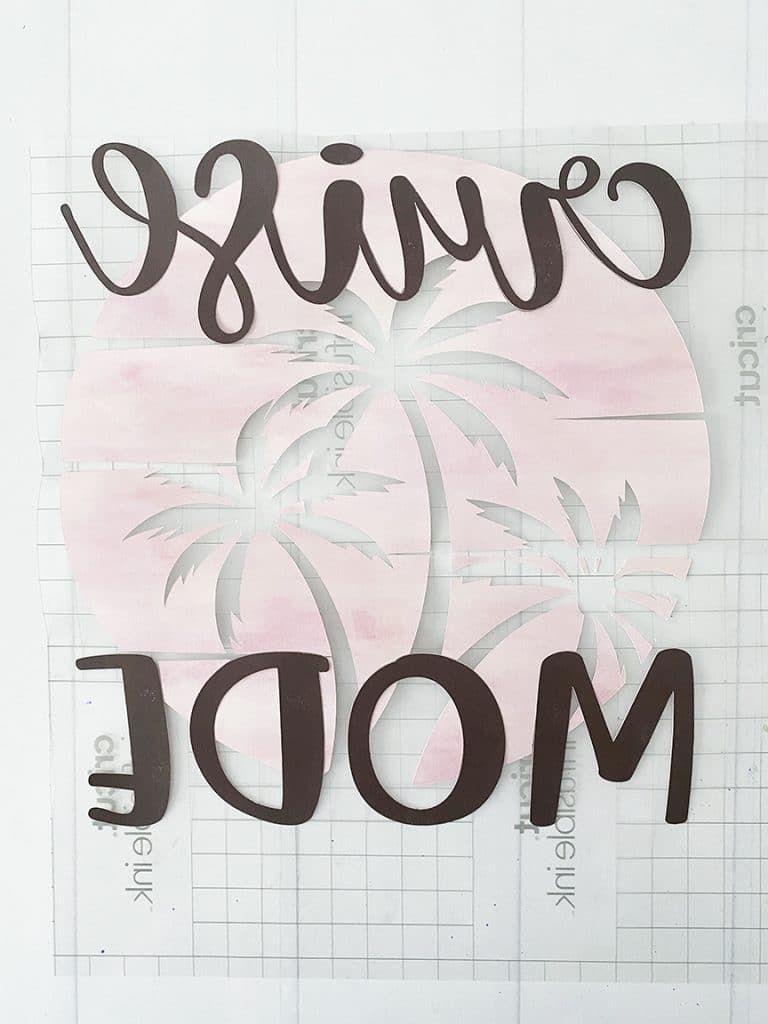
If you’re using more than two colors of Infusible Ink transfer sheets, the procedure is the same. Pick a “base” piece and move all of the other colors to that backing sheet.
RELATED POST: How to Make Sublimation Tumblers – the Ultimate Guide!
How to Use the EasyPress to make a Cricut Infusible Ink Shirt
Preheat your EasyPress 2 to 385 degrees for a Cricut Infusible Ink compatible shirt. For further temperature settings and materials, visit the EasyPress Recommended Settings page for an interactive guide with everything you need to know. They even have a great graphic that shows the order of the materials you’ll use to press the image onto your shirt.
To prepare your shirt for heating: Insert a piece of white cardstock inside of your shirt. Place the shirt and cardstock on top of your EasyPress mat. Use the lint roller over the transfer area to remove any debris or small particles from the shirt. Change the lint roller sheet and repeat. Press the EasyPress onto the shirt for a few seconds to remove any wrinkles. Let cool.
Place the transfer sheet design onto the shirt. At this point your design should NOT be in mirror image. Cover design with butcher paper.
Place EasyPress on top of the design so it is completely covered and heat with light pressure for 45 seconds.
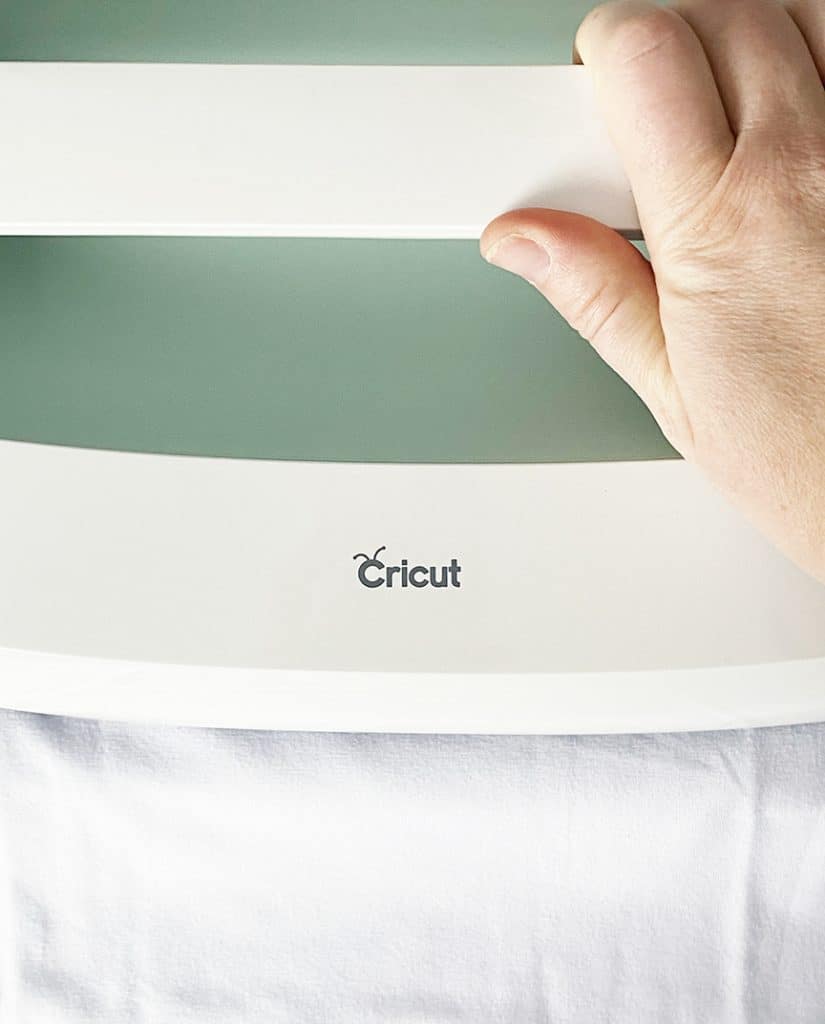
Carefully lift the EasyPress and let the transfer sheet cool before removing. Remove the transfer sheet and admire your new Infusible Ink shirt!

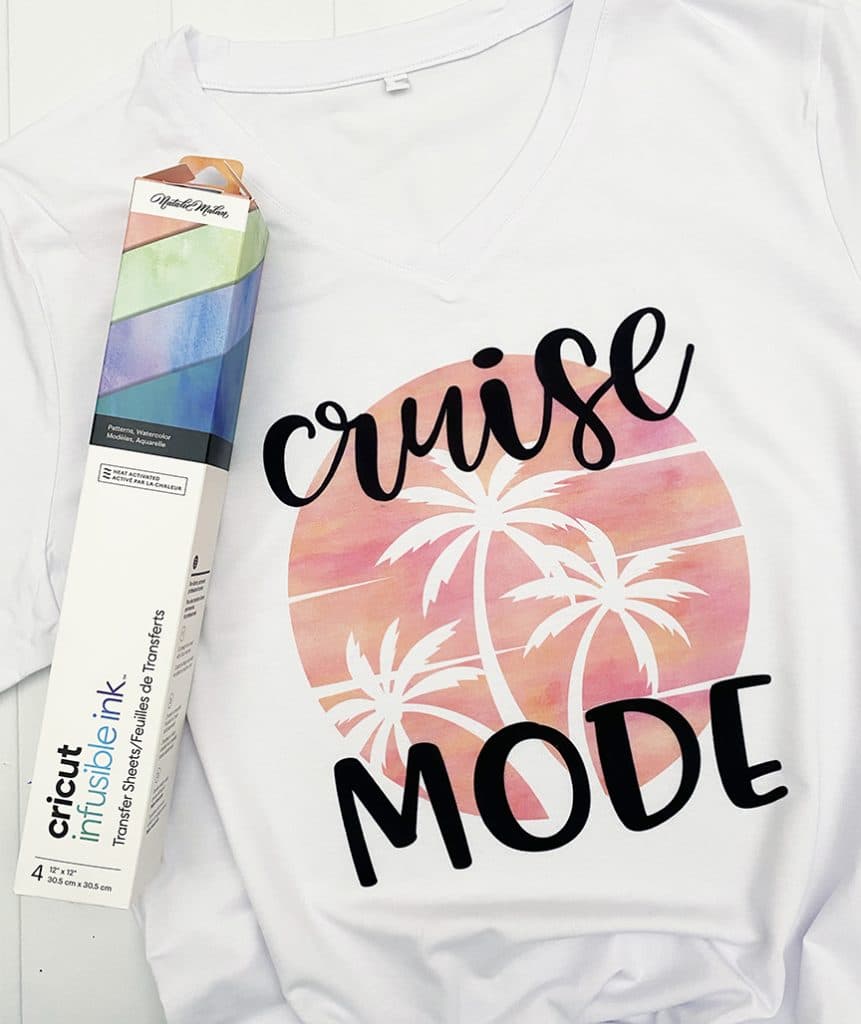
I love the new transfer sheets with the Natalie Malan watercolor patterns! They’re the perfect colors for this cruise shirt!
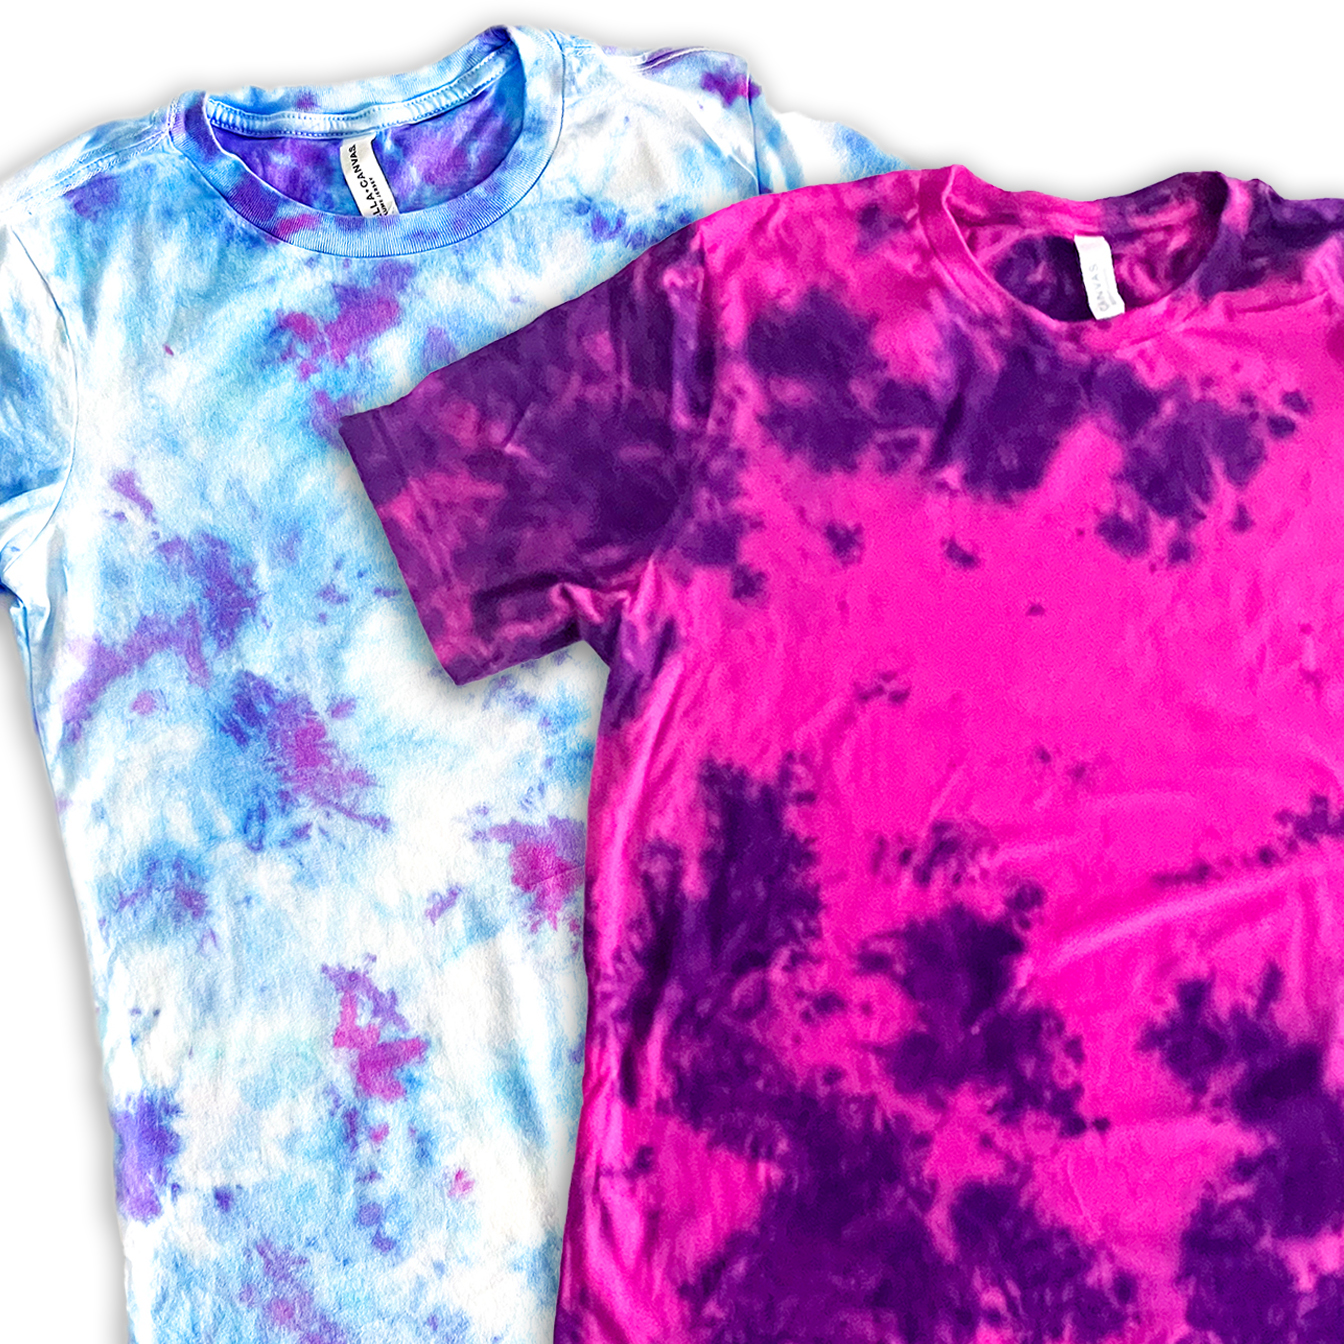
Related Post: Make Amazing Tie Dye Shirts with my Ultimate Guide to Tie Dye Folding Patterns & Techniques
LATEST POSTS:
- Wicked Coloring Pages to Print for Free
- Free Thanksgiving Turkey Coloring Page Printable
- Free Printable Thanksgiving Meal Planner & Grocery List
- xTool M1 Ultra Beginner’s Guide and Review
- Free Best Dad Ever Father’s Day Coloring Page
Check out all of the other Cricut crafts from today’s blog hop:
- DIY Hand Sanitizer – Shrimp Salad Circus
- DIY Notebook Tabs – 30 Minute Crafts
- Personalized Travel Toiletries – 100 Directions
- Writable Labels with the Cricut Joy – The Country Chic Cottage
- Disneyland Countdown – Tried and True
- Rainbow Picture Frame – Lydi Out Loud
- Thinking of You Card – Liz on Call
- Ennegram Shirts – Lemon Thistle
- DIY Ruler Growth Chart – Happiness is Homemade
- Parent & Child Journal – Happy Go Lucky Blog
- Easter Bunny Plate – Hey Let’s Make Stuff
- This is My Happy Place Sign – Everyday Party Magazine
Pin Cricut Infusible Ink Shirt to Make Later


Hi Charynn. Thank you for sharing your expertise. I am new to making t-shirts and Infusible Ink. I would like to try the “Cruise Mode” design you described. Is there a free SVG file for this or one for purchase? I could not find a link for one in your article. Thank you.