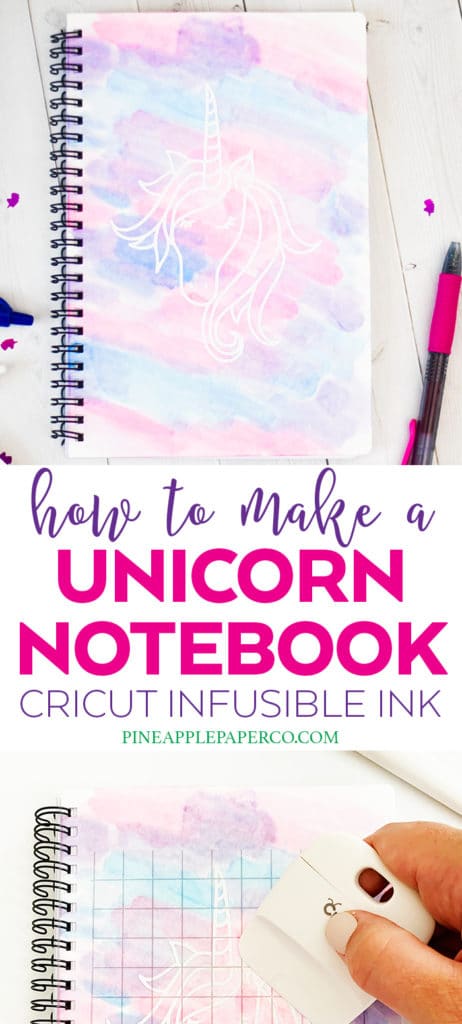
Unicorn Notebook with Cricut Infusible Ink
This post and the photos within it may contain affiliate links. As an Amazon associate I earn from qualifying purchases. If you make a purchase through one or more of the links, I may receive a small commission at no extra cost to you.
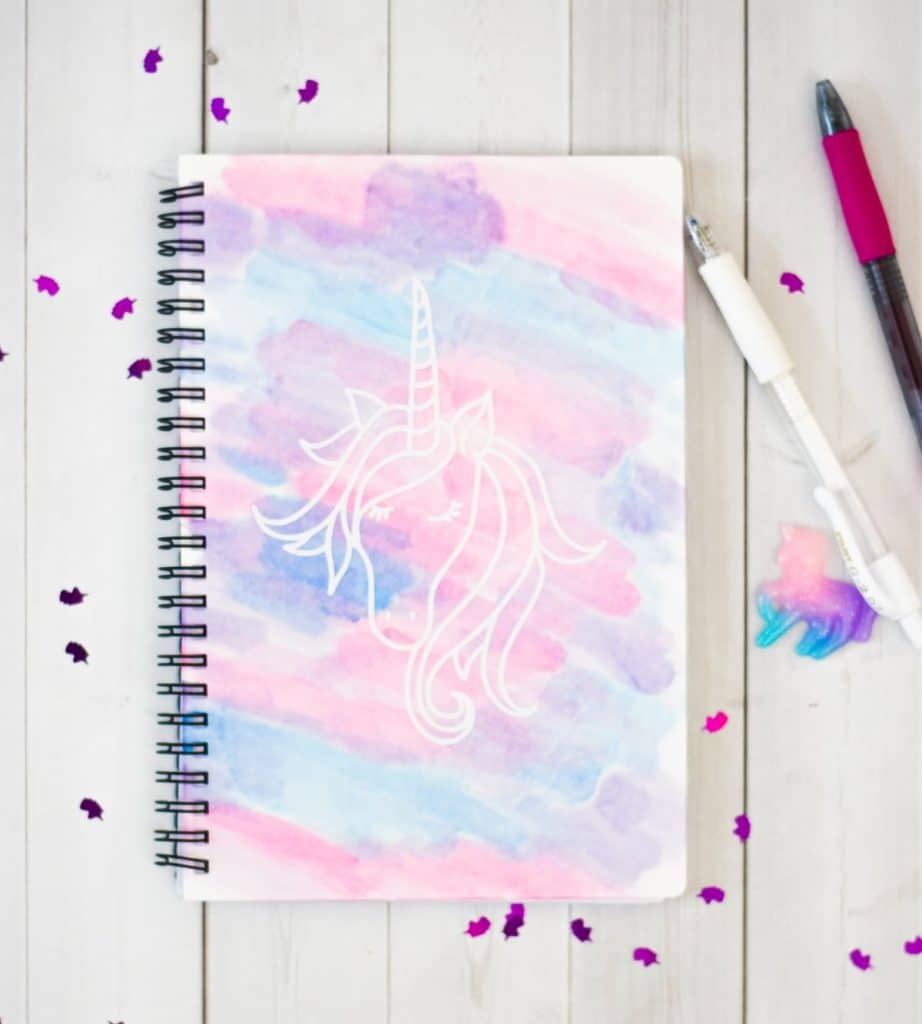
Learn how to make your own Unicorn notebook with Cricut Infusible Ink! This Unicorn Notebook DIY using Infusible Ink Markers is perfect for back to school supplies or a unicorn birthday gift!
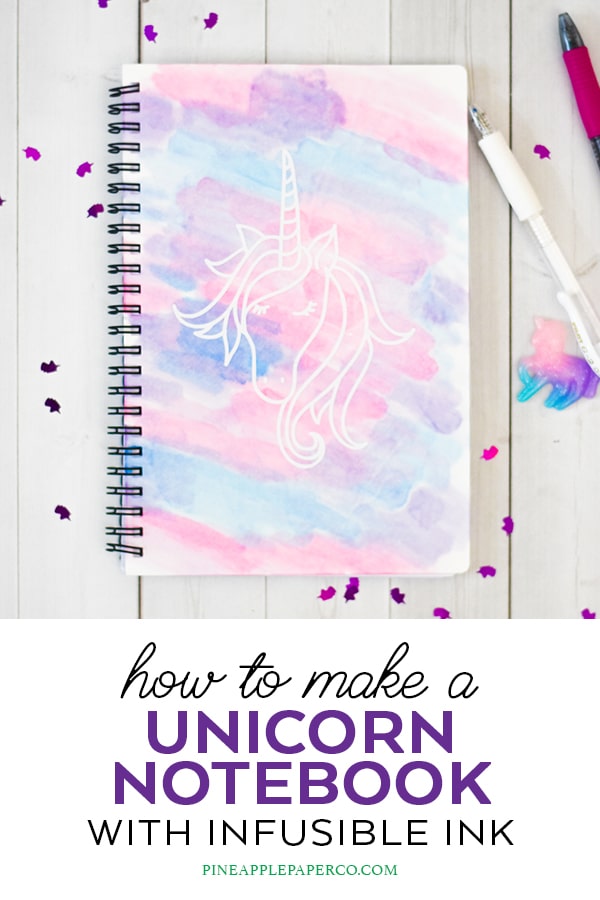
My daughter and I enjoy making DIY school supplies, and I’ve really been wanting to try to make a notebook cover with Cricut Infusible Ink. Since I successfully made a project using the Infusible Ink markers as watercolors (these DIY Infusible Ink Watercolor Coasters are seriously my FAVORITE project!), I wanted to try making a watercolor background for a vinyl image. And, of course, my daughter wanted a unicorn!
What You Need to Make a Unicorn Infusible Ink Notebook
Making these notebooks with Infusible Ink takes quite a few supplies, but you should have a lot of them already in your house!
- Cricut Maker
- Cricut Standard Grip Mat
- White Adhesive Vinyl (Cricut|Expressions Vinyl)
- Cricut Transfer Paper
- Cricut EasyPress 2
- Cricut EasyPress Mat
- Cricut Infusible Ink Markers
- Sublimation Blank Notebooks (they have a plastic cover)
- Nail Polish Remover
- Laser Copy Paper
- Paintbrush
- Gallon Size Freezer Bag
- Lint Roller
- Butcher Paper (comes in transfer sheet package)
- White Cardstock (to protect your EasyPress Mat)
How to Make a Unicorn Notebook with Infusible Ink
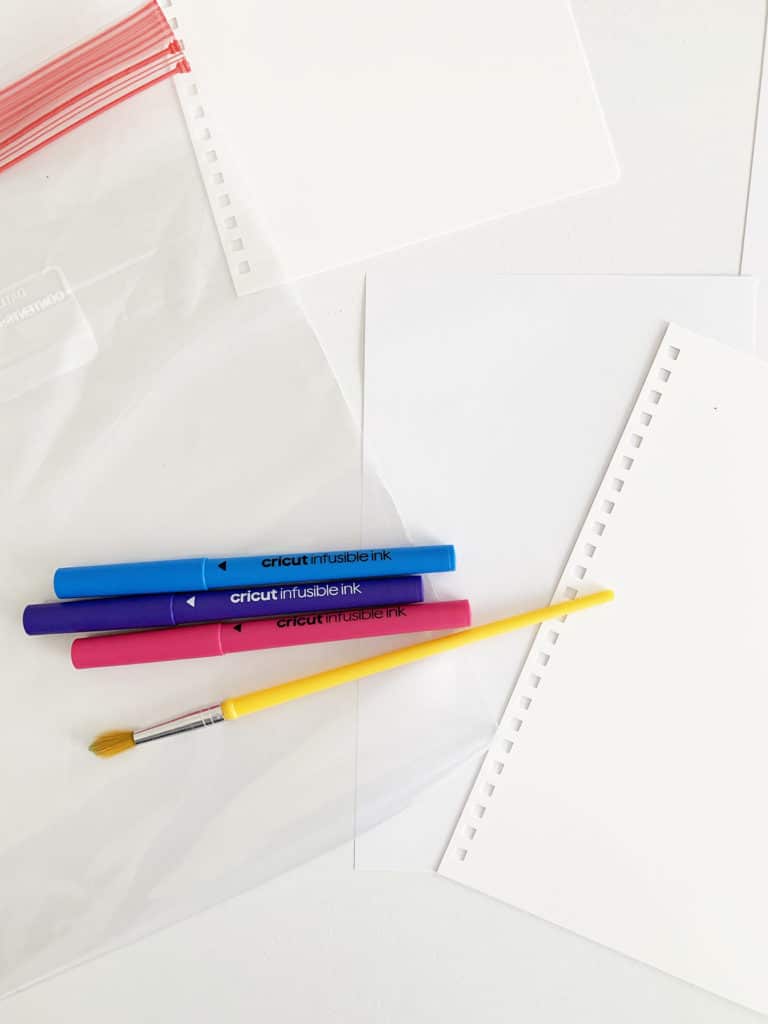
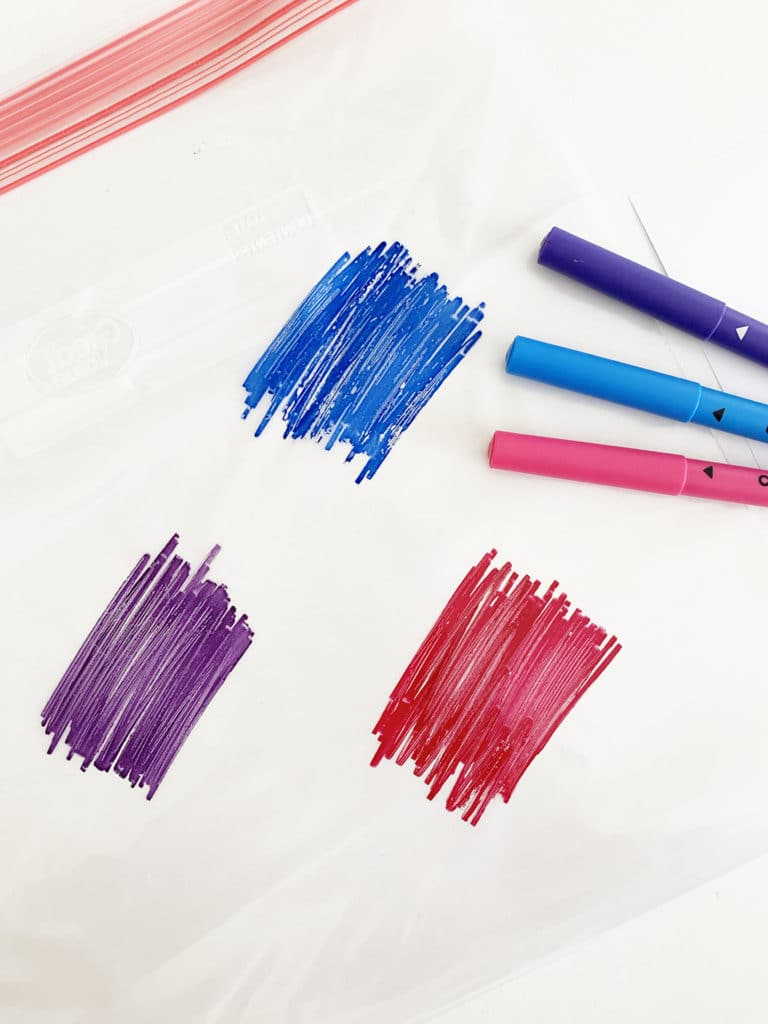
The first step is to make your watercolor “paint” with the Cricut Infusible Ink Markers. Using your gallon size bag as your “palette,” color in large blocks with the markers.
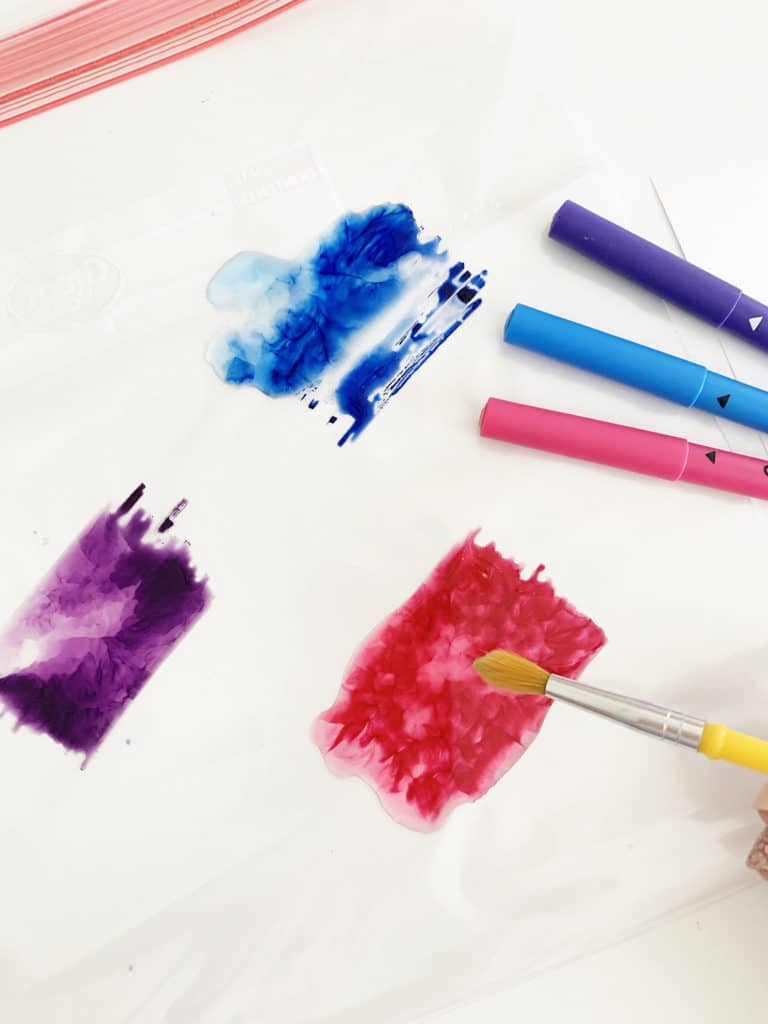
Add nail polish remover to the colored in area and mix with a paint brush. You can add as much nail polish remover as you like – more liquid equals lighter colors, just like watercolor paint.
Paint with the watercolor on a sheet of laser copy paper that will cover your notebook cover, creating any design you’d like!
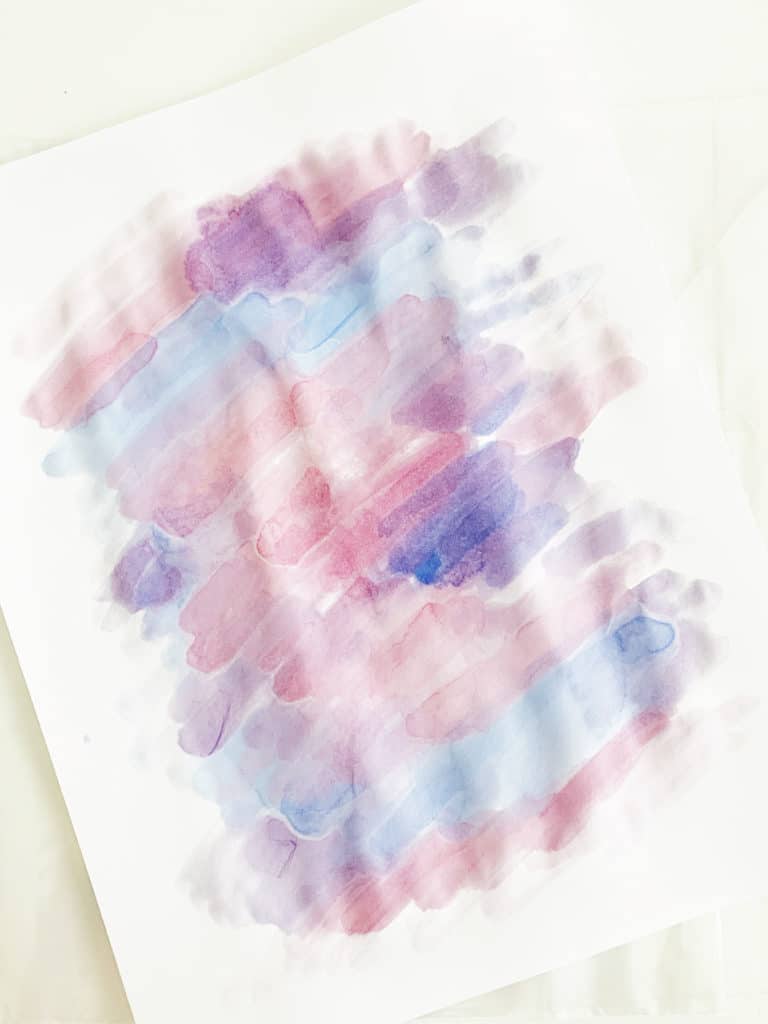
Let the watercolor sheet dry for a few minutes.
FOR MORE DETAILS ON USING THE EASYPRES 2 WITH CRICUT INFUSIBLE INK, check out this post: Learn How to Use Cricut Infusible Ink
Preheat your Cricut EasyPress 2 to 385 degrees F and set the timer to 45 seconds.
*REMOVE THE PLASTIC COATING SHEET FROM THE NOTEBOOK COVER*
Your Infusible Ink heating supplies should be set up in this order, bottom to top:
- EasyPress Mat
- White Cardstock
- Notebook Cover (with plastic film removed!)
- Watercolor Paper (facing down so your watercolor painting is touching the notebook cover)
- Butcher Paper
Use the lint roller to remove any dust or small particles from the notebook cover.
Place the watercolor sheet face down on the notebook cover and make sure that your items are in the above order. The card stock will protect your EasyPress Mat, and the butcher paper will protect your EasyPress and absorb any excess moisture.
With medium pressure and making sure not to move the EasyPress, heat for 45 seconds. Carefully lift off the EasyPress and let the project cool slightly. Remove the butcher paper and watercolor paper carefully.
How to add Vinyl Unicorn to Infusible Ink Notebook
Choose a unicorn design in Cricut Design Space and size to fit your notebook.
Place adhesive vinyl face up on your Cricut cutting mat, and cut when ready. Weed away extra vinyl that is not needed.
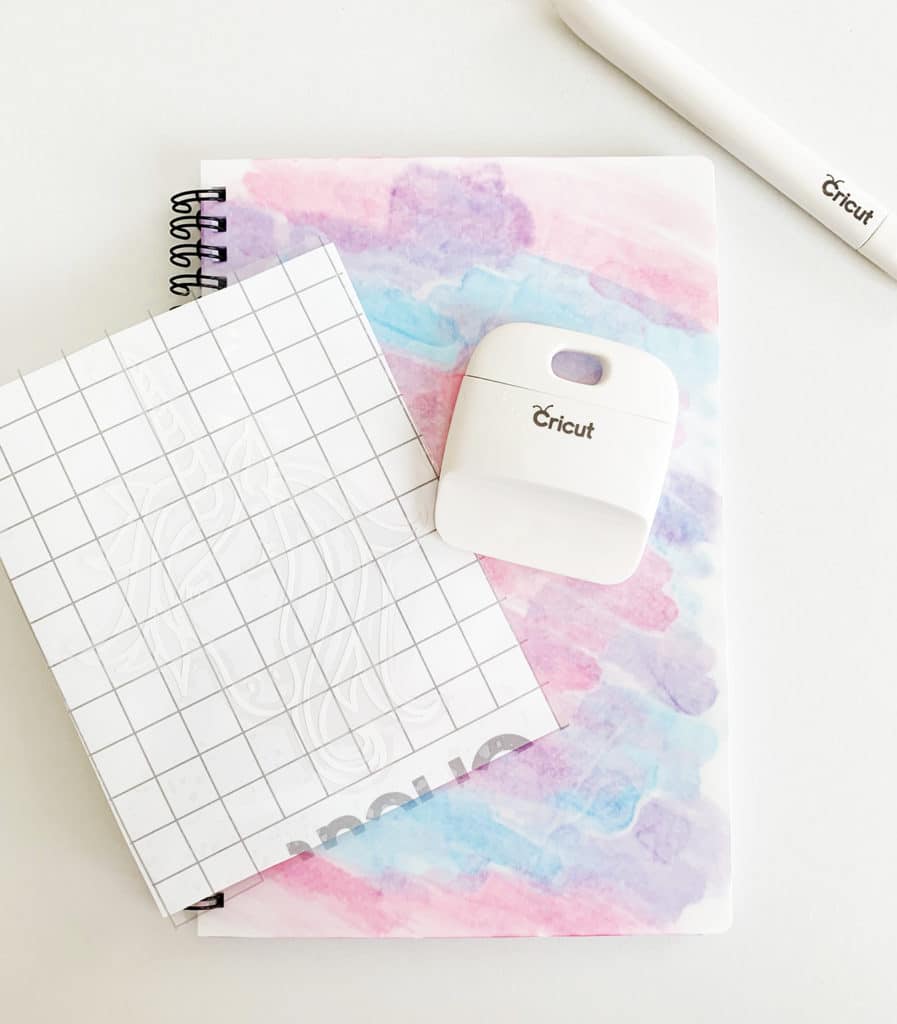
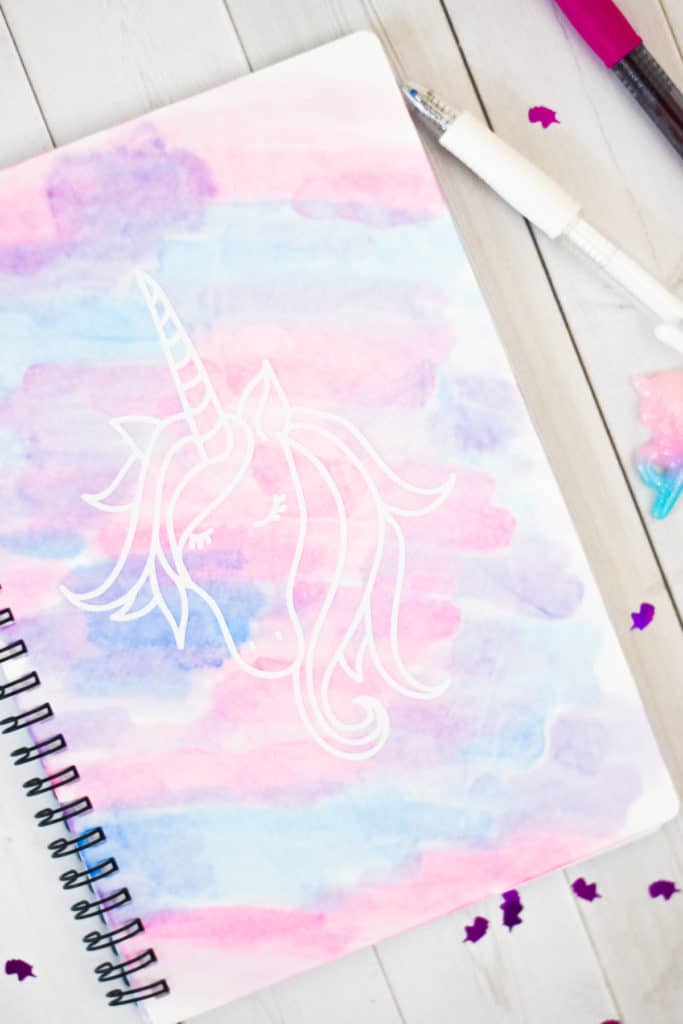
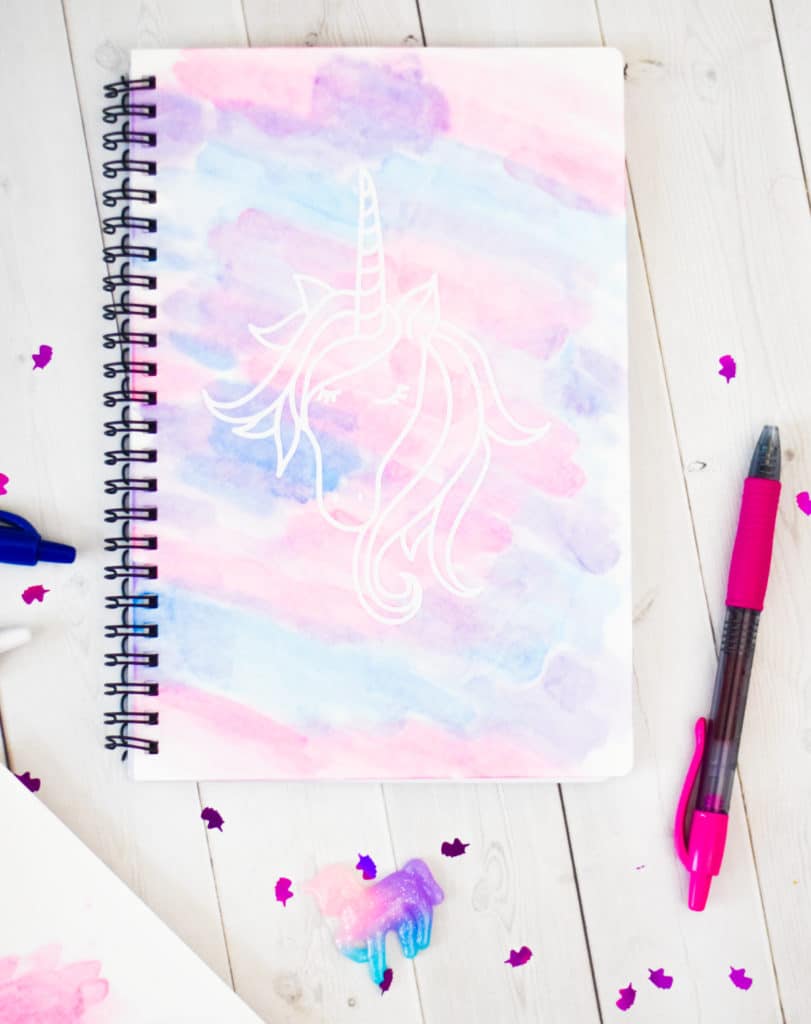
Use Cricut Transfer Paper to remove unicorn design from backing sheet and place on top of the Infusible Ink Notebook cover.
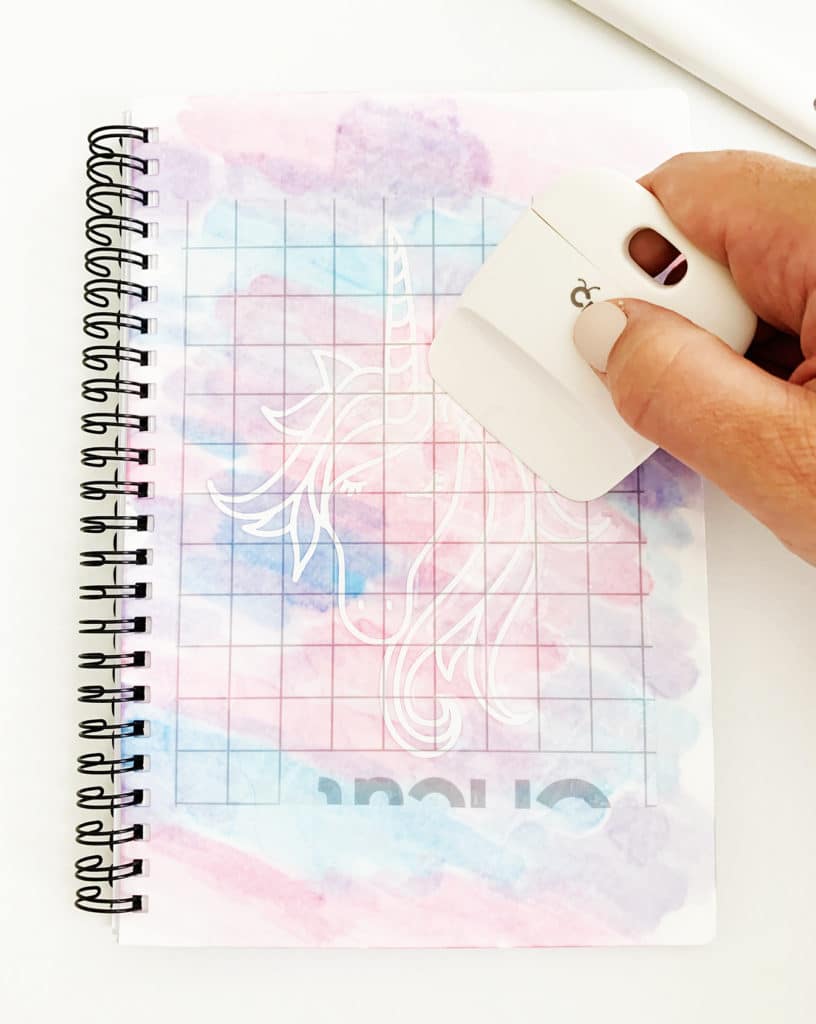
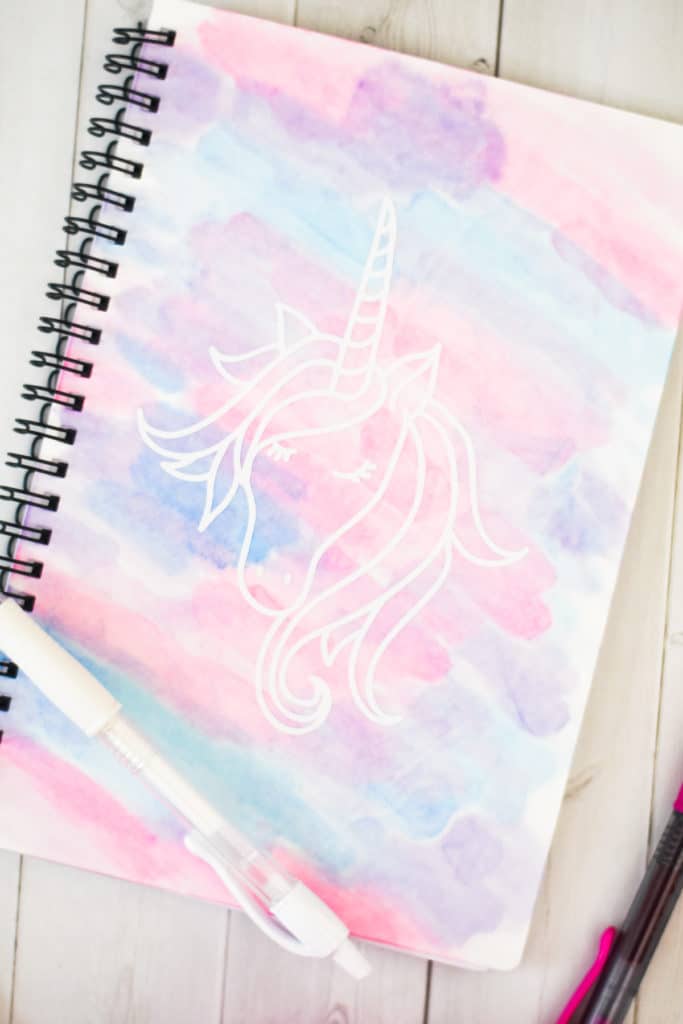
Adhere the design using a scraper and remove the transfer tape. You’re done!
For more Cricut Infusible Ink projects, check out the 10+ Cricut Infusible Ink Projects to Make Now!
LATEST POSTS:
- Wicked Coloring Pages to Print for Free
- Free Thanksgiving Turkey Coloring Page Printable
- Free Printable Thanksgiving Meal Planner & Grocery List
- xTool M1 Ultra Beginner’s Guide and Review
- Free Best Dad Ever Father’s Day Coloring Page
Pin Cricut Infusible Ink Watercolor Unicorn Notebook:


ABOUT CHARYNN
Hi, y’all! I’m Charynn, the owner and designer of Pineapple Paper Co. I’m a mom of four kids (two girls and two boys) living in Pittsburgh. I love hand lettering, anything southern, cocktails, and of course, pineapples! I am excited to share my SVG files, printables, and craft projects with you! The pineapple is a symbol of hospitality, and I welcome y’all to my little corner of the internet. Read more…