DIY Mermaid Pencil Case with Cricut Infusible Ink
This post and the photos within it may contain affiliate links. As an Amazon associate I earn from qualifying purchases. If you make a purchase through one or more of the links, I may receive a small commission at no extra cost to you.
If you’re making cute school supplies for back to school, you need to see this DIY Mermaid pencil case that I made with Cricut Infusible Ink Pens! Get the tutorial to make your own pencil bag and other mermaid school supplies!

DIY Mermaid School Supplies
Every year at back to school time, I look forward to making DIY school supplies with my daughter. This year, it’s ALL about mermaids and we are having a great time designing notebooks, pencils, binders, and other school supplies!
DIY School Supplies with Cricut Infusible Ink
One of my favorite new craft products to hit the market is Cricut Infusible Ink – I had the opportunity to try it out before it launched, and I haven’t stopped using it! I’ve already made a Lobster Tote Bag, Tropical Coasters, a Dinosaur Baby Onesie, and these INCREDIBLE hand painted chinoiserie coasters! I love how permanent the final product is, because teenage girls are tough on their school supplies!

Supplies Needed to Make a Mermaid Pencil Case
- Cricut Maker
- Cricut Standard Grip Mat
- Cricut EasyPress 2
- Cricut EasyPress Mat – small and medium sized
- Cricut Infusible Ink Pens, available at Michaels
- Laser Copy Paper
- Heat Resistant Tape
- Blank Bags designed for Sublimation, available on Amazon
- Lint Roller
- Butcher Paper (comes in transfer sheet package)
- White Cardstock (to protect your EasyPress Mat)
Cricut Infusible Ink products can be used with the Maker as well as the Explore machines. OR, if you don’t have a machine, you can use the Cricut Infusible Ink Markers and Pens to draw on the laser copy paper!
SEE THE 10+ CRICUT INFUSIBLE INK PROJECTS YOU NEED TO MAKE!
How to Make a DIY Mermaid Pencil Case with Cricut Infusible Ink Pens
I used a mermaid design available in Cricut Design Space to make my DIY pencil case – you can get the Mermaid’s Don’t Do Homework design with Cricut Access. Don’t know what Cricut Access is all about? Now is a great time to learn ALL about Cricut Access – there are THOUSANDS of free designs if you subscribe, and more are added all of the time.
Open the mermaid design and size to fit your pencil case.

Change the design elements to DRAW instead of cut, and adjust the colors to the colors of Infusible Ink pens you would like to use.
Click “Make It”, and make sure you MIRROR your design.

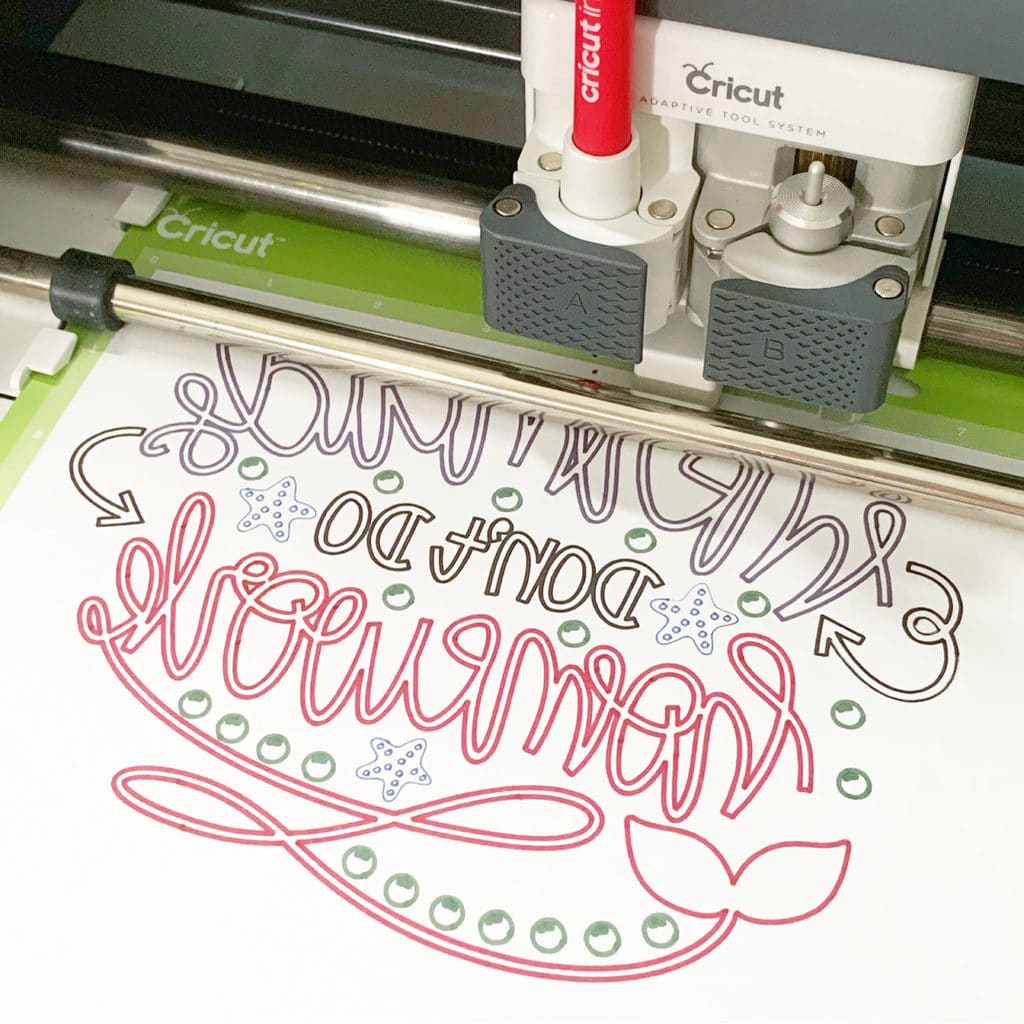
Insert your Infusible Ink pen in the pen holder, and proceed with drawing each of the colors of the design.

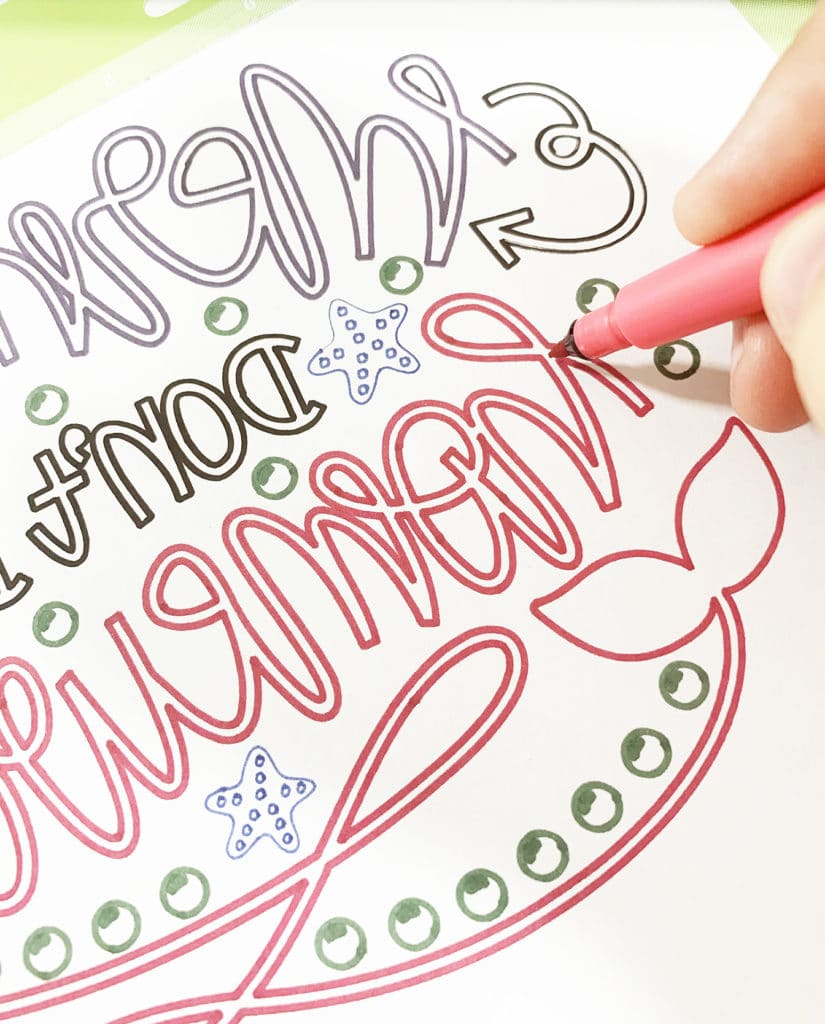
After the machine has finished, unload the mat and finish coloring in the design by hand.

The colors of the marker will be sort of dull, but wait until you see the finished project!
Cut the paper around the design so that it fits well on the bag, especially at the top – I wanted to make sure that it lays flat on the bag and doesn’t overlap the zipper.
Preheat your EasyPress to 385 degrees.
Insert a small EasyPress mat into the pencil bag, and place a piece of butcher paper or white card stock on top of the mat inside the bag. It will protect your mat as you press the design. Place the bag and small mat on top of a larger mat. Having the second mat underneath will help your EasyPress in making consistent contact with the bag.

Use a lint roller on your bag to remove any small particles of dust or hair. Press for 15 seconds with the EasyPress to remove moisture and wrinkles. Let cool.
Place design on the bag and secure with heat resistant tape.

Cover entirely with butcher paper, and press at 385 degrees for 40 seconds. Do NOT move your EasyPress during heating. After 40 seconds, carefully life the EasyPress and remove your design – Infusible Ink is WARM peel. (For more EasyPress heating instructions depending on the material you’re using, visit the Cricut EasyPress Interactive Heat Guide.)

See how the Infusible Ink EMBEDS itself into the fabric of the pencil bag? It’s permanent, peel proof, crack proof and teenager approved. My daughter loves it! She can’t wait to make more mermaid school supplies before school starts.
MORE MERMAID POSTS
- DIY Mermaid Birthday Outfit
- Unicorns and Mermaids Shirt with Patterned Iron-On Vinyl
- Best Mermaid Birthday Party Ideas
- Amazing Mermaid Birthday Cakes
LATEST POSTS:
- Free Best Dad Ever Father’s Day Coloring Page
- xTool F1 Ultra Review: Dual Fiber Laser and Diode Laser for Crafters
- How to Make a Spotify Code Necklace with a xTool F1
- Make Laser Engraved Jewelry with the xTool F1 Laser Machine
- Free Printable Stanley Valentine’s Day Card
Pin Infusible Ink Mermaid Pencil Case:


ABOUT CHARYNN
Hi, y’all! I’m Charynn, the owner and designer of Pineapple Paper Co. I’m a mom of four kids (two girls and two boys) living in Pittsburgh. I love hand lettering, anything southern, cocktails, and of course, pineapples! I am excited to share my SVG files, printables, and craft projects with you! The pineapple is a symbol of hospitality, and I welcome y’all to my little corner of the internet. Read more…