How to Make a Sublimation Tumbler
This post and the photos within it may contain affiliate links. As an Amazon associate I earn from qualifying purchases. If you make a purchase through one or more of the links, I may receive a small commission at no extra cost to you.
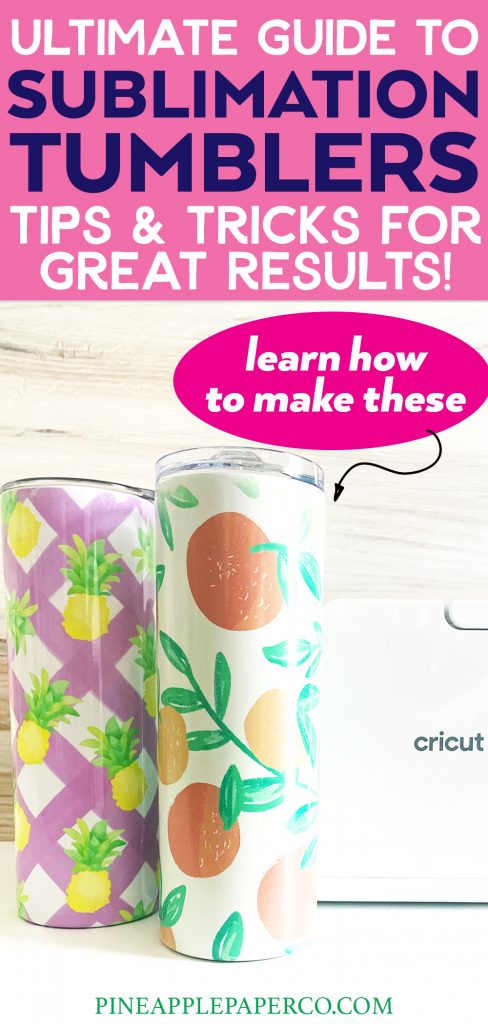
Learn How to Make a Sublimation Tumbler with an oven or Cricut Mug Press! Sublimation Tumblers are a perfect craft for beginners or experienced crafters to make for gifts or a small business. Get all of my tips and tricks to make sublimation tumblers with transfers or Infusible Ink.
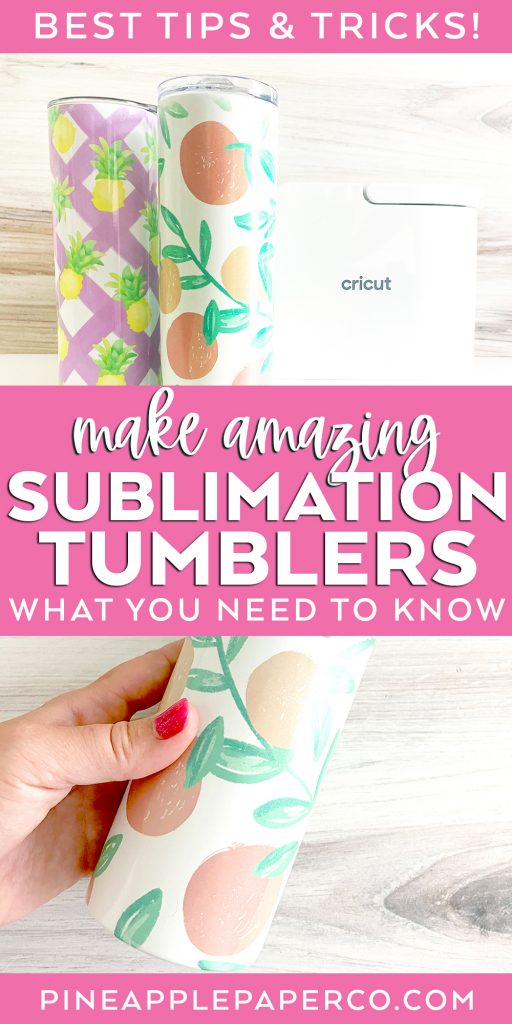
Ever since glitter tumblers exploded into the craft world a couple of years ago, tumblers have been an ongoing trend! Now, with the popularity of sublimation crafts, it is perfect timing for you to learn all about sublimation tumblers! Stainless steel tumblers make perfect gifts and can be a good product for craft shows and markets.
Sublimation Tumblers
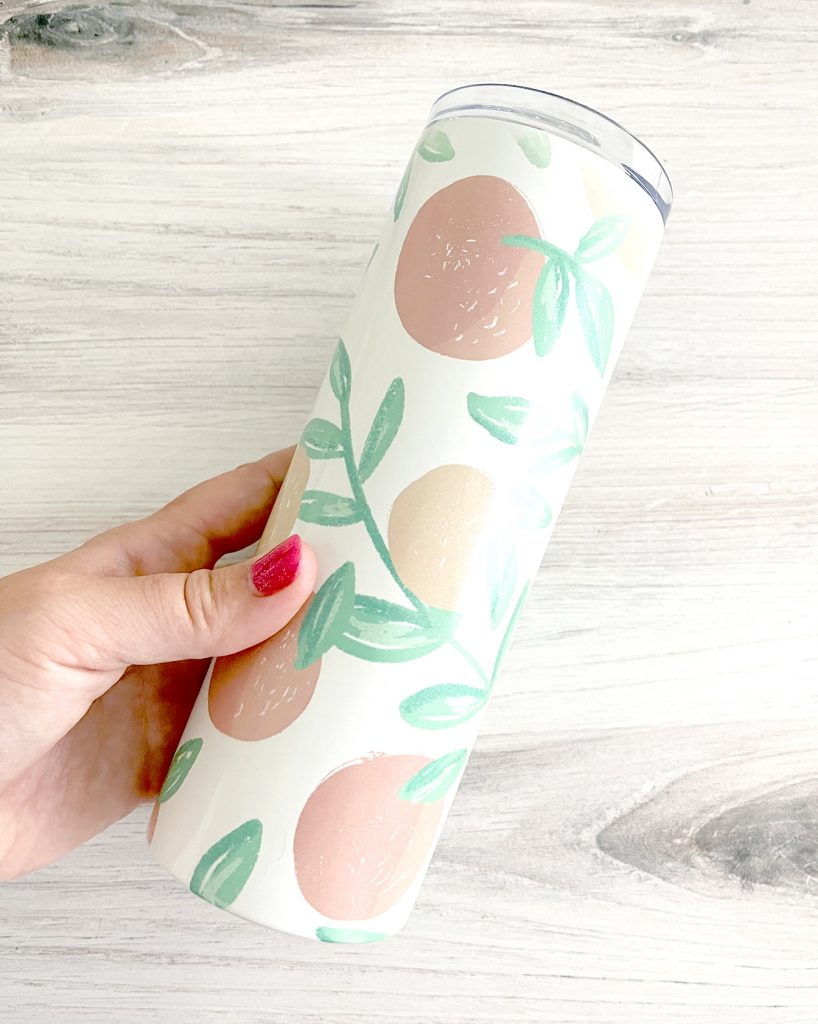
Sublimation is how you can make tumblers with images instead of vinyl. Tumblers made with sublimation are a great choice for a DIY tumbler because the results are high quality, permanent, and can be as detailed as a photograph! You can turn a blank sublimation tumbler into a gorgeous project or gift that everyone will love. You can even create your own patterns!
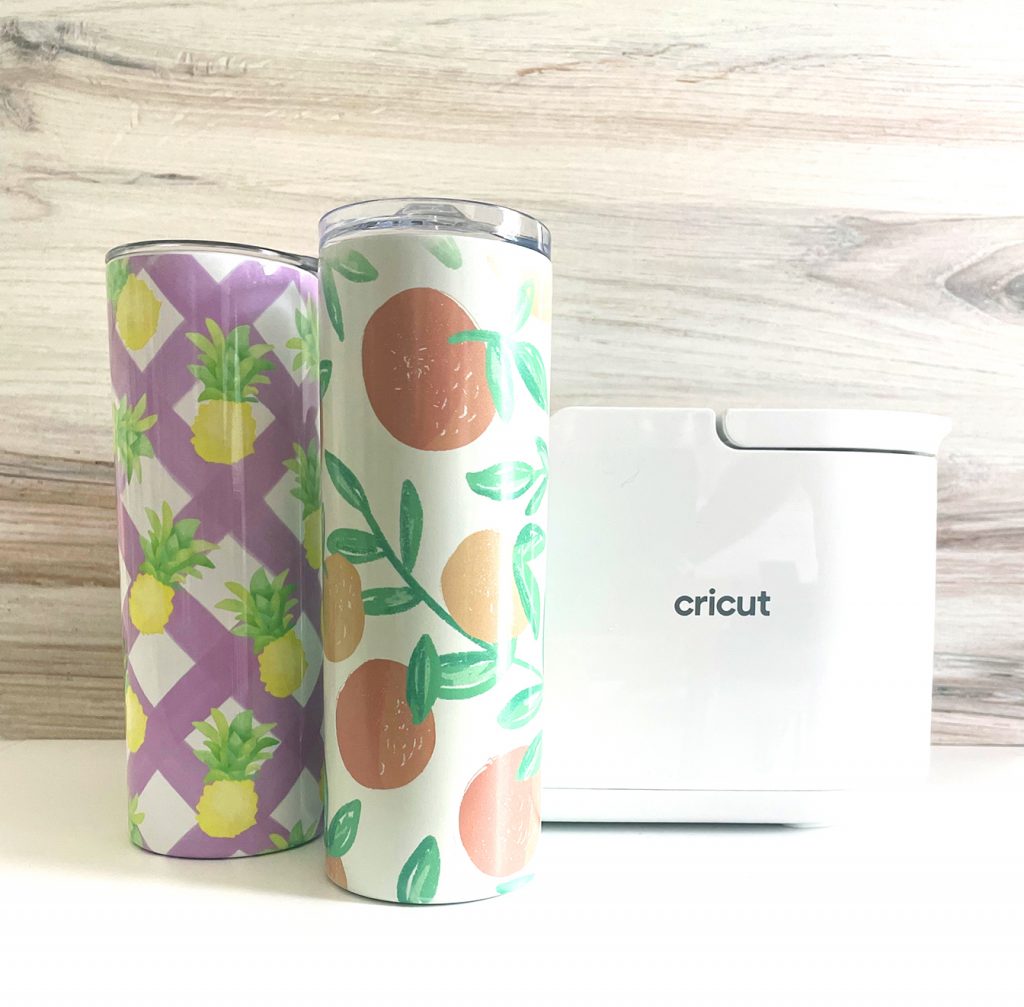
I have made a ton of Sublimation Mugs, and I have been excited to try Tumblers! I found some awesome sublimation tumbler blanks on Amazon, so I decided to take the leap.
What’s even better, I figured out how to sublimate tumblers (including 20oz. skinny tumblers!) in my Cricut Mug Press. It’s now one of my most popular videos on Tiktok!
What is a Sublimation Tumbler?
A sublimation tumbler is a stainless steel or tumbler made from another material that has been “printed” with a type of ink transfer called sublimation. Sublimation is a chemical process that takes a solid to a gaseous state, skipping the liquid phase. In sublimation printing, “solid” ink is embedded into a polyester substrate by heating it straight to a gas.
Also, if you have used Cricut Infusible Ink sheets, you have used a form of sublimation!
The result is a high quality, permanent, and peel proof design that becomes a part of your tumbler material. It creates a professional looking finished product that people will think that you bought! This makes sublimation tumblers perfect for gifts or even for small businesses.
Can I Use Any Tumbler for Sublimation?
No. Tumblers used for sublimation must have a polyester coating that binds with the sublimation ink during the heating process. Unfortunately, that means that blank tumblers for sublimation can be quite pricey and more difficult to source. You will not be able to grab a tumbler at the dollar store like you can for other DIY methods. But the end result is worth it!
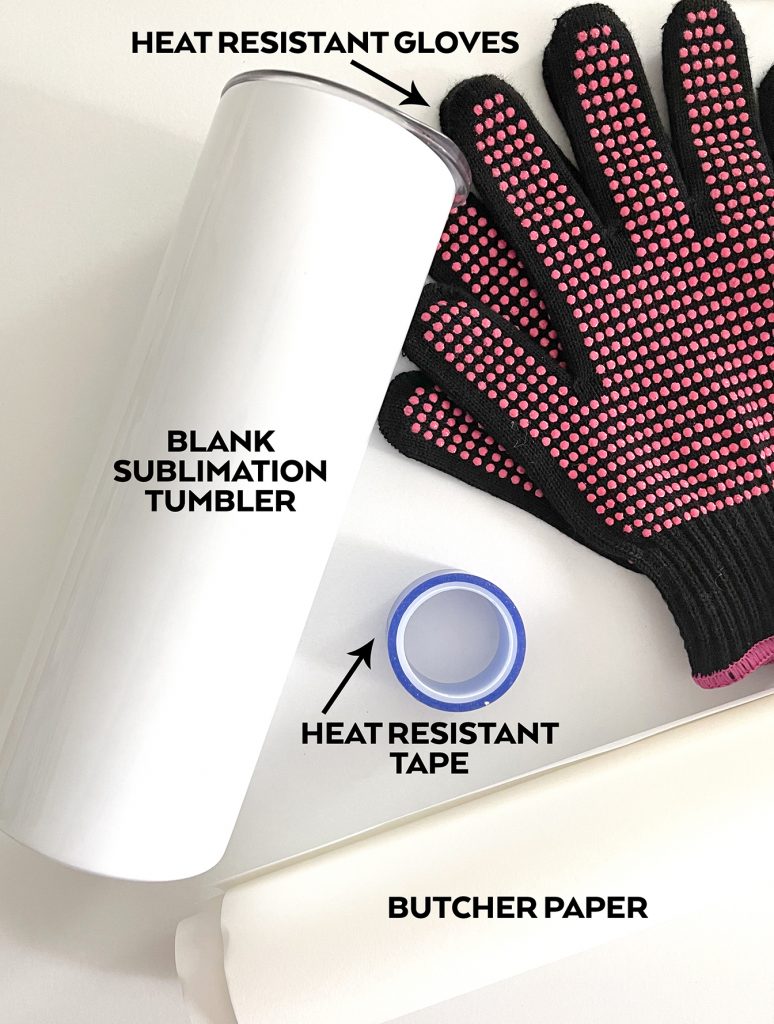
Supplies You Need to Make Sublimation Tumblers
- Blank Sublimation Tumbler – I link all of my favorite tumbler blanks in the linked post!
- Sublimation Ink
–Cricut Infusible Ink Transfer Sheets (work best with an electronic cutting machine)
–Infusible Ink Markers (no cutting machine required!)
–Siser Sublimation Markers
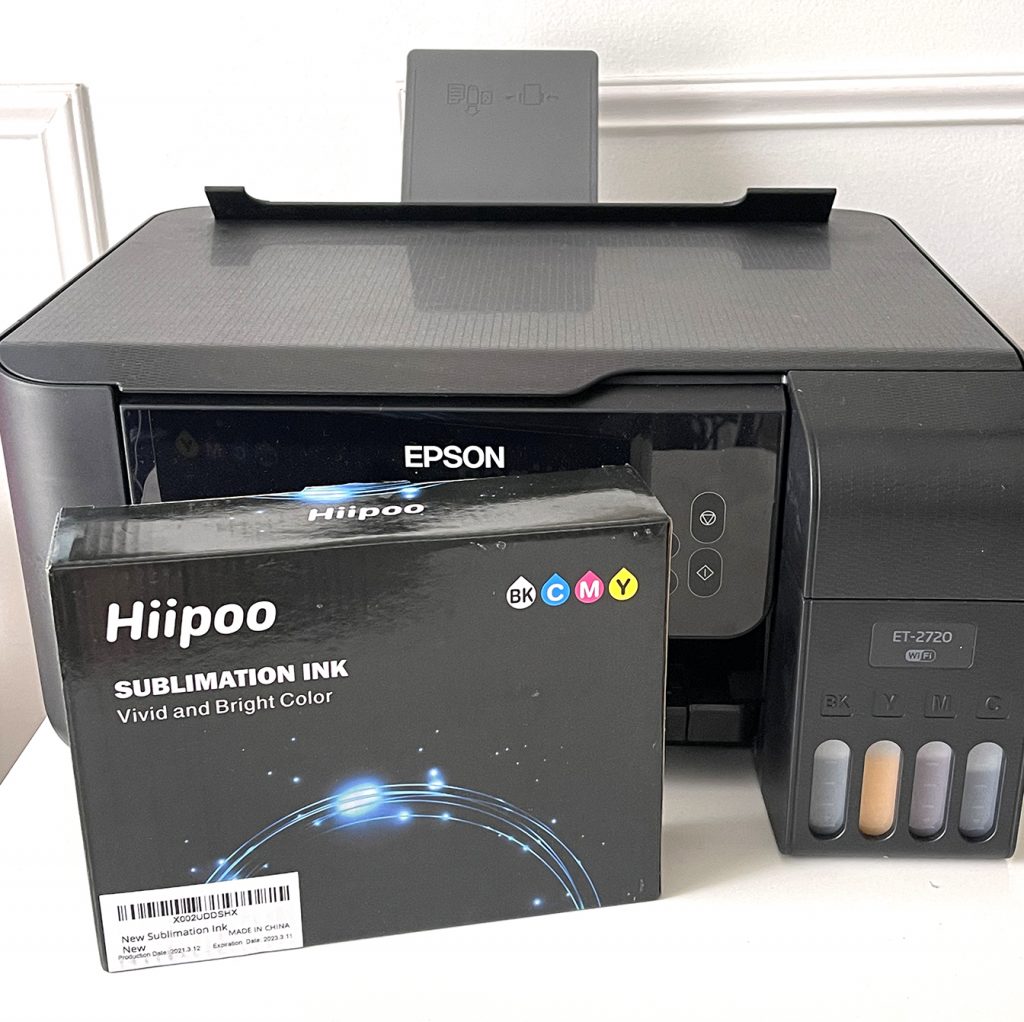
–Sublimation Ink for Printers (I prefer and have had success with this brand. If you already have a printer, you can buy bottles that will fit your specific printer)
-Pre-Printed Sublimation Transfers - Heat Source
–Cricut Mug Press
–Tumbler Heat Press
–Craft Oven (like a countertop toaster oven that you will use only for crafts) - Laser Paper or Sublimation Paper – for all methods except Infusible Ink Transfer Sheets
- Butcher Paper
- Heat Resistant Tape
- If using an oven, you will need Sublimation Shrink Wraps to fit the size of tumbler you are making.
GUESS WHAT?! You can convert an inkjet printer to sublimation! Learn How to Convert an Epson EcoTank 2720 Printer to Sublimation here!
Where to Buy Sublimation Tumbler Blanks
Unlike sublimation mugs that can now be purchased at craft stores, inexpensive tumbler sublimation blanks are a still a little harder to find. I currently order items from Amazon, because I can order just a few at a time, there is a good selection, and they ship with Amazon Prime. They are a little more expensive than other sources, though.
These are my favorite blank tumblers that I have ordered:
- Plain white tumbler
- Glitter (I’ve seen them in silver, aqua, and pink)
- Color changing with heat
- UV light color changing
- Hogg sublimation tumblers (found at Stainless Steel Depot)
RELATED POST: Where to find the BEST Sublimation Blanks
I love them all and have had great success each each kind. Be warned though – they sell out frequently! If you see a color that you really want, grab them while they are in stock!
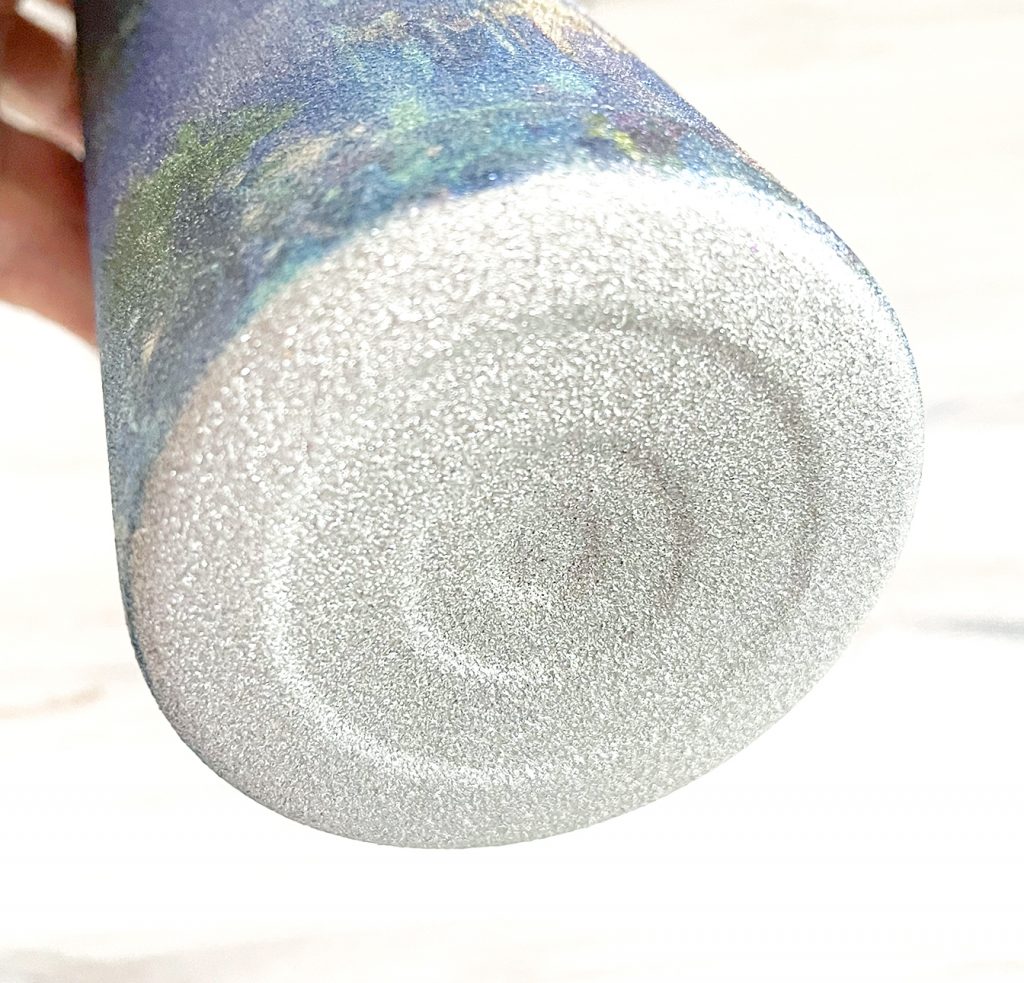
You can see the bottom of the glitter blank tumbler here. You sublimate directly on top of the glitter – it’s like a one step glitter tumbler. I am obsessed!
There are other places where you can buy blank tumblers, but most only offer bulk sets. Bulk is great if you want to add them to your small business, but not for casual crafters. Coastal Business Supplies and Stainless Steel Depot are great places to start.
Note: Cheap sublimation tumblers may not always be better. Make sure you read reviews before your purchase, because quality matters when it comes to sublimation blanks!
How to Make a Sublimation Tumbler
The first decision you need to make is what transfer process you would like to use. Your basic choices are:
- Infusible Ink Transfer Sheets, which will require a cutting machine like a Cricut or Silhouette to cut detailed designs. Infusible Ink is basically a printed sublimation sheet that is convenient and easy to use. You can weed it in a similar way to vinyl, but it does not require transfer paper cutting machine to cut detailed designs.
- Infusible Ink Pens & Markers (or Artesprix Markers which I have not tried). They can be used in the pen holder of your Cricut machine, or by hand.
- Sublimation Transfer that you print on a converted inkjet printer.
- Pre-Printed Sublimation Transfer purchased from Etsy or another vendor.
Once you know which method you want to continue with, check out the details below!
Sublimation Tumbler Designs
Although you can order sublimation prints, I would much rather make my own. In my opinion, the best programs for sublimation are Procreate, Adobe Photoshop, and Adobe Illustrator. If you are looking for graphics to use with sublimation, the best part is that you can use almost any design!
With a converted inkjet printer, you can print photos, graphics, or anything else that can be normally printed. If you are using an electronic cutting machine to cut transfer sheets, a SVG file will work best with Cricut Design Space, and a DXF file with free versions of Silhouette Studio.
Here are a couple of great resources that offer Sublimation Designs:
To design your Tumbler to print, I suggest that you use Adobe Photoshop. It has the best color conversion for sublimation printers.
Sublimation Tumbler with Transfer
If you want to Print your Own Sublimation Transfers, it’s way easier than you think! The major requirement is that you have a new inkjet printer that you can fill with sublimation ink. Epson EcoTank Printers are the most economical and easiest to convert and I cover the whole process in a blog post (and it includes a video!). It is possible to convert a used printer, but a brand new printer is easier and should produce better results.

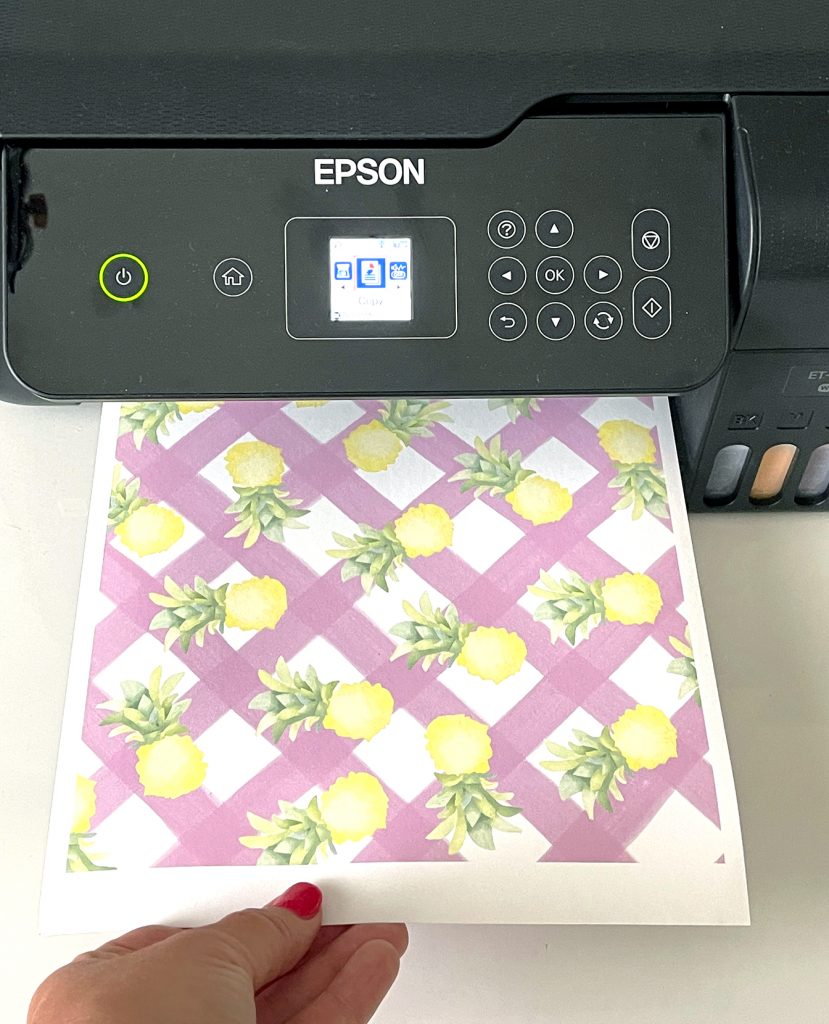
The process is simple: Create your design in a program like Procreate, Photoshop, or a similar program and print your mirrored design on Sublimation Paper.
Do You Mirror Sublimation Transfers?
Yes, you should always mirror sublimation transfers. If your design does not contain words, it is not necessary to mirror your design, but it is a good habit to form.
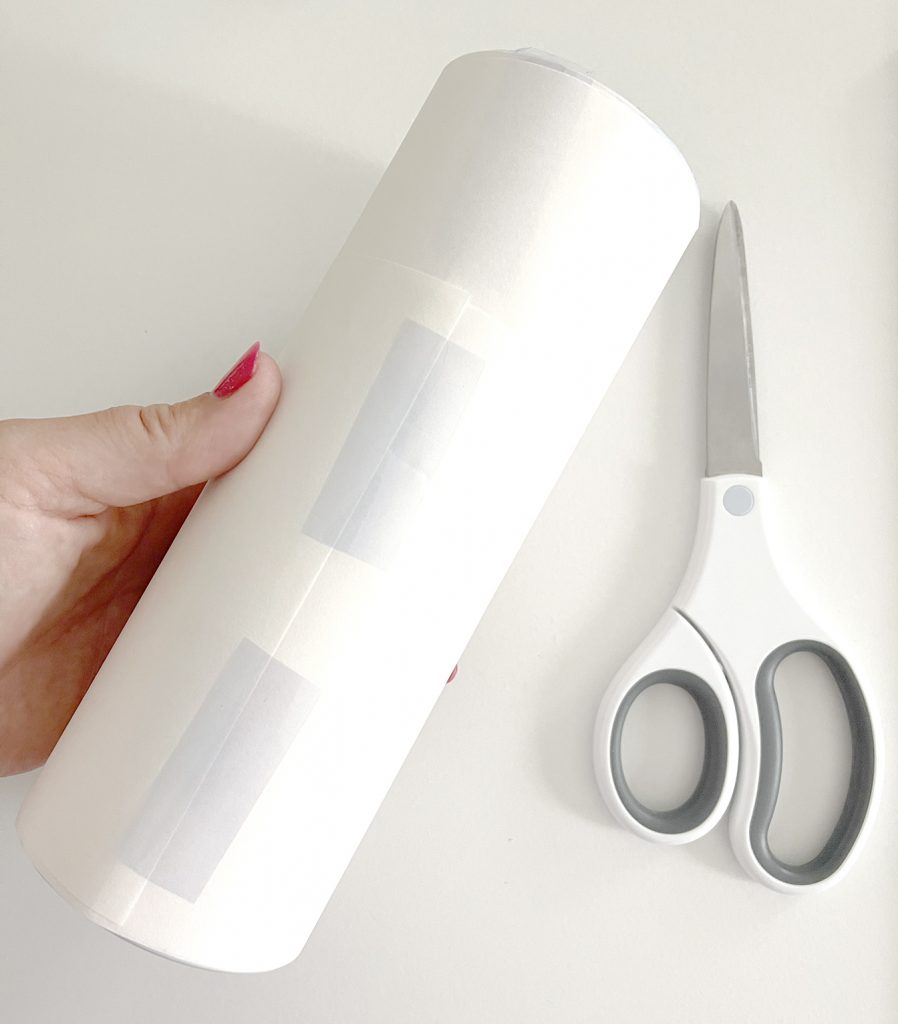
Then attach tightly to the tumbler with heat resistant tape to prep for heating. Make sure you take the design right to the edge of the tumbler. This skinny tumbler worked really well!
RELATED POST: Design your Own DIY Sublimation Mug
Sublimation Tumbler with Infusible Ink
If you already own a Cricut machine, Infusible Ink Transfer Sheets are great introduction to the sublimation process. You can choose a design in Cricut Design Space and cut as you would iron on vinyl. The weeding process is a little different, but it’s easy to get used to.
The next step in the creation of a DIY tumbler is heating the design so it embeds into the coating on the cup! There are three methods you can use: an oven, a tumbler mug press, or surprisingly, the Cricut Mug Press!
Can you make a Sublimation Tumbler in the Oven?
Yes, you can! After you have taped your design securely to your tumbler, you will want to use a sublimation shrink wrap (this is similar to using a silicone mug wrap for a sublimation mug.) Place the wrap over your tumbler and use a heat gun (set on low) to shrink the wrap to fit the tumbler. This will hold your design tight against the tumbler, providing the proper pressure needed for a clean transfer.
Exact temperature and heating time depends on the type of transfer and oven you are using. For example, in a traditional oven the settings are 400 degrees for about 15 minutes. Convection toaster ovens will heat the tumbler much quicker.
I personally own a countertop convection oven, and it works great! It doesn’t have to be an expensive one. I find that if I rotate the tumbler throughout, I get the best results.
Make a Sublimation Tumbler in a Tumbler Heat Press
There are commercial sized heat presses that are specifically sized for tumblers. They are either stand alone or will be a tumbler sized attachment for a larger press.
You can find a Tumbler Heat Press on Amazon. A heat press is great if you have the space for it and would like to produce a lot of sublimated cups. The downside is that they can get expensive quickly, and you may need more attachments for different sizes of tumblers and mugs. But, you will have a better experience when creating tumblers.
How to Make a Sublimation Tumbler in a Cricut Mug Press
**NOTE: Although the Cricut Mug Press will work for tumblers, it is not the recommended method. Especially if you plan to sell your crafted tumblers, I would suggest using a craft oven or a tumbler press. This Mug Press “hack” works well for a craft project but you have to be very patient to get consistent results. It can be tricky to heat the entire tumbler evenly. It does work better for small designs (instead of a full wrap), so depending on your design, the Mug Press could work very well!
Remove the clear lid or slide lid from the mug, and attach the design to the cup with heat tape just as you would when using an oven. You don’t need a silicone mug wrap for the Mug Press. Make sure that you tape all of the loose edges down tightly, especially at the top and bottom of the tumbler.
One thing I learned about the Mug Press is that it is important to wrap your tumbler with a couple of layers of butcher paper over the design. Otherwise you can get yellow marks on your cup. I have also read that people have experienced overheating even when using the butcher paper. Although the Cricut Mug Press comes with a preset time and temperature, there is actually a way to manually change the factory settings.
Because there will be a gap in the mug press when you insert the tumbler, you will need to push the tumbler towards the back of the press. You can also use a silicone mat to stick at the front to hold the tumbler tight against the heating element.

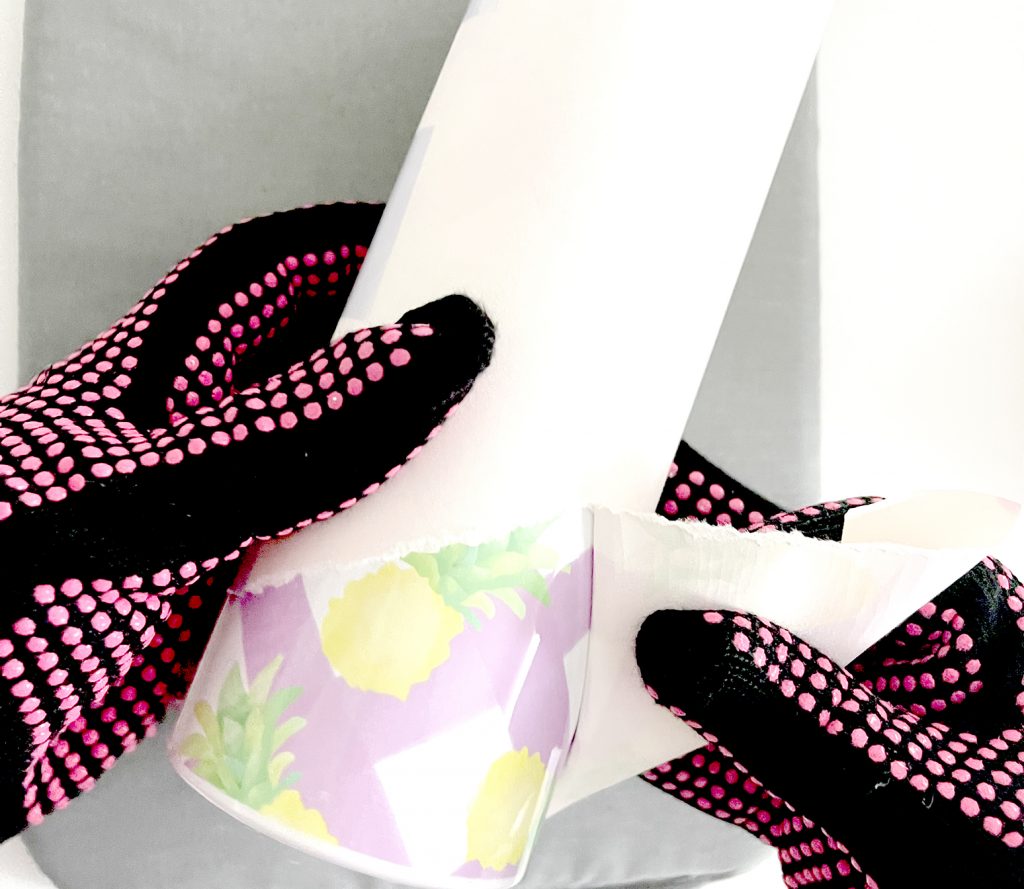
You will need to rotate your tumbler during the heating process to make sure all sides are evenly heated. Set a timer for 1 minute and start at the tape seam holding your butcher paper to the tumbler. Then every minute, rotate the cup 1/4 turn until all sides have been heated. Use your heat resistant gloves and flip the tumbler over and repeat the process on the other end of the tumbler.
Allow your tumbler to cool on an EasyPress mat, and remove the butcher paper and printed design to reveal your tumbler!
Frequently Asked Questions about Sublimation on Tumblers
Do Sublimation Tumblers Need to be Sealed?
No! Tumblers that have been printed with a sublimation transfer do not need to be sealed. The sublimation ink is embedded in the material of the tumbler during the heating process.
Can You Put a Sublimation Tumbler in the Dishwasher?
Unlike sublimation mugs, most stainless steel tumblers (sublimation or otherwise) are not recommended for the dishwasher. I recommend hand washing your stainless sublimation mugs!
Can You Do Sublimation on Any Tumbler?
No, you need to use tumblers that can be coated with polyester during manufacture.
Can You Epoxy Over a Sublimation Tumbler?
You sure can! Once your sublimated tumbler has cooled you can add glitter and epoxy just as you would a regular glitter tumbler. Of course, you don’t want to cover up your sublimated image, so be sure to use clear glitter or try to use opaque color glitter in areas with no design.
If you have any other questions, let me know in the comments! Now that you have learned how to make your own tumblers, make sure you check out my other sublimation posts! I have FREE sublimation designs and more tutorials!
Related Post: Make Sublimation Mugs with Cricut Mugs & Infusible Ink Markers
Make sure you pin this post to your favorite crafty board on Pinterest!


To glitter over a sublimation, do you need to sand? I just want to add a cheat glitter on top.
For epoxy? A very light sand wouldn’t hurt so the epoxy has something to attach itself to. Definitely on my list to try!
Have you attempted adding epoxy on top of a sublimated tumbler? I am wondering if it needs to be lightly sanded for the epoxy to adhere.
Thanks!
I haven’t! I really want to try it though!
So, you can epoxy straight on to the smooth shiny sublimated surface? If i give it a light sand, will it take some of the subbed image off?
I have a couple that ghosted along the top that id like to hide with glitter but also some id like to add names to, then epoxy.
I haven’t tried it yet, but it’s on my short list! I have tried sublimating on a pre-glittered sublimation tumbler, and it’s awesome. No epoxy required!
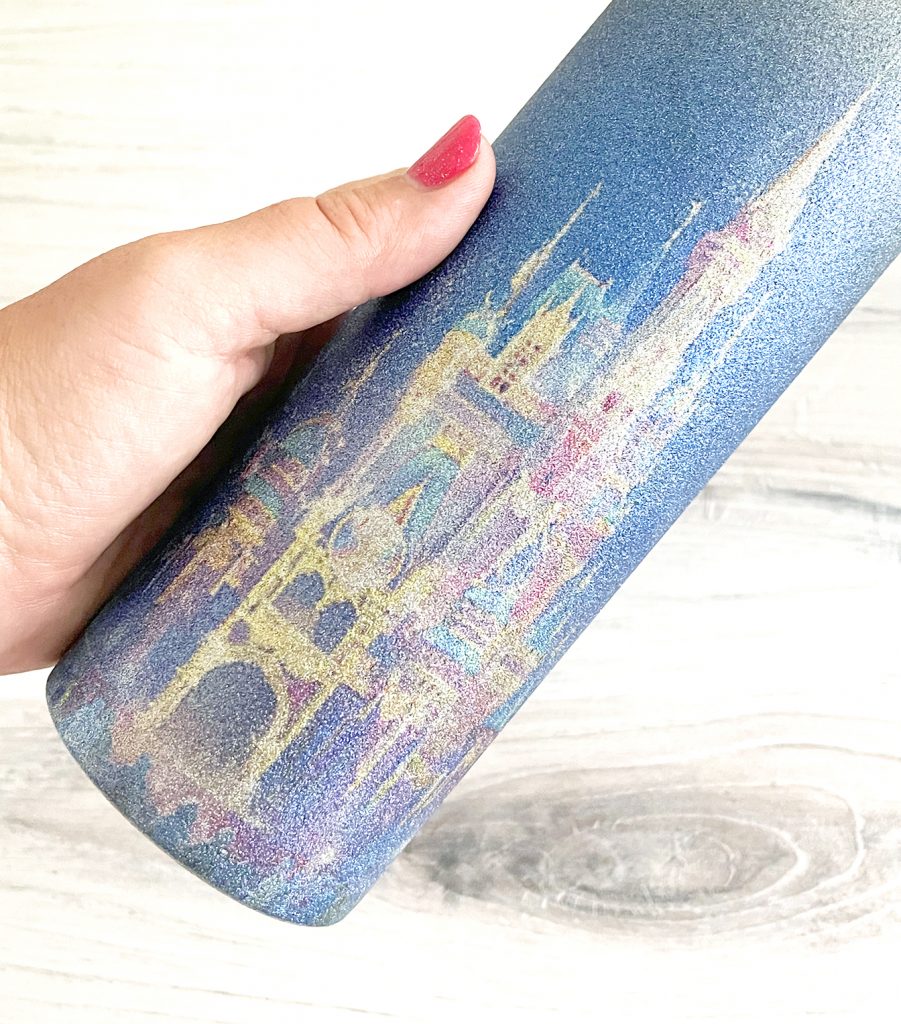
Do you have the castle one up as a tutorial?
I don’t 🙁 I don’t own the photo; it was for personal use.
Do you have to buy specifically 30oz sublimation wraps or can use buy 20oz wraps and enlarge them to fit a 30oz tumbler?
You should look for wraps that have the same dimensions as your tumbler. Even one 30oz could be different than another. Depending on the length and width change, it might not be a linear change if you shrink or enlarge them.
what is the time and temp for the convection oven?
Depends on what kind of tumbler you’re making! I usually use whatever temp the manufacturer recommends but add time to about 4 minutes. It will take longer to heat the whole way through. Just like most sublimation projects it may take some trial and error. Haha!