DIY Personalized Family Christmas Ornament with a Laser
This post and the photos within it may contain affiliate links. As an Amazon associate I earn from qualifying purchases. If you make a purchase through one or more of the links, I may receive a small commission at no extra cost to you.
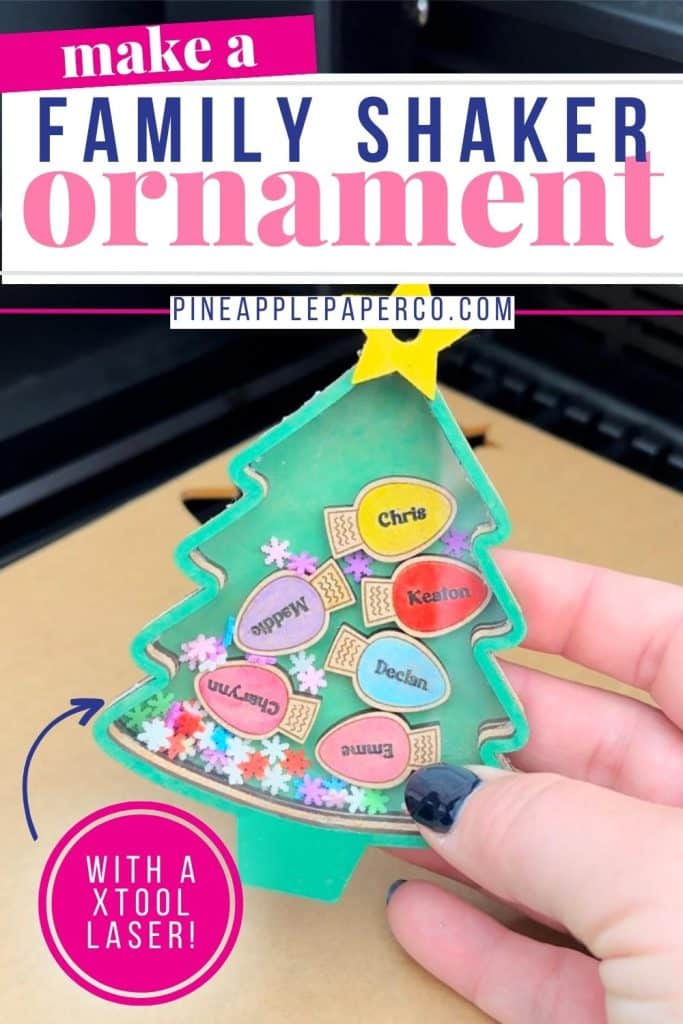
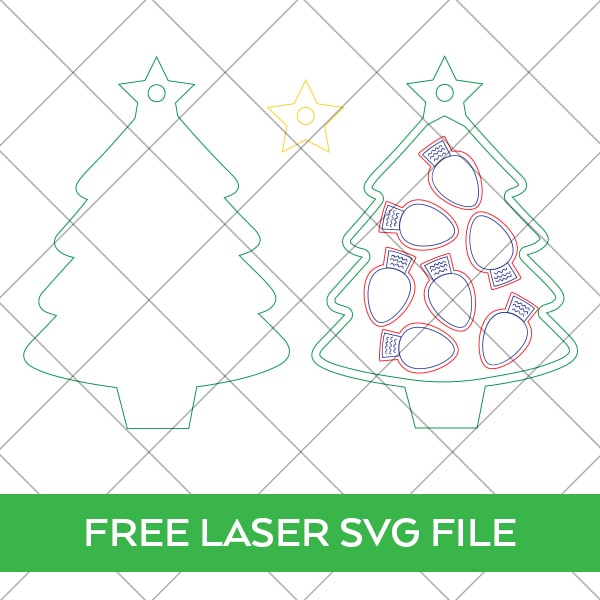
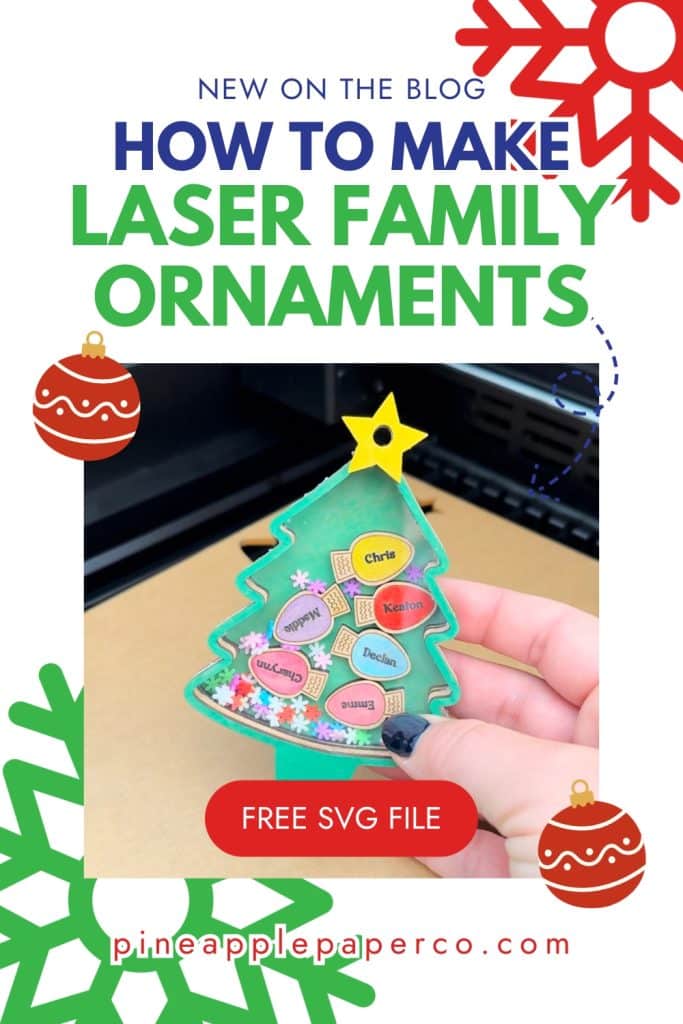
If you have a laser machine like the xTool P2, make a Shaker Family Christmas Ornament! This type of ornament where you put your family names (or pet names!) is one of the most popular Christmas laser projects right now! Keep reading for the full tutorial and download the FREE SVG file to make your own personalized family ornaments!
I just made shaker ornaments with a Cricut machine but I wanted to make my version of the popular laser custom family ornaments with shaker pieces! I have seen them all over Facebook and Etsy, and wanted my own for our Christmas tree!
I have made so many Christmas ornaments over the years. From chalkboard ornaments to the easiest glittered ornaments, I have plenty handmade ornaments to fill up my Christmas tree.
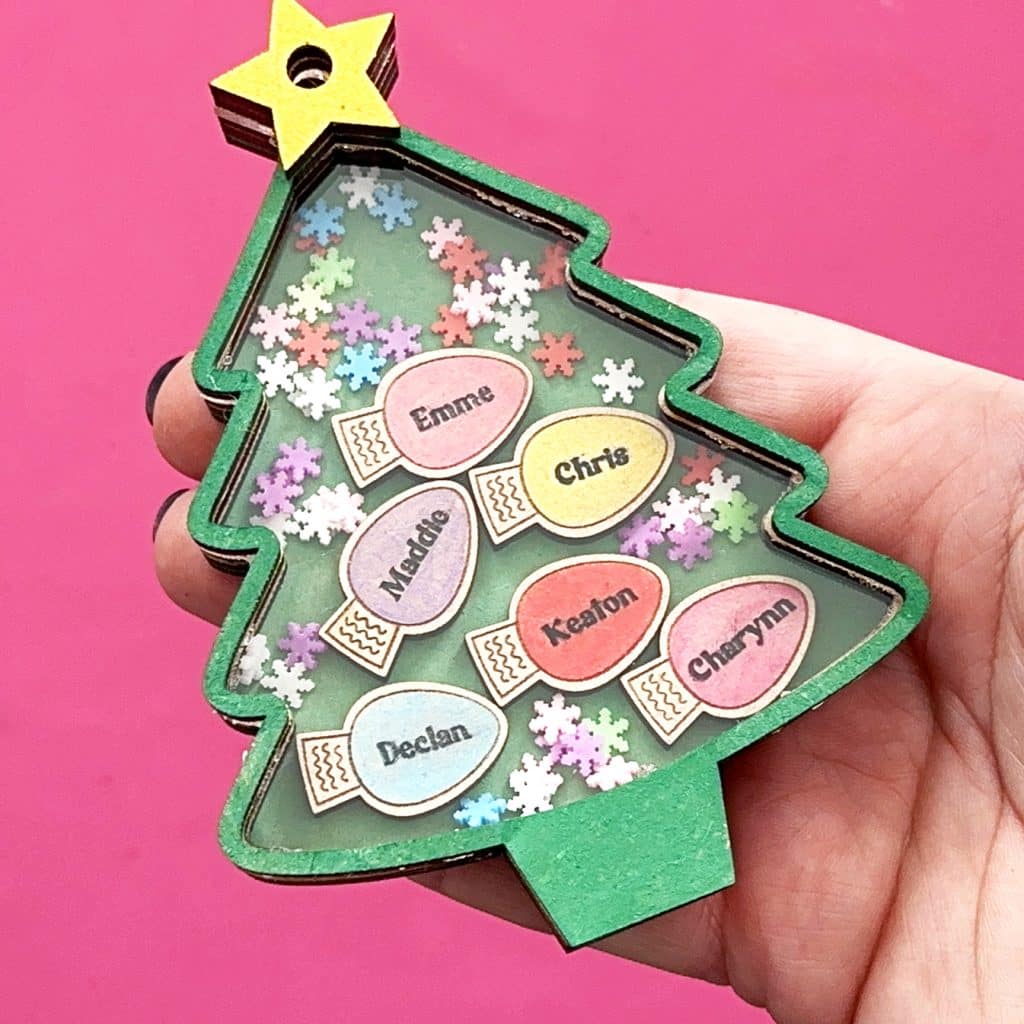
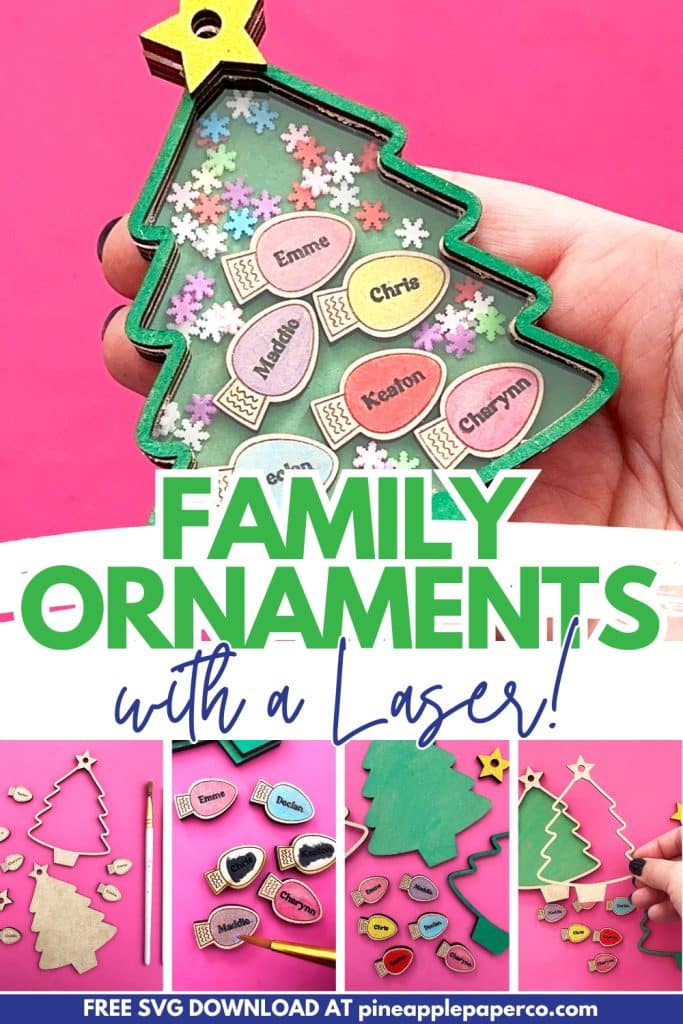
Shaker ornaments are a fun project to make. When you move the ornaments, items shake inside! These perfect family ornaments are made from layers that form a gap in the middle of the ornament that creates an effect similar to a snow globe. (They’re way more fun than plain solid ornaments with vinyl!)
MY Favorite
DIY Ornaments
Once you learn how these layered shaker ornaments are constructed, the options for designs are endless! I personalized the lightbulbs inside the Christmas tree, but you don’t have to! You could include other Christmas shapes, letters, or just craft sprinkles like the snowflakes that I used.
In this tutorial, I will walk you through the xTool Creative Space design process to personalize the lightbulbs with your own names, then I will show you how I painted the ornaments (along with a few tips to get the best results), plus, I’ll show you how I constructed the ornament. And then, at the end of the tutorial I will share the FREE ornament SVG file so you can make your very own shaker family ornament for this Christmas!
Trying to decide what Laser Craft Machine is Right for You?
Download my FREE eBook: Beginner’s Guide to Laser Craft Machines! With 3+ years of experience and testing of 5+ lasers, let me teach you the basics! Learn the different types of lasers, projects you can make, potential cost, and more!
Read the guide BEFORE you buy!
Supplies Needed to Make a Shaker Family Ornament for Christmas
The supplies you need to make these ornaments are basic laser supplies!
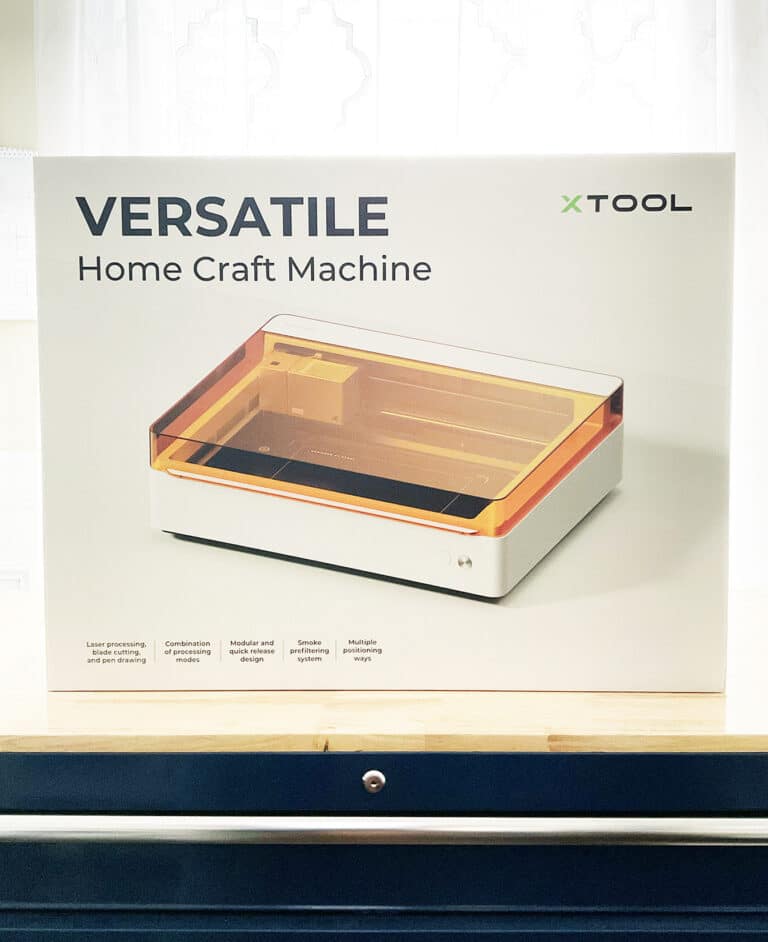
- xTool P2 or other CO2 Laser that cuts clear 3mm Acrylic
- Draftboard or Plywood, or other Wood Material (3mm)
- Paper Masking for Wood, if not pre-covered
- Clear Acrylic (3mm)
- Craft Paint
- Small Paintbrushes
- Glue (Beacon Power-Tac)
- Small Acrylic Snowflakes (here are similar Christmas ones)
Depending on the style of ornament you want to make, you could change the materials to include different colors of wood (no painting required!) or use acrylic for some of the painted pieces.
You could even use acrylic for the back piece so that the ornament is clear. There are so many options for how you want to construct this ornament And a custom ornament makes the perfect gift for Christmas!

In addition to glue, you may want to consider purchasing 3M double sided adhesive if you are making shaker ornaments to sell. You can place it on the back of your material before you cut out the pieces. It is nice because then you just peel off the paper and you are left with a perfect layer of adhesive to stick your layers together. No glue required!
I did not use 3M adhesive for this tutorial because I was only making one ornament, and I think it creates a lot of unused waste adhesive. But if I were producing many ornaments to sell, I would include that waste cost in the final price of my ornament. It offers a much cleaner application and professional finish.
*NOTE: Keep in mind that you will have to use glue to adhere the acrylic, or you will have to have 3M adhesive on the back AND front of the layer under the acrylic.
Learn More About Laser Machines!

How to Personalize Family Christmas Ornaments with a xTool Laser
The free Christmas ornament design will come with blank ornaments. If you would like to personalize the lights with your own family names, it is really easy! I used my xTool P2 and xTool Creative Space to add the custom names.
Open xTool Creative Space and add the Christmas Ornament SVG file to the canvas. Select the entire design and resize to fit your Christmas tree, as needed.

For each of the lights, you will need to add a text box. Click the Text tool on the left toolbar to add a text box to your canvas. NOTE: if you have zoomed in to see your design, you may have to zoom out to see the text box.

Use the text options on the right side of the canvas to type in the name and change the font. One thing that I love about xTool Creative Space is that it automatically imports the fonts you have on your computer to use for your xTool projects. Just scroll past the xTool fonts to see the “System Fonts” on your computer.

NOTE: If you would like to use the font that I used to personalize my Christmas Tree ornament, head over to Font Bundles to grab the Wildkind font by KA Designs. It’s one of my favorites!
Resize, move, and rotate the text to fit inside a lightbulb.

I find that the easiest way to create additional text boxes is to copy and paste your original one, as opposed to creating a new text box each time. When you copy the text box you retain the font style and font size settings. It makes it easier to keep your names consistent.
The next step is to get all of the pieces ready to engrave and cut with your laser.
If you are using 3mm wood, I recommend that you use the following layers for your shaker ornament (bottom to top):
- Wood Bottom Layer (Full Shape)
- 2 Layers Frame Shape
- 1 Set Lights
- 1 Layer Acrylic (Full Shape)
- 1 Top Frame Layer
- 1 Star
How to Prepare Your Family Ornament Design to Cut and Engrave in xTool Creative Space
You will need to copy and paste the elements of the design that you need to complete your desired ornament.
First, select the tree frame layer. Copy and paste it twice so that you have 3 total layers.

Place your draftboard or wood inside your machine and refresh the camera (depending on your machine). Arrange all of the pieces to fit on the wood.
*TIP: Select all of the parts of the design that will be engraved, then click Combine > Unite in the top toolbar to make them one shape. This will help speed up the engraving process.

After you engrave and cut the wood pieces, remove all of the design elements expect the full tree piece, and cut from a piece of clear acrylic.

The settings that I used for the ornament layers are listed below.
Laser Settings for Family Shaker Christmas Ornament
Select each separate layer of the design to change the settings for the laser.
Here are the xTool Creative Space settings that I used to engrave and cut MDF (Draftboard) as well as cut clear acrylic. I went for a slightly deeper engrave so that I could paint the text for more definition.
- Draftboard Engrave: Power 30/Speed 260/Lines 140
- Draftboard Cut: Power 100/Speed 25
- Acrylic Cut: Power 100/Speed 18
How to Paint Wood for Laser Shaker Family Ornament
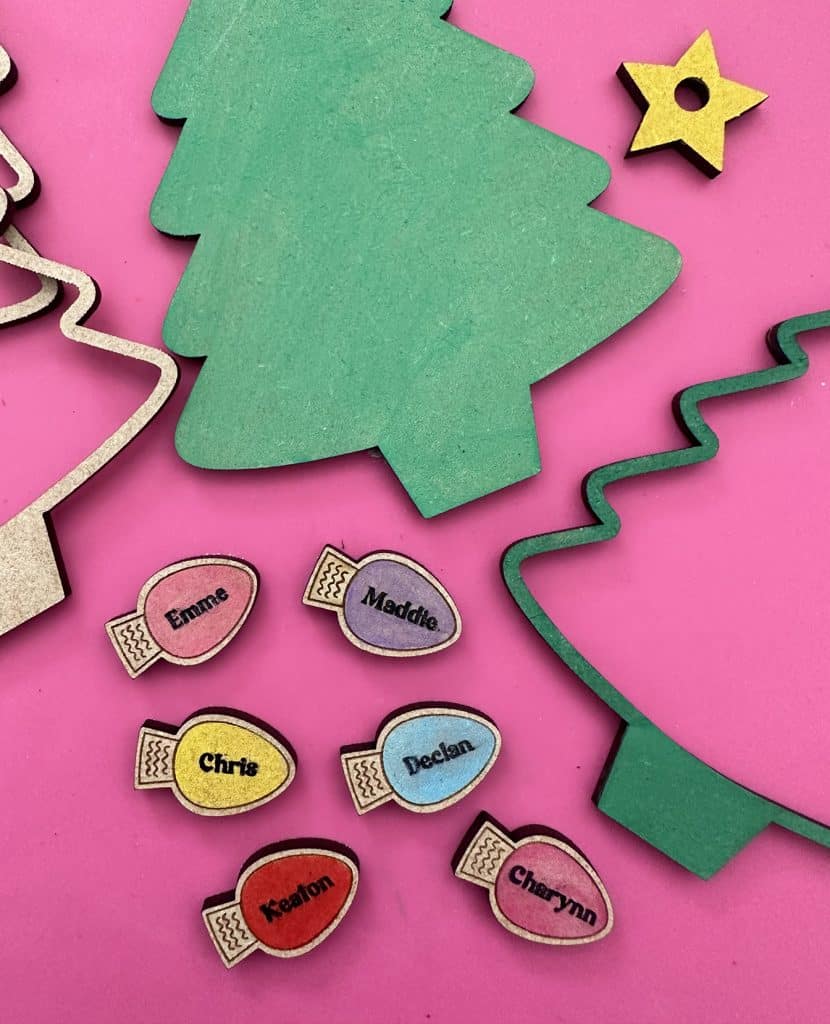
Once all of your pieces are cut, the next step is to paint each piece with acrylic paint. As I mentioned above, you can skip this step by using different colors of pre-finished wood for your ornaments.
Remove the masking from all of the draftboard pieces EXCEPT the lights.
For my ornament, I used:
- Light Green for the Base/Background of the Tree
- Dark Green for the Top Layer of the Tree
- Yellow for the Star
- Various Colors for the Lights
Tips for Painting the Personalized Lights
I tried a few different ways of painting the lights, and this is the method I liked best. Your method may vary depending on the type of paint you have. I used a thin type of craft paint, which worked well in light coats.
While the masking is ON the lights, use a small brush to paint the custom names with black acrylic or craft paint. Allow to COMPLETELY dry before moving on to the next step.
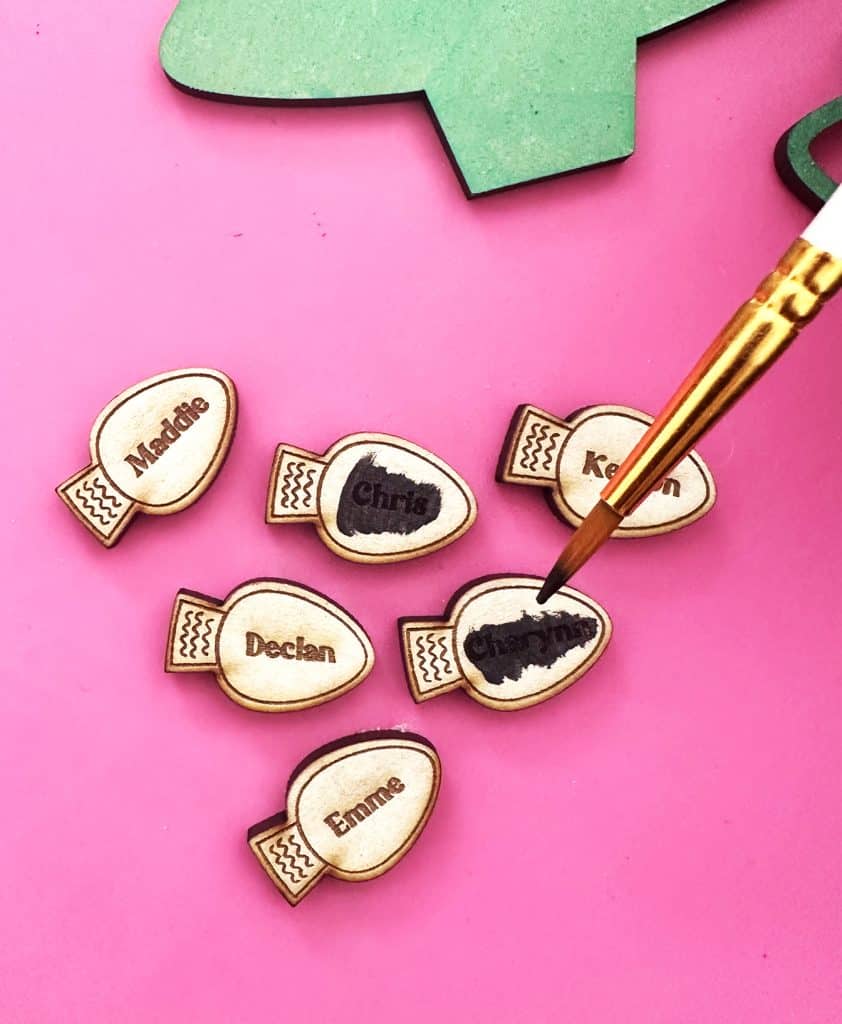
Once the names are dry, remove the masking paper from the lights. Carefully paint the lights with a light coat of craft paint, taking care to avoid painting over the names (some paint may bleed).
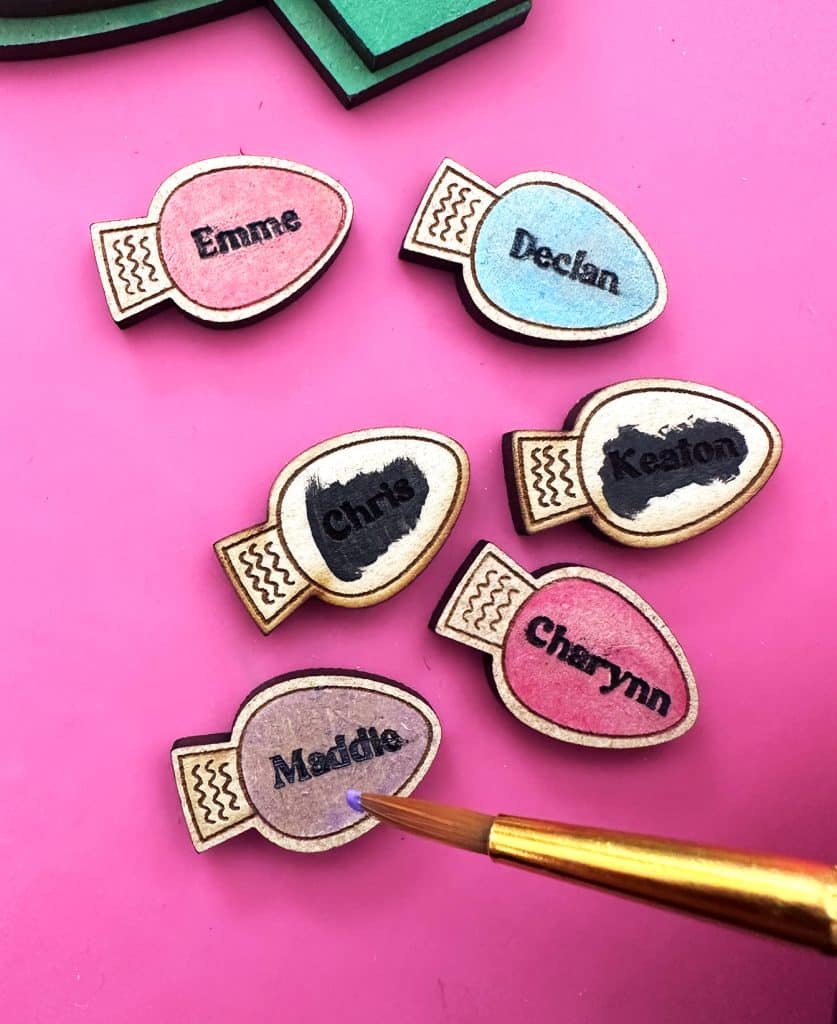
Allow to dry and then apply additional coats as needed.
How to Assemble a Family Christmas Ornament with Shaker Pieces
It is so easy to assemble a shaker ornament cut with a laser. It requires less layers than ornaments made with a Cricut, and thicker layers like 3mm wood are easier to handle.
Step 1: Attach Frame Layers to the Tree Base
The first step is to attach the frame layers to the base or tree background to create the space for your shaker elements. I used Beacon PowerTac to glue my ornament layers together.
The number of layers you will need will depend on the materials you are using, as well as the size of shaker material or filler you are using.
For my ornament, I used 2 layers of the tree outline to make the ornament thick enough so that my lights and acrylic snowflake sprinkles could move around inside the ornament.
The most important part is making sure that each layer is adhered to the layer below without any gaps around the border. If there are gaps in the adhesive that you choose, then the shaker element of your ornament can shake right out!
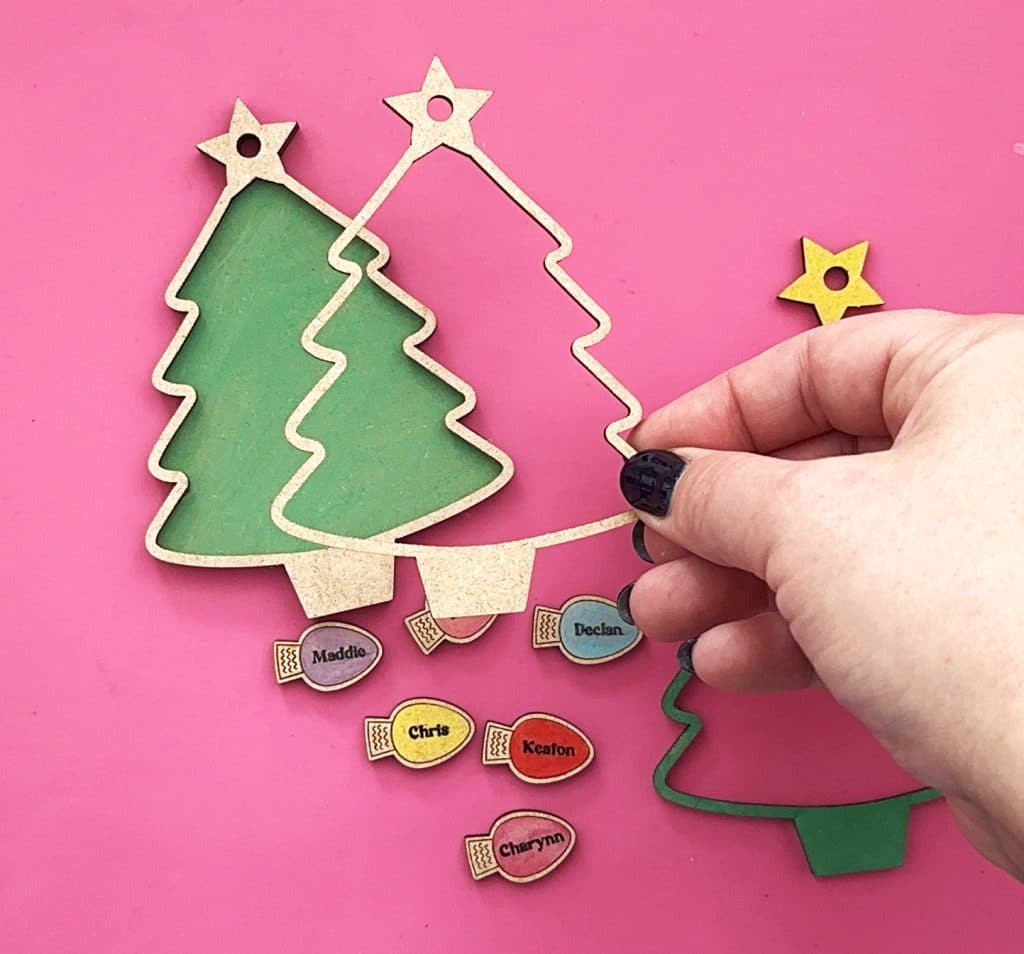
Step 2: Add Shaker Element to Your Family Ornament
Once your have built up your layers, you can add in your dry lights, plastic sprinkles, snowflakes, or glitter to the ornament base.
You can fill up the center of your ornament with as little or as many items as you would like!
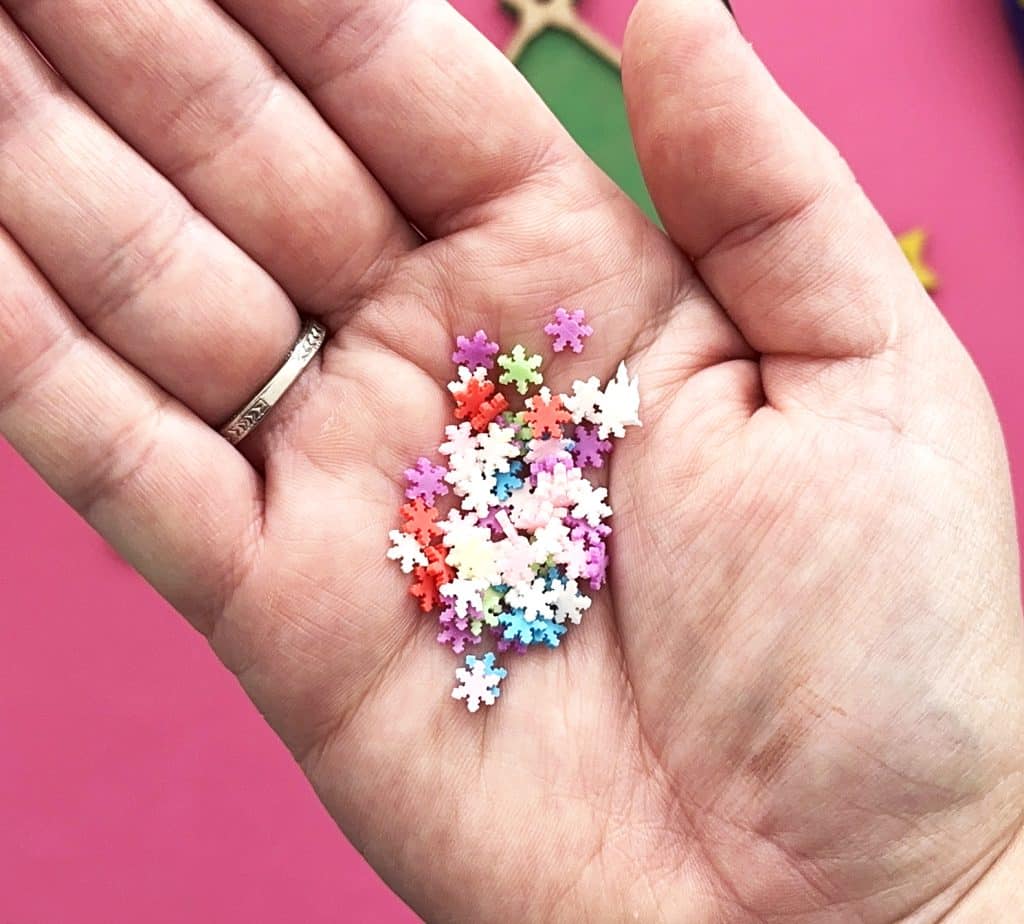
If you want to search for unique filler for your shaker ornaments like my craft sprinkles, search for terms like: Add-ins for Resin, Craft Sprinkles, Clay Sprinkles, or Slime Add-ins.
Step 3: Glue Acrylic Layer On Top of the Shaker Pieces
The next step is to add the clear acrylic layer on top of shaker material to seal the lights and sprinkles in the center of the ornament.
Be very careful when you add the glue on the border of the ornament. Any glue that is on the inside edges will be underneath the acrylic and you will not be able to wipe it off. Also be sure to carefully get the glue around the entire edge of the ornament so that it is sealed down. Again, you don’t want any gaps in the glue where the sprinkles or glitter can fall out.
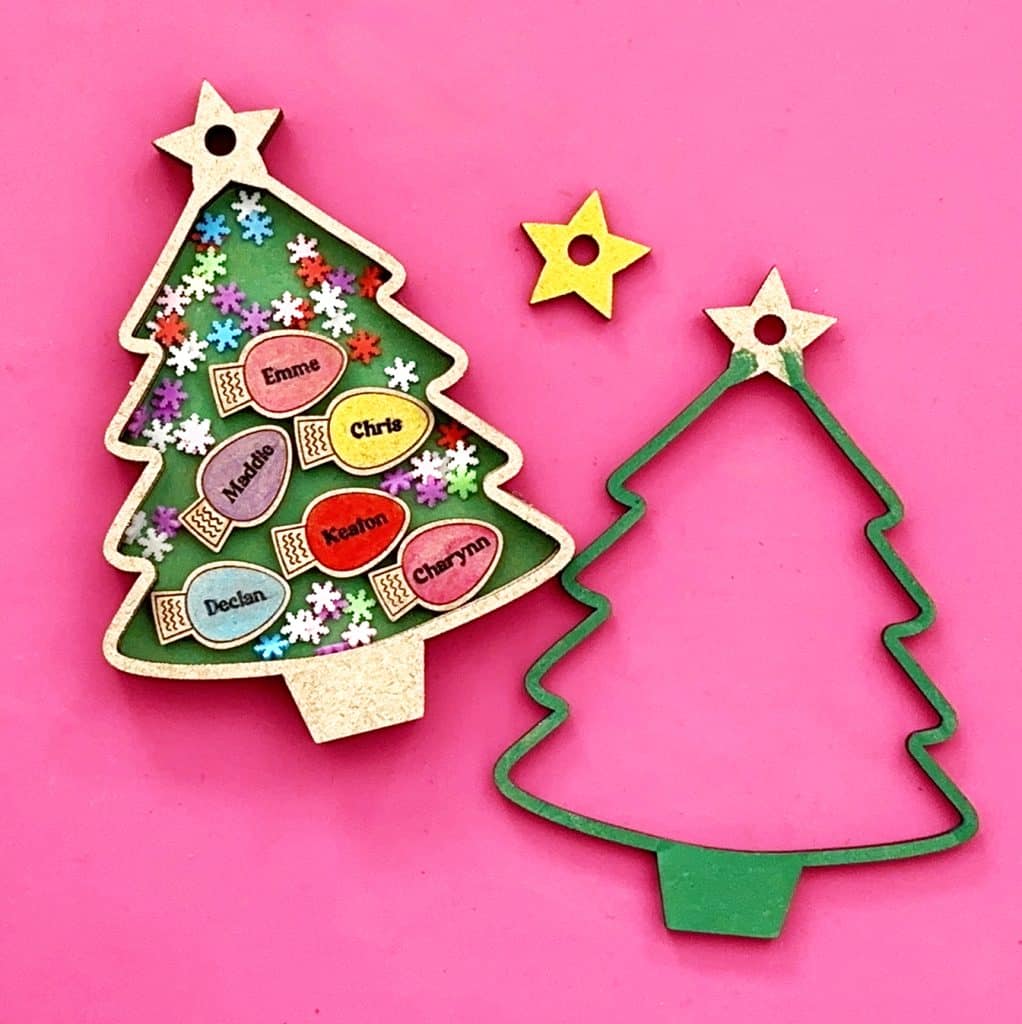
Step 4: Finish the Ornament with The Top Layers
For the final detail, add glue to the underneath of the top tree layer. Try to be neat as that you do not have to wipe any excess glue from the acetate.
Attach the top layer, then glue the star to finish the tree!
Step 5: Add Ribbon to Finish Your Ornament
Attach ribbon or string through the hole of the ornament. Allow the ornament to dry and hang on your tree! It’s a wonderful way to customize your family tree, and makes the perfect keepsake!
Tips for Making Shaker Ornaments
- If you have a DIODE laser machine instead of a CO2 laser, consider using clear acetate for the clear layer instead of acrylic. Clear acetate is thin and can be cut with a craft cutting machine, or even by hand! Use the SVG and upload the design to Cricut Design Space or Silhouette Studio.
- If you enlarge your design, you can create a cute home decoration for the holidays. Thick materials like MDF and clear acrylic will make the tree thick enough that it will stand on it’s own. Set it on a bookshelf in your living room, mantle, or anywhere else!
- In my experience, some glitters will stick to the inside of the acetate or acrylic due to static electricity. I like the acrylic sprinkles or other mix-ins more than using glitter.
- You can add additional personalization, too! Consider adding the year to the bottom of the tree! You can add the text just like you added the names to the lights.
- Now that you know how shaker ornaments are constructed, use this handy ornament method to make your own shaker signs, custom shaker ornaments, and more! DIY shaker projects are the perfect idea for a birthday gift, Father’s Day gift, Mother’s Day gift, or housewarming gift! They’re perfect for every holiday season 🙂

Download Family Christmas Ornament SVG for Laser Craft Machines
Need the password? Grab the instant download for the Christmas Tree Family Shaker Ornament in my download library below!
This file is DOWNLOAD #290 in my FREE DOWNLOADS LIBRARY.
Get the password below! (If you have the password, head over to the library to download the file.
You will NOT be sent an email with the file. Free SVG files available for download are for PERSONAL USE ONLY. SVG file is included to use with xTool Creative Space, Glowforge App, and other laser specific software.


Don’t forget to pin this post to your favorite laser, Christmas, or DIY board on Pinterest!


ABOUT CHARYNN
Hi, y’all! I’m Charynn, the owner and designer of Pineapple Paper Co. I’m a mom of four kids (two girls and two boys) living in Pittsburgh. I love hand lettering, anything southern, cocktails, and of course, pineapples! I am excited to share my SVG files, printables, and craft projects with you! The pineapple is a symbol of hospitality, and I welcome y’all to my little corner of the internet. Read more…