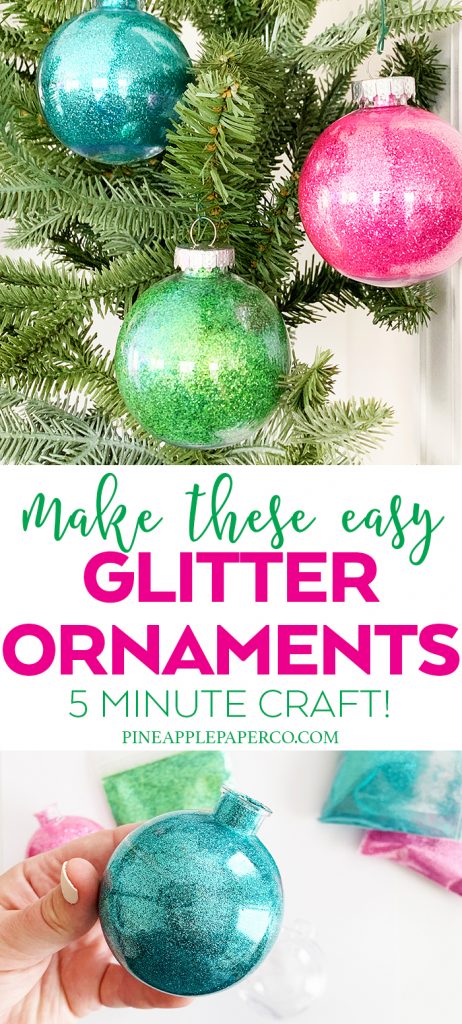
How to Make Easy Glitter Ornaments
This post and the photos within it may contain affiliate links. As an Amazon associate I earn from qualifying purchases. If you make a purchase through one or more of the links, I may receive a small commission at no extra cost to you.
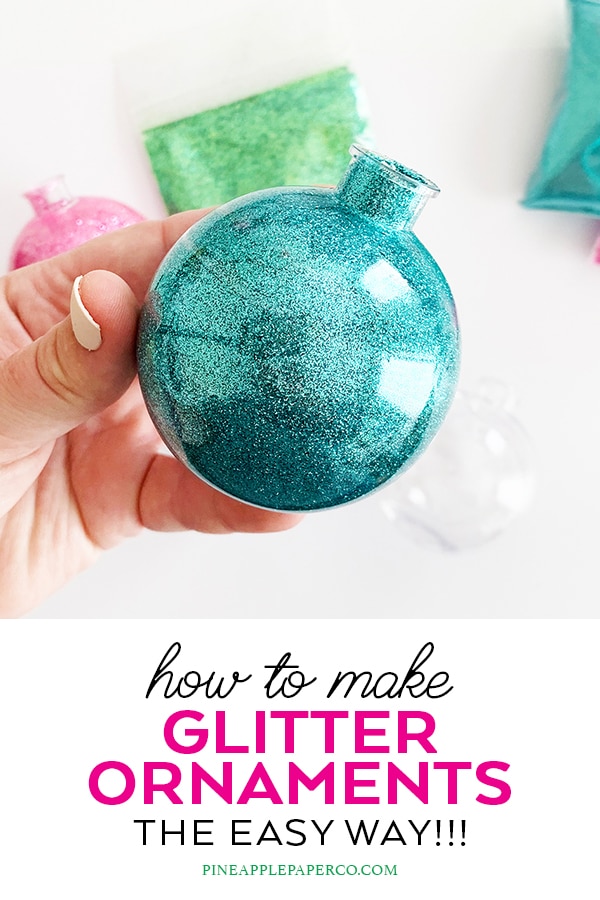
If you have just a few minutes to make a Christmas craft, make your own Quick and Easy Glitter Ornaments! Keep reading to learn the best way to make Glitter Ornaments that will make your Christmas tree sparkle! It’s so easy you won’t believe it!
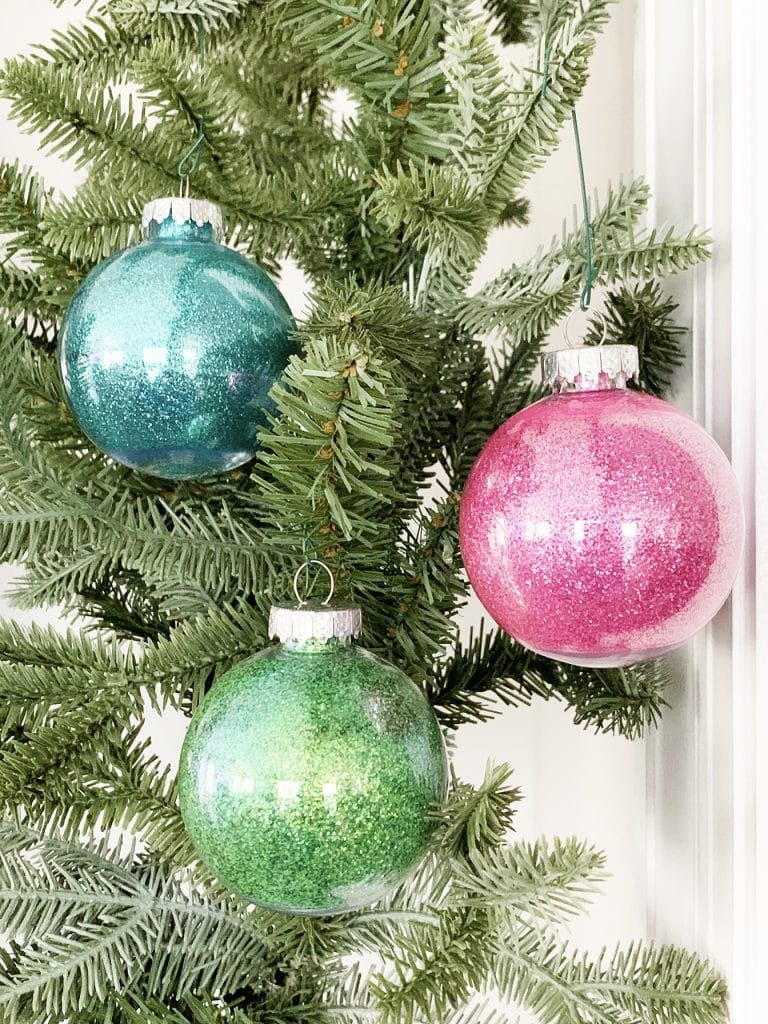
These glitter ornaments are sure to add sparkle and shine to your holiday tree. They also make beautiful gifts for friends and family. Plus, making them is a fun and easy activity that the whole family can enjoy together.
Easy Glitter Christmas Ornaments
I recently discovered the EASIEST way to make glitter ornaments. You can make several glitter Christmas ornaments in just a few minutes. The hardest part of this craft is figuring out when to stop!
Check out more of my favorite glitter projects:
- Easy DIY Glitter Christmas Card
- DIY Christmas Lights Banner with a Free SVG File
- Pottery Barn Inspired Glitter Letter Ornament
- Frozen Glitter Slime Recipe
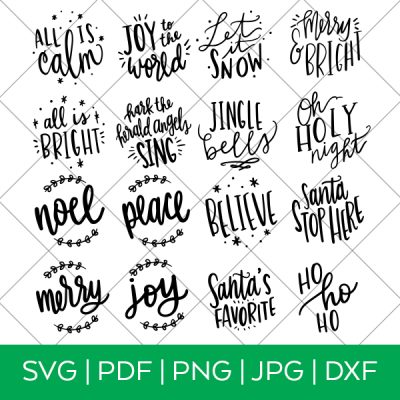
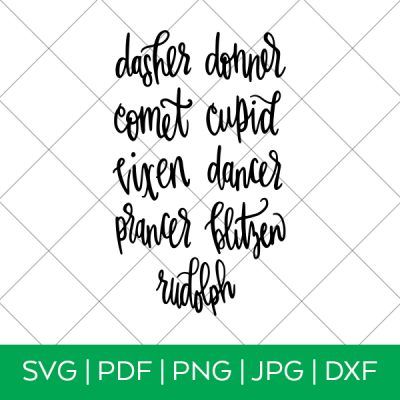
I have a cute collection of SVG files that are perfect for ornament! Shop them all:
-
 Product on saleHUGE Hand Lettered Ornament Set SVG BundleOriginal price was: $14.95.$5.99Current price is: $5.99.
 -
-
Supplies for DIY Glitter Ornaments
Here are the supplies you need to make these super easy glitter Christmas ornaments – and there’s only 3 things to buy!
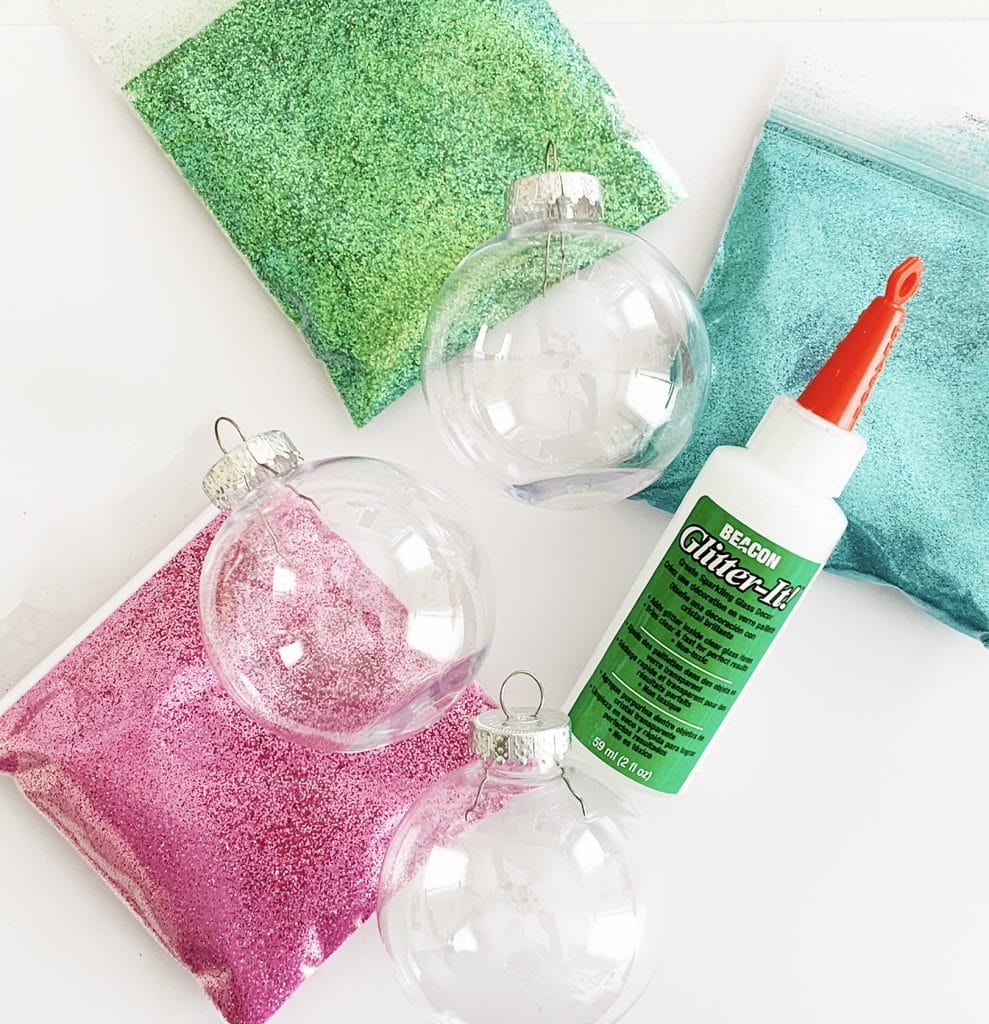
- Clear Plastic Ornaments (or Glass Ornaments)
- Glitter – I like the look of Fine or Extra Fine (here’s Glitter similar to what I used available on Amazon; the exact glitter I used is from a small shop that closed.)
- Chunky glitter works also!
- Beacon Glitter-It! Adhesive (this is the EASIEST way to make these glitter ornaments – substitute at your own risk!)
Don’t want to forget this project? Send it right to your email so you can find it later!
Note: this post is NOT sponsored by Beacon Adhesives. I found this product on Amazon and ordered it to check it out – and the results are amazing!
How to Make Quick Glitter Ornaments
Here’s a quick video showing how to make the ornaments, and keep reading for the photo/written tutorial!
This quick project is as simple as reading the directions on the Glitter It! package. Glitter-It is designed specifically for glass decor, but I’ve found that it works equally as well with plastic ornaments.
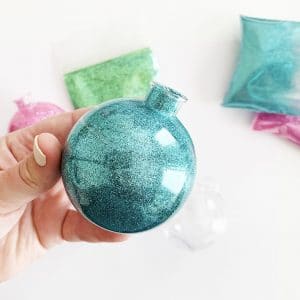
- Remove the top of the ornament (where the hook attaches).
- Clean the inside of the ornament with a small amount of white vinegar and allow to dry completely (this is an important step!)
- Pour a small amount of Glitter-It! into the ornament and swirl around to completely coat the ornament. It is much more water-like than typical glue, so don’t be surprised by the consistency.
- As you swirl the adhesive towards the top of the ornament, drain it back into the bottle and drain for up to 20 seconds.
- Sprinkle a small amount of glitter into the ornament and swirl around (or shake lightly if necessary) to cover the whole ornament in glitter. It works like magic!
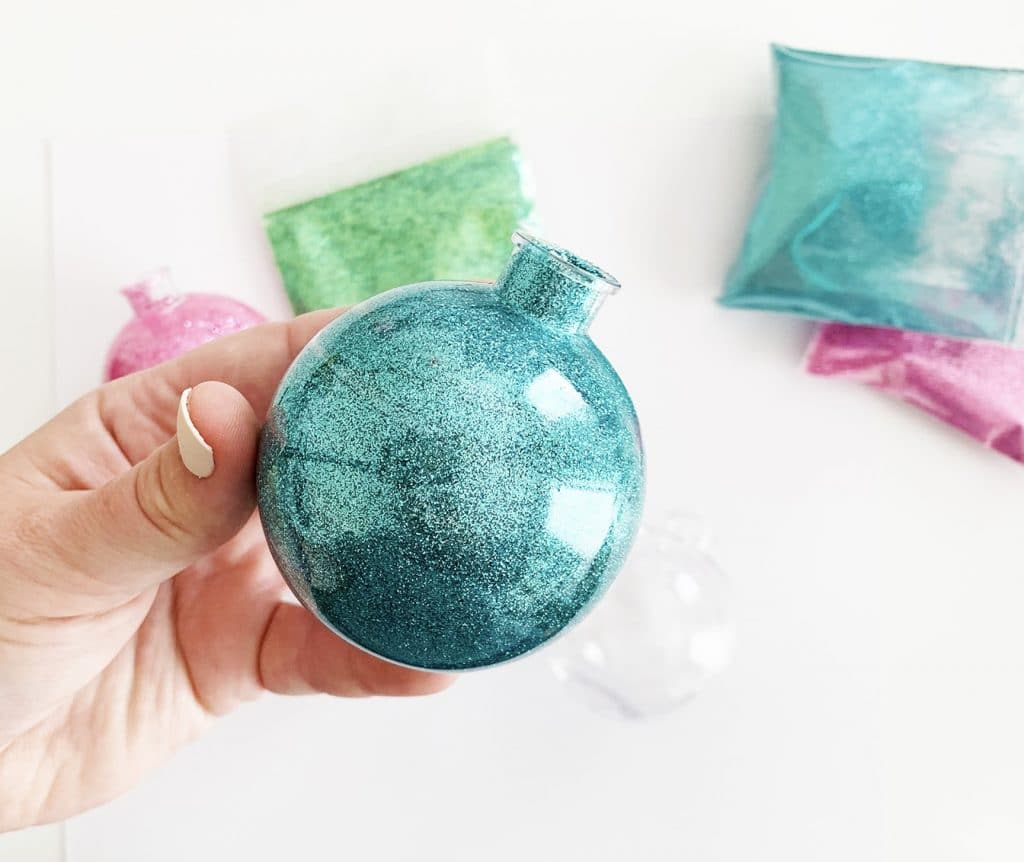
- Shake out excess glitter (you can put it back into the original container) and let ornament dry.
- Replace the top of the ornament and hang on your tree!
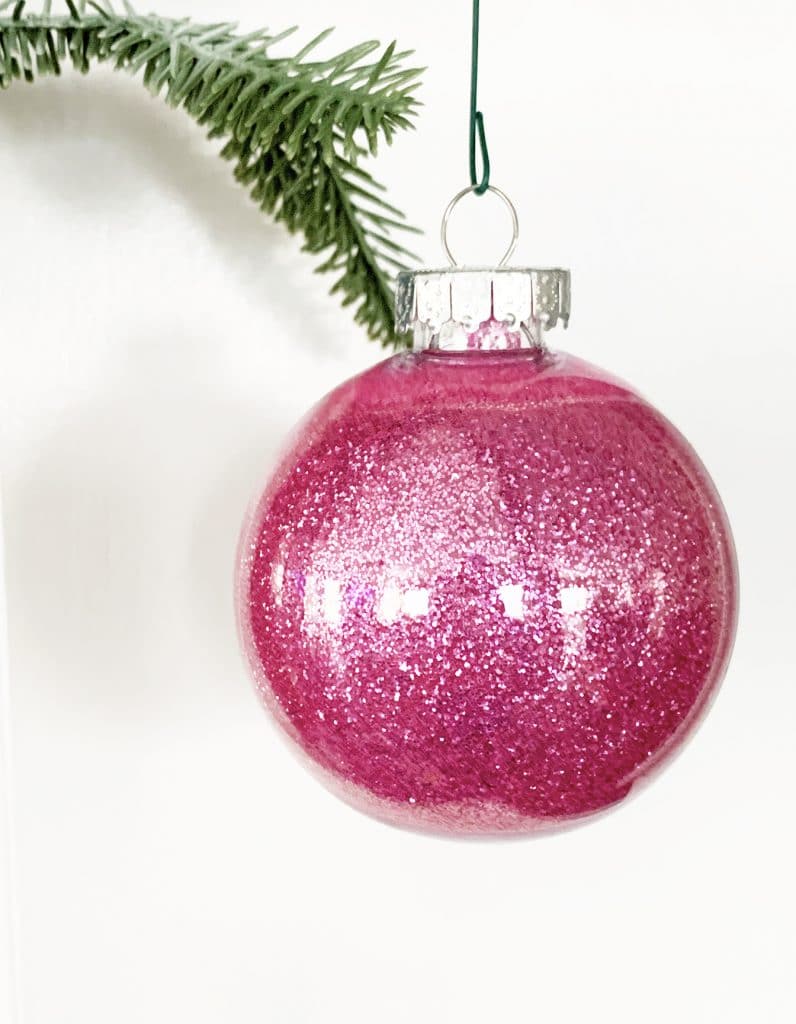
To add some flair, you can tie a ribbon or piece of twine around the top of the ornament to use as a hanger. You can also use a hot glue gun to attach decorative elements, such as beads or small artificial flowers, to the outside of the ornament. And of course, you can use your Cricut or Silhouette machine to cut vinyl decorations to apply to your ornaments!
If you want to make several glitter ornaments, you can use the same process to create a coordinating set. Try using different colors of glitter or combining multiple colors in each ornament for a unique, dazzling effect.
LATEST POSTS:
- Wicked Coloring Pages to Print for Free
- Free Thanksgiving Turkey Coloring Page Printable
- Free Printable Thanksgiving Meal Planner & Grocery List
- xTool M1 Ultra Beginner’s Guide and Review
- Free Best Dad Ever Father’s Day Coloring Page
Easy Glitter Ornaments
Ingredients
- Clear Plastic Ornaments (generally come in packs of 25)
- Glitter (extra fine or fine)
- Beacon Glitter-It Adhesive
Instructions
- Remove the top of the ornament (where the hook attaches).
- Clean the inside of the ornament with a small amount of white vinegar. Allow ornament to dry completely.
- Pour a small amount of Glitter-It! into the ornament and swirl around to completely coat the ornament. It is much more water-like than typical glue, so don't be surprised by the consistency.
- As you swirl the adhesive towards the top of the ornament, drain it back into the bottle and drain for up to 20 seconds.
- Sprinkle a small amount of glitter into the ornament and swirl around (or shake lightly if necessary) to cover the whole ornament in glitter.
- Shake out excess glitter (you can put it back into the original container) and let ornament dry.
- Replace the top of the ornament and hang on your tree!
Pin the Best Glue for Glitter Ornaments


Where do you get the Glitter-it glue?
I usually grab it on Amazon!
Instead off shaking the ornament, I’ve read you can do two or three colours of glitter by swirling, not shaking, the ball or ornament.
oooh! i will definitely have to try that!