How to Make a Simple Shaker Christmas Ornament with a Cricut
This post and the photos within it may contain affiliate links. As an Amazon associate I earn from qualifying purchases. If you make a purchase through one or more of the links, I may receive a small commission at no extra cost to you.
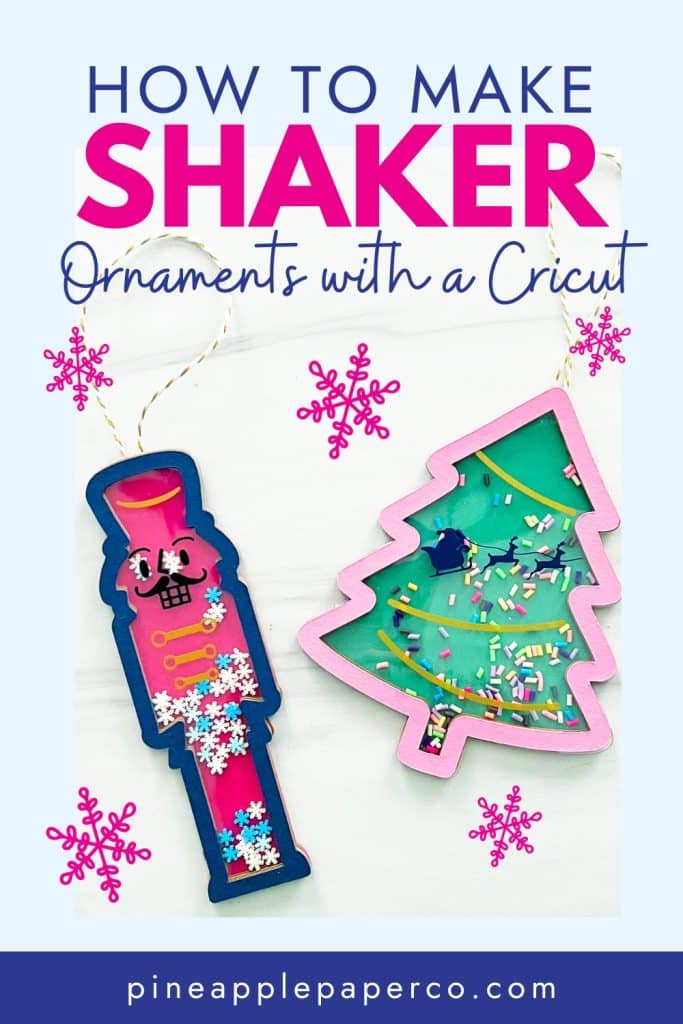
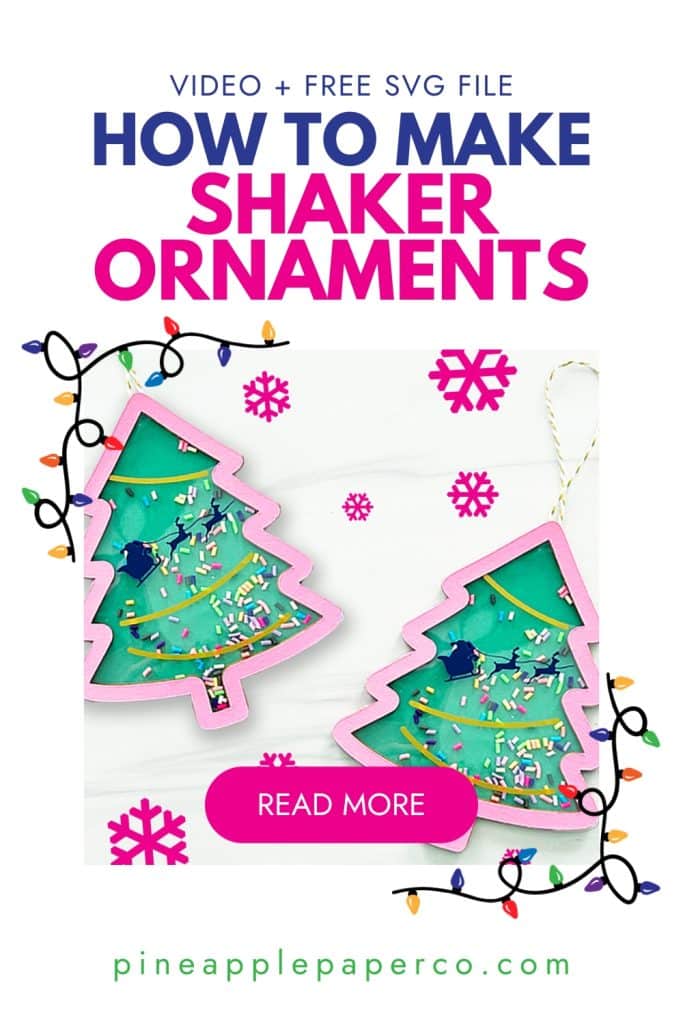
Create the perfect addition to your Christmas tree with this DIY Shaker Christmas Ornament that I made with my Cricut! I will show you how to make a simple shaker ornament with a tutorial and a video. Plus, you can download a SVG file to make your own Christmas Tree Shaker Ornament!
Make Your Own Layered Christmas Shaker Ornament
I love to make my own Christmas ornaments and have made SO many over the years! From chalkboard ornaments to the easiest glittered ornaments, I have plenty handmade ornaments to fill up my Christmas tree.
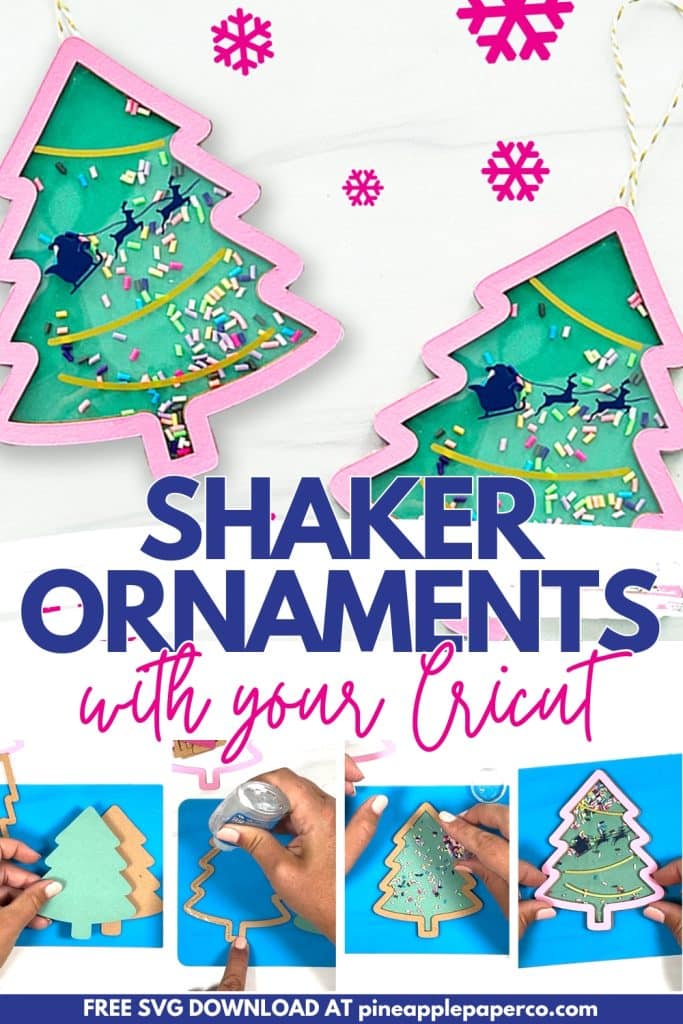
This year, I have loved making shaker Christmas ornaments – when you move them, items shake on the inside of the ornament! Shaker ornaments are made from layers of material that form a gap in the middle of the ornament, and then are sealed to create an effect similar to a snow globe. (They’re way more fun than solid ornaments!) My snow globe tumblers are one of my most favorite projects EVER, so you know I had to make these fun shaker ornaments!
I also have a Youtube video that shows exactly how I made these cute ornaments. Check out the video below or continue reading for the written tutorial and photos. If you want to go straight to the download, head to the bottom of the post!
You can use varying materials to make shaker ornaments, depending on the craft machine that you will use to cut the pieces (layers) of the ornament. In this tutorial, I will show you how I used my Cricut Machine to make a shaker ornament, but you can use this tutorial as a basis for creating ornaments and holiday decor with your Silhouette Cameo 5, Curio 2, or even a laser craft machine!
Materials You Need to Make a DIY Shaker Christmas Ornament with a Cricut Machine
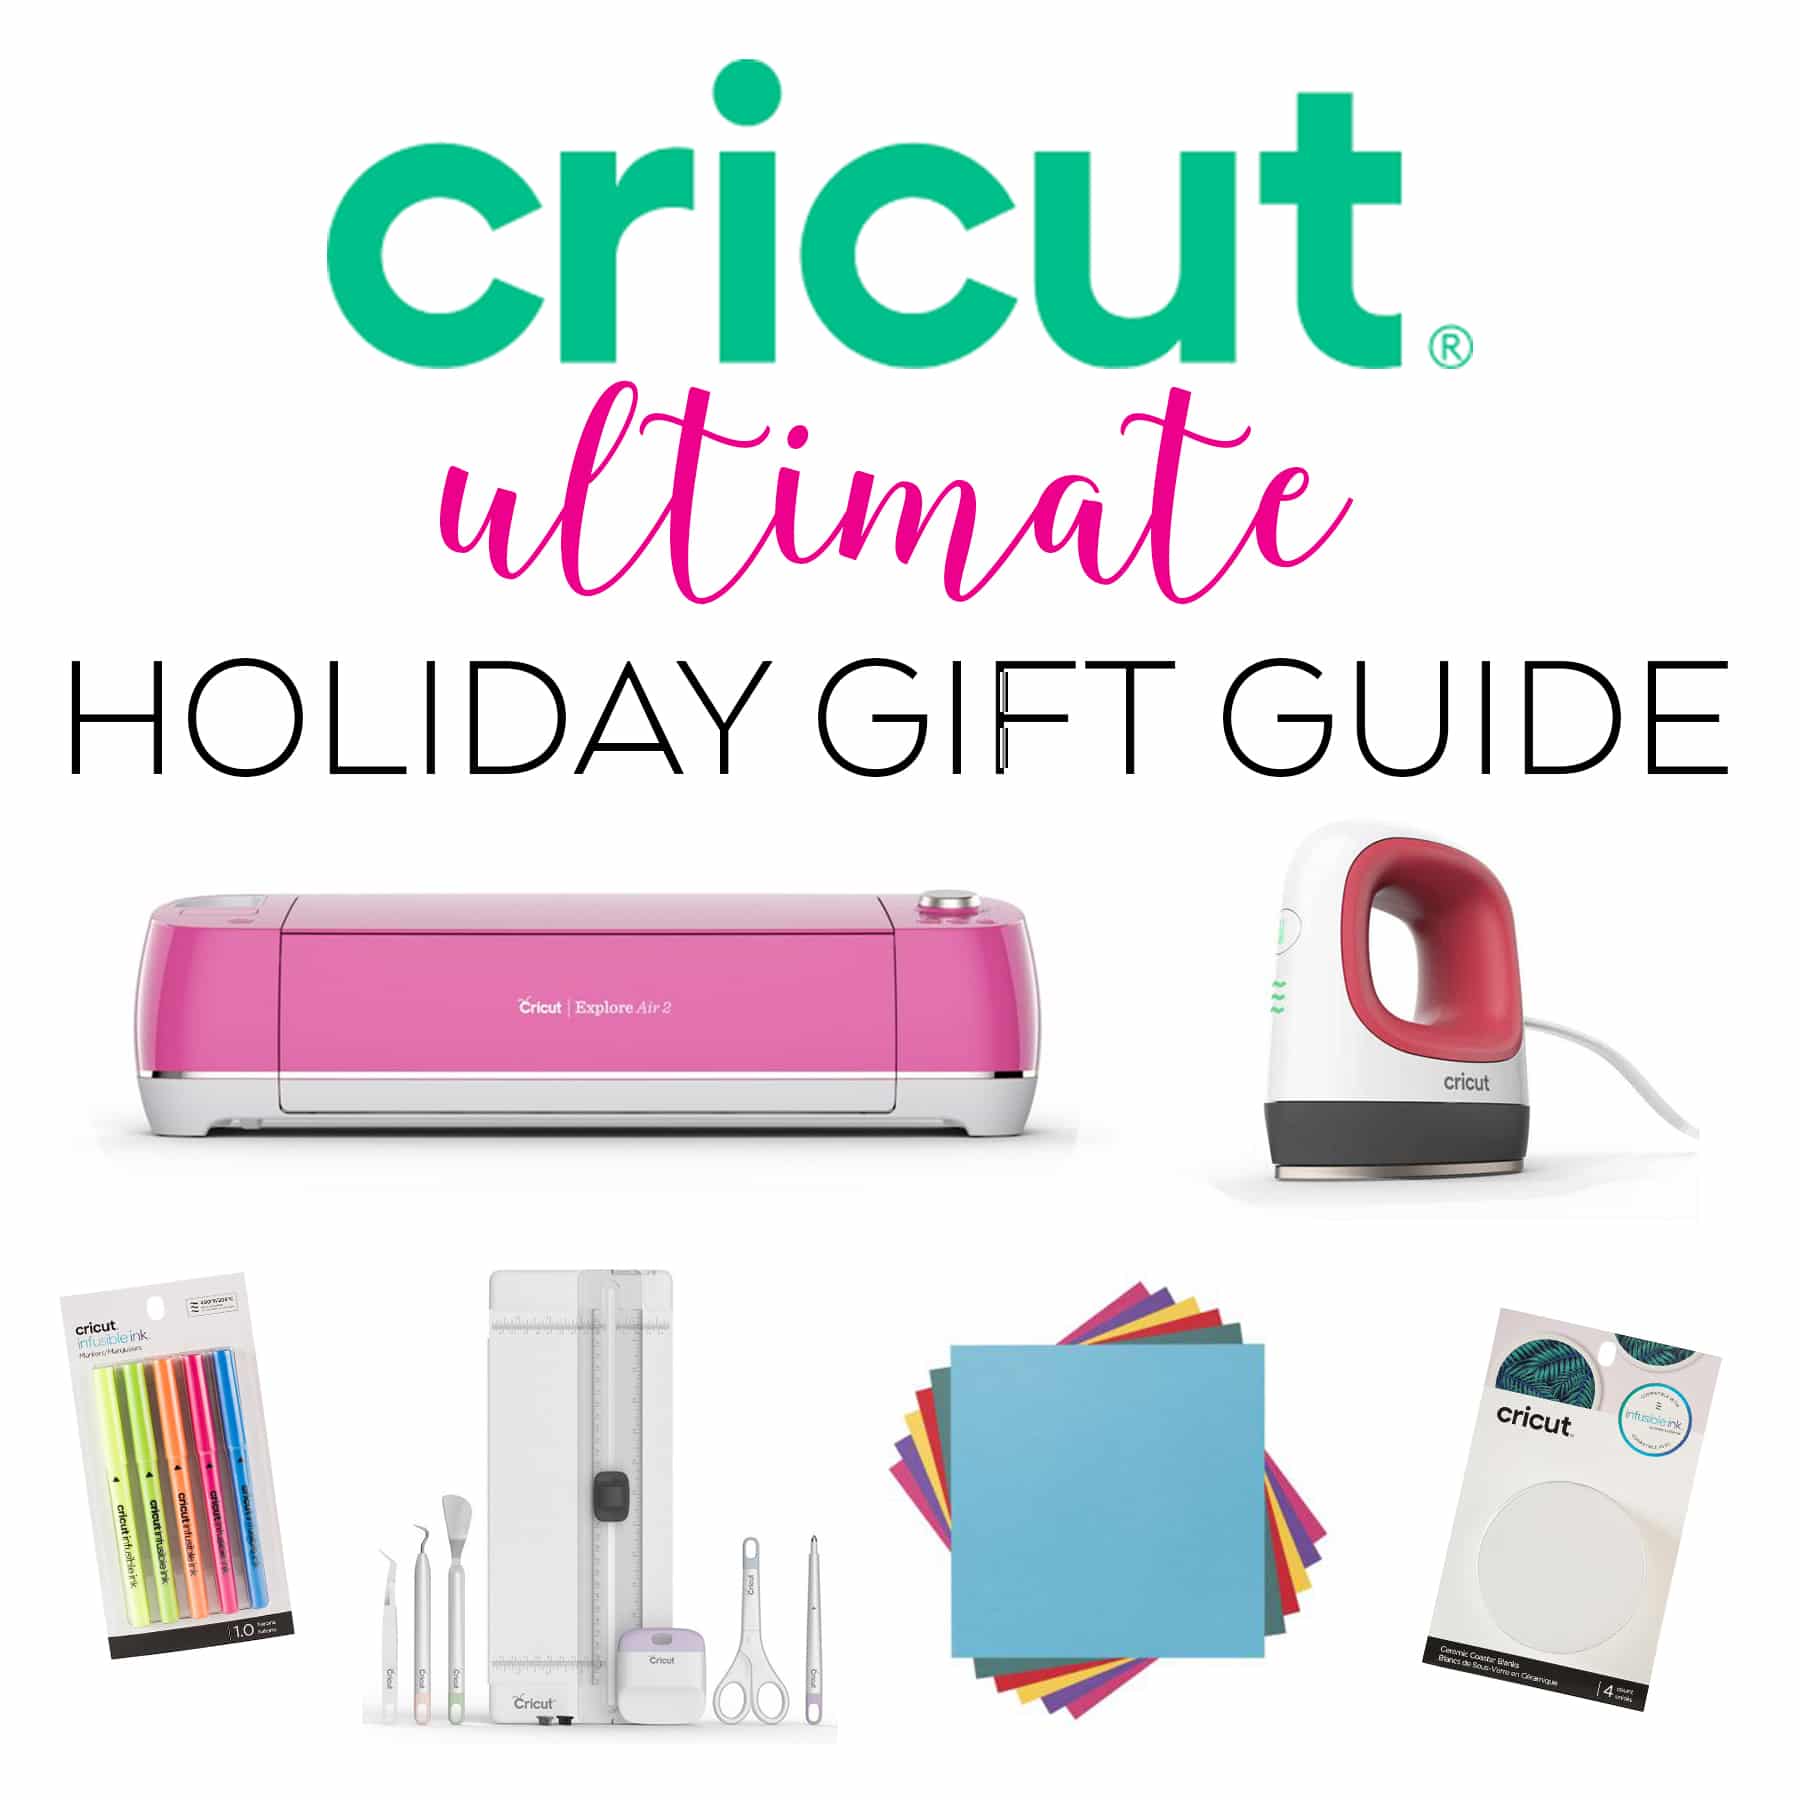
For this ornament, I used my Cricut Explore Air 2. All of the materials below can be cut on a Cricut Maker as well. Please refer to the material settings of your specific machine before you cut your ornament pieces.
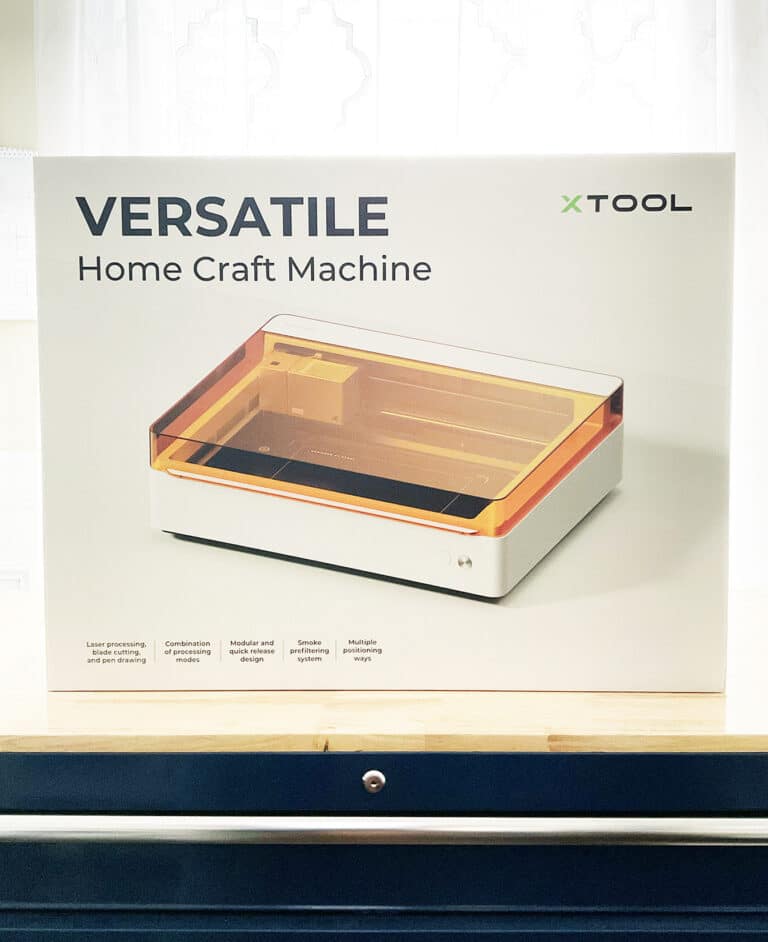
- Cricut Explore Air 2 (or Maker, Silhouette machine, or a CO2 laser cutter like the xTool P2)
- Kraft Board
- Cardstock
- Clear Acetate
- Adhesive Vinyl
- Transfer Tape
- Plastic Sprinkles or other shapes for Shaker Pieces
- Paper Crafting/Weeding Tools
- Glue (I used Beacon Zip Dry)
- Silicone Crafting Mat (optional)
Open the Shaker Ornament Design in Cricut Design Space
If you’re new to using SVG files with your Cricut machine, make sure you read my full post on How to Upload an SVG to Cricut Design Space.
The free download for the Christmas Tree (as well as a bonus Nutcracker design!) is available in my Free Downloads Library for my email subscribers. See more information about the Free Shaker Ornament SVG at the end of the post.
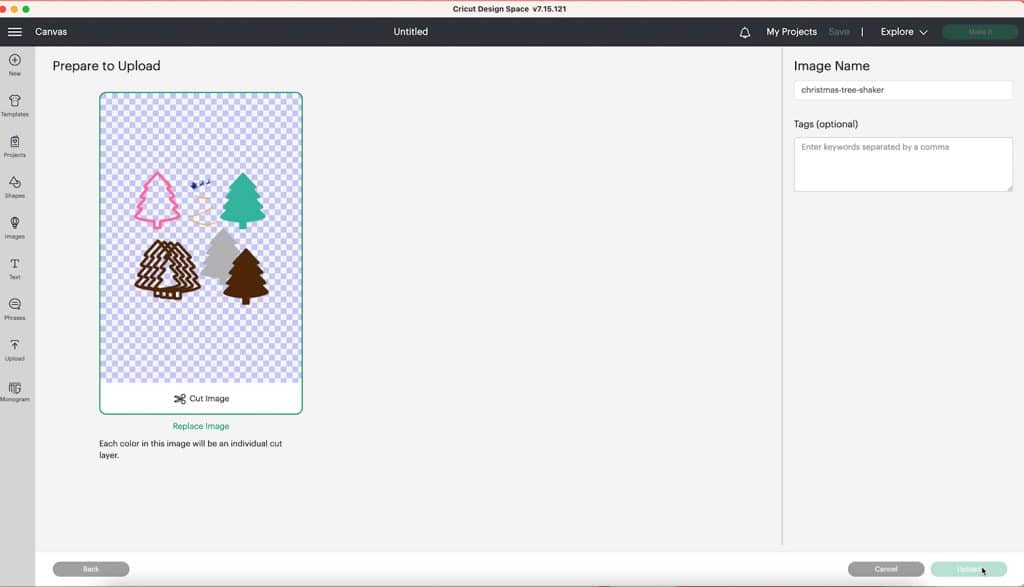
Upload the SVG to Cricut Design Space and add to your Canvas. You can resize the ornament to your own measurements for your tree. I think the perfect size is 4.5″ to 6″ tall, depending on the size of your tree.
Before you start cutting, you can also adjust the colors of the ornament pieces to match your materials so that you know exactly which pieces will be on each cutting mat.
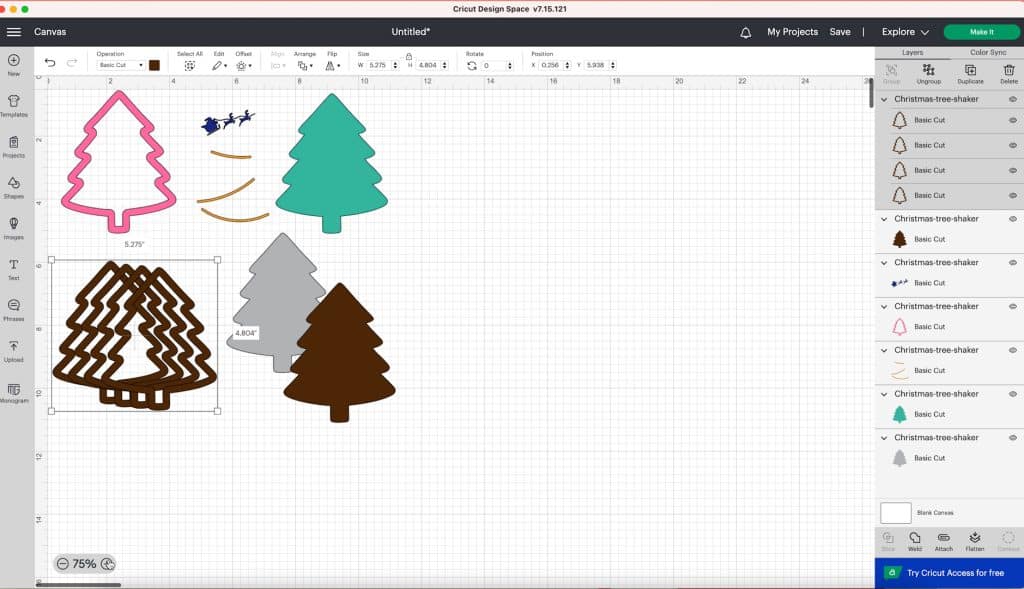
For reference, here are the layers that you will need for each custom ornament. They are in order from the bottom of the ornament to the top of the ornament:
- Kraft Board
- Cardstock to Cover Kraft Board (if desired), I used Cricut brand
- Shape Outline Layers to create height for the middle of the ornament (2-4 layers, depending on the material you are using)
- Clear Acetate (gray in my design)
- Adhesive Vinyl Designs
- Cardstock Outline to finish the top of the ornament
If you are using my Christmas Tree SVG ornament design, all of the layers are already in the design and ready to go. Click the Make It button to start to cut the layers of the ornament.
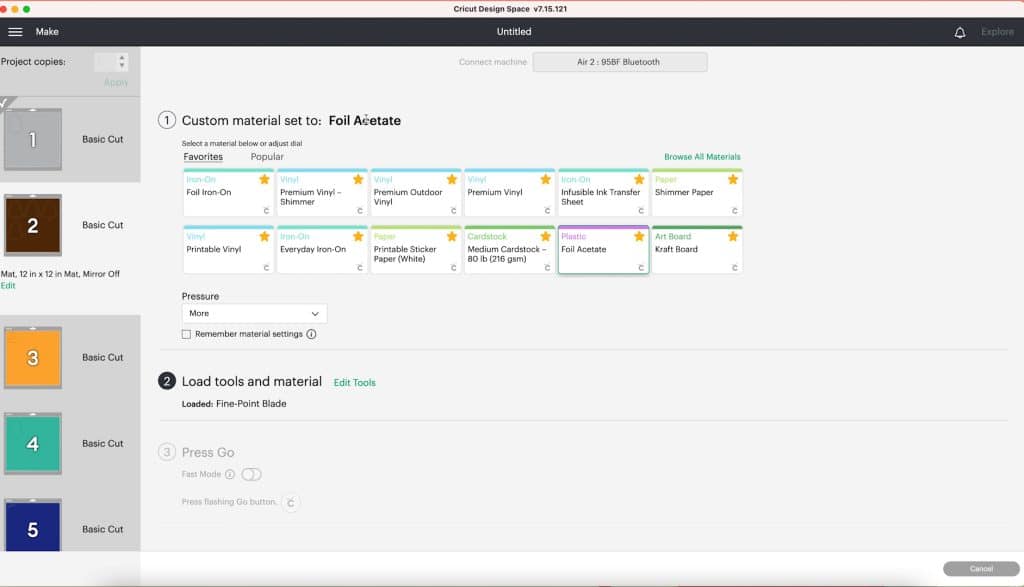
Shaker Ornament Material Settings for Cricut Explore Air 2
I use custom settings within Cricut Design Space for all of my ornament materials; I do not use the cut setting knob on the machine.
- Acetate: search “all materials” for foil acetate (under “plastic); Pressure = More
- Kraft Board: under “all materials” look for kraft board under Art Board; Pressure = More
- Adhesive Vinyl: Cricut Premium Vinyl; Pressure = More
- Card Stock: Medium Cardstock for Cricut brand cardstock
How to Assemble a Christmas Shaker Ornament
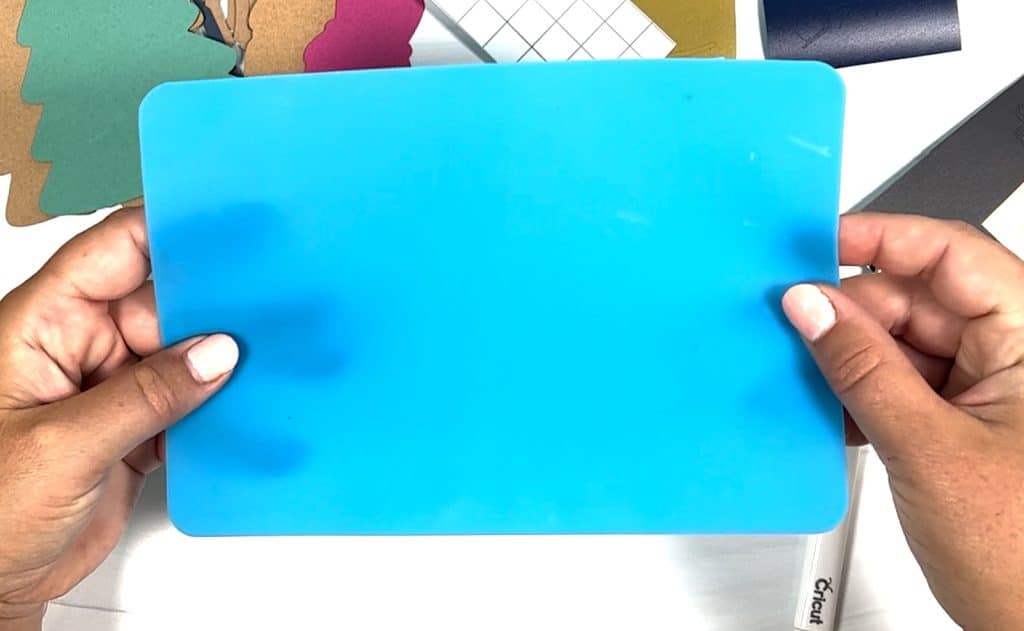
Since this craft is a little bit messy, I have a silicone mat that I use on my desk to protect it from the glue I use to put all of the layers together! Once it dries, the glue peels right off.
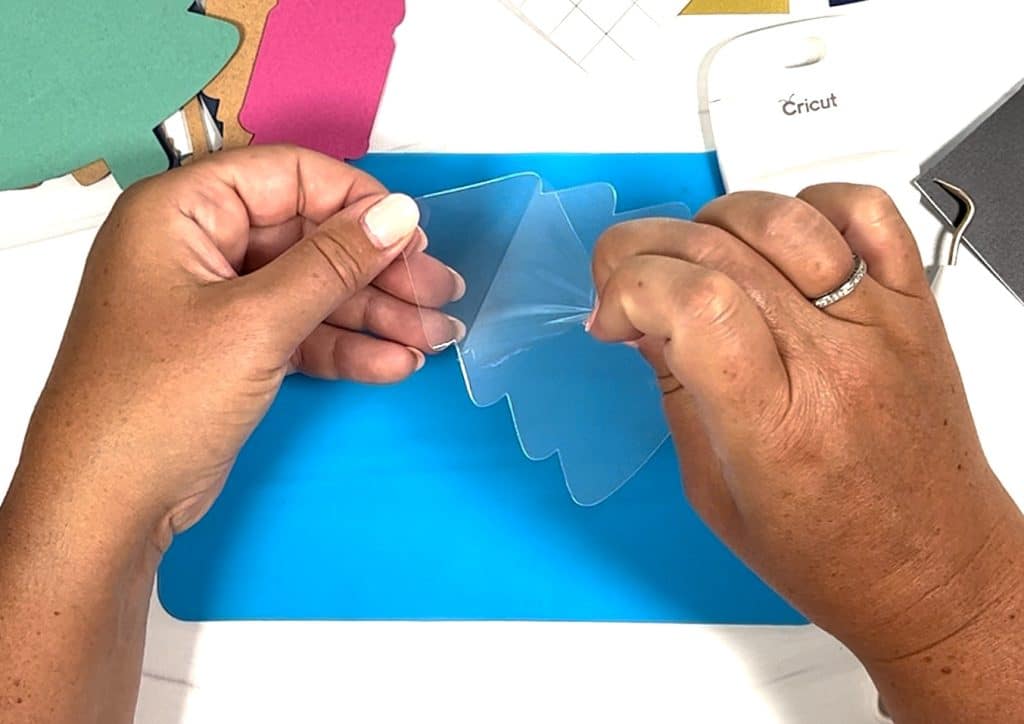
Step 1: Add the Adhesive Vinyl to the Acetate
Remove the protective film from the front side of the acetate tree.
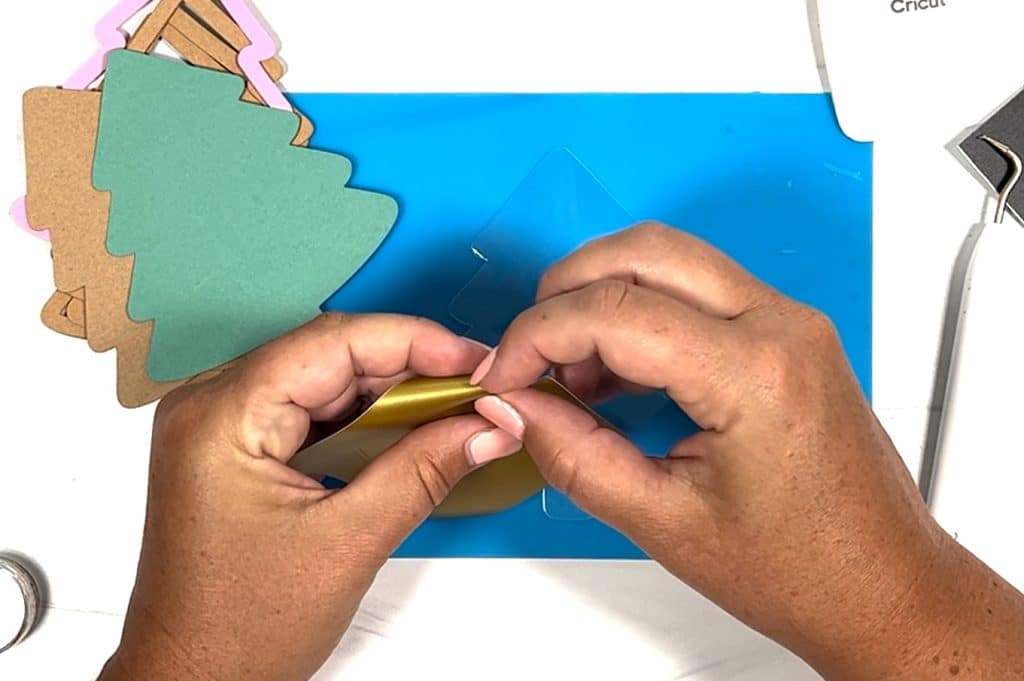
There are small garland pieces that I cut in gold adhesive vinyl, as well as a small Santa riding his sleigh that I cut in navy blue.
For the garland, I just peeled the pieces off with my fingers and placed them on the acetate. They don’t need to be in a perfect location, you just need to leave room for Santa and his reindeer.
For the sleigh, I used a vinyl weeding technique called Reverse Weeding. It is a really great technique for weeding small cuts of vinyl like these little reindeer and sleigh. I also use it a lot when I cut small pieces of vinyl for Starbucks cup designs.
To reverse weed, you place the transfer tape over top of the whole piece of vinyl where your cut is, without weeding away the extra vinyl. Use a scraper to adhere your transfer tape very well. Flip over the whole piece and then slowly peel away the vinyl from the transfer tape (at an angle works best). Use your finger to stabilize the vinyl around your cut.
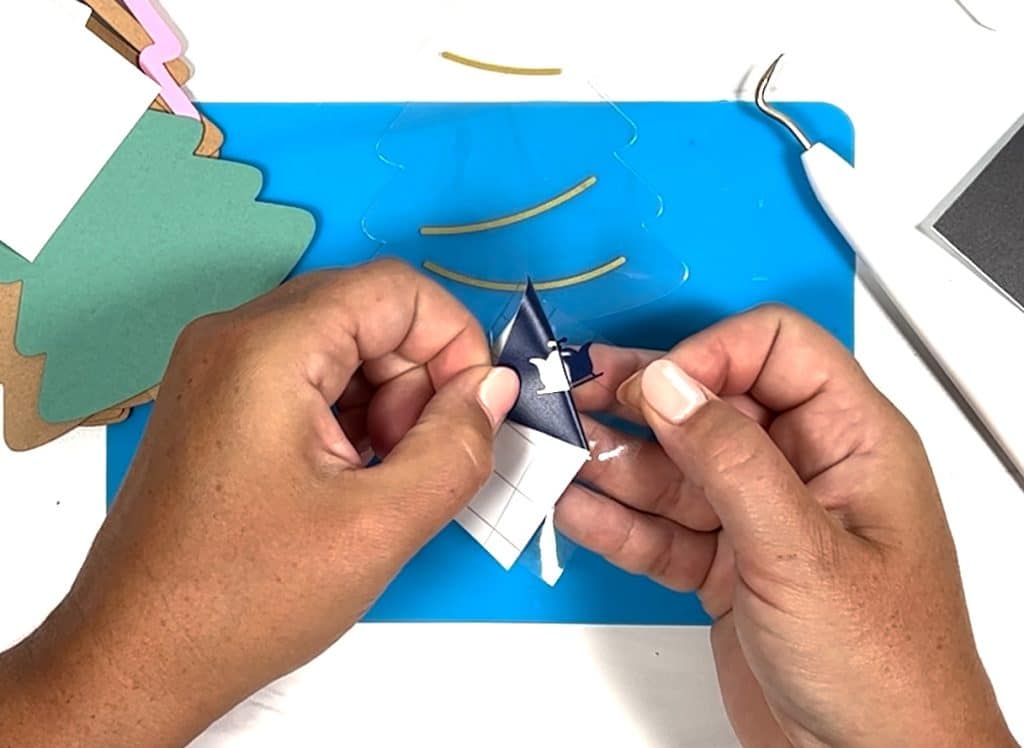
As you peel, the small piece of cut vinyl will stay on the transfer tape, and the leftover will peel away. If there are little tiny internal cuts left within the design, you can use a pair of tweezers or a weeding tool to remove it from the transfer tape.
Once you have successfully placed your design on the transfer tape, use it to transfer the vinyl to the clear acetate. Now you have a flying Santa!
Step 2: Glue the Bottom Layers of your Shaker Ornament
I use kraft board as the base of the ornament because it is sturdier than using just cardstock for the back. Especially if you are attaching ribbon to this ornament to hang it on a Christmas tree, you want it to remain stable and not bend or rip if a kid bumps it.
Kraft board is one of my go to materials and I think it’s completely underrated!
Using glue, attach the cardstock tree to cover the bottom kraft board layer of your ornament. Smooth it out as best as possible.
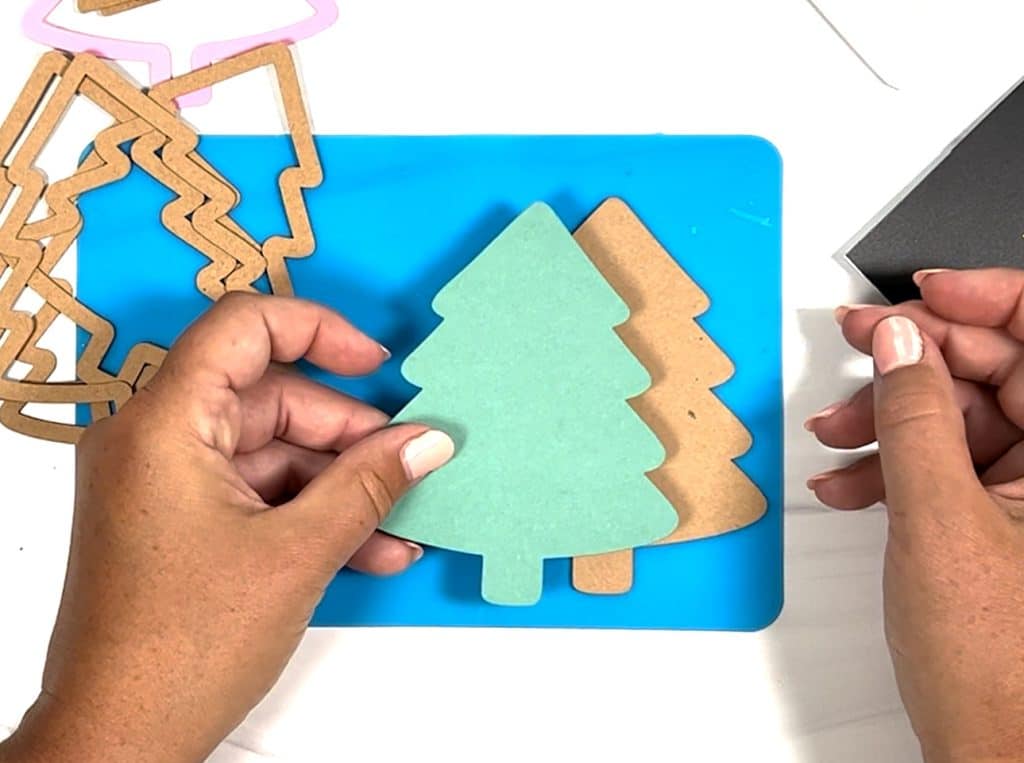
Next, you need to glue on the layers that will form the space in the middle of the ornament. The number of layers you will need will depend on the paper materials you are using, as well as the size of shaker material or filler you are using.
With the kraft board, I used 4 layers of the tree outline to make the ornament thick enough so that my sprinkles could move around the ornament. You can adjust to less layers if you’re cutting thicker materials like mat board or plywood with Cricut Maker, Silhouette Curio, or a laser cutting machine.

The most important part is making sure that each layer is adhered to the layer below without any gaps around the border. If there are gaps in the adhesive that you choose, then the shaker element of your ornament can shake right out!
Step 3: Add Shaker Element to Your Ornament
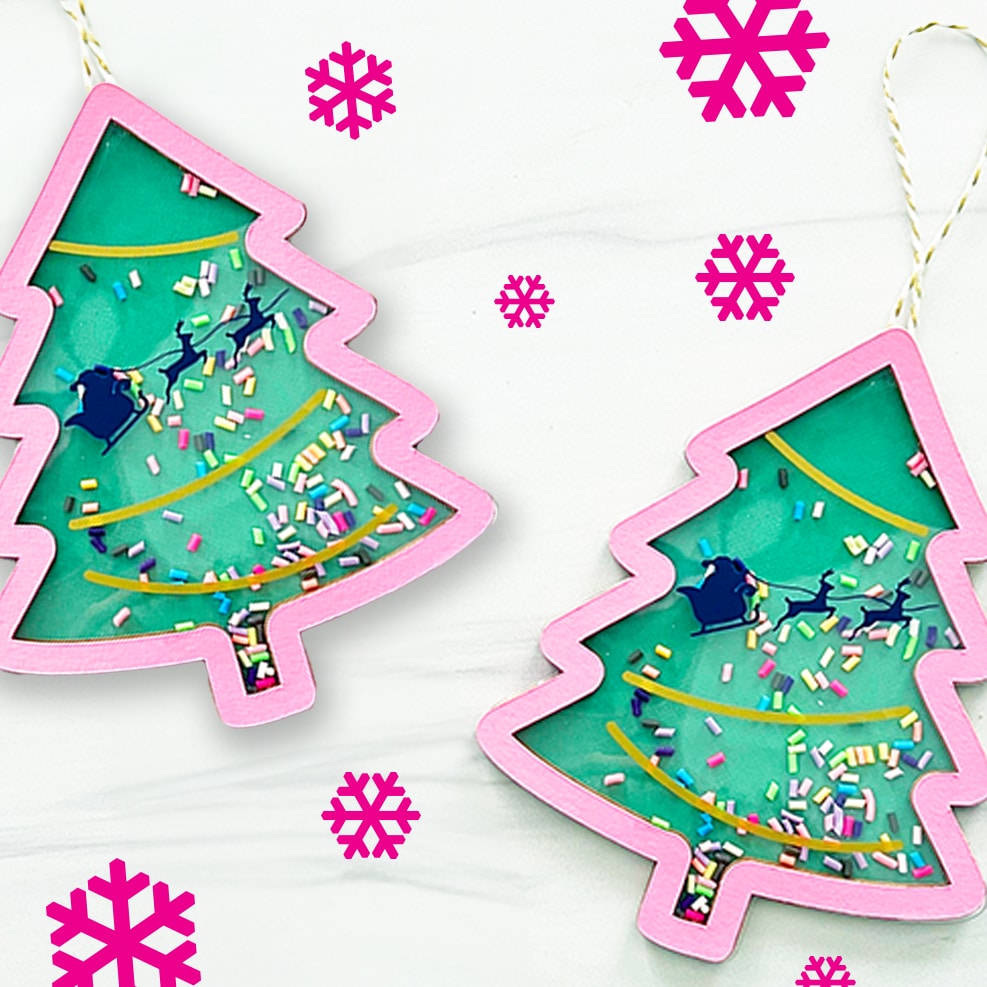
Once your have built up your layers, you can add plastic sprinkles, snowflakes, or glitter to the ornament base.
You can fill up the center of your ornament with as little or as many as you would like!
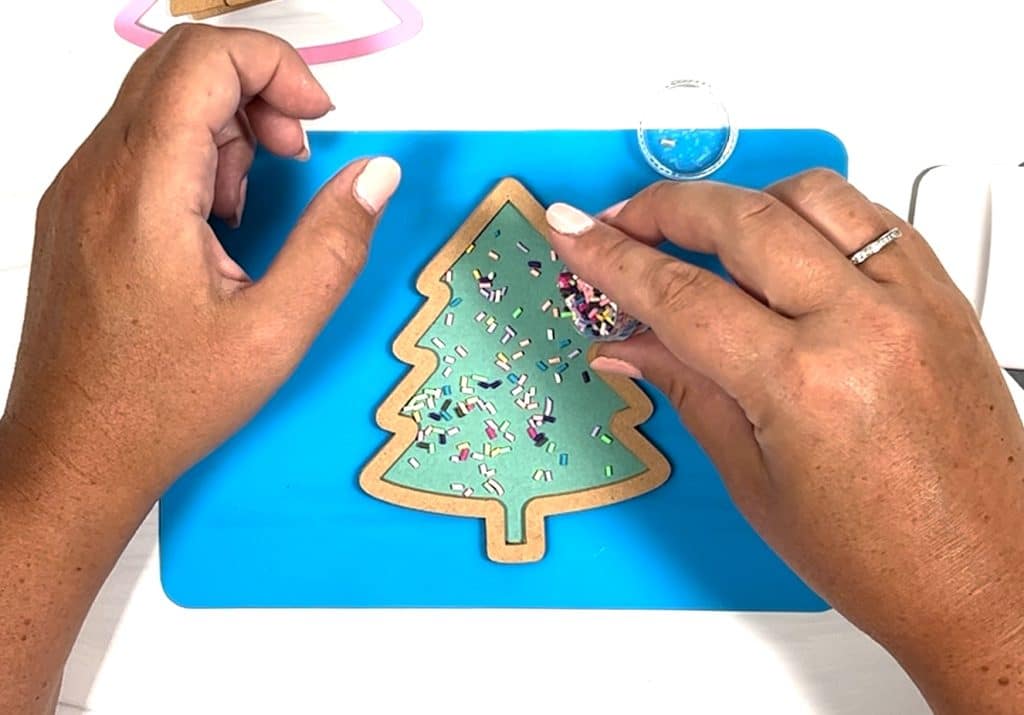
If you want to search for unique filler for your shaker ornaments like my craft sprinkles, search for terms like: Add-ins for Resin, Craft Sprinkles, Clay Sprinkles, or Slime Add-ins.
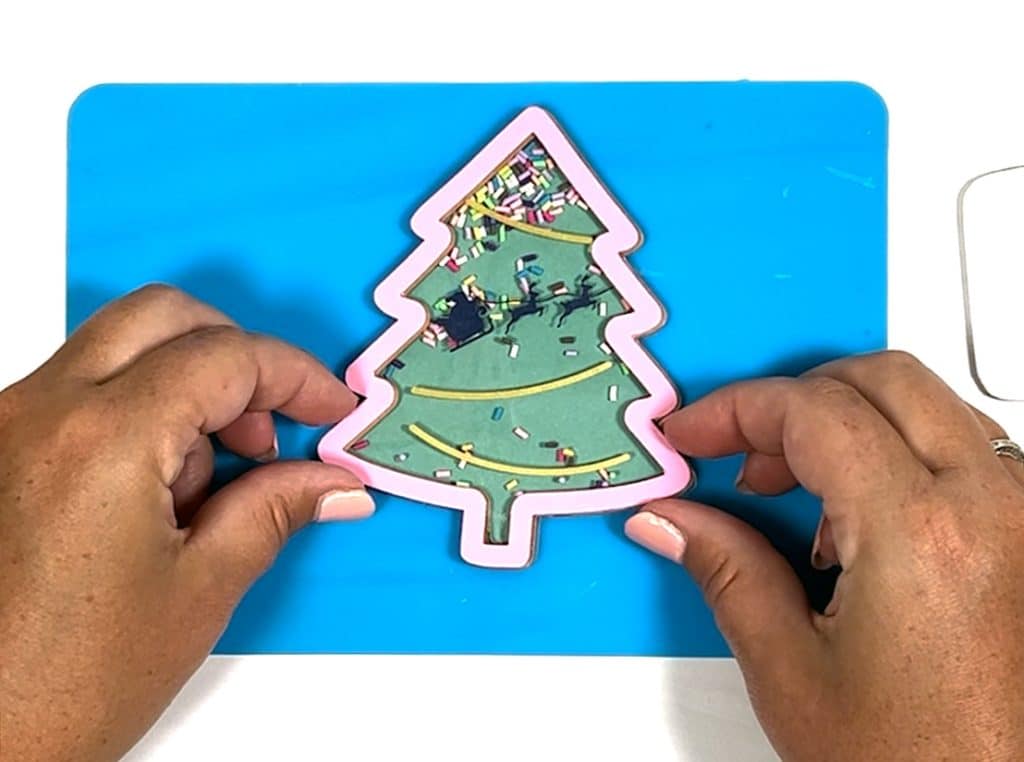
Step 4: Add Acetate Layer to your Shaker Ornament
The next step is to add the clear acetate layer on top of shaker material to seal the material in the center of the ornament. Remove the back side of protective film from your acetate.
Be very careful when you add the glue on the border of the ornament. Any glue that is on the inside edges will be underneath the acetate and you will not be able to wipe it off. Also be sure to carefully get the glue around the entire edge of the ornament that it is sealed down. Again, you don’t want any gaps in the glue where the sprinkles can fall out.
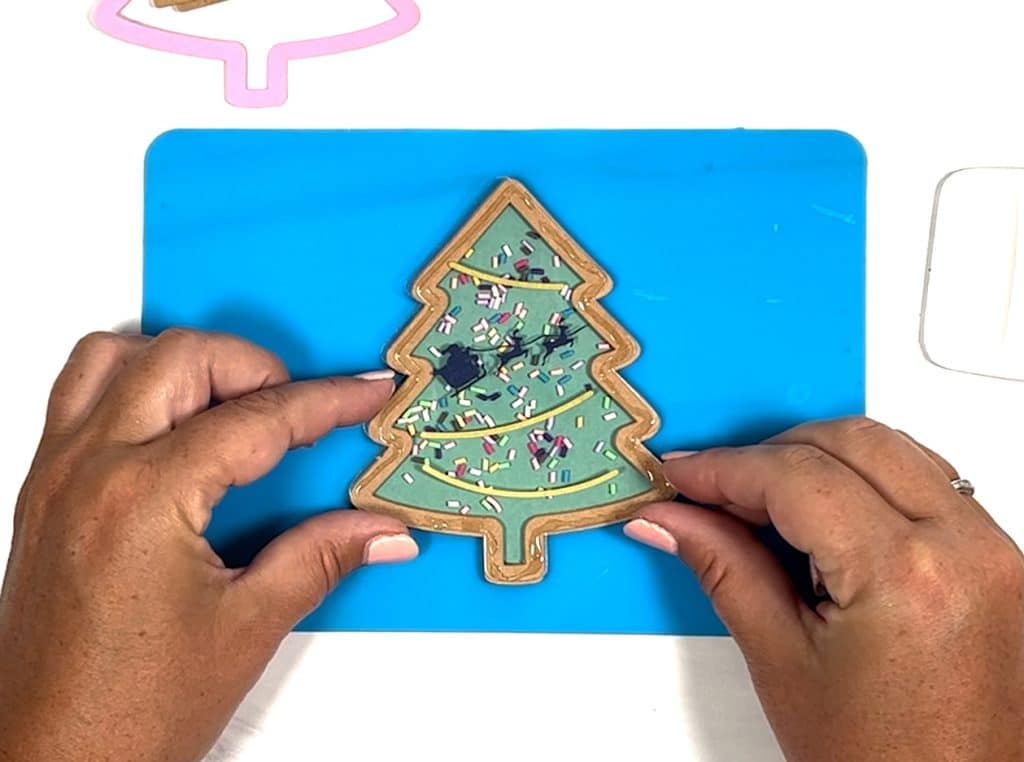
Step 5: Finish the Ornament with Cardstock
For the final detail, add glue to the underneath of the top cardstock layer. Try to be neat as that you do not have to wipe any excess glue from the acetate.
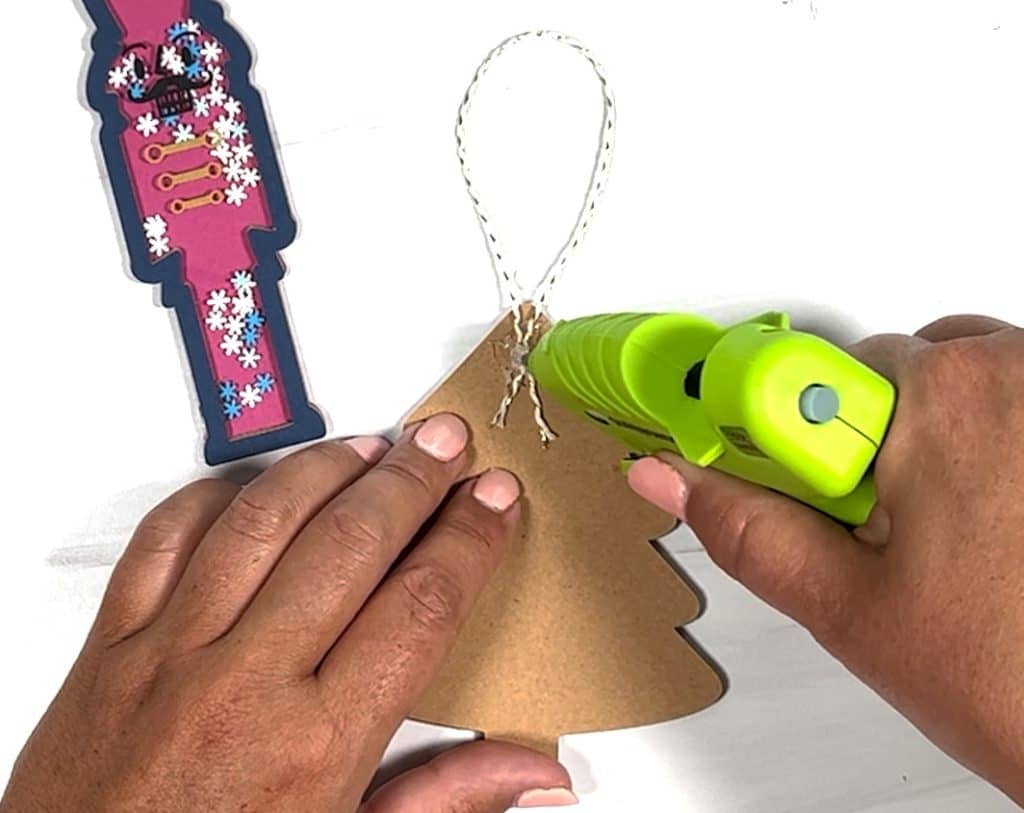
Step 3: Add Ribbon to the Shaker Ornament
Attach ribbon or string to the back of the ornament using glue or a hot glue gun. Allow the ornament to dry and hang on your tree!
Tips for Making Shaker Ornaments
- If you want to make these ornaments to sell, I recommend using a laser cutting machine and MDF or wood to make the ornaments. You can use acetate or acrylic (cast premium acrylic) for the clear layer.
- If you use thicker materials, you can also create a cute home decoration for the holidays. The best materials are MDF and clear acrylic (similar to clear acrylic plexiglass). They will make the tree thick enough that it will stand on it’s own. Set it on a bookshelf in your living room, mantle, or anywhere else!
- Instead of using glue, you can use 3M adhesive to adhere the layers to each other. 3M adhesive sheets go on your material BEFORE you cut.
- In my experience, some glitters will stick to the inside of the acetate or acrylic due to static electricity. I like the acrylic sprinkles or other mix-ins more than using glitter.
- Now that you know how shaker ornaments are constructed, use this handy ornament method to make your own shaker signs, custom shaker ornaments, and more! DIY shaker projects are the perfect idea for a birthday gift, Father’s Day gift, Mother’s Day gift, or housewarming gift! They’re perfect for every holiday season 🙂
- You can add other vinyl decorations, too! How cute would the tree be with festive prints or Merry Christmas written on it?!


Download Free Christmas Shaker Ornament SVG
Grab the instant download for the Christmas Tree Shaker Ornament and Nutcracker ornament in my download library below!

This file is DOWNLOAD #288 in my FREE DOWNLOADS LIBRARY.
Get the password below! (If you have the password, head over to the library to download the file.
You will NOT receive an email with the download file. SVG files can be used with Cricut Design Space and upgraded versions of Silhouette Studio.
Don’t forget to save this post to your favorite Cricut, Silhouette, or crafty Pinterest board!


ABOUT CHARYNN
Hi, y’all! I’m Charynn, the owner and designer of Pineapple Paper Co. I’m a mom of four kids (two girls and two boys) living in Pittsburgh. I love hand lettering, anything southern, cocktails, and of course, pineapples! I am excited to share my SVG files, printables, and craft projects with you! The pineapple is a symbol of hospitality, and I welcome y’all to my little corner of the internet. Read more…