How to Make a Custom DIY Doormat With Your Cricut
This post and the photos within it may contain affiliate links. As an Amazon associate I earn from qualifying purchases. If you make a purchase through one or more of the links, I may receive a small commission at no extra cost to you.
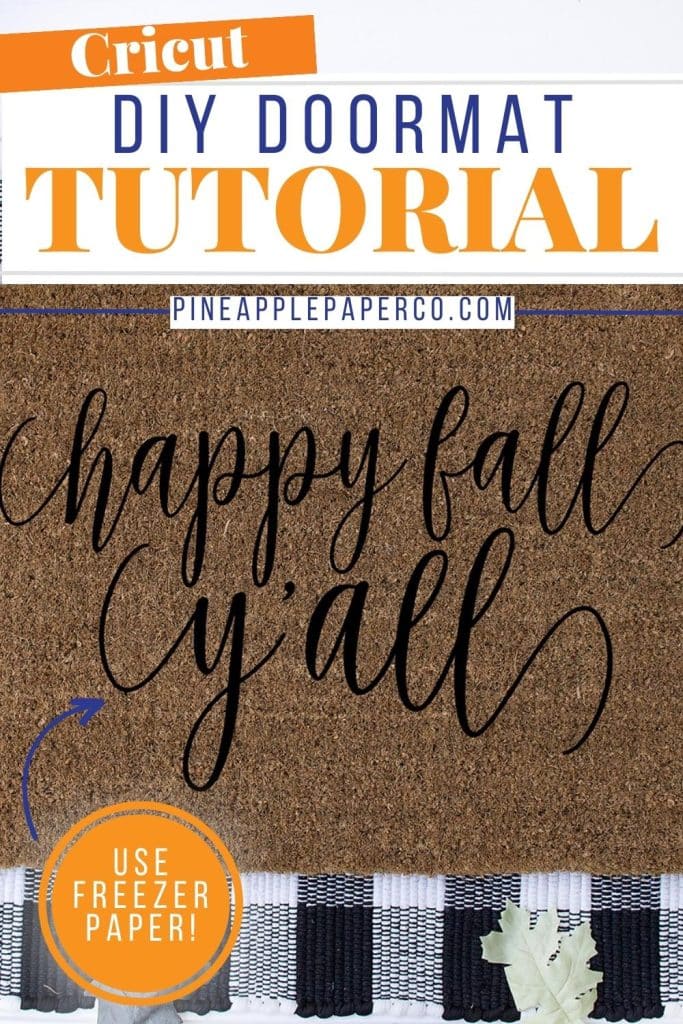
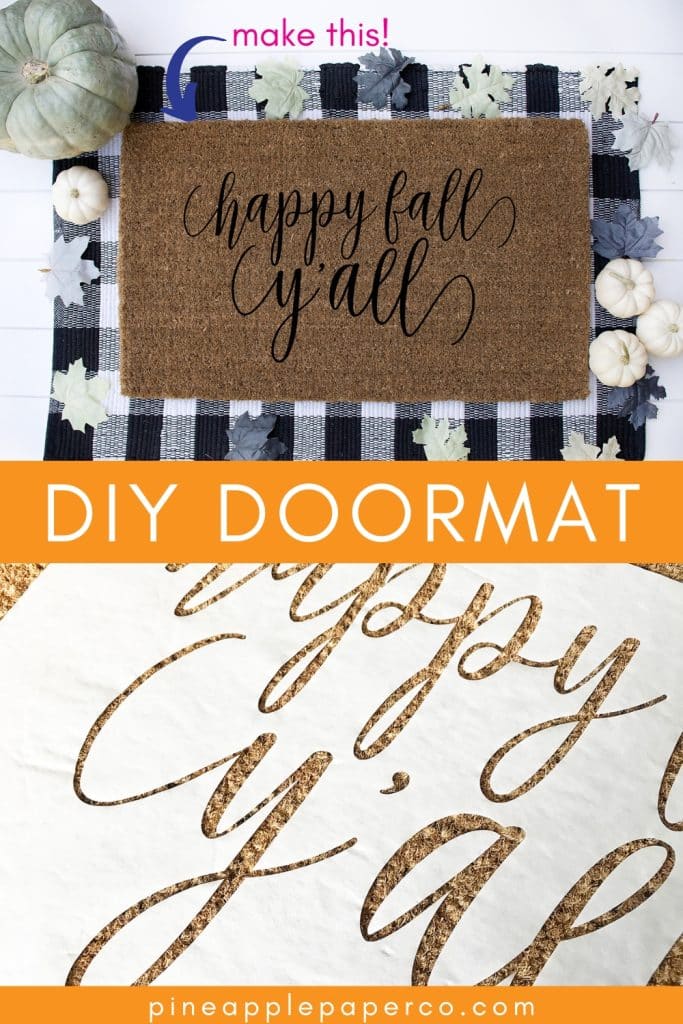
I have been obsessed with the idea of making a DIY Doormat since they started popping up on Pinterest. Since it’s almost Thanksgiving, I decided to make a Happy Fall Y’all DIY Doormat with my Cricut machine. And now I’m sharing this tutorial for How to Make a Custom DIY Doormat with your Cricut! This door mat will be perfect on your front porch until you decorate for Christmas! Don’t forget to grab the Free Happy Fall Y’all SVG file to make your own!

Have you seen all of the awesome layered front door mats (plaid on the bottom, then a coir mat on top) on Pinterest or Facebook? I love them so much and couldn’t wait to make one! I made this Happy Everything doormat to share the FREE Happy Everything SVG, but didn’t take pictures for a tutorial since it was my “test run” haha!
If you’re looking for the black and white buffalo check doormat to use for layering, I got mine at a local store but you can shop blank doormats on Amazon as well.
DOWNLOAD MORE DIY DOORMAT DESIGNS!
I did a lot of research before deciding how to make my Happy Fall Y’all Doormat. I tried Cricut stencil material for the first mat, but wanted to find out how well other materials worked. I decided to use the Freezer Paper Method – that is, I used freezer paper to create the stencil for my DIY Doormat. I also decided to seal mine with Flex Seal spray after it was painted.
So grab your trusty Cricut (or Silhouette cutting machine!) and let’s get crafting! (Oh, and if you’re just looking for the free SVG file, directions to download it are at the end of the post.)
Materials You Need to Make Your Own Doormat
- Cricut Machine
- 12 x 24″ Light Grip Cutting Mat – the Light Grip works the best with freezer paper because it is so lightweight
- Freezer Paper – it has to have the wax coating
- Cricut Easy Press – the larger one works really well for these large projects
- Short Bristle Paint Brush – you want a stencil brush that won’t bend much when you push it down into the fibers of the door mat
- Black Craft Paint – anything rated for outdoor use is a good idea
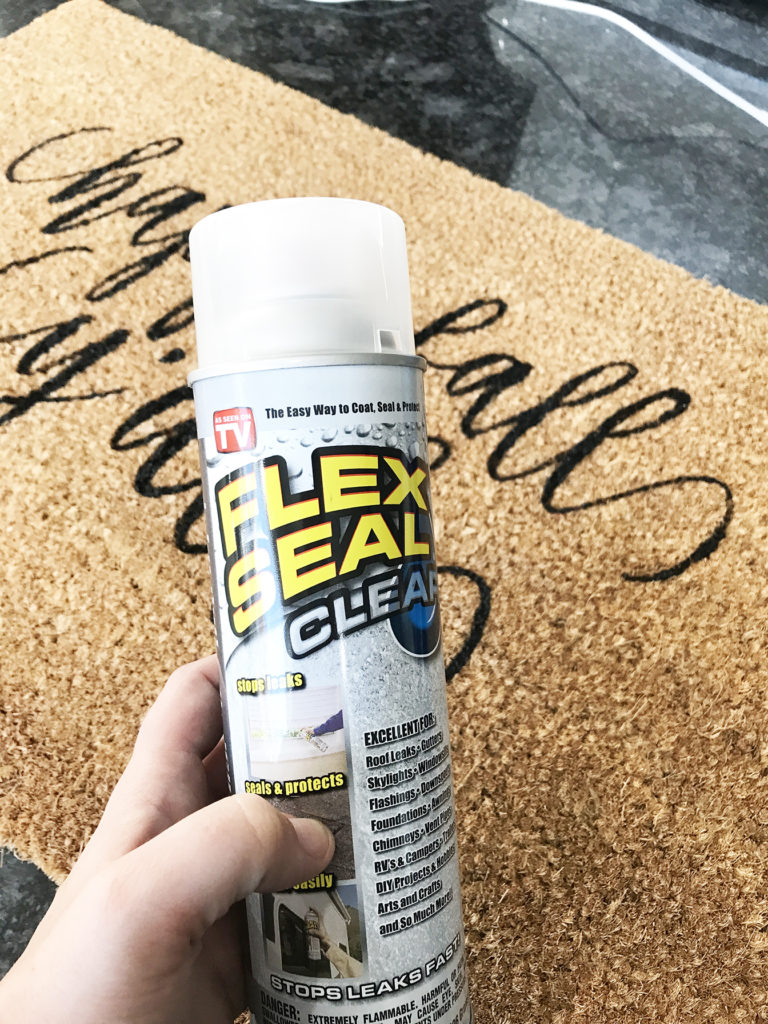
- Flex Seal Spray, Clear – to coat the door mat after it is painted
- Blank Coir Doormat – you can find coir mats at Joann, Target, Amazon – look around and use your coupons!
Update: Although black craft paint will work completely fine, I have made more mats since I originally wrote this post. I now use Black Flex Seal Spray! It works very well and is so easy to use!
How to Make a DIY Doormat with your Cricut
Prepare Your Design in Cricut Design Space
First, upload your design into Cricut Design Space or the design program for your cutting machine.
If you’re new to using SVG files with your Cricut machine, make sure you read my full post on How to Upload an SVG to Cricut Design Space.
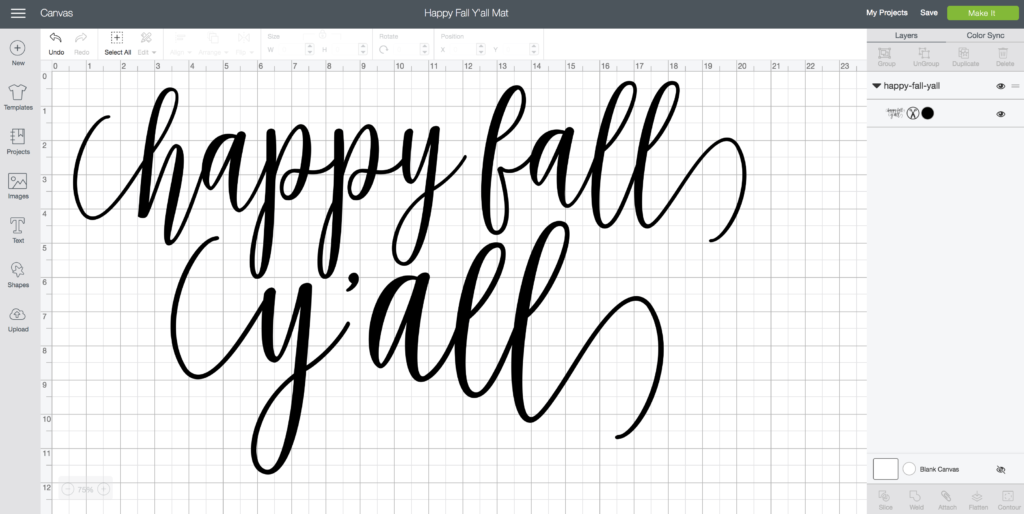
To make sure that you can fit your design on the cutting mat, it can’t be any taller than 11.5″. By clicking “Select All” in the top canvas menu bar, you can set the height size to 11.5″ and it will resize your design to the proper proportions. As long as it is 11.5″ x 23.5″ or less, you’re good.
After your design for your custom doormat is sized, click “Make It.” Cricut Design Space will automatically prompt you to use a 12×24″ mat if necessary.
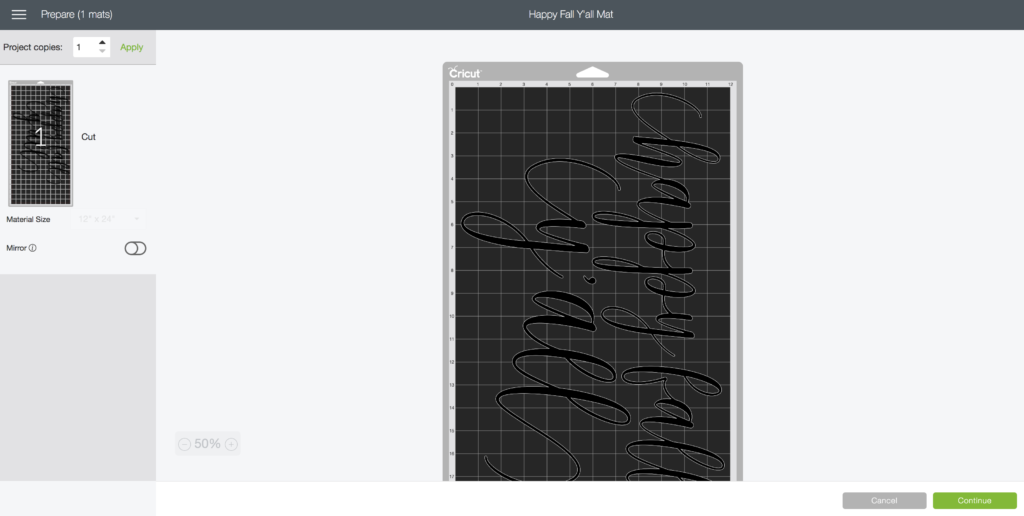
You don’t have to mirror the design to cut as long as you put the freezer paper SHINY SIDE DOWN on the cutting mat. The shiny side of the freezer paper is the side that you’ll iron to the mat.
Handy tip: Prepare Ahead!
If you have a well used Cricut mat, the shiny side of the freezer paper may not stick completely. You can place the shiny side UP, just remember to MIRROR your image!
Cut Your Design from Freezer Paper to Make the Doormat Design
For a Cricut Explore Air 2 machine, cut the freezer paper on the Paper (-) setting on the dial (one notch below Paper). For a Cricut Maker, use Freezer Paper custom setting (Pressure 128, Multi-Cut OFF, Fine Point Blade).
Cut the design and CAREFULLY pull off your stencil. You’ll have to use your spatula or weeding tool (from the Essential Tool kit) to make sure you don’t tear the Freezer Paper. There’s no need to use transfer tape. The stencil should come off easily.
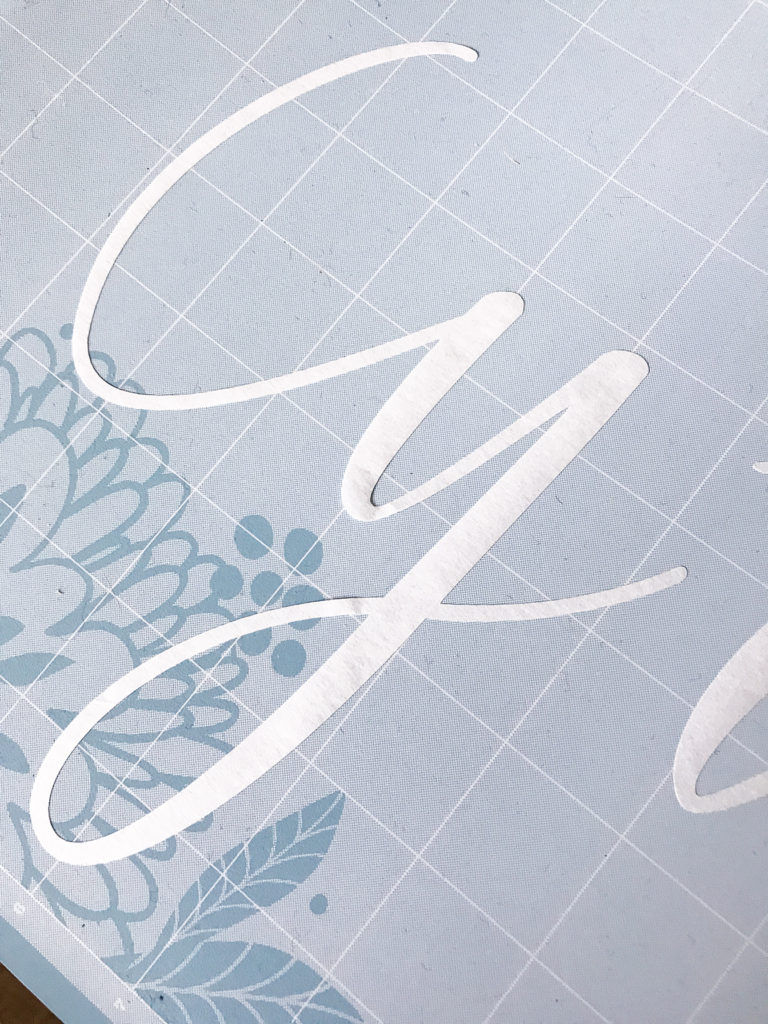
After you’ve pulled off the entire design stencil, the easiest way is to attach it to the doormat before pulling off all of the letter “middles.”
Press the Freezer Paper Onto a Doormat with Heat
Preheat your Cricut EasyPress to 300 degrees. That is the heat setting I found effective at adhering the freezer paper to the doormat. Slowly uncurl the freezer paper and press it onto the doormat for 15-20 seconds, until it is lightly adhered to the doormat (it will pull off easily when you’re done, don’t worry).
You can use an iron, too! Set it on the hottest dry setting and make sure you heat the edges of the letters well. It will just take a little longer than with an Easy Press.

Go back and peel off the letter middle small pieces from the cutting mat and adhere them to the doormat as well. This is great time to use the Mini Easy Press if you have one! All that will be left on your mat is the lettering.
NOTE: If the letter pieces have corners that are popping up or the small letter middles aren’t sticking, you can use straight pins to hold them down.
How Do You Cricut a Doormat with Freezer Paper?
Paint the Freezer Paper Stencil to Create Your Custom Doormat
After all of the stencil pieces are adhered, start painting the mat with the black paint. Using a short bristle brush, in a vertical motion, paint the design in a straight down motion, making sure to get paint down into the mat. (Or, skip the brush and use Black Flex Seal!)
I painted a couple of coats in some areas, just to make sure paint was pushed down into the fibers of the mat.
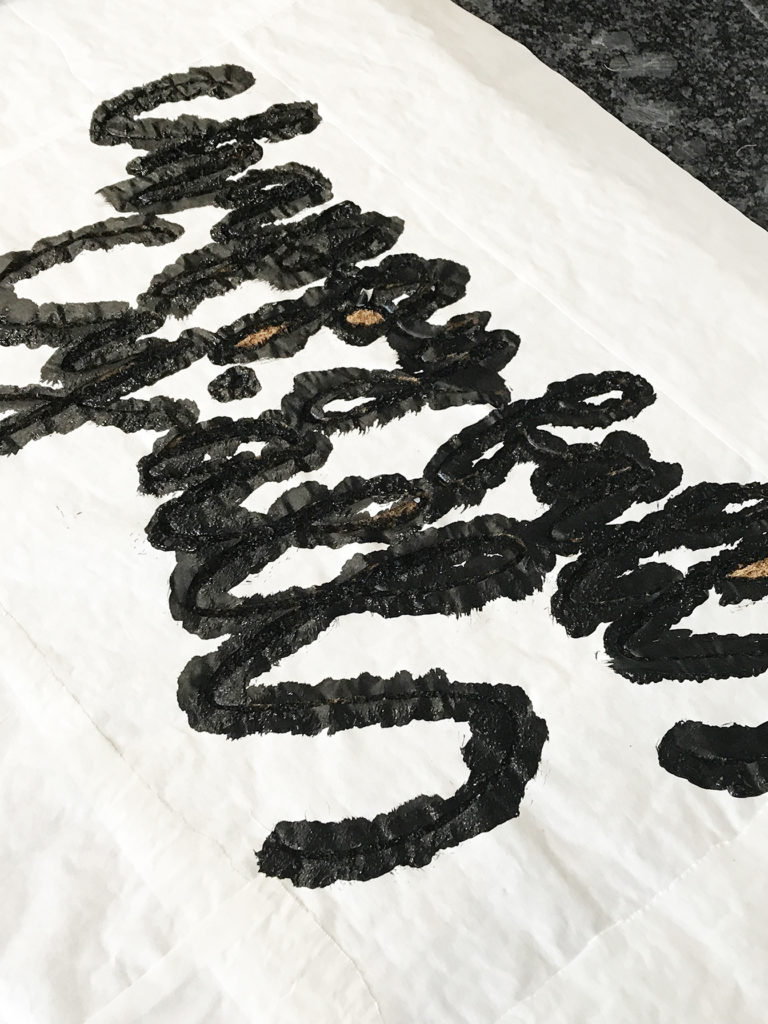
(You can see that a few of my little pieces came off while I was painting; I just carefully hand painted those areas of the letters. It worked fine.
Let Your DIY Doormat Dry
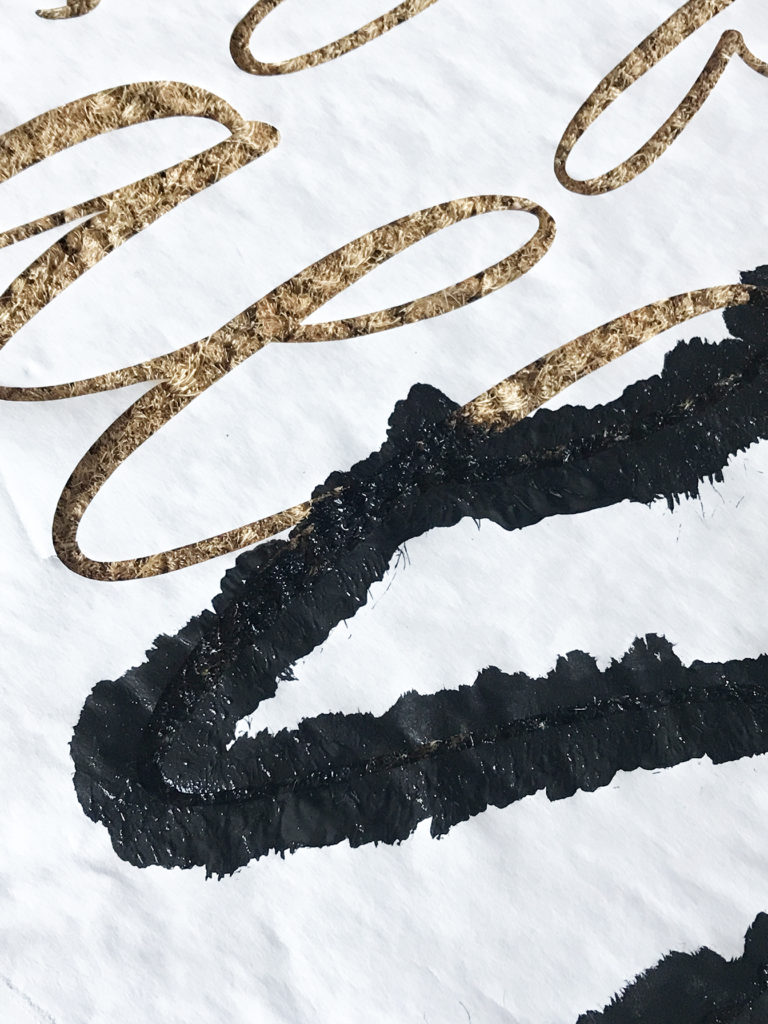
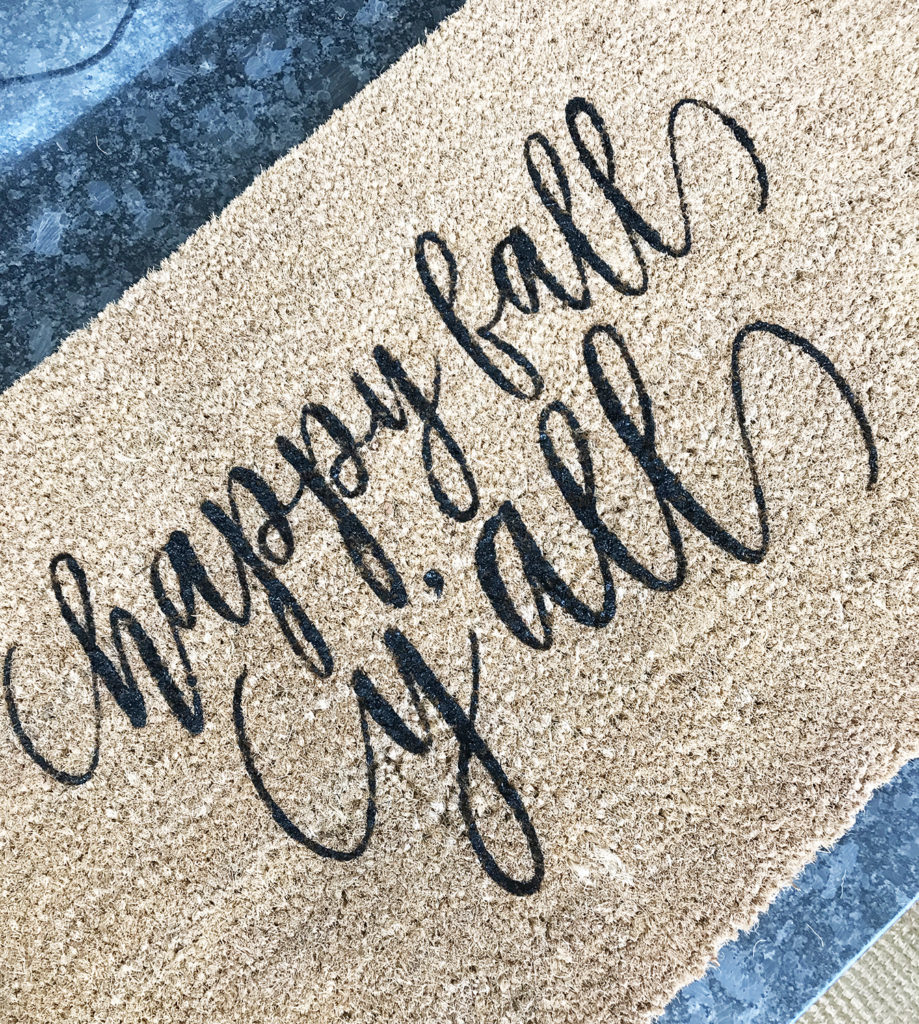
Let dry for a few minutes and then peel off the freezer paper. I was definitely nervous to see how it worked, but my design came out great!
Seal Your Painted Doormat
Let the paint dry and then seal with the Flex Seal for added durability. This is optional but definitely recommended.
Let dry for 24-48 hours and you’re done!
Next time I’m going to try using the black Flex Seal Spray just like spray paint – I think it might work great and will be a lot faster than painting with a brush, although it might take a couple of coats to get full coverage. (Update: I love using this product! It works perfectly!)
Download the FREE Happy Fall Y’all SVG File
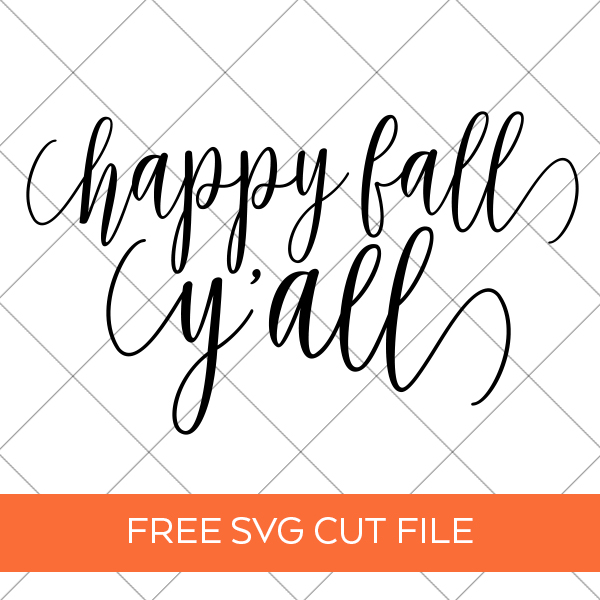
This file is DOWNLOAD #012 in my FREE DOWNLOADS LIBRARY.
Get the password below! (If you have the password, head over to the library to download the file.
Free SVG files available for download are for PERSONAL USE ONLY. SVG and JPG files are included to use with Cricut Design Space and Silhouette Studio. Upgraded versions of Silhouette Studio can upload SVG files.
FAQ and Tips for DIY Doormats with a Cricut
Can You Put Vinyl on a Doormat?
If you are using a coir doormat, no, you can not use vinyl. They are very thick with a ton of fibers, almost like a broom or scrub brush. The vinyl will not adhere, especially if people walk on it or try to clean their shoes on the outdoor mat.
What Size Doormat Can I Make with a Cricut?
You can make any size you can find, but when cutting freezer paper you are limited (per mat) to 11.5″ x 23.5″. Most coir doormats I see are around 18″ x 30″ so a design on one mat works well!
What Kind of Paint Do You Use on a Welcome Mat?
Outdoor acrylic paint works well, or black flex seal spray. It has a rubber like finish to it when it dries! Thick paint works a little better in my opinion. You have to push it down into the mat fibers, but it does not run all over the place and under the edges of your stencil.
What Do You Seal a DIY Doormat With?
I like the clear Flex Seal spray because it has a rubber like finish, but you can use any outdoor clear sealant. The Flex Seal website now recommends the product for sealing doormats, so you know it is widely used!
How to Design Your Own Doormat
You can use any font or designs you would like for your doormat! Just keep your own design within the 11.5″ x 23.5″ cutting area of the large Cricut mat, and you’re good to go! A personalized doormat makes a perfect gift for the holidays!
How Many Coats of Paint Will You Need for a Doormat?
Depending on the type of paint you use, I would say at least 2. You want to make sure that you push the paint down into the fibers of the mat, so that it will not come off easily. If you are very thorough, let it dry and give it a look. Maybe you won’t even need a second coat of paint!


Don’t forget to pin this post to your favorite Pinterest board!


Once you started using the black Flexseal Spray. Did you still add the clear Flexseal afterwards? Or should that hold up just fine on it’s own?
Once I started using the black, I didn’t. I don’t get a ton of traffic in and out the door where I’ve used mine. But I don’t think it could hurt!
How many mats would you say each can of flex seal would use?
Clear as a top coat you can do a few more, but depending on the design, I’d say 3-4 for a can of black.