Cricut Infusible Ink Tote Bag
This post and the photos within it may contain affiliate links. As an Amazon associate I earn from qualifying purchases. If you make a purchase through one or more of the links, I may receive a small commission at no extra cost to you.
Learn to use the NEW Cricut Infusible Ink and make a DIY Cricut Tote bag using the NEW Cricut Infusible Ink Compatible Blanks and the durable and vibrant Cricut Infusible Ink Transfer Sheets! Infusible Ink materials can be used with the Cricut Maker and Cricut Explore Model machines and they work especially well with the Cricut EasyPress 2 to make projects that will impress people so much they’ll say “I can’t believe you made this!” Keep reading to learn how to make a Cricut Infusible Ink Tote Bag!
Cricut Infusible Ink Tote Bag
I am so excited to be one of the first consumers to use the Cricut Infusible Ink Materials and Infusible Ink Compatible Blanks. I absolutely love crafting with my Cricut Maker, and making shirts and personalized items are some of my most favorite projects to create! And with the brand new Infusible Ink compatible tote bags, I can’t wait to make more of these!
Because of the advanced technology behind Cricut Infusible Ink, I don’t have to worry about washing my tote bag – it is crack and peel proof, plus the color will remain vibrant wash after wash.
When I received my Cricut Infusible Ink Materials and Infusible Ink Compatible Blanks, I couldn’t wait to make a tote bag. I’m going to show you how I made it, and I will share the links to my Cricut Design Space files so you can make one too!
Here are all of the Infusible Ink Projects I’ve made so far:
- DIY Infusible Ink Watercolor Coasters
- Cricut Infusible Ink Baby Onesie with Transfer Sheets
- Best Cricut Infusible Ink Projects
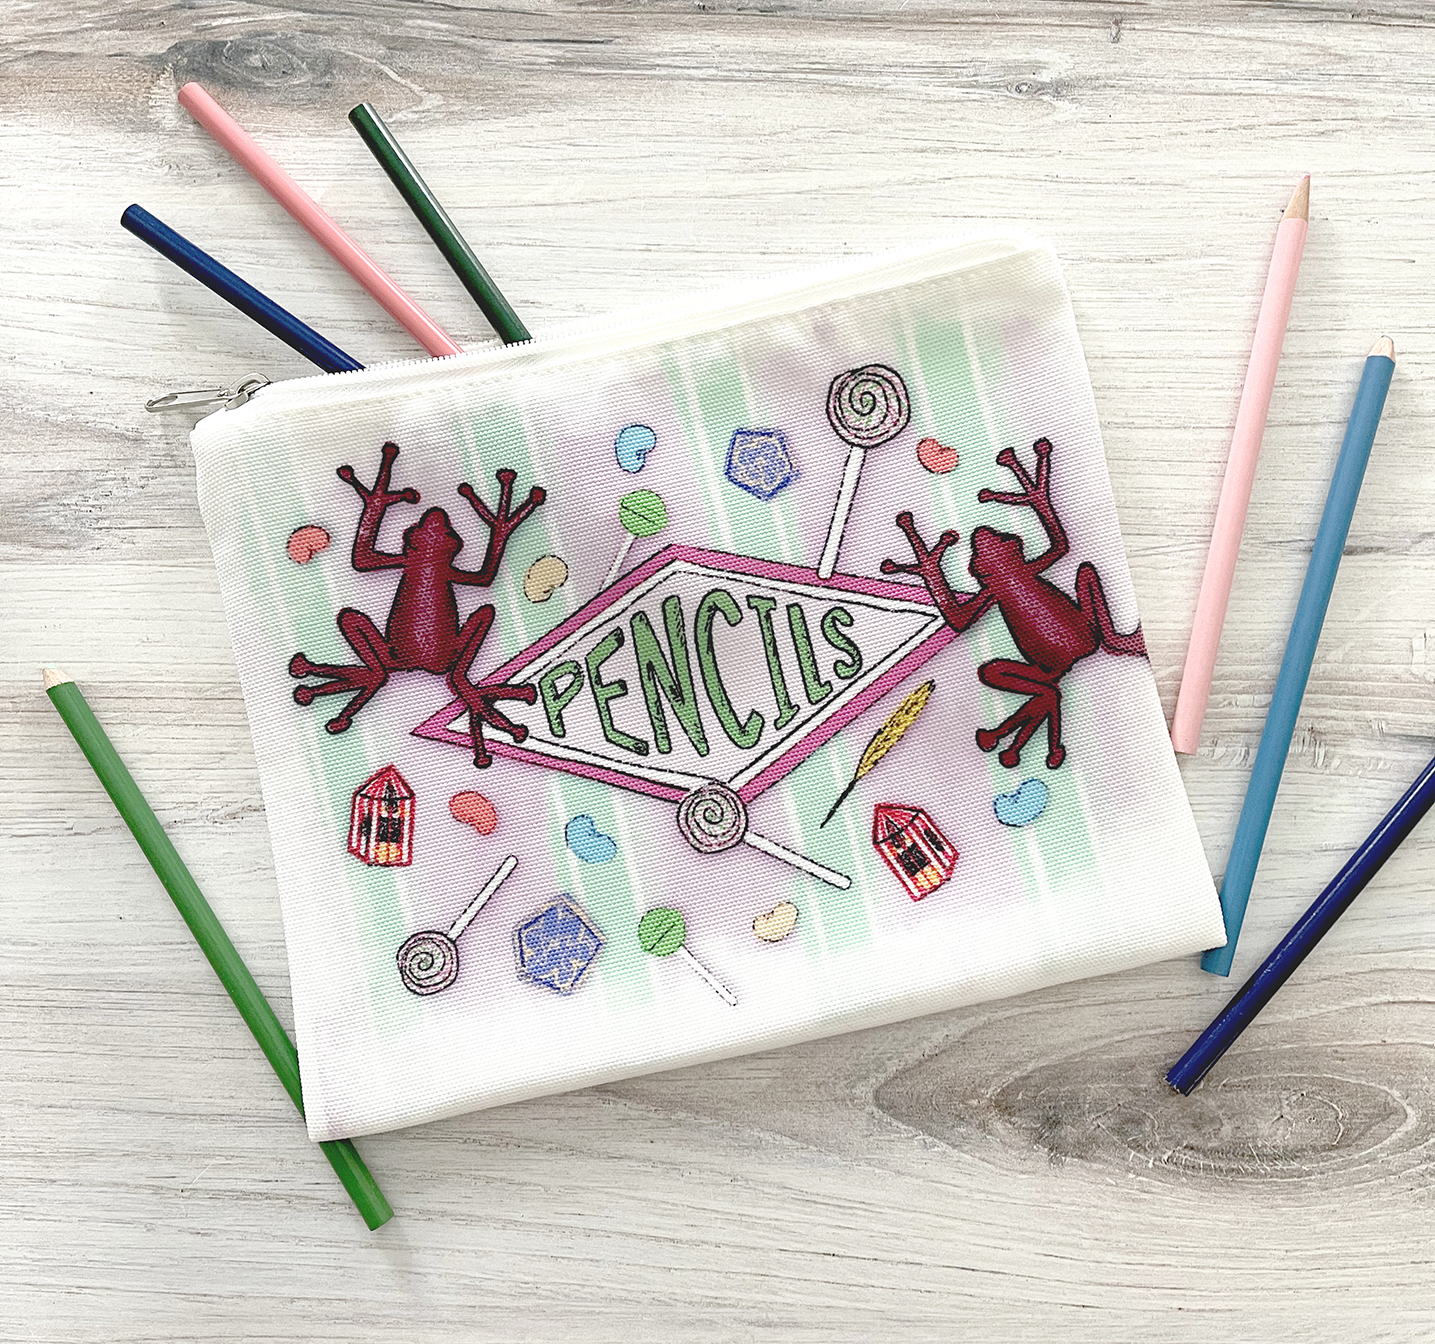
- DIY Mermaid Pencil Bag with Infusible Ink Pens
- Unicorn Notebook with Infusible Ink and Vinyl
How to Use Cricut Infusible Ink to Make a Tote Bag
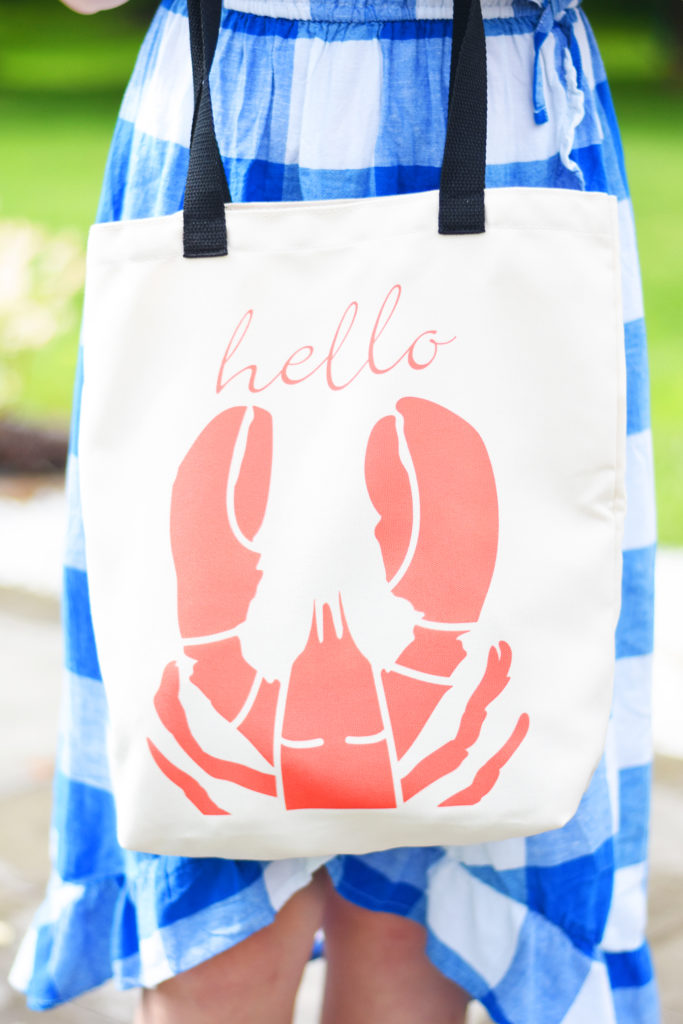
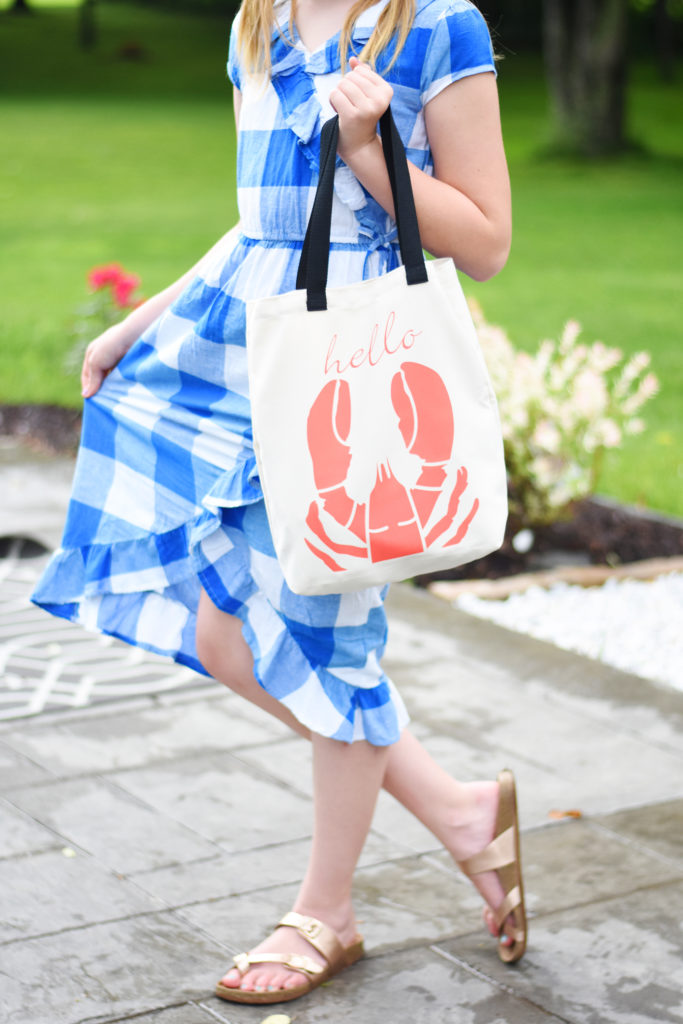
The new Cricut blank tote bags are a great size and material to use everyday. I created a fun beach-themed tote bag with a large lobster that I’ll be using all summer long!
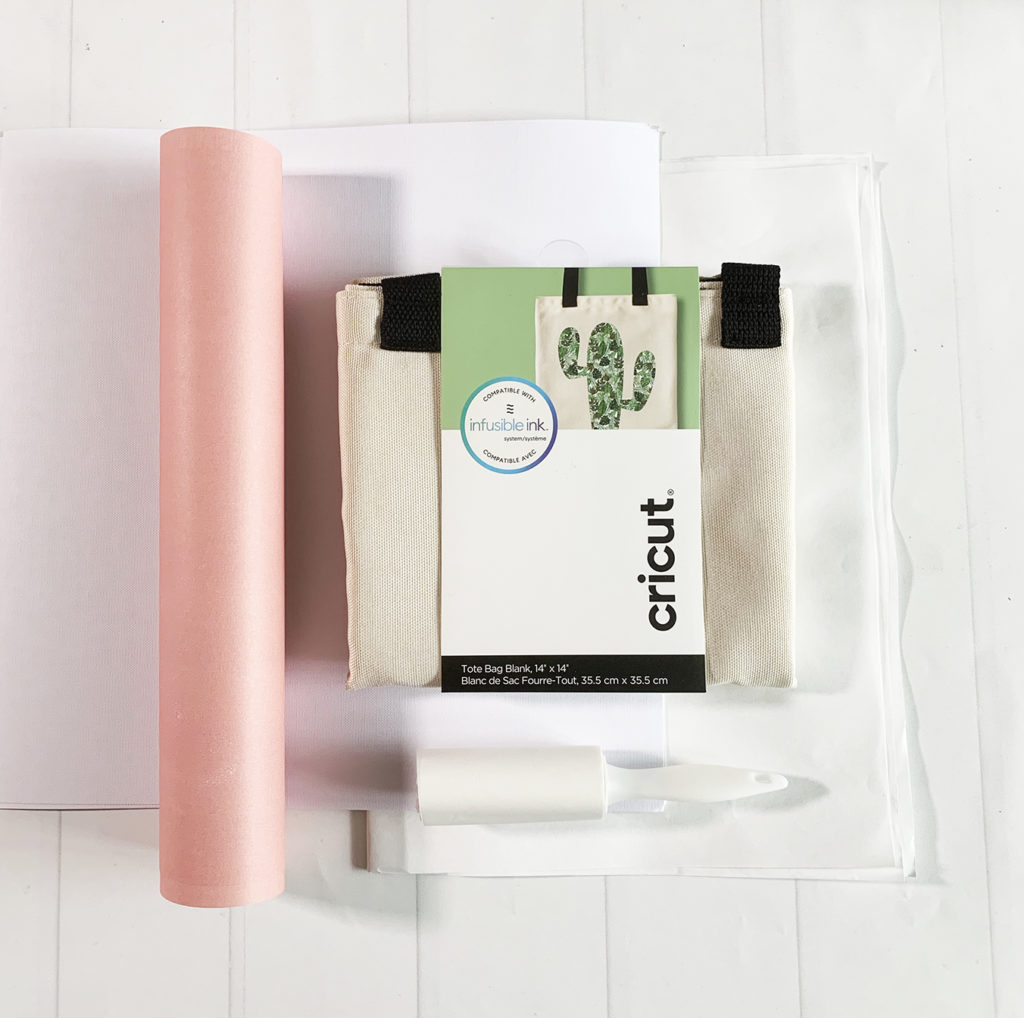
Materials Needed to Make a Cricut Infusible Ink Tote Bag
- Cricut Maker
- Cricut Standard Grip Mat
- Cricut EasyPress 2
- Cricut EasyPress Mat, 12×12″
- Cricut Infusible Ink Transfer Sheet
- Cricut Tote Bag, 14×14″
- Lint Roller
- Butcher Paper (comes inside of Transfer Sheet package)
- White Cardstock (not colored!)
- Tweezers
First, create an image in Cricut Design Space to fit your Tote Bag or use the Lobster design I made.
Click to Make: Cricut Infusible Ink Tote Bag with Lobster
Place your Infusible Ink Transfer Sheet on the Standard Grip Mat, liner side down. Notice that the Transfer Sheet color seems dull now, but wait until you see the finished project. The process of transferring the infusible ink makes the color SO vivid!
Size your design to fit your tote bag and when you’re ready to cut, click the “Make It” button.
*Make sure to MIRROR your design so it can be transferred to your blank product correctly.*
Select “Infusible Ink Transfer Sheet” from the list of materials. If using a Cricut Explore Series machine, make sure you turn your dial to “Custom.” Load mat and press the flashing “C” button when you’re ready to cut.
When it’s finished cutting, weed away the extra material from the transfer sheet liner. Keep in mind that it is more like paper than vinyl, so it weeds a little differently. You can use tweezers like those available in the Essentials Tools Kit to remove small unwanted pieces of paper from your design. You can also use your fingers to weed – but MAKE SURE that your fingers are dry! Moisture can produce negative results.
Prep your EasyPress 2: For this project, you will preheat your EasyPress 2 to 385 degrees F and 40 seconds.
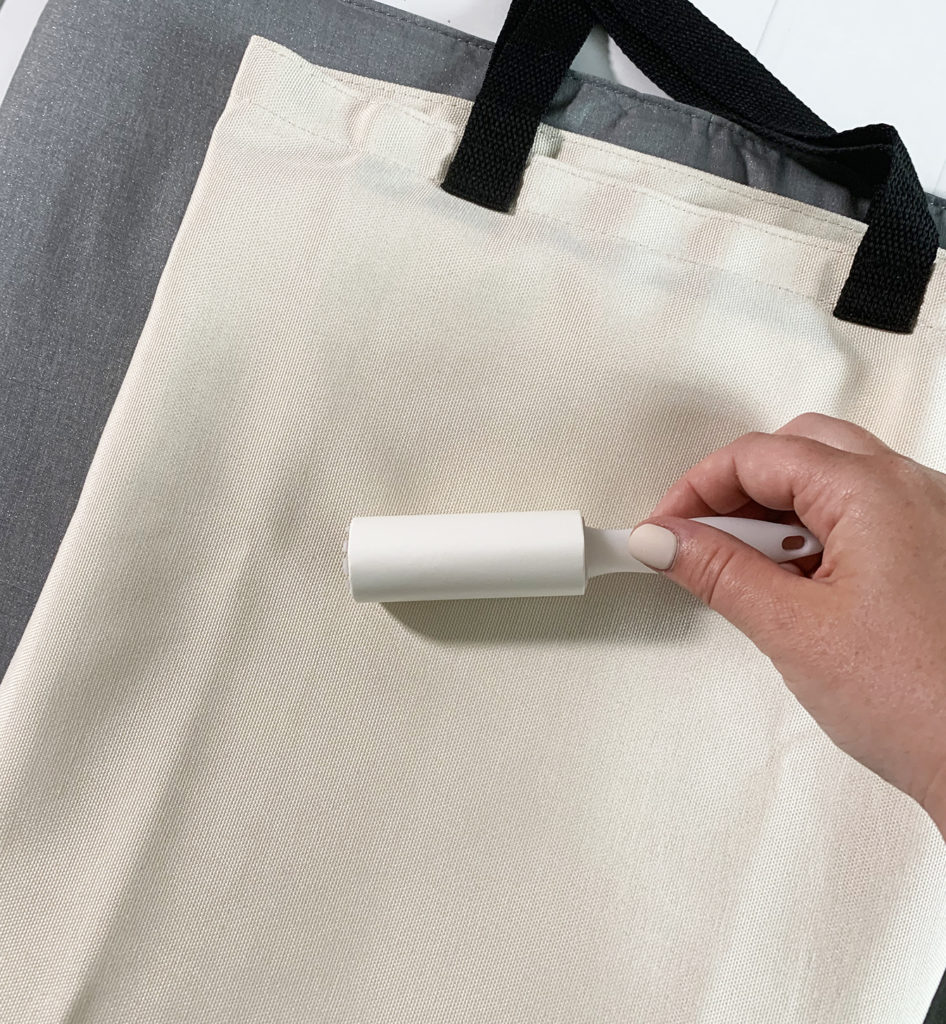
Prep your blank Cricut Tote Bag: Place white card stock on top of your EasyPress mat, and place both INSIDE of the tote bag. The card stock will protect your mat, so don’t skip it! Next, use a lint roller over the surface of your tote bag. It’s important to remove all lint and tiny little debris and threads from your project. I do it once, then expose a new piece of lint roller, and go over the surface a second time.
Cover the tote bag with butcher paper. *Make sure the butcher paper is larger than the surface of your EasyPress 2.* Preheat the tote bag to remove wrinkles and moisture by pressing for 15 seconds. Let the tote bag cool completely.
Place your transfer down on the tote bag so the liner is now face up and the printed side of the transfer sheet is down. Your design should no longer look mirrored. Place butcher paper on top of the transfer sheet.
Press for 40 seconds using light pressure WITHOUT MOVING. This is important, and is different from using Heat Transfer Vinyl.
After 40 seconds, slowly lift your EasyPress. Try not to move the butcher paper or transfer sheet. Let project cool completely.
Slowly remove the butcher paper and then the transfer sheet. If any pieces of transfer sheet are left on the tote bag, use tweezers to remove them.
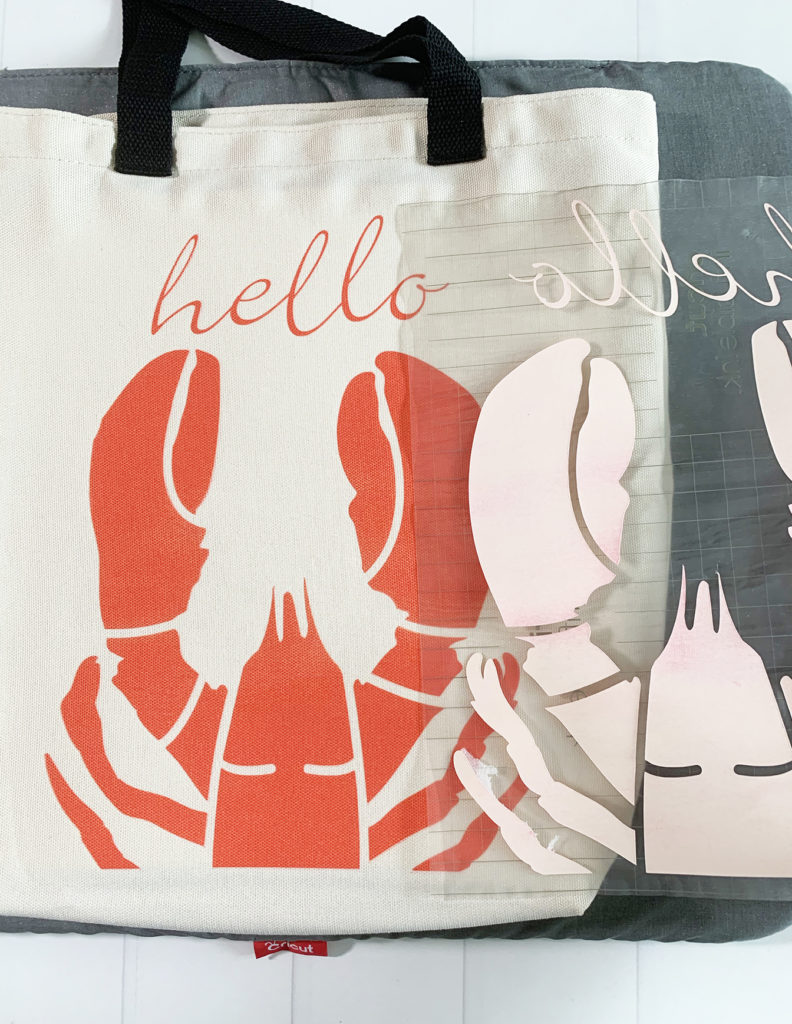
You now have an amazing tote bag – and unlike vinyl, the design is PERMANENT. You can wash the tote bag (in cool water, inside out is recommended), but the design won’t crack, peel, or fade! It’s the magic of Cricut Infusible Ink!
I can’t wait to create more projects with Cricut Infusible Ink, and as I make them, I’ll add links to the posts here.
Shop Cricut Infusible Ink Online
LATEST POSTS:
- Wicked Coloring Pages to Print for Free
- Free Thanksgiving Turkey Coloring Page Printable
- Free Printable Thanksgiving Meal Planner & Grocery List
- xTool M1 Ultra Beginner’s Guide and Review
- Free Best Dad Ever Father’s Day Coloring Page
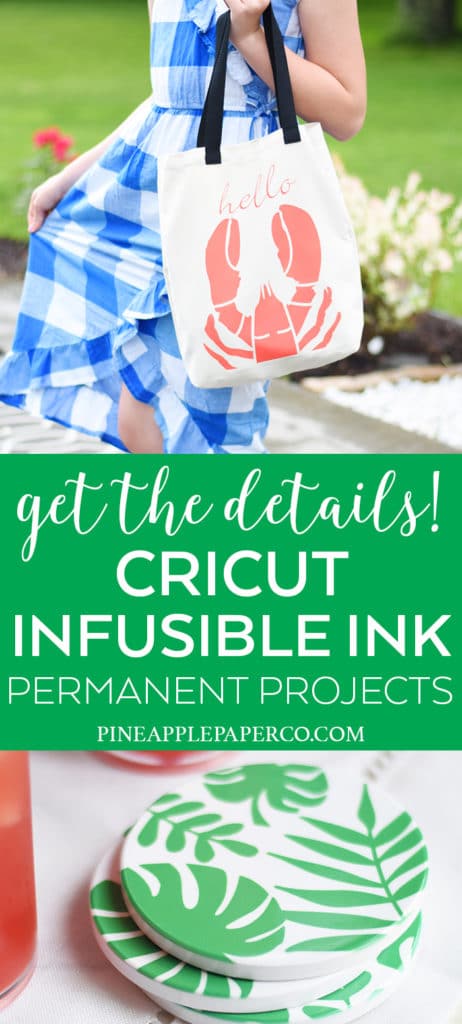
Pin this Cricut Infusible Ink Image for Later:
This is a sponsored conversation written by me on behalf of Cricut. The opinions and text are all mine.


can you use a cameo 3 with this? I need to make some designs for girls shirts.
You sure can! Pens you would use as normal, and for the paper I would just test a tiny little square to make sure you have the cut settings correct 🙂 Have fun!