DIY Trick or Treat Tote Bag with a Cricut Machine
This post and the photos within it may contain affiliate links. As an Amazon associate I earn from qualifying purchases. If you make a purchase through one or more of the links, I may receive a small commission at no extra cost to you.
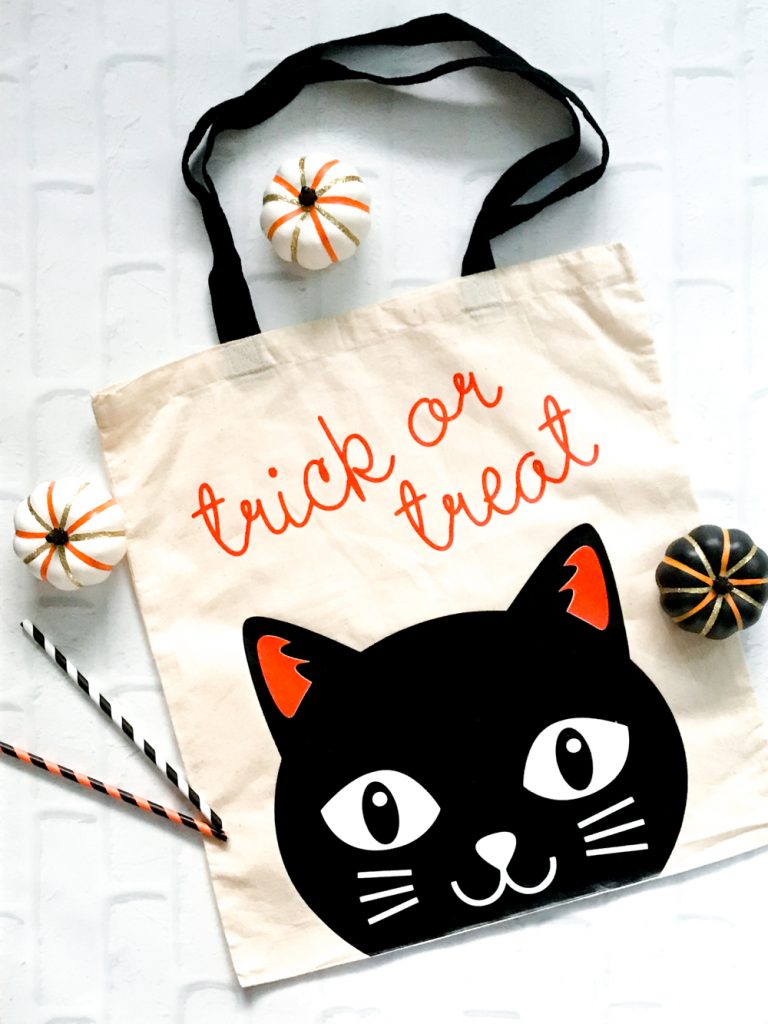
Do your kids love having personalized a Trick or Treat bag like my kids? Every year they ask for DIY Trick or Treat bags that match their costumes, and it’s something that they look forward to every year. Use this Cricut Design Space file and make your kids DIY Halloween Trick or Treat Bags, as Halloween Party Favors, or a ton of other DIY Halloween Crafts!
The Black Cat image from the Martha Stewart cartridges on Cricut Design Space is a central theme in my Halloween crafting this year, because I love it so much! I planned my whole Trick or Treat Party for kids around it, and I find myself using it for tons of other crafts!
I made this Trick or Treat tote bag as Halloween party favors for my party with Cricut, and I couldn’t be more pleased with them! That black cat is so cute and is perfect for a kid-friendly Halloween party!
RELATED POST: Trunk or Treat Ideas for THIS Halloween
What you Need to Make the Black Cat DIY Trick or Treat Bag
–Iron On in Black, White, and Orange
–EasyPress 2 (the extra large edition works great for this project!)
How to Make a Halloween Trick or Treat Bag with Cricut
If you have a Cricut and are using Cricut Design Space, this bag is so easy to make – Here is the link to the Cricut Design Space file to make the Black Cat Halloween Trick or Treat bag.
Measure your bag and resize the design to fit your bag. I’ve already made the bottom of the black cat flat for you so it easily fits the bottom of a tote bag.
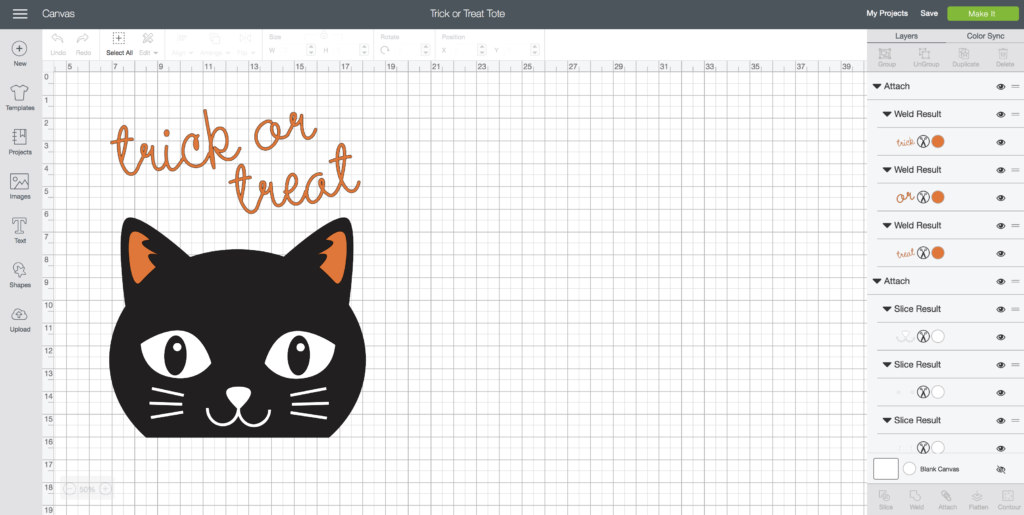
When you’ve resized the file and are ready to cut, click the green “Make It” button.
Make sure you MIRROR the images since you are using Iron On!
After you’ve cut all of the pieces, weed away the extra vinyl.
Preheat your EasyPress to the recommended settings for the material of your bag. You can find the Cricut Recommended Settings HERE. I absolutely love my new EasyPress 2 from Cricut. This 12×10″ size is perfect for making larger items like tote bags, large t-shirts, and large wooden signs!
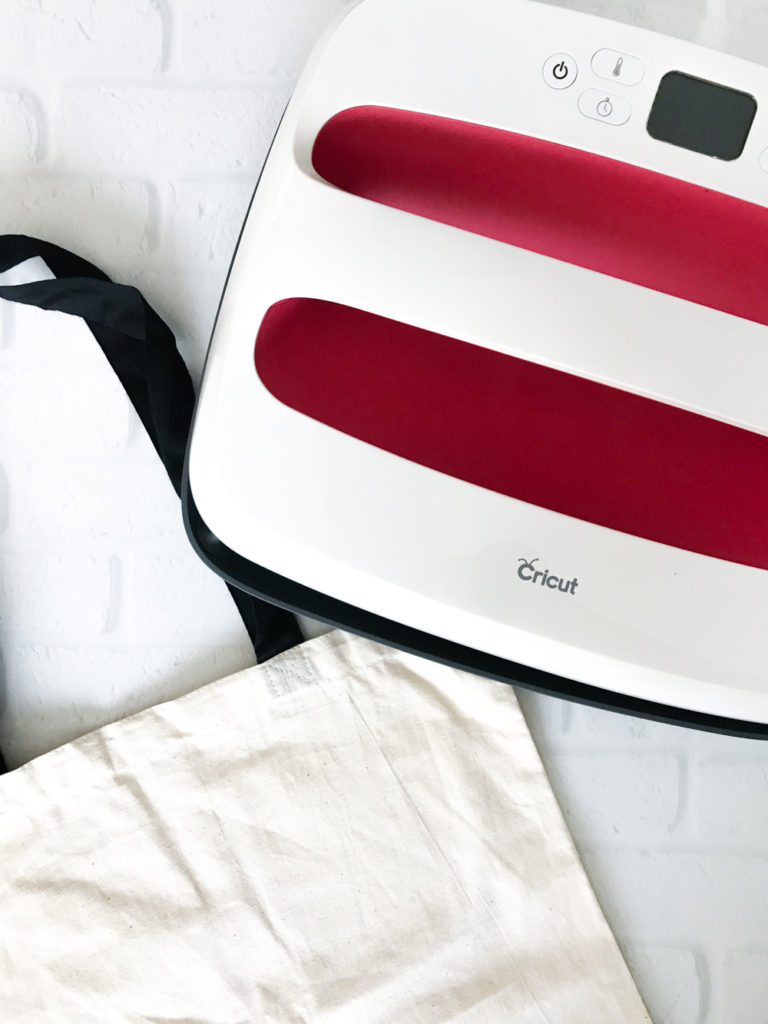
Line up your designs and iron them on, bottom layer first, and then working up to the top layer. You can protect the bottom layers as you use the EasyPress by using the Cricut Iron On Protective Sheet.
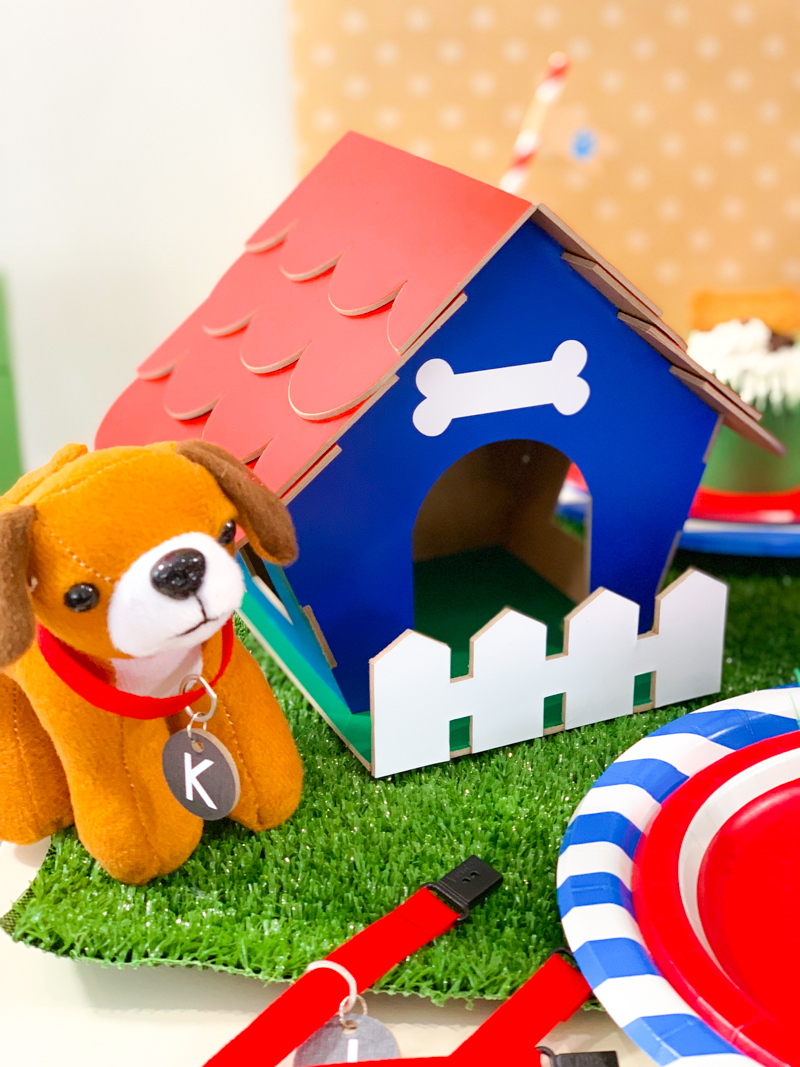
If you would like to see the rest of our projects from the Trick or Treat Party, check out the full post HERE.
I think you’ll love these Halloween DIY Posts, too:
Spooky Halloween Party with Martha Stewart
Easy “Poison Spider” Halloween Drink (with only 3 ingredients!)
NEW Hand drawn and Hand lettered SVGs for Halloween Crafts
FREE Halloween Boo to You Printables
FREE Hocus Pocus Halloween SVG
How to Make a Trick or Treat Reverse Canvas with Martha Stewart, Cricut, and Michaels
And our most popular Halloween post: Hocus Pocus Trunk or Treat Ideas


ABOUT CHARYNN
Hi, y’all! I’m Charynn, the owner and designer of Pineapple Paper Co. I’m a mom of four kids (two girls and two boys) living in Pittsburgh. I love hand lettering, anything southern, cocktails, and of course, pineapples! I am excited to share my SVG files, printables, and craft projects with you! The pineapple is a symbol of hospitality, and I welcome y’all to my little corner of the internet. Read more…