How to Make Stickers with Procreate
This post and the photos within it may contain affiliate links. As an Amazon associate I earn from qualifying purchases. If you make a purchase through one or more of the links, I may receive a small commission at no extra cost to you.
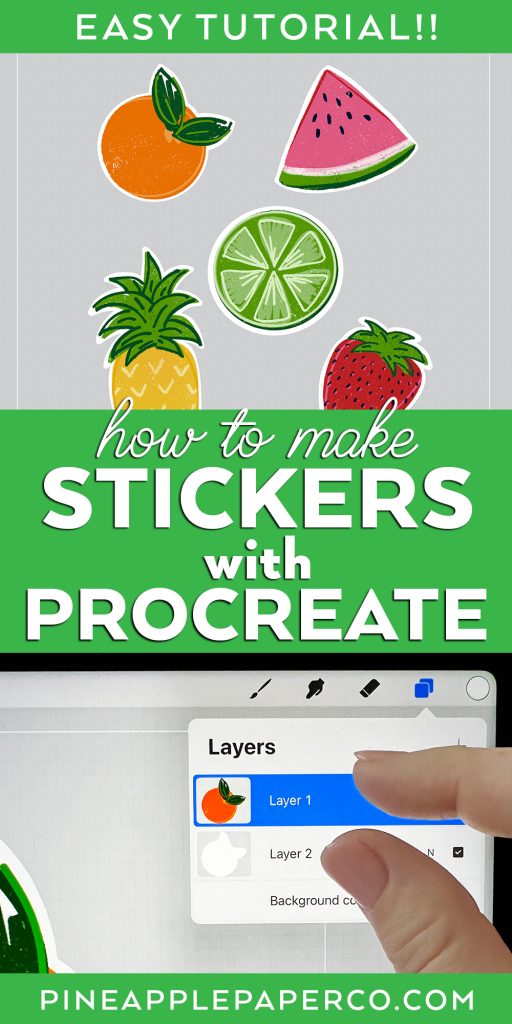
If you have an iPad, you can make stickers with Procreate! Procreate is a digital art app that is available for the iPad, iPad Pro, and also for the iPhone. I will teach you how to use Procreate to make stickers that you can use as digital stickers or print and cut for planners, crafts, gifts, or even your small business!
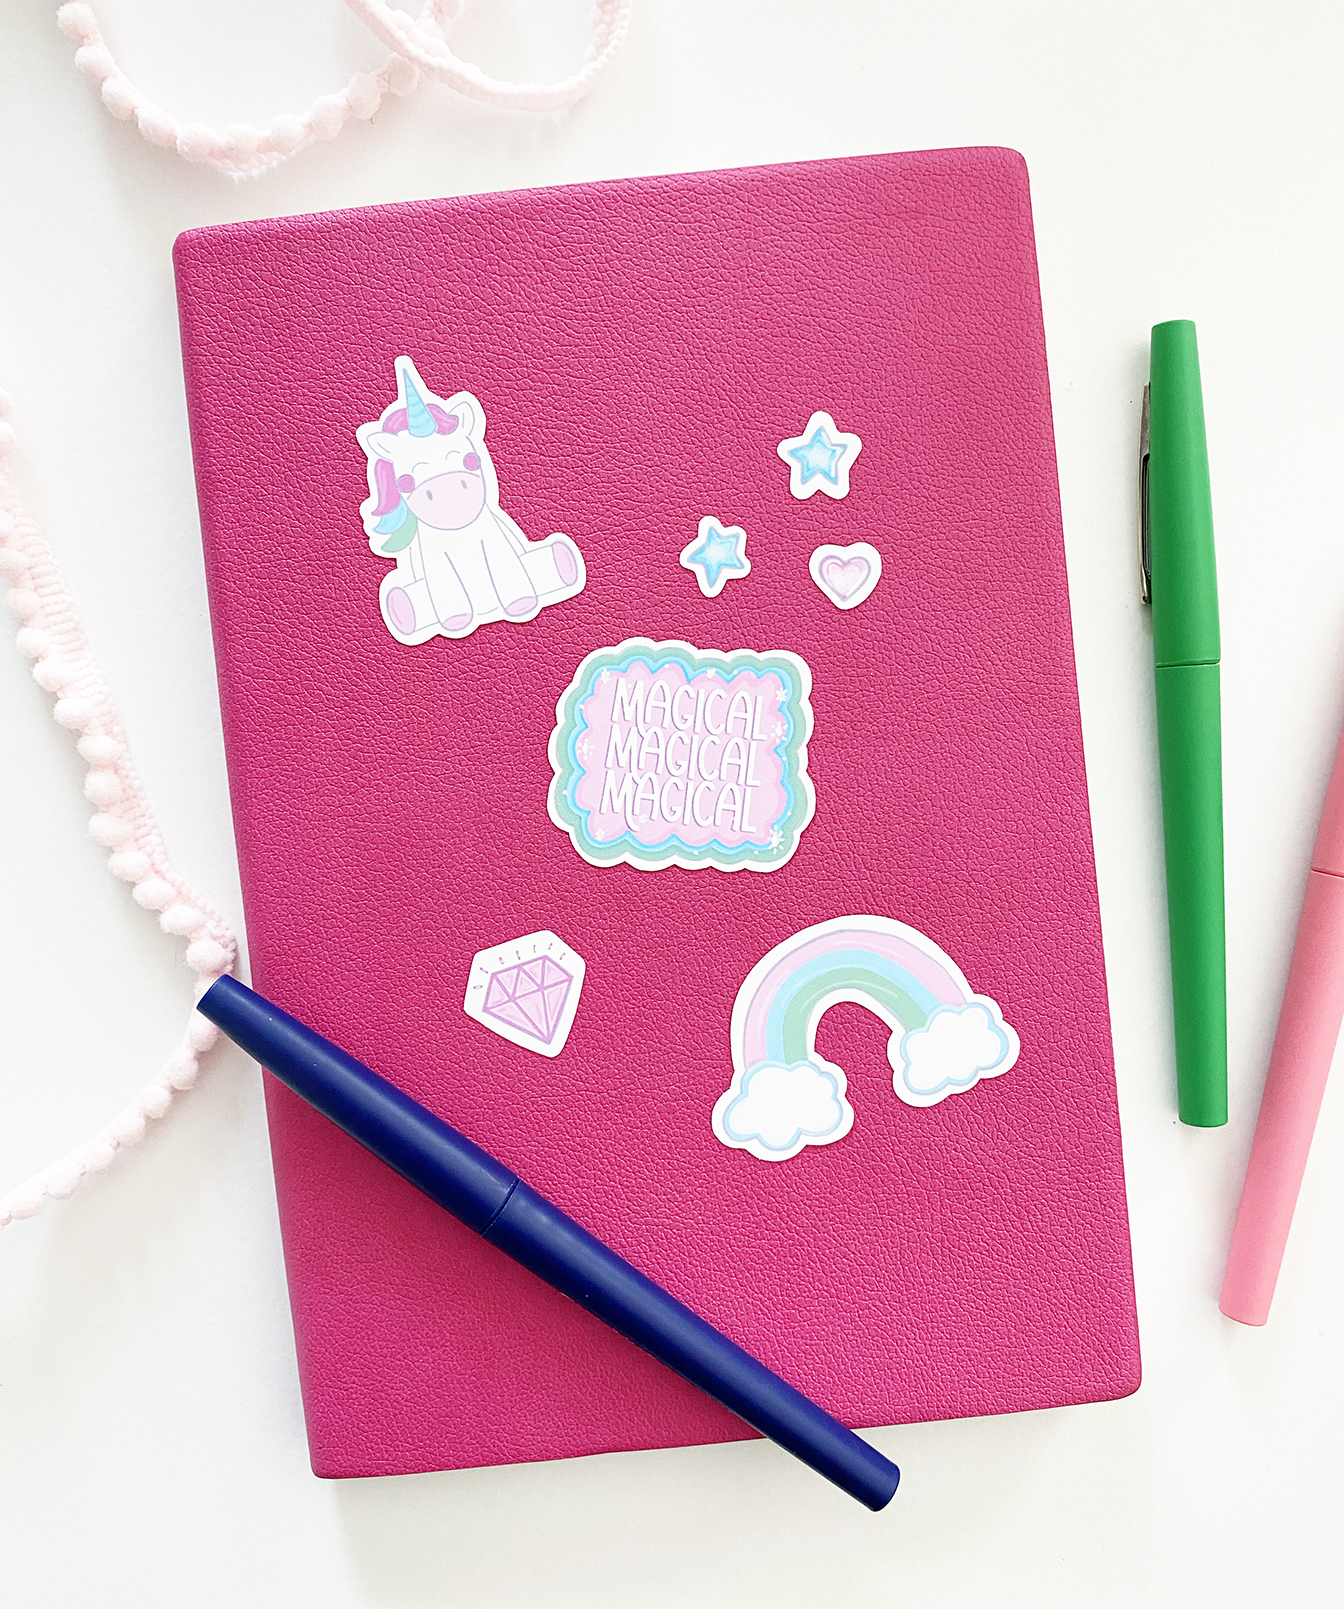
The Procreate app is by far my FAVORITE app that is available for my iPad Pro. I use it to create digital designs like SVG files, printables, iPhone widgets and icons, and of course, my own stickers! Here are some of the sticker designs that I created with Procreate and you can download a free copy of the stickers and print at home:
- Free Planner Stickers for Fall
- Motivational Printable Planner Stickers
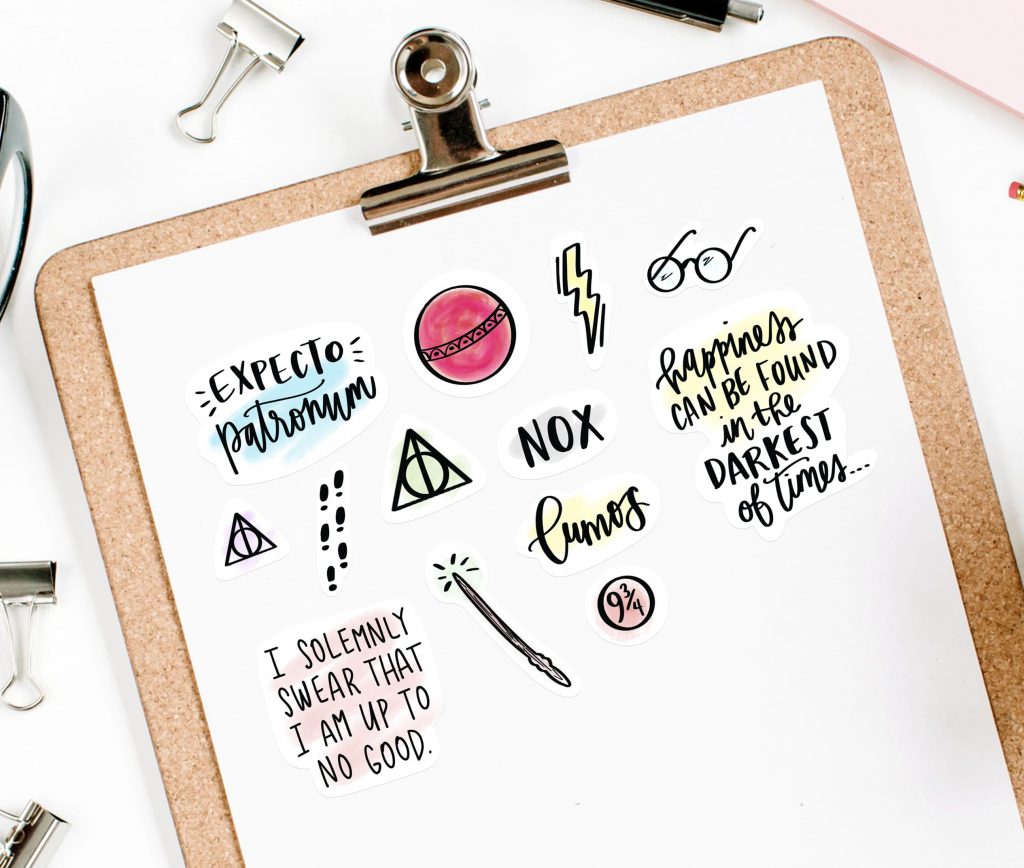
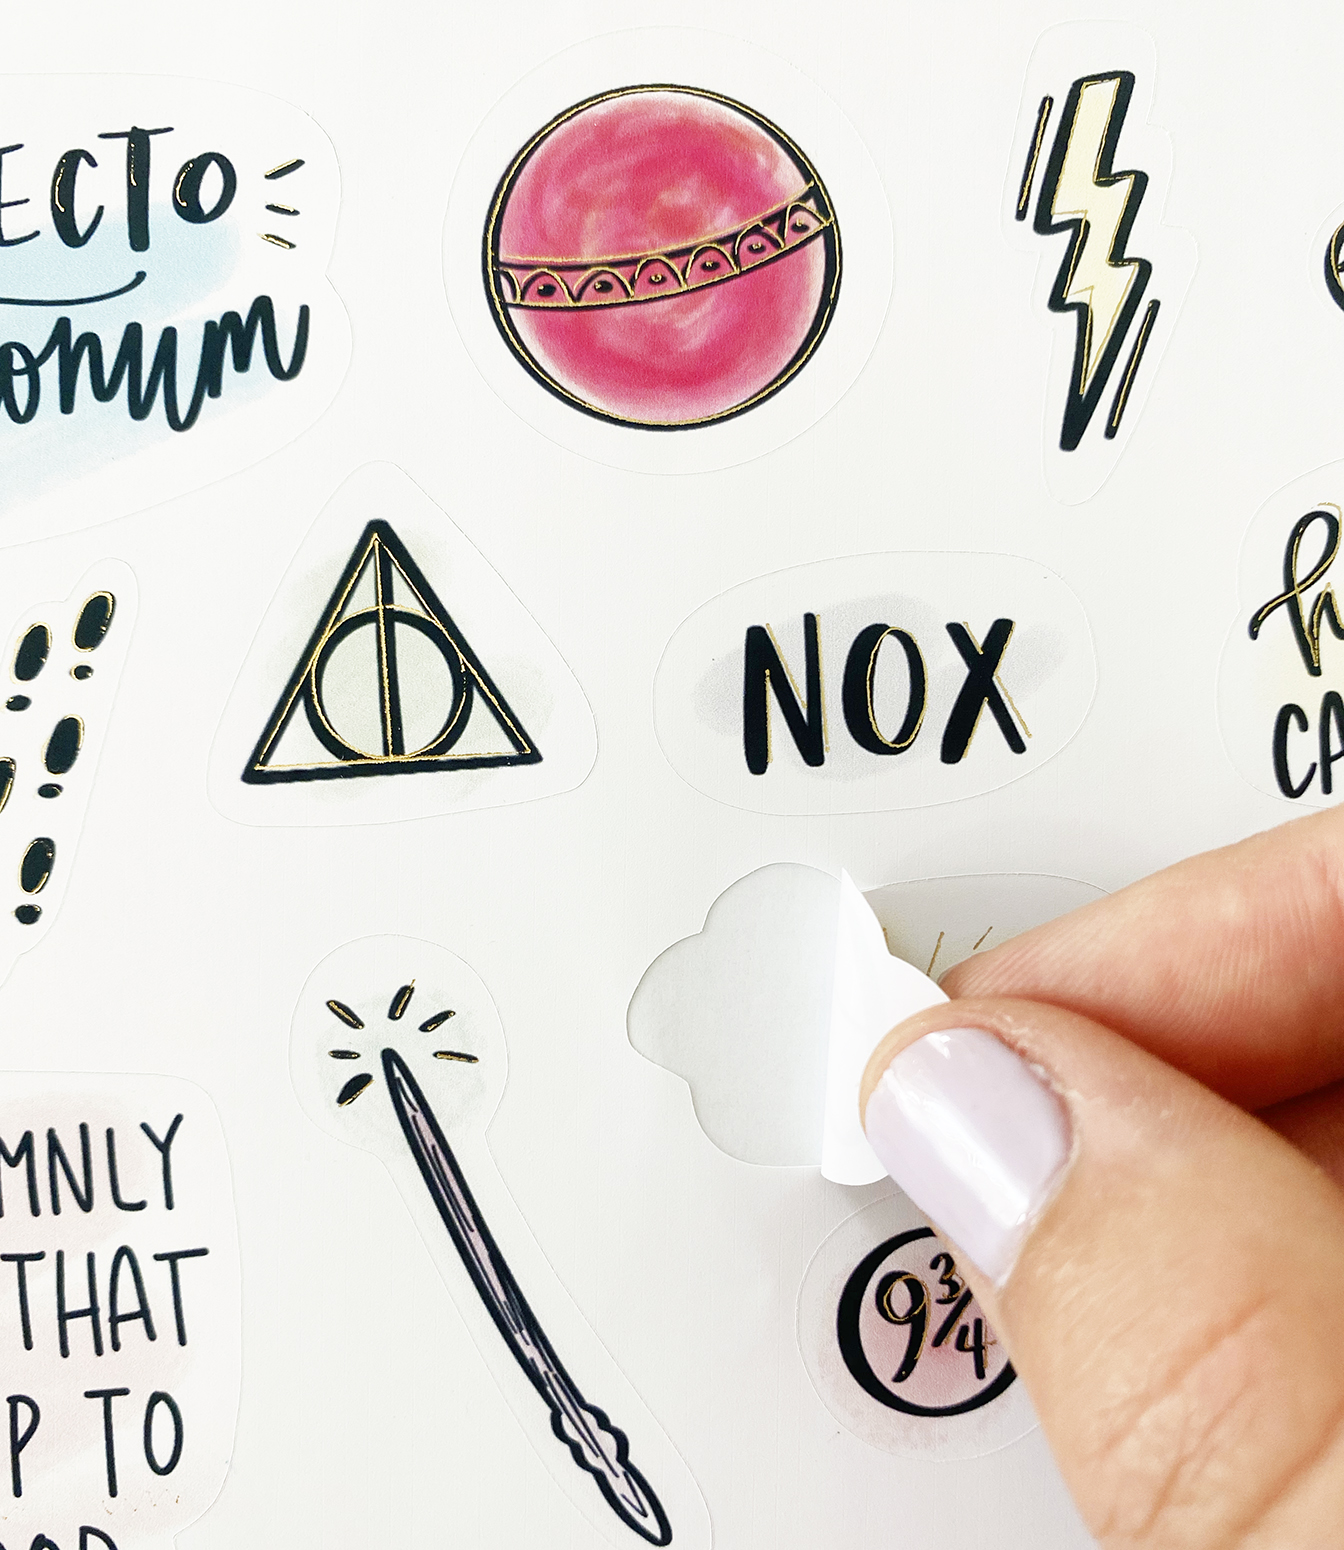
- Harry Potter Printable Stickers
- Free Printable Summer Stickers
- Printable 4th of July Patriotic Stickers
- Back to School Stickers
- Hocus Pocus Stickers
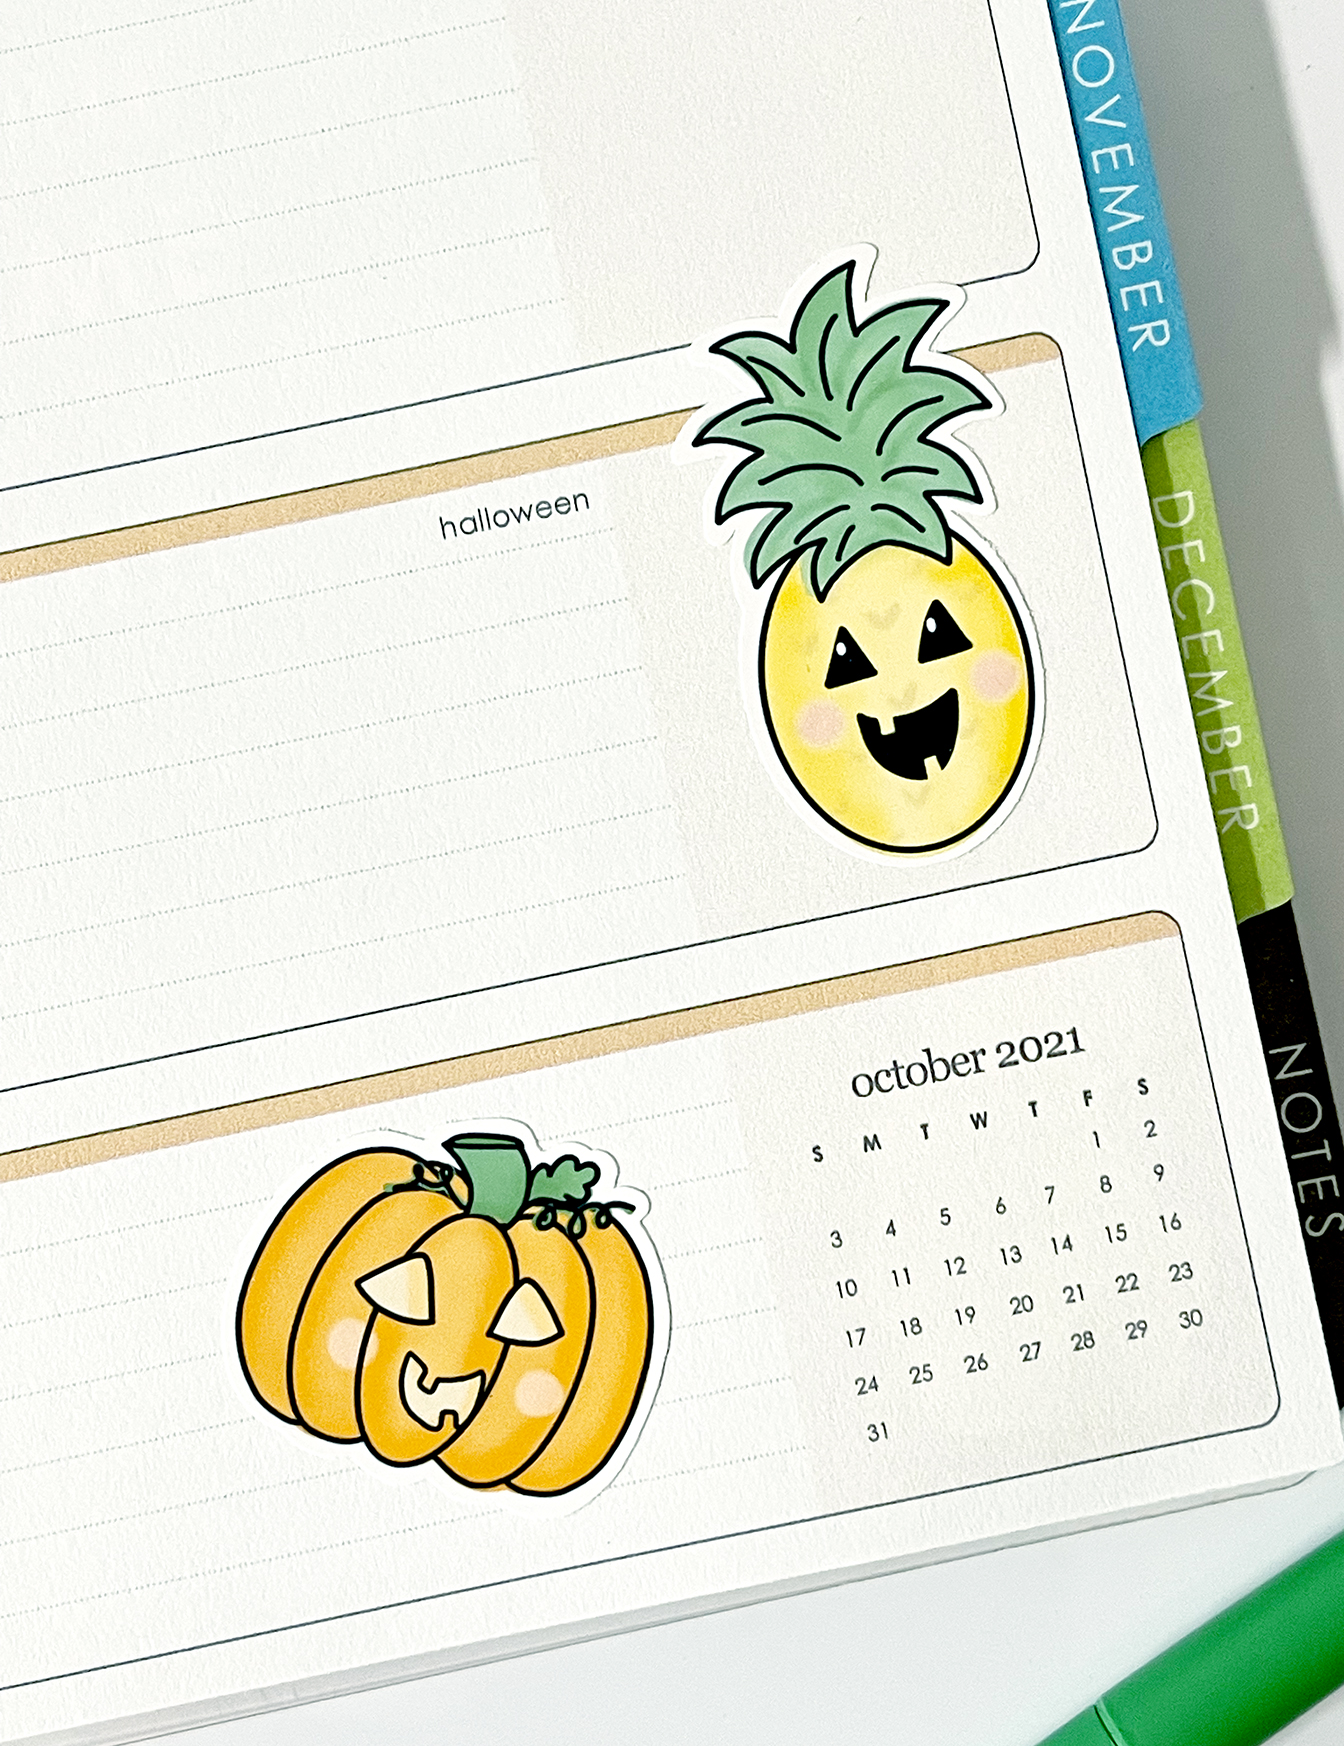
- Printable Pumpkin Stickers
- Free Printable Valentine Stickers
- Cute Stickers for Halloween
What Do You Need to Make Your Own Stickers with Procreate?
Optional:
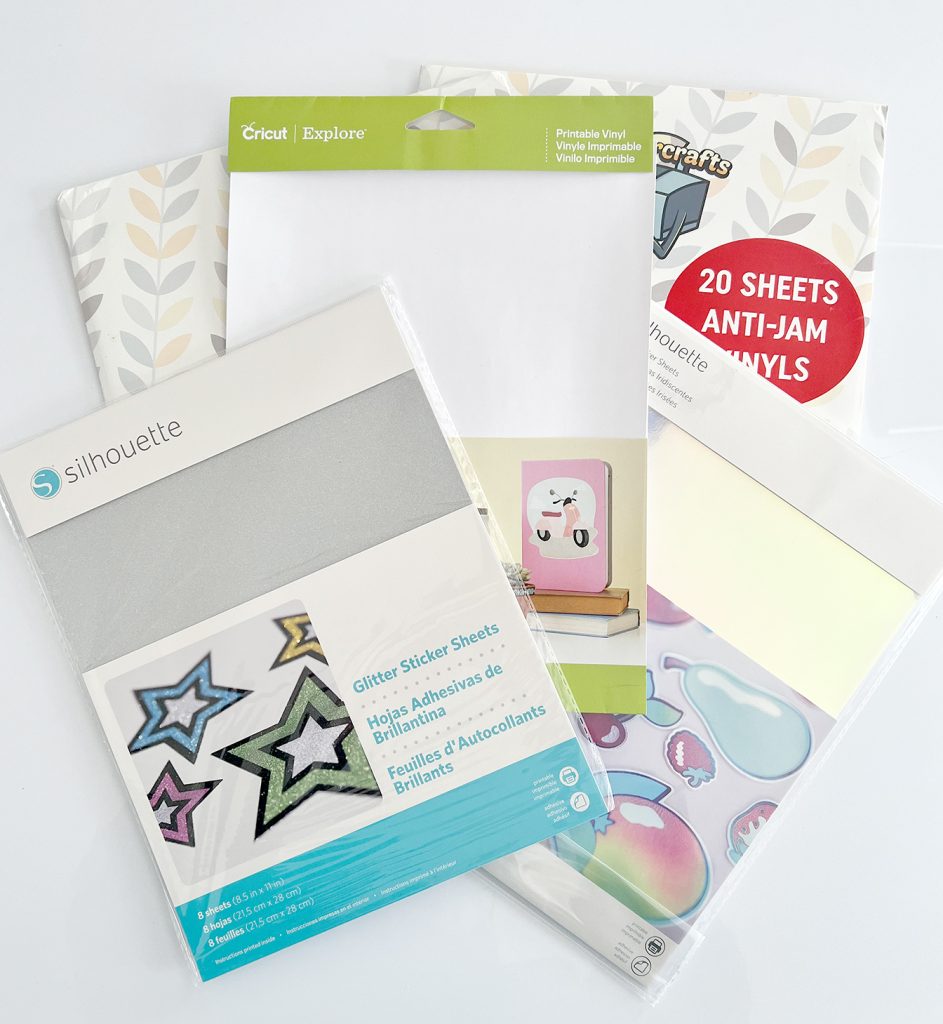
- Sticker Paper or Label Paper (this printable vinyl is what I use all of the time)
- Home Inkjet Printer
- Cricut Machine or Silhouette Machine
If you don’t own an iPad, that is where you need to begin. I own an iPad Pro 5th Generation, which was released in 2021. It is the most powerful iPad Pro to date, and if you’re interested in digital art design, you can’t go wrong. However, there are several models of iPad that you can use with Procreate.

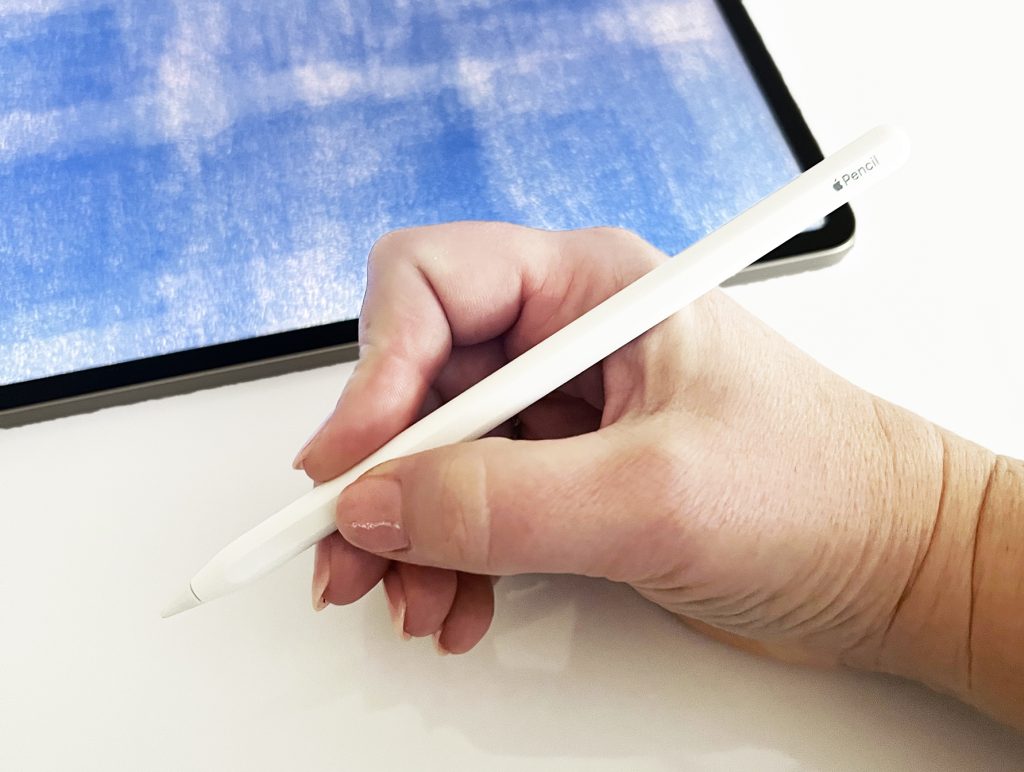
Although it is not required, I would recommend that you purchase an iPad that is compatible with the Apple Pencil. You can check your Apple pencil compatibility here.
Do you really need an Apple Pencil? The short answer is no. But (and it’s a huge BUT), after testing other stylus pens, I highly recommend it. The Apple Pencil is designed specifically to work with the iPad and will make sticker design with Procreate seamless and effortless.
What is the Procreate App?
The Procreate App is available for download in the App Store for $9.99 (at the time this post was published). It is a one-time lifetime purchase that includes all updates, a brush library, and a small collection of sample art and 3D models (new to Procreate version 5.2).
As far as digital design applications go, Procreate is VERY affordable and worth every bit of $10. The Procreate team constantly improves the program and it is a highly recommended drawing app for graphic designers and professional artists on the iPad.
You can not only design stickers, but create your own digital art, design a digital planner, create animations, create your own process videos for social media platforms, and WAY more.
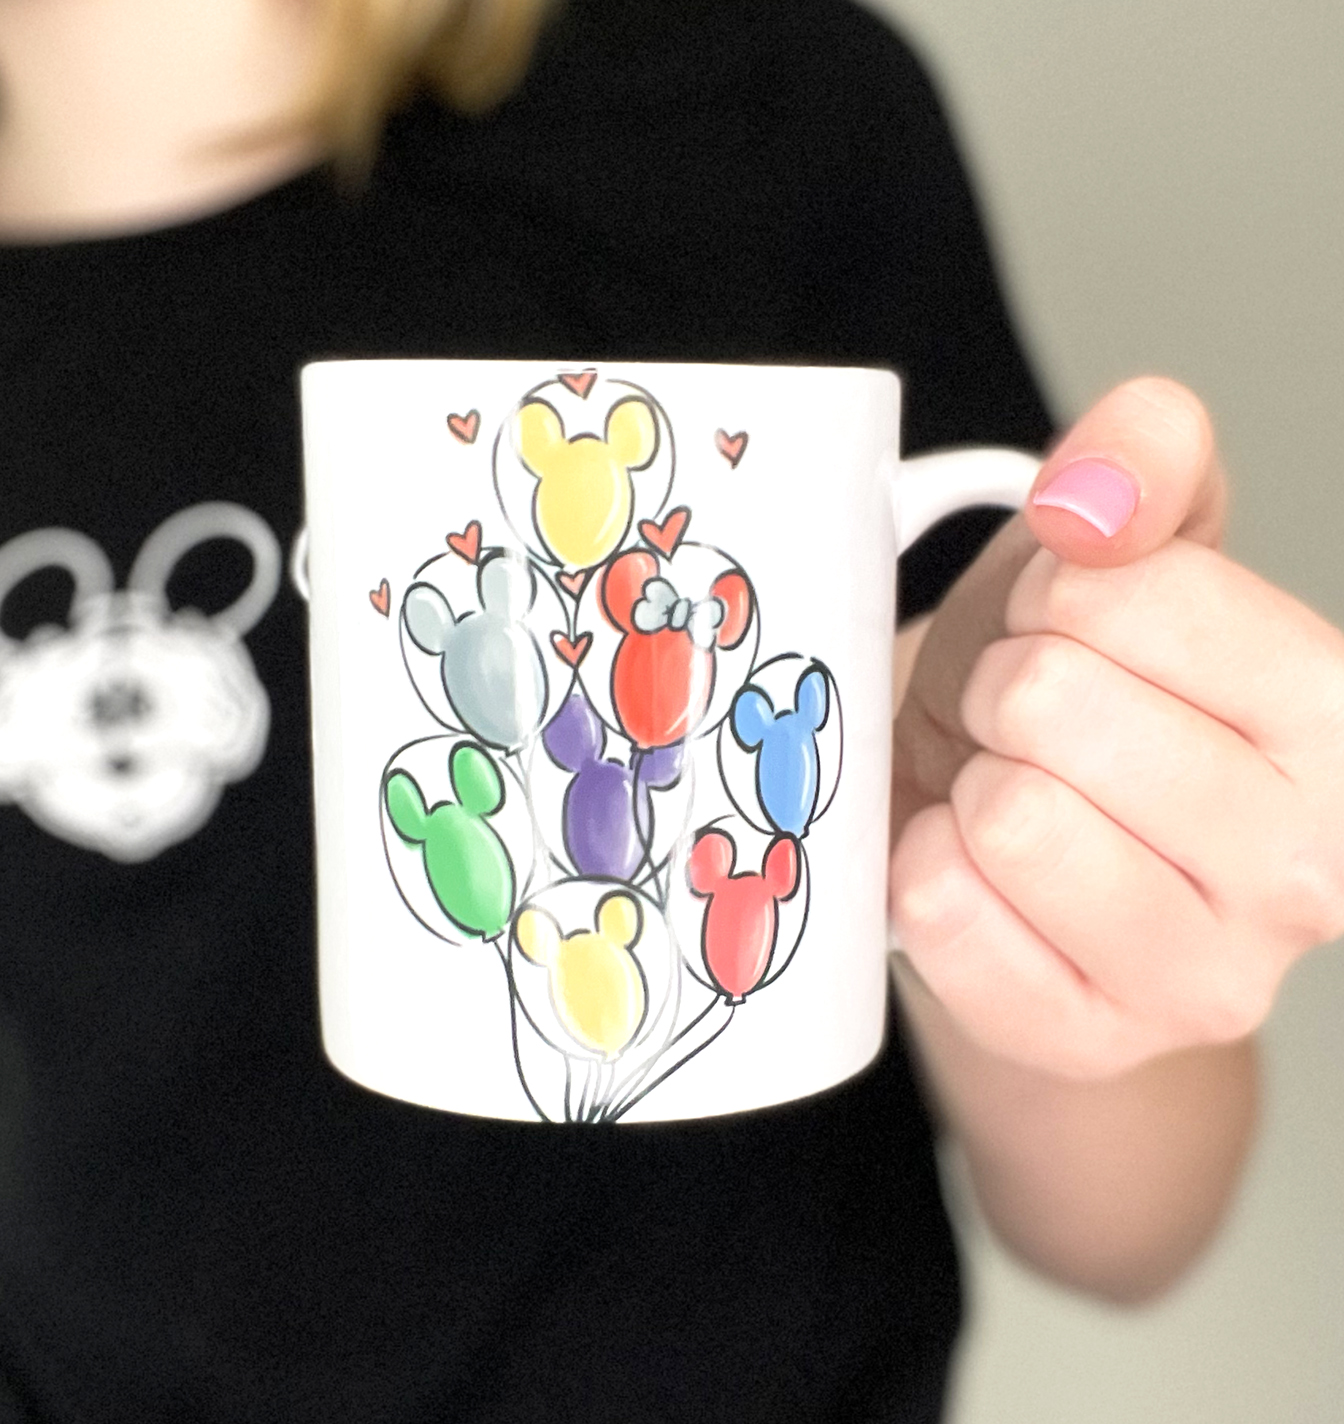
I even use Procreate to make my own iPhone app icons and then customize them with Canva!
What you Need to Print and Cut your Own Stickers at Home
The supplies to print your own stickers are considered optional, because you do not have to print custom stickers on your home printer. You can use your sticker designs for digital purposes only, or you can have them printed by a professional printing company such as StickerMule. These companies will create die-cut stickers for you that are high quality (but also expensive!)
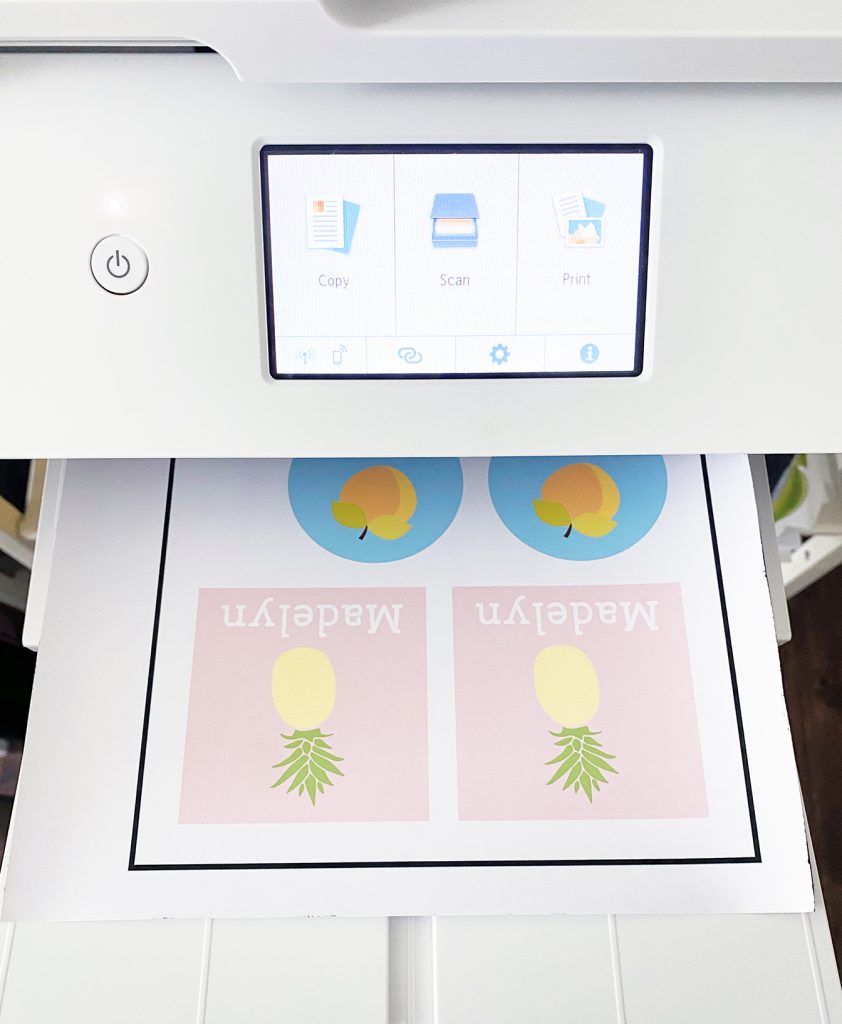
If you want to print your digital stickers at home, you will need a quality printer. I have a Canon inkjet craft printer and I highly recommend it for sticker printing. You can use either a laser or inkjet printer, but I have had the best results with my inkjet printer.
Sticker material comes in a HUGE array of types and styles including kraft paper, clear sticker paper, holographic sticker paper, and more. I actually prefer to use printable vinyl, but have also used label paper and various sticker papers from Amazon with great success. You will want to choose sticker or label paper to match your printer (for inkjet or laser).
You can certainly cut all of your stickers by hand, but did you know that a Cricut or Silhouette machine will do the work for you? Both machines will kiss cut stickers that you can use as sheets or individual stickers. All of my printable stickers are designed to be cut with an electronic cutting machine, which is preferable to most home crafters. I will show you how to prep your sticker file to be used with Cricut Design Space and Silhouette Studio in the tutorial below.
Important note: the Cricut Joy WILL NOT work to print then cut your own stickers. It does not have the sensors required to scan a printed image.
How to Use Procreate for Stickers
This tutorial is meant for beginners. I am not a professional artist but I have always loved to draw and design with Procreate. If you already know the basics of the Procreate app, you may be able to breeze through a few steps. I plan to record this entire process for a Youtube video as well. Make sure you subscribe to my Youtube channel so you don’t miss it!
Open the Procreate app, which will automatically bring you to the Gallery. The first thing you need to do is create a new canvas. Click on the “+” sign in the top right corner of the screen. It will open a panel of commonly used sizes, including screen size.
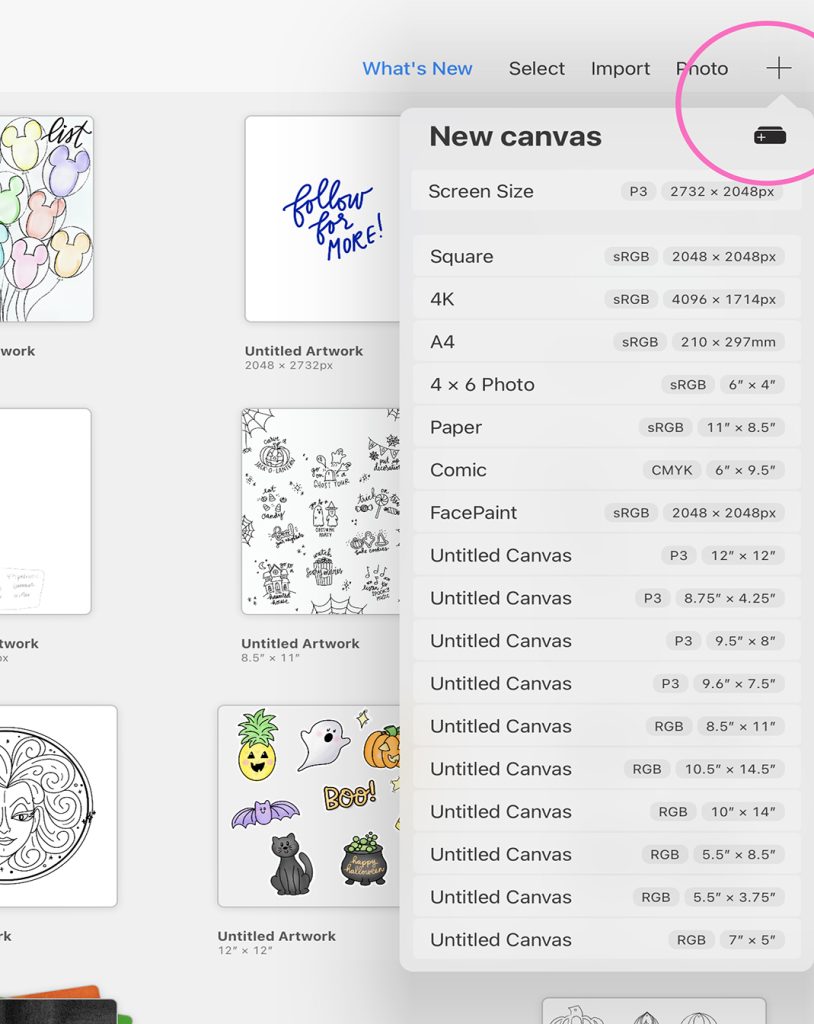
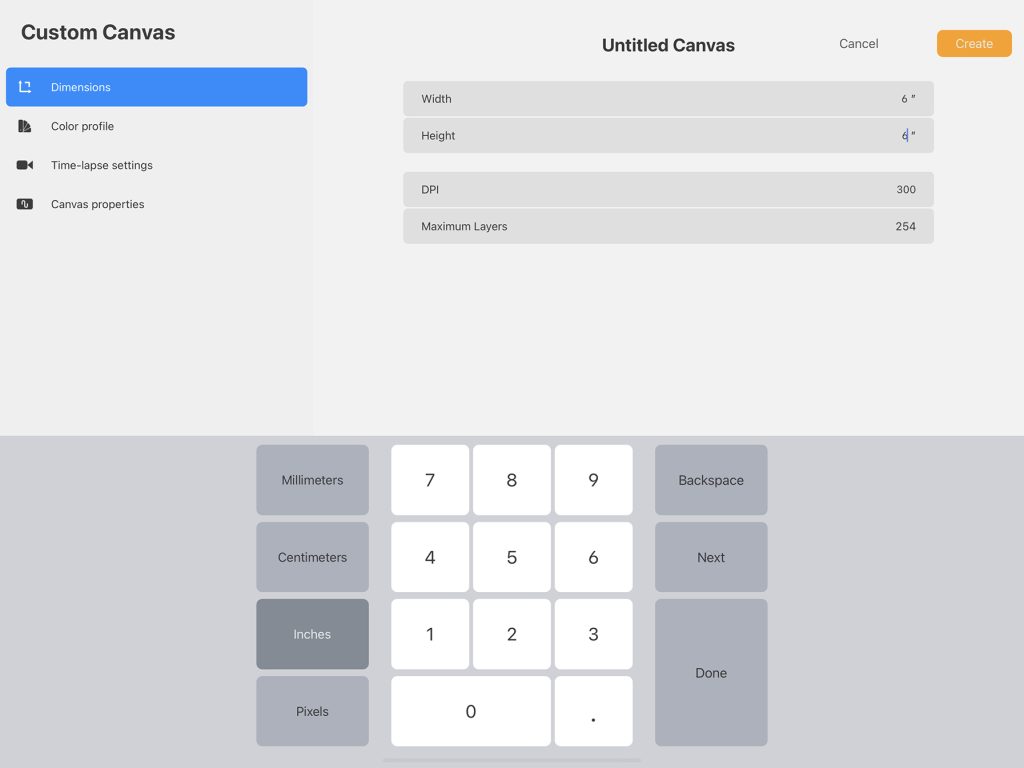
You can choose whatever size you would like, but I recommend you create a custom canvas size to fit how you will use your stickers. Choose whether you would like to design each sticker individually or as a sheet. For individual stickers, I would start at a 6″x6″ square at a resolution of 300dpi. That will give you a high quality file should it be used to print your sticker.
For a printable sticker sheet, I recommend a 8.5″x11″ size. If you know that you or your customers will be using your sticker sheet for Cricut Design Space or Silhouette Studio, then set your canvas to the print and cut restrictions for those machine. Currently, the max size allowed is 6.75″x9.25″ for Cricut and up to 12″x12″ for Silhouette.
For this example, I am working with a single sticker design on a 6×6″ canvas.
Once you have your new canvas, you can start drawing! If you click on the layers icon in the right upper corner of the canvas, the layers panel will open. You will see that the canvas opens with a single white layer. I prefer to build my design starting on that layer.
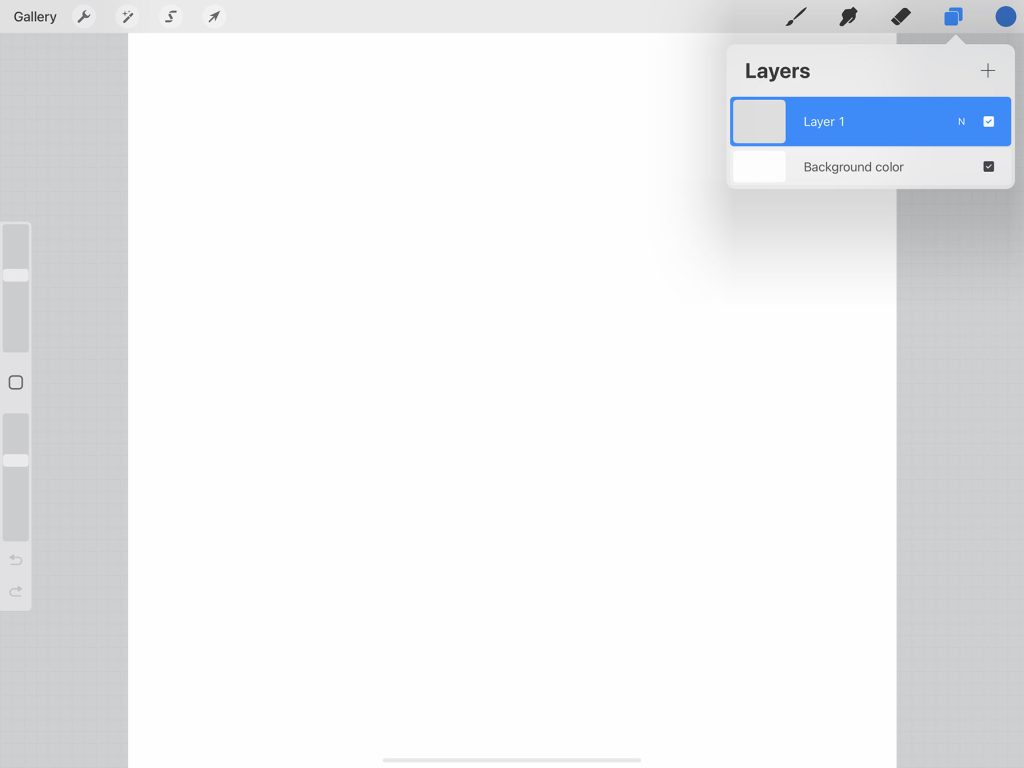
You can add a new layer (or as many as you need) for new design elements, but when you have your final design, combine all of the sticker design layers by pinching the layers together in the layers panel.
At this point, you can technically send off this sticker design to a printing company. Professional printers like Sticker Mule and other print on demand sites will prep your artwork for sticker printing with a basic design. BUT, to have more control over your sticker shape or to prep it for printing and cutting at home, I will show you the rest of the steps to create a white border for around your sticker.
There are different methods to complete your final product. I have tried the shortcuts (you might see short tutorials on using Gaussian blur), but I don’t like the results and I don’t think they really save you a lot of time. I will show you exactly how I do it every time!
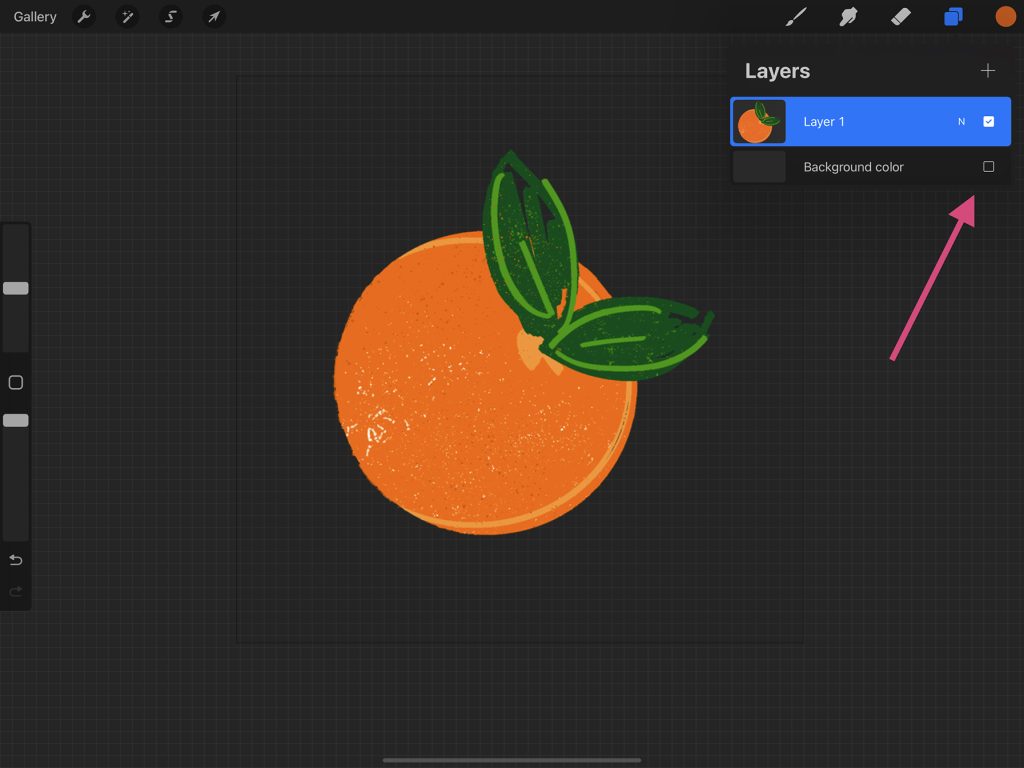
Click to open the layers panel. The first step is click the check box next to the background layer to create a transparent background for your sticker. You don’t want a background color that will interfere with your sticker outline (I have Procreate in Dark Mode so you can see the change with the transparent background more easily.)
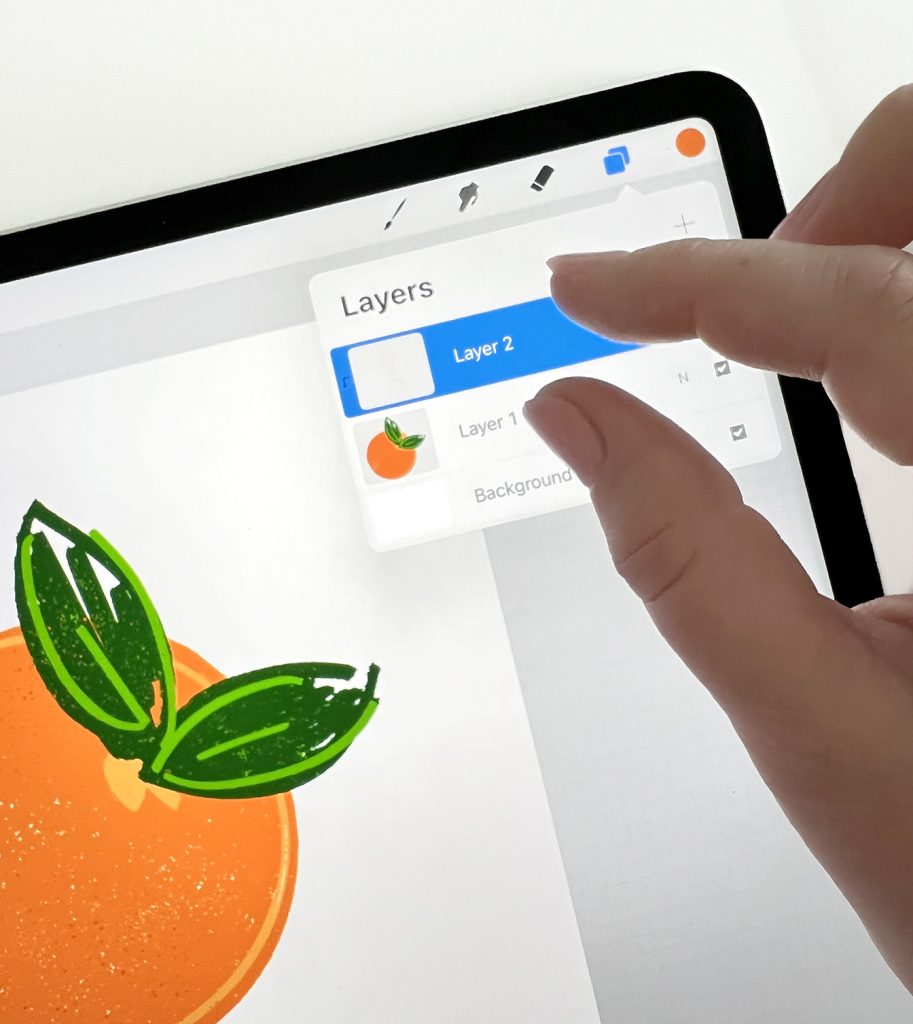
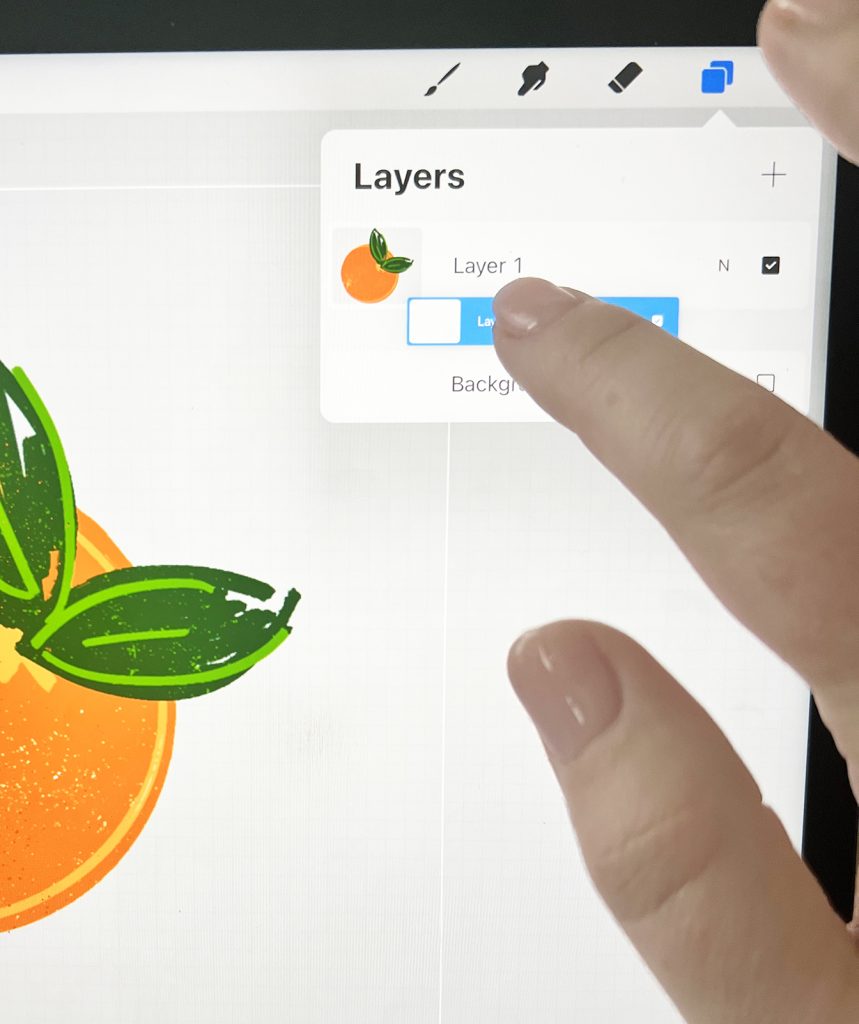
Second, create a new layer. Then – here’s the important thing – click and drag your new layer to the bottom to be the bottom layer in your stack. It should be underneath your sticker design.
In this new layer, you are going to create the white outline for the sticker. Each of your sticker shapes will need to have a white background. The outside white edge will also serve as the cut line for Cricut Design Space and Silhouette Studio.
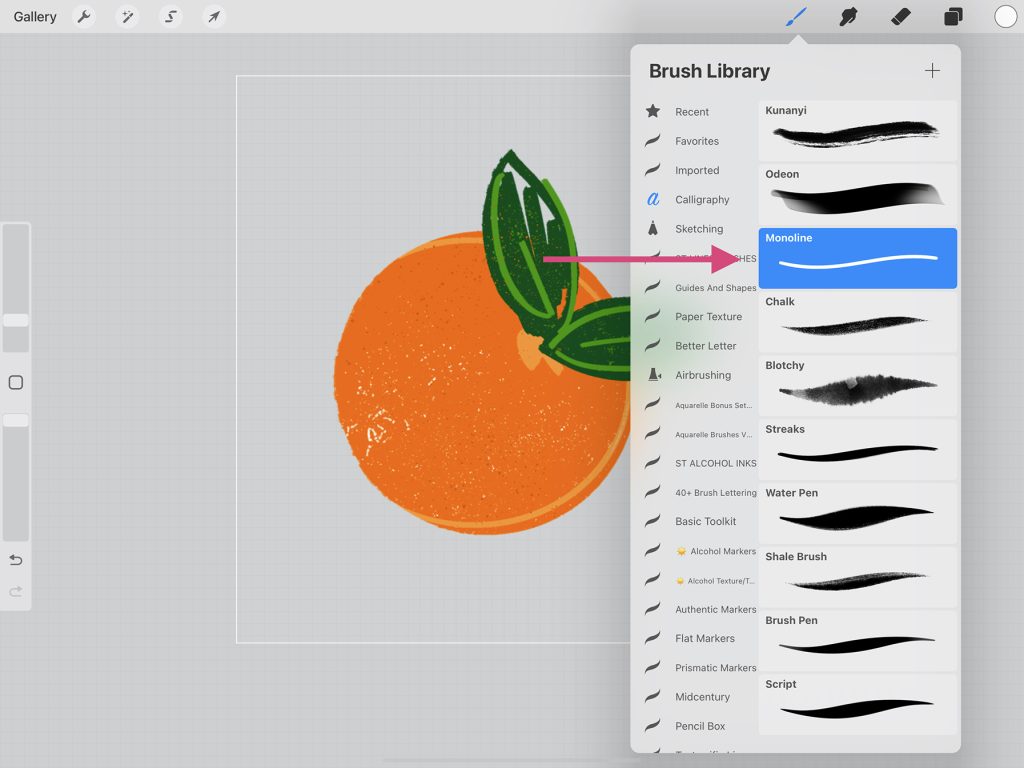
Go to the brushes panel and click on the “calligraphy” group. Select the monoline brush, which will give a clean cut line for your sticker. You do NOT want to use a brush that will give a fuzzy edge to the sticker.
Outline your sticker design (you can make the border as thin or wide as you would like), and then fill in the shape so that the entire shape is white. You can drag and drop from the color swatch (the small circle with the current color in the very top right corner of the canvas) to Color Fill, or manually color in the shape.
I have moved the top layer (sticker design) so that you can see the color fill more easily.
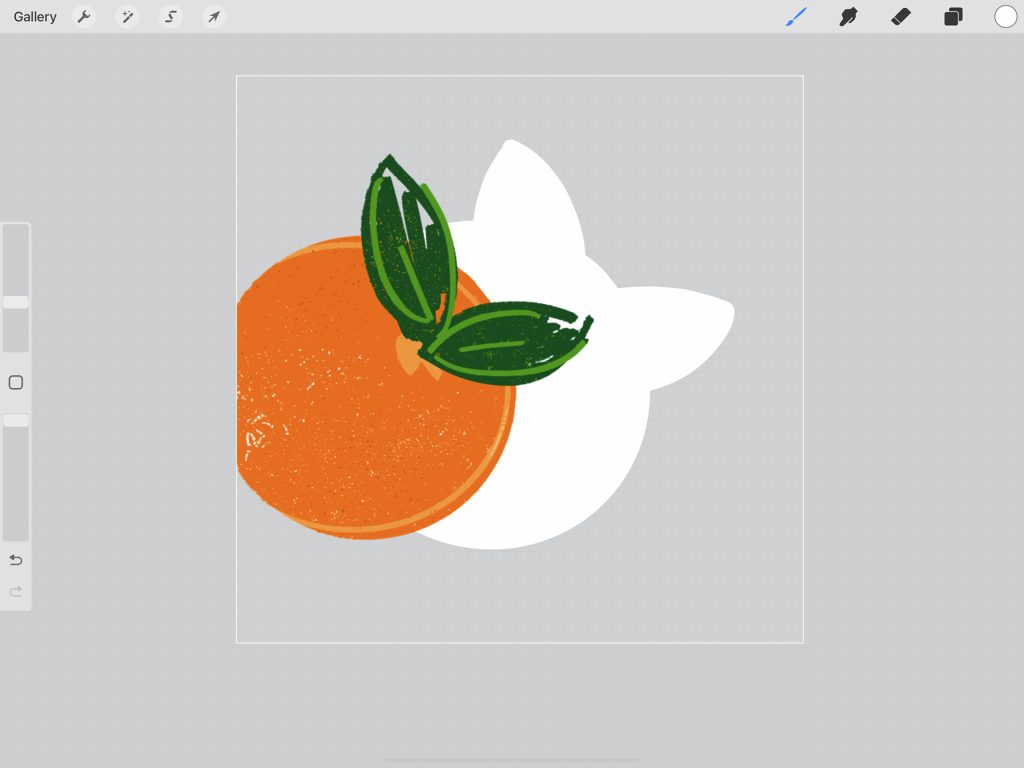
If you wish to create a perfect circle or square shape to surround your design, you can use the drawing guide (access under the wrench tool) or quick shapes.
The final step to create your sticker is to go back to the layer panel, and combine your two layers (the sticker design and the new white background shape.) Now when you import this design into a sticker sheet or into a design program, the sticker will be recognized as a solid shape.

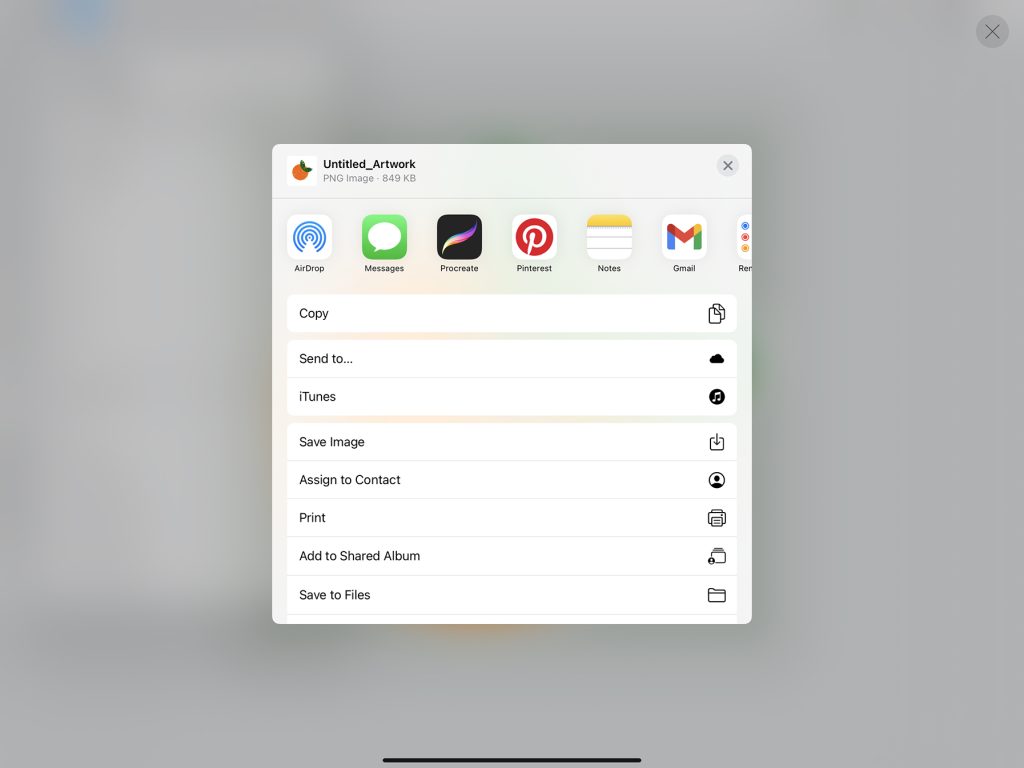
To save your sticker design, click the wrench icon near the top left of the screen. Click “Share” and choose to save as a PNG file (this option is about 1/2 way down). PNG files are the file type that design programs will recognize the transparent background and cut line of the sticker.

Then choose where you would like to save your design.
*Important Note*
Your Procreate gallery artwork will ONLY be saved automatically as a Procreate file within the Procreate app. In order to access your artwork in another program or on another device, you MUST export the design in your desired file type. You should also do this to save the file to your iPad camera roll so that you can back up your files or access them via the iCloud.
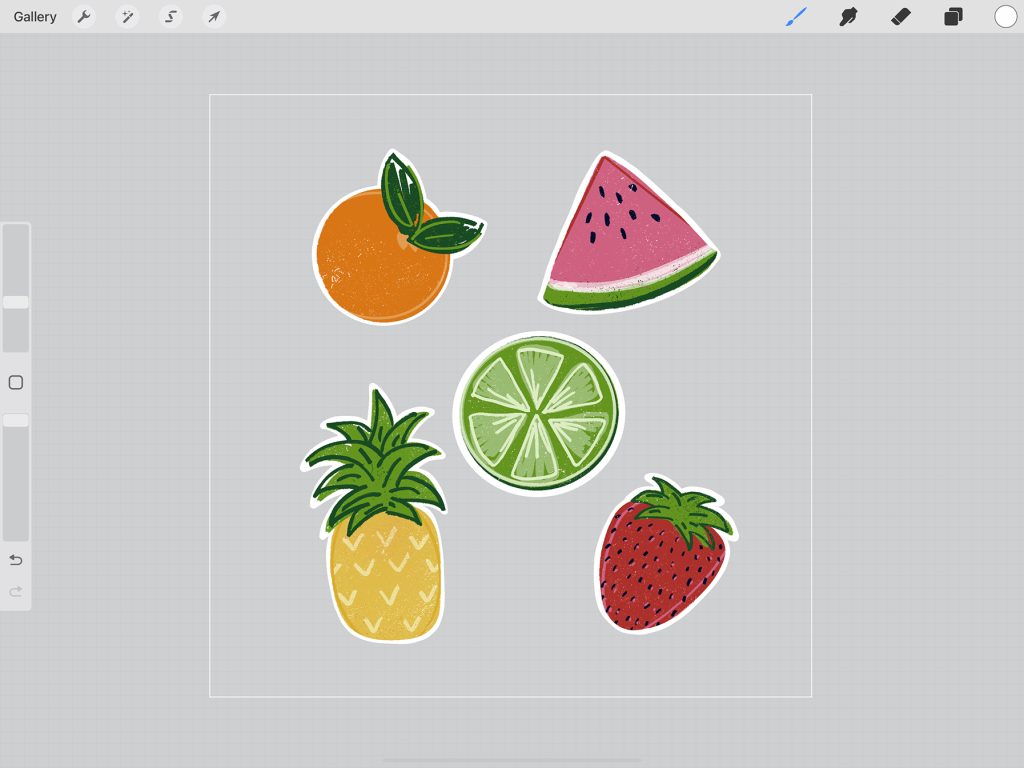
How to Combine your Sticker Designs into a Sticker Sheet
Should you want to take several of your stickers and combine them to make a sticker sheets, it’s really easy. There are two ways to accomplish this:
First, you can save all of your artwork to your iPad and then add them to a new canvas. Create a canvas the size of your sticker sheet at 300dpi. Go to the Wrench tool and Click “Add” then “Insert a Photo” (or “Insert a File” depending on how you saved your design.
Repeat for all of the stickers you would like on the sheet.
The second option is to send all of your sticker designs to your computer and organize them to a sheet in another design program. This is generally the method I use – I AirDrop all of my stickers to my MacBook and I create the sticker sheet in Adobe Photoshop.
For both methods, you will still set the background as transparent and save your sticker sheet as a PNG file. That will ensure your stickers will cut properly on a Cricut or Silhouette Machine.
LATEST POSTS:
- Wicked Coloring Pages to Print for Free
- Free Thanksgiving Turkey Coloring Page Printable
- Free Printable Thanksgiving Meal Planner & Grocery List
- xTool M1 Ultra Beginner’s Guide and Review
- Free Best Dad Ever Father’s Day Coloring Page
Pin How to Make Stickers with the Procreate App to Pinterest


ABOUT CHARYNN
Hi, y’all! I’m Charynn, the owner and designer of Pineapple Paper Co. I’m a mom of four kids (two girls and two boys) living in Pittsburgh. I love hand lettering, anything southern, cocktails, and of course, pineapples! I am excited to share my SVG files, printables, and craft projects with you! The pineapple is a symbol of hospitality, and I welcome y’all to my little corner of the internet. Read more…