Design Your Own Sublimation Mug
This post and the photos within it may contain affiliate links. As an Amazon associate I earn from qualifying purchases. If you make a purchase through one or more of the links, I may receive a small commission at no extra cost to you.
You are not limited to Infusible Ink when you want to make your own sublimation mug! Create your own artwork and design your own sublimation mug with Procreate and a sublimation printer!

I recently got a Cricut Mug Press and I was REALLY excited to try it out. I have made sublimation mugs in my oven using a silicone wrap, but the Mug Press advertised to be really easy. But here’s the catch – I didn’t want to use Infusible Ink for my first mug. I have been completely obsessed with the printer that I converted to sublimation, so I wanted to try out one of my own designs with a Cricut Blank Mug and the Mug Press.
Supplies You Need to Make Your Own Custom Sublimation Mug
For step-by-step instructions to convert an inkjet printer to a sublimation printer, check out my How to Convert an Epson Printer to Sublimation post.
- Epson EcoTank Printer
- HiiPoo Sublimation Ink (get an extra coupon when using my link!)
- Blank Mug for Sublimation
- Sublimation Paper
- Cricut Mug Press or Mug Heat Press
- Lint Roller

I created my artwork in Procreate, but you can certainly use whatever program you would like or are comfortable with. You will just need the capability to send your design to your sublimation printer. If you would like to get started with drawing your own designs in Procreate, you will also need:
- iPad (Pro Model or generation 6 or higher to use the Apple Pencil)
- Apple Pencil (check your iPad model to see if you need the 1st or 2nd model)
- Procreate App
I started with a Mickey Balloon design and also a design with my daughter’s name that I have been saving in Procreate for a couple of months. I wanted to use it for a special project, and this mug was the perfect way to test it out. I also lettered my daughter’s name so that I could put a design on each side of the mug.
Creating Sublimation Designs in Procreate for Mugs
If you are not familiar with Procreate, it’s a drawing app for the iPad that I use for a lot of my printable and SVG designs. Procreate is an awesome way to create digital artwork, and if you’re just learning, I have a TON of how-to videos on my TikTok account. I also have a full length video of how to make this sublimation mug on my YouTube channel. Follow my channel for more videos!
To create your artwork in Procreate, make sure that you use a canvas at least the same size as the mug and set your resolution to 300dpi. That will ensure that your drawing will not be blurry when you print it out. I used an 8×10″ canvas so that this artwork could be used for other applications as well.
Save and export your Procreate drawings to your computer. You will need to resize your images to precisely fit the mug. The best computer applications for this process are Adobe Illustrator or Adobe Photoshop, but you can also use a free program like Inkscape.
How to Make a DIY Sublimation Mug with Your Own Design
I measured the side of the mug to determine how big I wanted the designs to be.

Resize the drawings and then be sure to MIRROR them before you print. Send to your printer and trim away the extra paper.
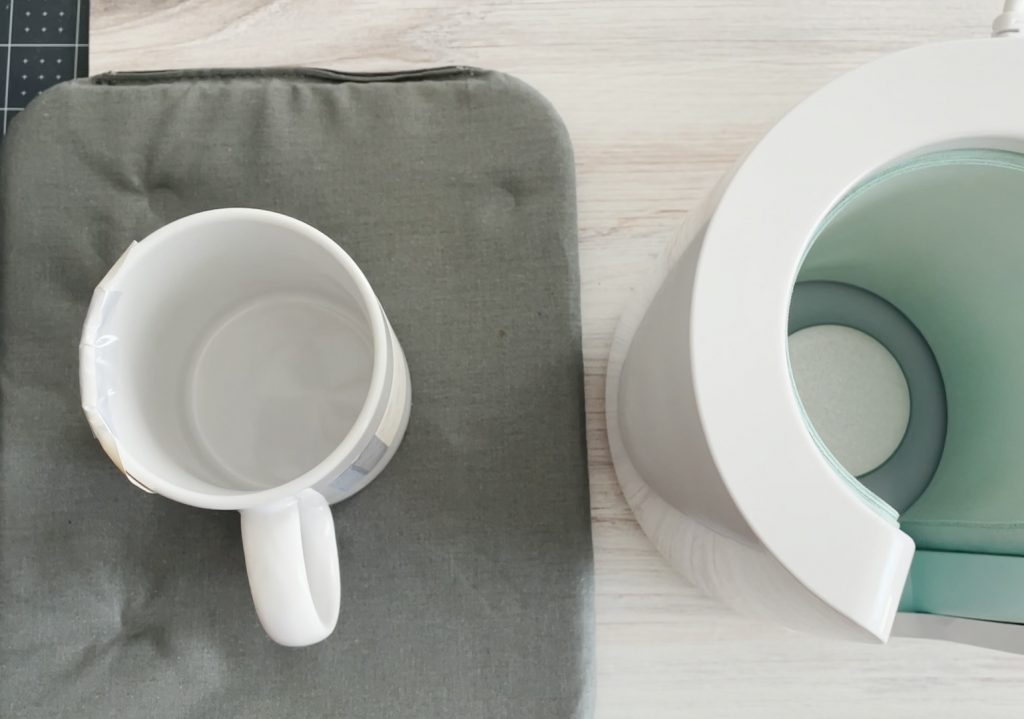
I used a 12 oz. Cricut Blank Mug for this project, but you can use any mug that is compatible with sublimation and will fit the Mug Press.

Attach the designs to the mug design side down and secure tightly with heat resistant tape.

Make sure you fold the edges of the paper down around the lip of the mug with tape if your design does not fit within the mug. I learned the hard way to make sure these corners were taped down. You can also cover the mug design with butcher paper, but I didn’t have a problem without it.

How to Use the Cricut Mug Press for a DIY Sublimation Transfer Mug
Preheat your Mug Press by pressing the power button. It will turn orange and then green when it has fully preheated.

Insert the mug into the press with the handle centered in the gap of the press.

Press down on the handle so that the heat press wraps securely around the mug. The Mug Press will initiate an automatic timer, so just wait for the beep (all 5 of the lights on the press will also be illuminated).
RECENT POSTS:
Lift the Mug Press handle and carefully remove the mug by the handle and set on a heat press mat or other surface to cool completely. It will be VERY HOT, so be careful not to touch the mug itself or use heat protective gloves.
Once the mug has cooled, remove the tape and sublimation paper and reveal your design!

What is AWESOME about this process is that your design is embedded in the mug! You can stick it in the dishwasher or put it in the microwave and the design will not crack, peel, or fade! It is totally permanent and looks store bought.

My daughter absolutely loves the mug and uses it all of the time! And I don’t have to worry about vinyl pieces coming off if she accidentally washes it a little too hard – she just tosses it in the dishwasher! (You can follow her @maddiesmagicallife on Instagram!)


Pin DIY Custom Sublimation Mug


ABOUT CHARYNN
Hi, y’all! I’m Charynn, the owner and designer of Pineapple Paper Co. I’m a mom of four kids (two girls and two boys) living in Pittsburgh. I love hand lettering, anything southern, cocktails, and of course, pineapples! I am excited to share my SVG files, printables, and craft projects with you! The pineapple is a symbol of hospitality, and I welcome y’all to my little corner of the internet. Read more…