DIY Mug with Cricut Infusible Ink Pens
This post and the photos within it may contain affiliate links. As an Amazon associate I earn from qualifying purchases. If you make a purchase through one or more of the links, I may receive a small commission at no extra cost to you.
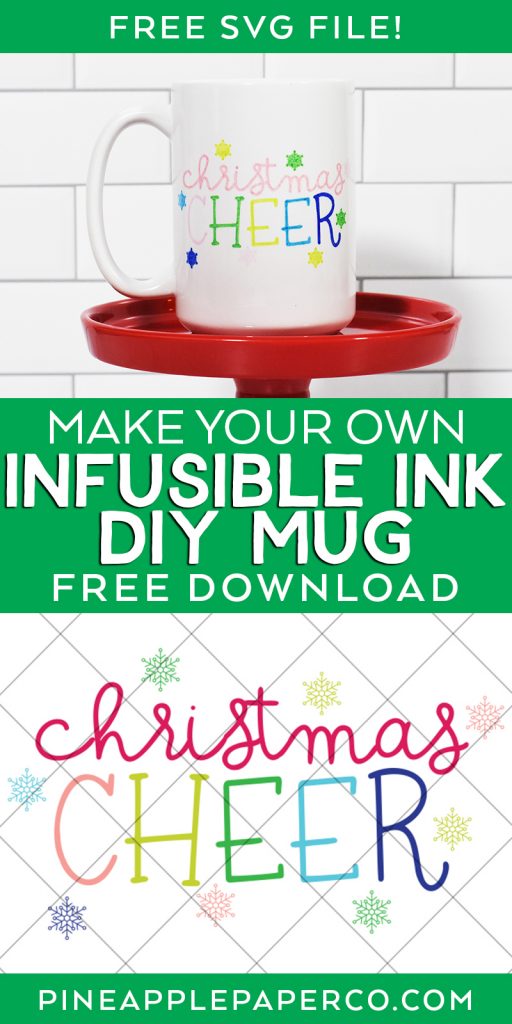
Make your own DIY mug with Cricut Infusible Ink Pens and WITHOUT a heat press! Plus, grab a FREE Christmas Cheer SVG that you can use for mugs and other crafts!
I absolutely love using Cricut Infusible Ink products – they provide a permanent, peel-proof finish and can be used on a variety of items. If you’re new to Infusible Ink, make sure you read my Cricut Infusible Ink Ultimate Guide. It goes through all of the basics of using sublimation products, what materials you can use, and more! Plus, I have a gathered up a large collection of Infusible Ink projects you can try now.
I’ve wanted to try to make my own mug with Infusible Ink pens in the oven and I finally did it. And wow, I’m so excited about how it turned out!

Unlike traditional mugs made with vinyl, the Infusible Ink EMBEDS itself right into the surface of the mug so there’s no chance of peeling or cracking! AND, because I used the Cricut Infusible Ink Pens and Markers, you don’t even need a Cricut Machine to make this mug!
Infusible Ink DIY Mug Supplies
Using a Cricut Machine:
- Cricut Machine
- Cricut Infusible Ink Pens & Markers
- Ceramic Mug for Sublimation (MUST be Polyester Coated)
- Laser Copy Paper
- Heat Resistant Tape
- Silicone Mug Wrap
Without a Cricut Machine:
IMPORTANT: Infusible Ink Pens and other sublimation products will ONLY work with specific materials that contain a very high percentage of polyester or have been coated with polyester. The chemicals in the ink bind to polyester when heated, so if there’s no polyester, your image will not transfer. Similarly, if the percentage of polyester is low (as in clothing made with a combination of fabrics), your image will be very light when transferred and may fade.
Want to Learn How to Make Sublimation Tumblers?
Read my Ultimate Guide!
How to Make a Mug with Sublimation Markers
I used Infusible Ink markers, but there are other sublimation markers out there. I’ve seen great things made with Artesprix sublimation markers! Plus, there’s a line of Transfer Quill Markers from We R Memory Keepers.
I also really LOVE Infusible Ink Transfer Sheets that you can cut with your Cricut machine, but they would not work with this design. The small snowflakes around the edge are too small to cut. PLUS, you can get a HUGE pack of Infusible Ink markers and use ALL the colors, but you would have to buy each color of transfer sheet individually. You’ll save loads of money using the markers. I do LOVE this mug that Heidi from Happiness is Homemade created using the Infusible Ink transfer sheets, though! She definitely inspired me to try to make my own mug!
You can use Infusible Ink markers in your Cricut machine – they are designed to fit in the Cricut Explore or Maker series machines. But, you can also use them freehand.
The most important part of designing your transfer image is that it has to be a MIRROR image – so whether you get there by having a Cricut machine draw your image or using a BrightPad to trace a printed image onto another piece of paper, it doesn’t matter!
I used the Cricut to draw my image with Infusible Ink pens and then I colored in the letters with the Infusible Ink markers of the same color. The colors I used are:
- Bubble Gum (Light Pink)
- Fuschia (Dark Pink)
- Green Apple (Light Green)
- Green
- Sky Blue
- Vivid Blue
Make sure the ink is saturated well on the paper and then prep your mug for transfer.
Preheat an oven that you use for crafting, or a toaster oven to 400 degrees. *I have an oven outside of my kitchen that I use specifically for crafting, so chemicals don’t get into the oven I use for food. You can use a small toaster oven, too. It doesn’t have to be a big oven!
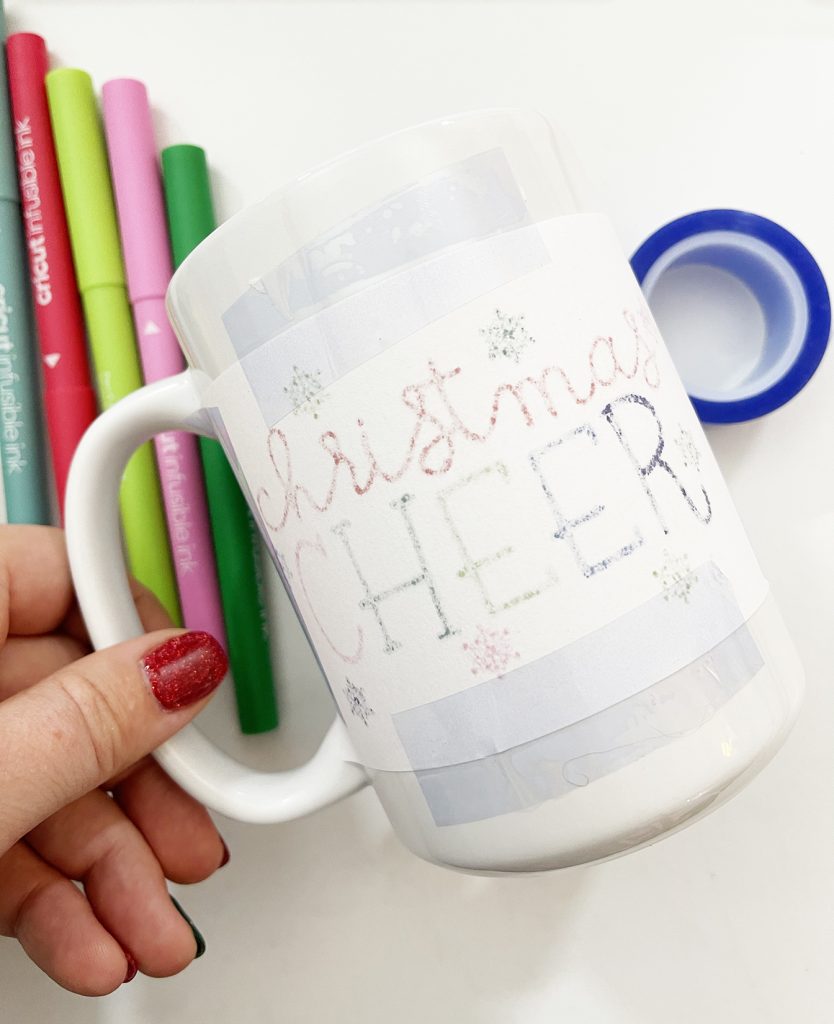
Wipe your mug with a lint free cloth to remove any fingerprints or dust from the mug. Position your design on the mug – if you mirrored your image correctly, you’ll flip the image over ink side to the mug and it will read perfectly!

Use heat resistant tape to TIGHTLY secure your design to the mug.
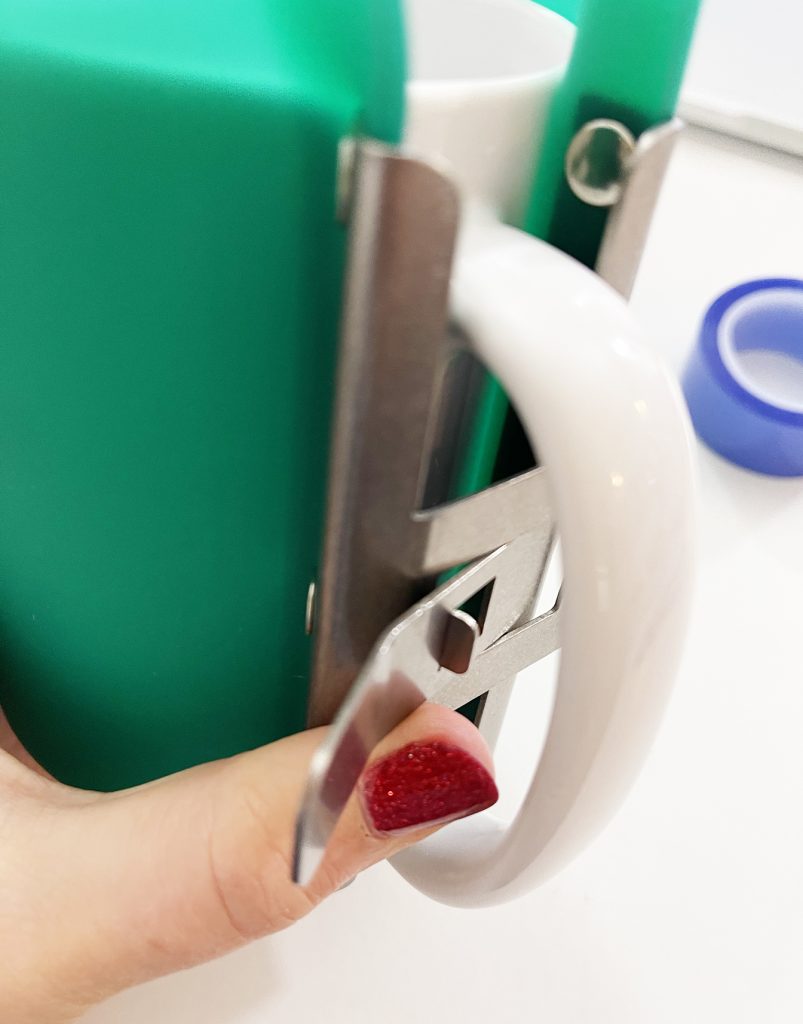
Then surround the mug with a silicone mug wrap designed for making sublimation mugs. This will ensure your design maintains good contact with the mug while in the oven, so you end up with a good transfer!
Place in the oven on a sheet pan for 15 minutes, then remove and let cool before handling.
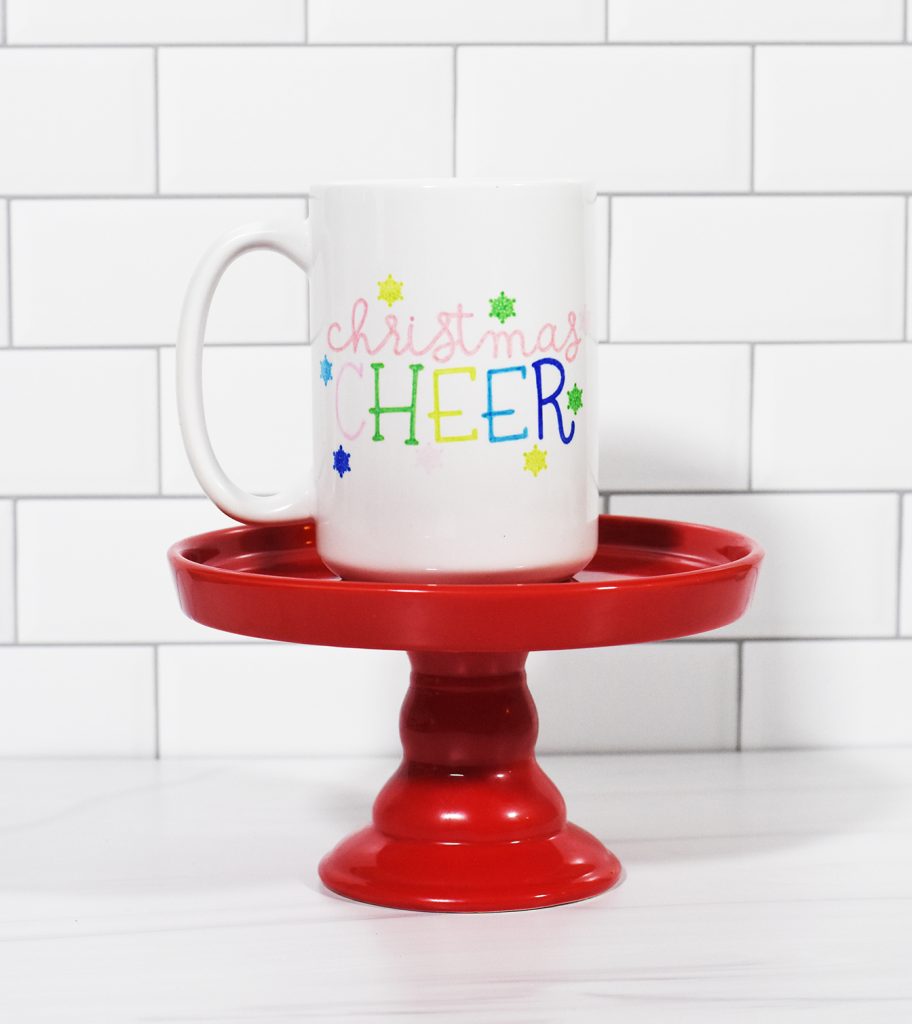
When the mug is cool, carefully remove the mug wrap, tape, and paper. As long as you have a polyester coated mug, the design will transfer like magic!
Download a FREE SVG to make an Infusible Ink Mug

This file is DOWNLOAD #197 in my FREE DOWNLOADS LIBRARY.
Get the password below! (If you have the password, head over to the library to download the file.
You will NOT receive an email with the download file. SVG files can be used with Cricut Design Space and upgraded versions of Silhouette Studio.
Pin DIY Sublimation Mug with Markers


Thank you so much for this article! I wonder if you have ever had ink show up where it shouldn’t? A black spot here or there. I have on a few mugs and am trying to figure out where I am going wrong.
Oh that’s odd! I haven’t – but I’d love to see a pic!
Do you have to use a specific type of paper when drawing with the Infusible ink markers are will regular copy paper work?
laser printer paper is recommended 🙂
hi. when using freehand markers, (infusible of course) how long do you wait before pressing? I waited about 10 minutes and my paper moved and I didn’t notice and my markers smeared ruining my project.
You want to make sure it’s dry – maybe a few minutes. More importantly, make sure you tape the paper onto the blank with heat resistant tape. That will keep the design from shifting 🙂