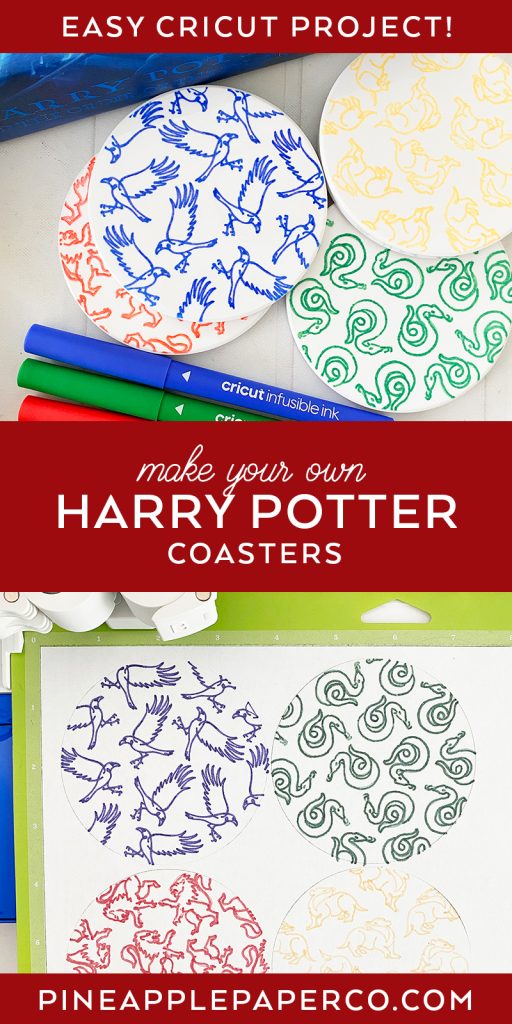
Make Your Own Harry Potter Coasters
This post and the photos within it may contain affiliate links. As an Amazon associate I earn from qualifying purchases. If you make a purchase through one or more of the links, I may receive a small commission at no extra cost to you.
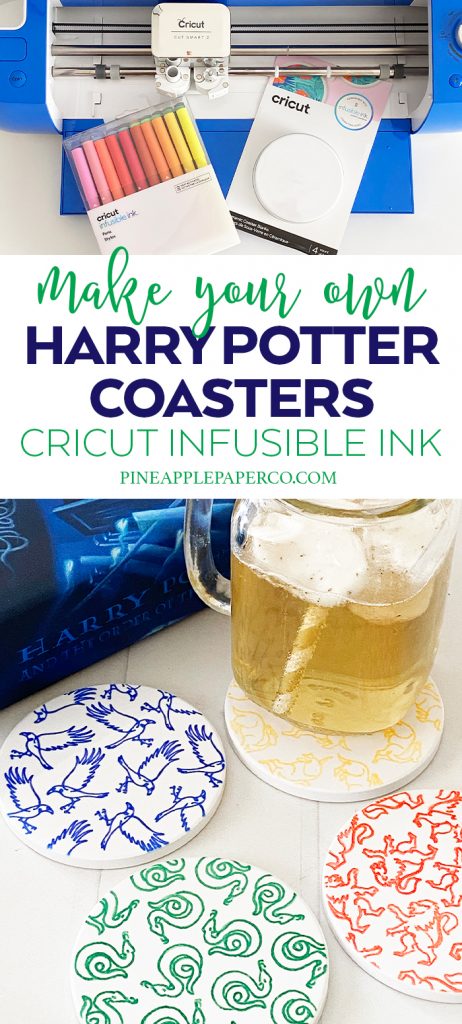
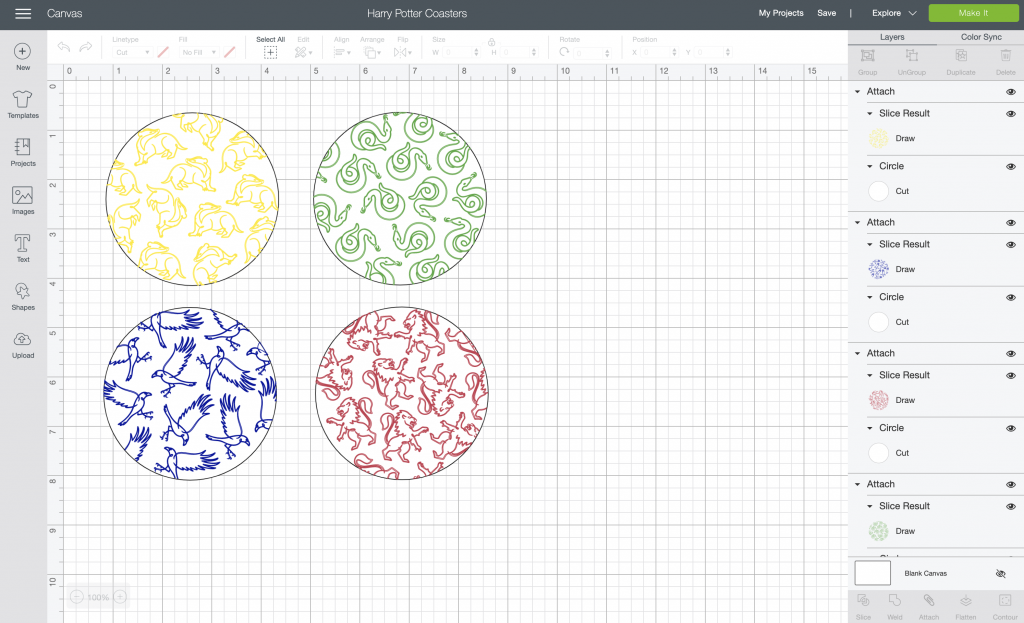
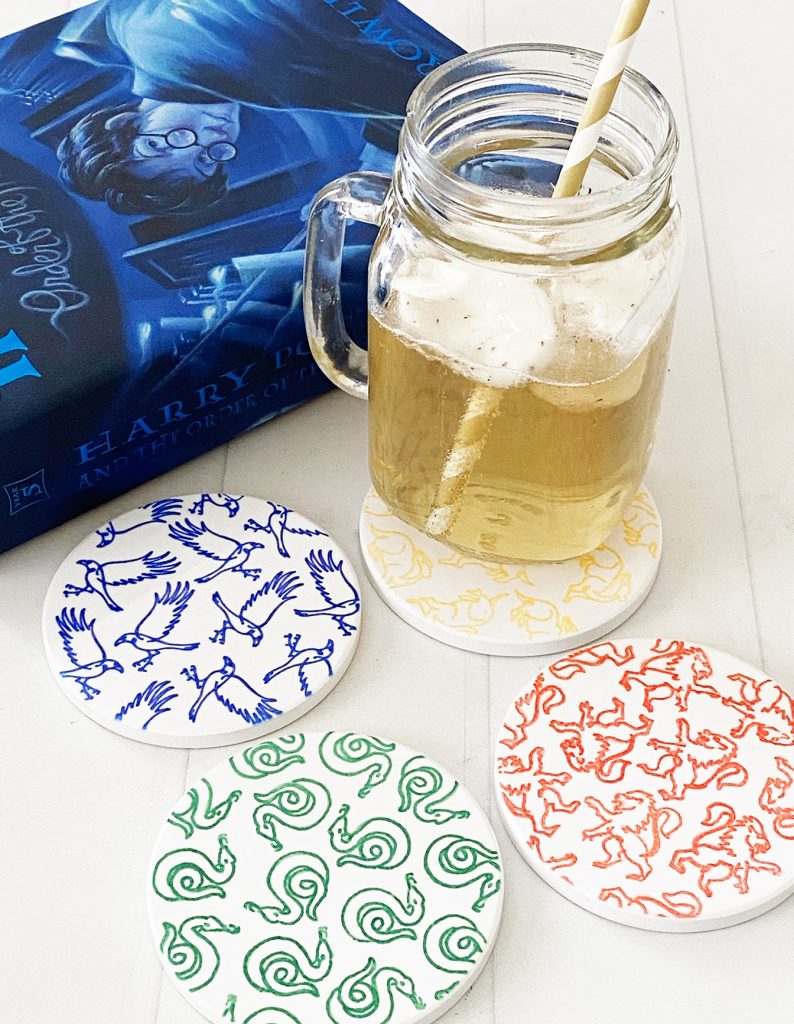
Use Cricut Infusible Ink Markers to make your own DIY Harry Potter Coasters with new Harry Potter designs in Cricut Design Space! Use Gryffindor, Ravenclaw, Slytherin, and Hufflepuff house icons to make your own ceramic coasters with this easy tutorial!
Make DIY Harry Potter Hogwarts Coasters
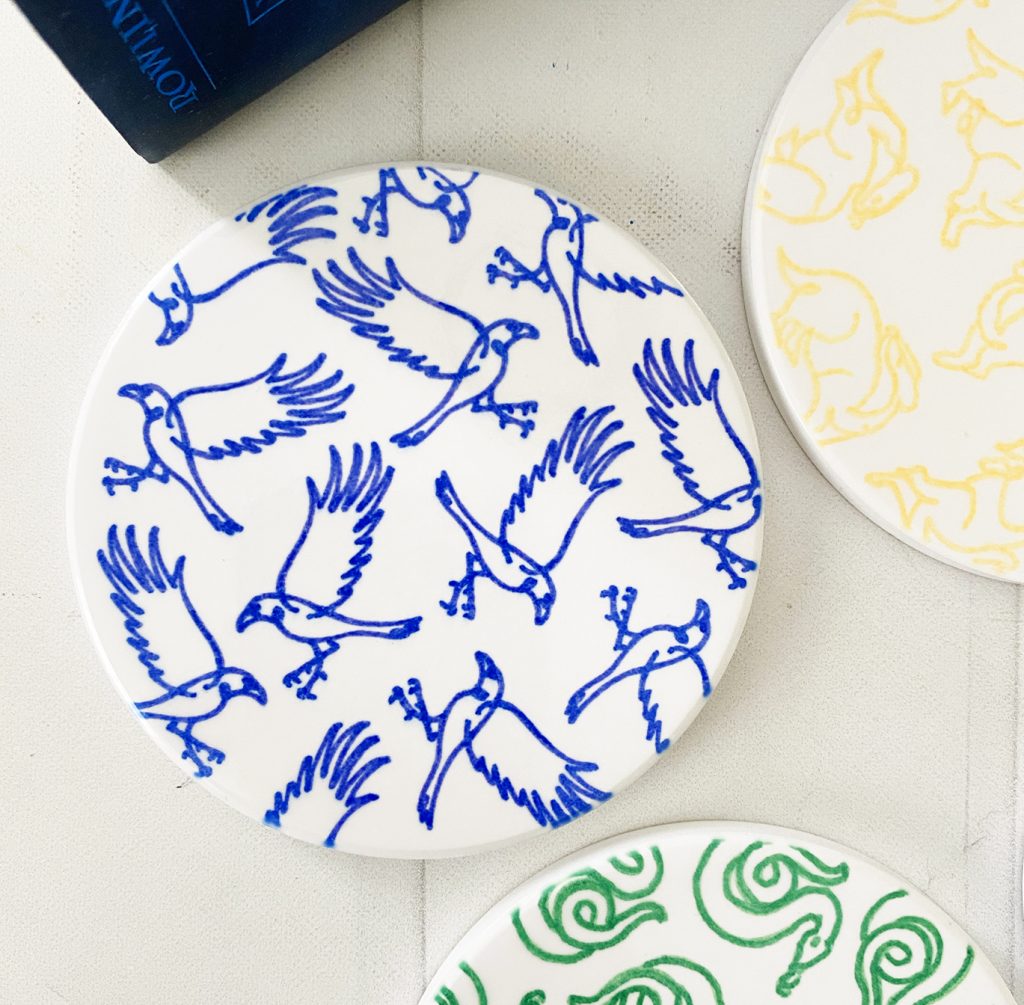
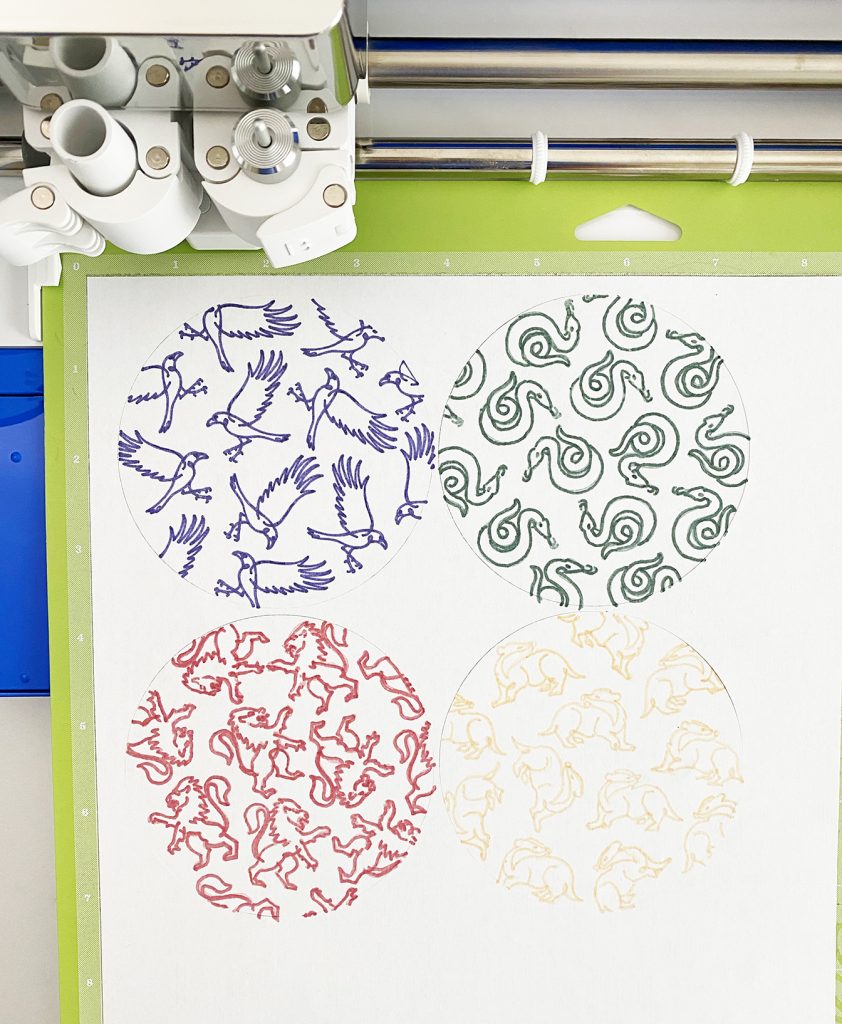
I am SO excited that Cricut Design Space now has Harry Potter designs! As soon as they launched, I knew that I wanted to make a new set of Infusible Ink Coasters. I love the hand sketched look of the Hogwarts House icons, so I decided to make one coaster for each house.
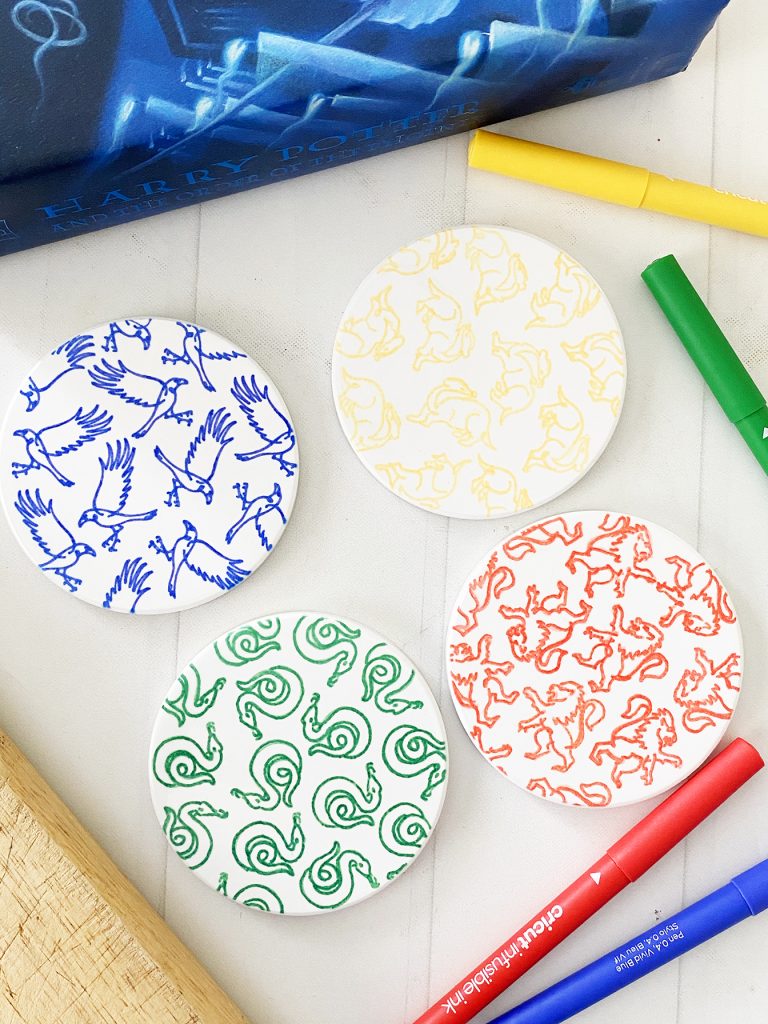
Which Hogwarts house are you sorted into? I’m a Ravenclaw!
One of my favorite Cricut projects to make with the Infusible Ink line of products is coasters! These hand painted watercolor coasters are one of my most popular posts.
Related Post: Harry Potter SVG Files
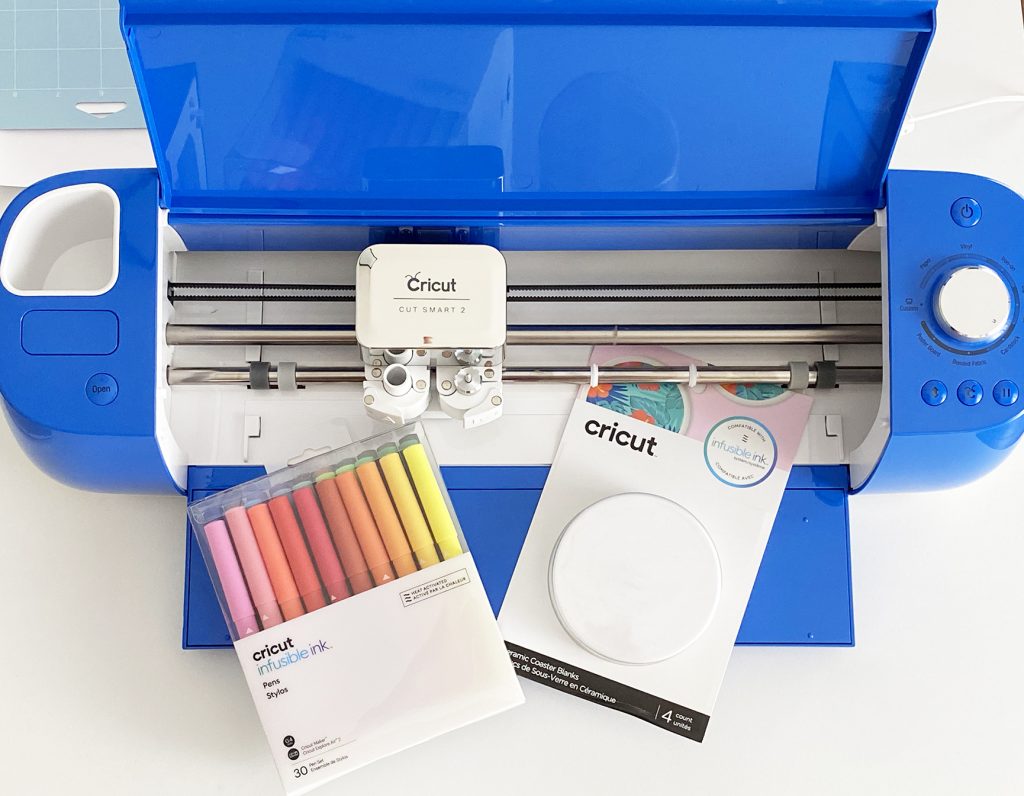
Supplies You Need to Make Harry Potter Coasters with Cricut Infusible Ink
A lot of these supplies you need for all infusible ink projects, the only unique supply to this project is the coasters (and the infusible ink pens, if you don’t have them!)
- Cricut Maker or Explore Air 2
- Cricut Standard or Light Grip Mat
- Cricut Infusible Ink Compatible Coasters
- Cricut EasyPress 2
- Cricut EasyPress Mat
- Cricut Infusible Ink Pens
- Laser Copy Paper
- Lint Roller
- Butcher Paper (comes in transfer sheet package)
- White Cardstock (to protect your EasyPress Mat)
- Heat Resistant Tape
Make sure you check out these full tutorials for more projects using Cricut Infusible Ink:
- Complete Guide to Cricut Infusible Ink
- How to Make a Cricut Infusible Ink Tote Bag
- Cricut Infusible Ink Baby Onesie
- DIY Coasters with Infusible Ink Transfer Sheets
- DIY Unicorn Notebook with Infusible Ink Watercolors
- How to Make a Shirt with Cricut Infusible Ink
- Cricut Infusible Ink Watercolor Coasters

How to Make Harry Potter DIY Coasters
All of the Harry Potter images used are from Cricut Design Space. They aren’t included with Cricut Access due to licensing, but I love the whole set of designs, so I bought them!
Click to open: Harry Potter Coasters Cricut Design Space File
Click the green “Make It” button when you’re ready to draw and cut the coaster designs. Since there is no lettering, it is not important to mirror the design.
Since laser copy paper is 8.5×11″ in size, I moved the yellow (Hufflepuff) coaster design down by clicking and dragging the design on the cutting mat:
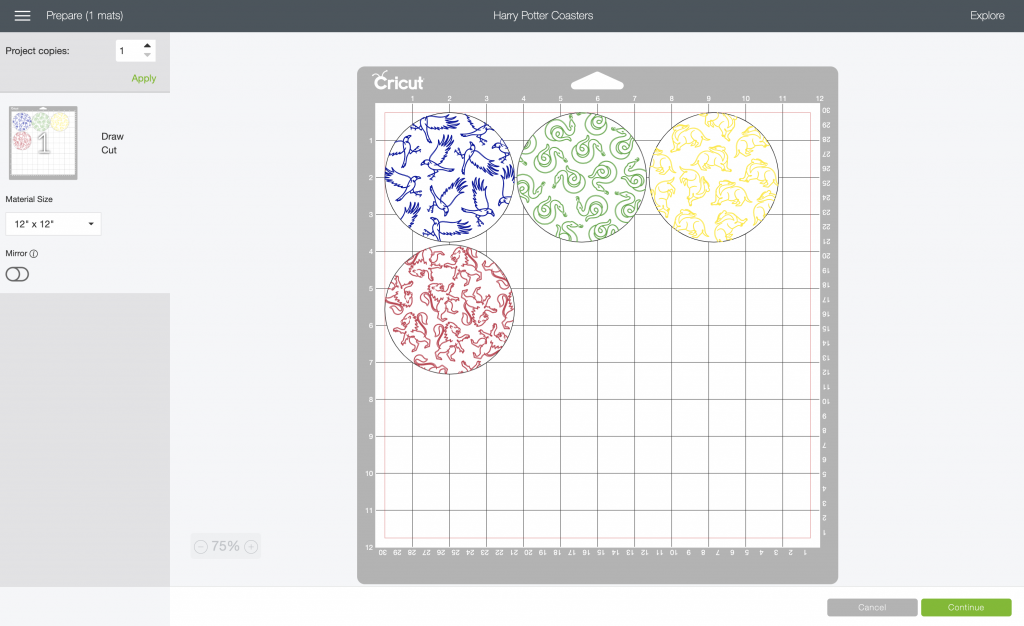
Move it to below the green Slytherin coaster so you can place your paper on the mat vertically. This will provide a little more room around the cutting area:
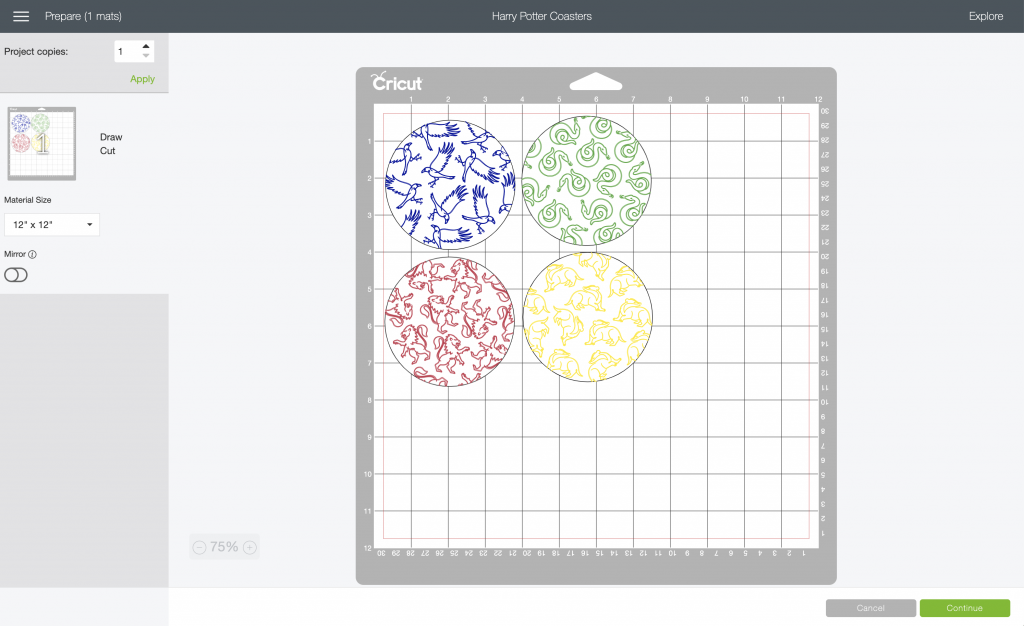
Select “Copy Paper” as your material (with the dial set to “Custom” if you’re using an Explore Air 2).
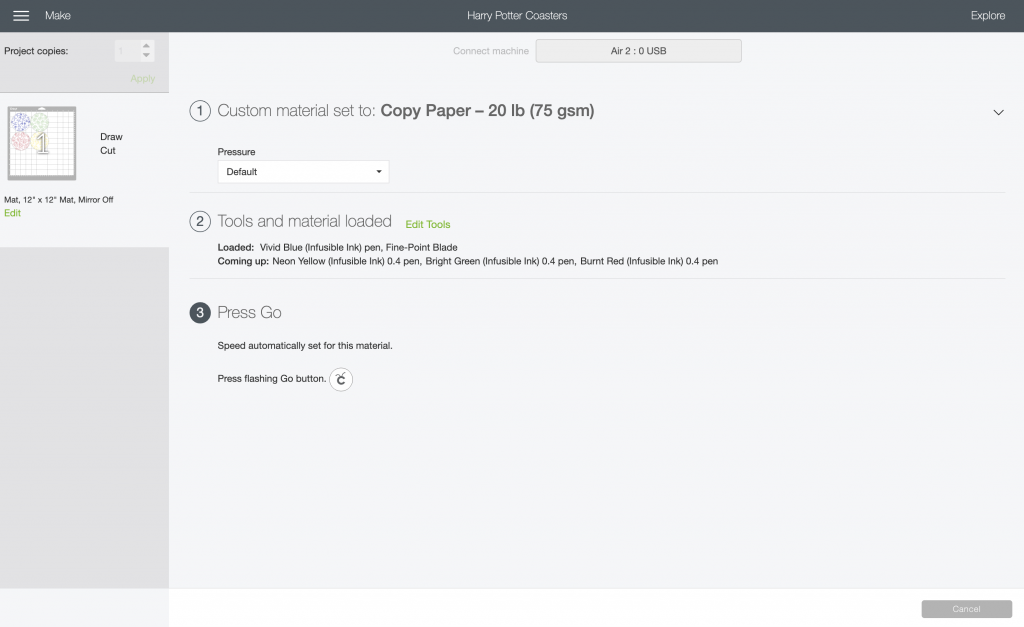
Follow the onscreen instructions to place the Infusible Ink pens in the machine, one by one, to draw the designs.
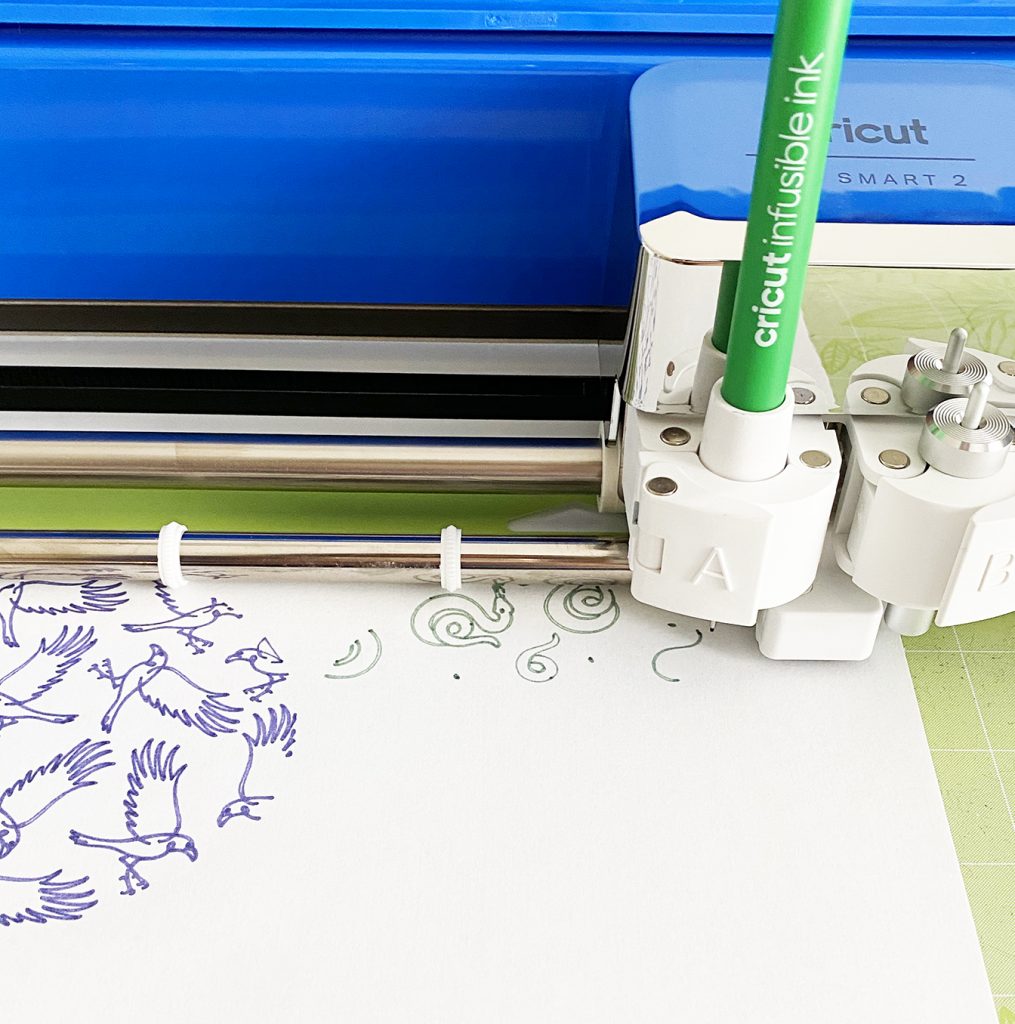
When the machine has drawn all of the coaster designs, it will cut the circle shape from the paper.
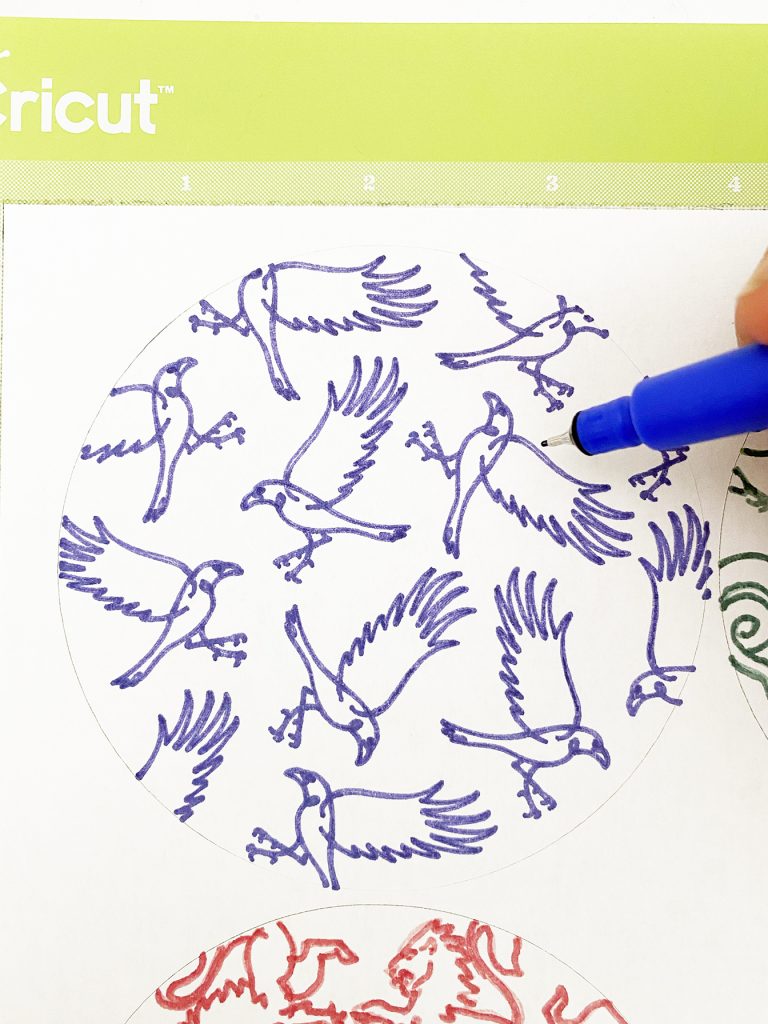
There were a few areas that I decided to fill in on the design by hand, and the Infusible Ink Pens worked perfectly!
You might notice that the colors look a little bit dull before you transfer them to the coasters. That’s completely normal and they will brighten during the transfer heating process!
Preheat the Cricut Easy Press 2 according the directions on the Cricut Interactive Heat Guide. The guide will also provide the order of materials that you need to “stack” to transfer the design to the coaster.
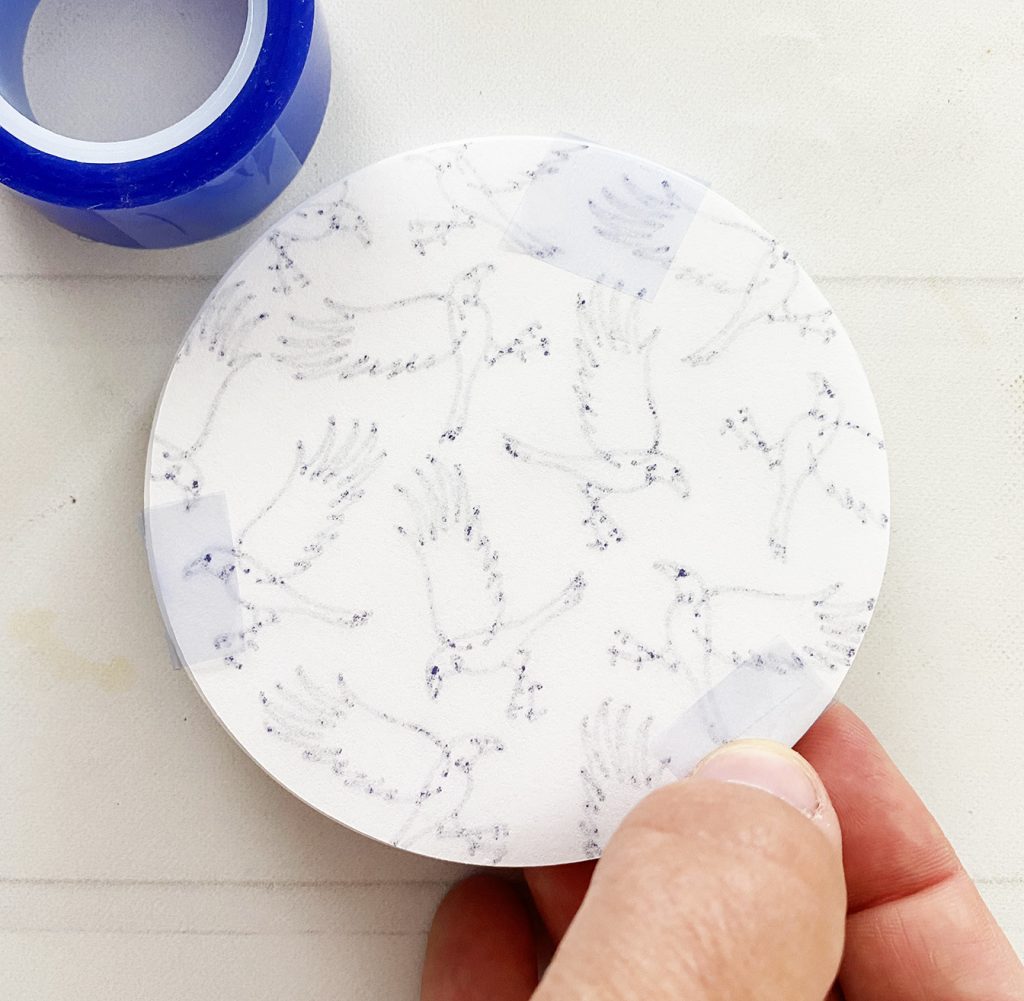
Use heat resistant tape to attach the designs to the coasters ink side DOWN.
Transfer the designs and let cool before handling. They’re ready to use! They work especially well with a mug of Butterbeer!
LATEST POSTS:
- Wicked Coloring Pages to Print for Free
- Free Thanksgiving Turkey Coloring Page Printable
- Free Printable Thanksgiving Meal Planner & Grocery List
- xTool M1 Ultra Beginner’s Guide and Review
- Free Best Dad Ever Father’s Day Coloring Page
Pin Harry Potter Coasters DIY for Later


ABOUT CHARYNN
Hi, y’all! I’m Charynn, the owner and designer of Pineapple Paper Co. I’m a mom of four kids (two girls and two boys) living in Pittsburgh. I love hand lettering, anything southern, cocktails, and of course, pineapples! I am excited to share my SVG files, printables, and craft projects with you! The pineapple is a symbol of hospitality, and I welcome y’all to my little corner of the internet. Read more…