How to Make DIY Halloween Cupcake Toppers
This post and the photos within it may contain affiliate links. As an Amazon associate I earn from qualifying purchases. If you make a purchase through one or more of the links, I may receive a small commission at no extra cost to you.
Looking for an easy Halloween Cupcake idea? Making Halloween Cupcake Toppers and Halloween Cupcake Wrappers is easy with your Cricut Maker. With just a couple of supplies you can make Halloween Cupcake Decorations for your Halloween Parties or Halloween School Treats!

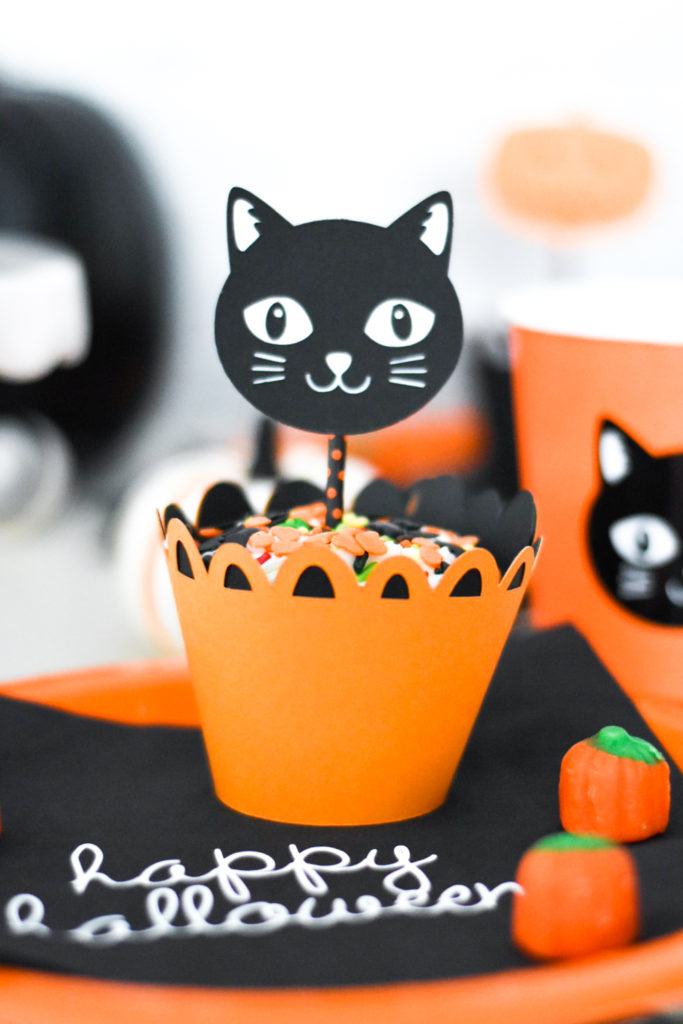
I made these Jack o’ Lantern cupcake toppers and Black Cat cupcake toppers as a part of the Trick or Treat Party I hosted with the help of Cricut. There are SO many ways to use your Cricut Maker to create party decor, and making the Halloween Party Decor was SO fun to design and craft. Make sure you check out the whole party:
Trick or Treat Party with Cricut

Making cupcake toppers is an EASY way to dress up store bought cupcakes. I use store bought cupcakes all the time for my parties and making custom cupcake toppers and custom cupcake wrappers is something that is easy to do and is quite inexpensive!
What you Need to Make DIY Halloween Cupcake Toppers and Cupcake Wrappers
–Cardstock (for the cupcake toppers, since they’re small this is great use for scraps)
-Adhesive (have you tried the Xyron Creative Station? – it’s the absolute best for crafting party decor!)
Shop Xyron Creative Station on Amazon
-Halloween lollipop sticks or paper straws (Shop Lollipop Sticks and Paper Straws on Amazon)
–Hot Glue (to attach cupcake toppers to sticks; you can use it to resize your cupcake wrappers as needed)
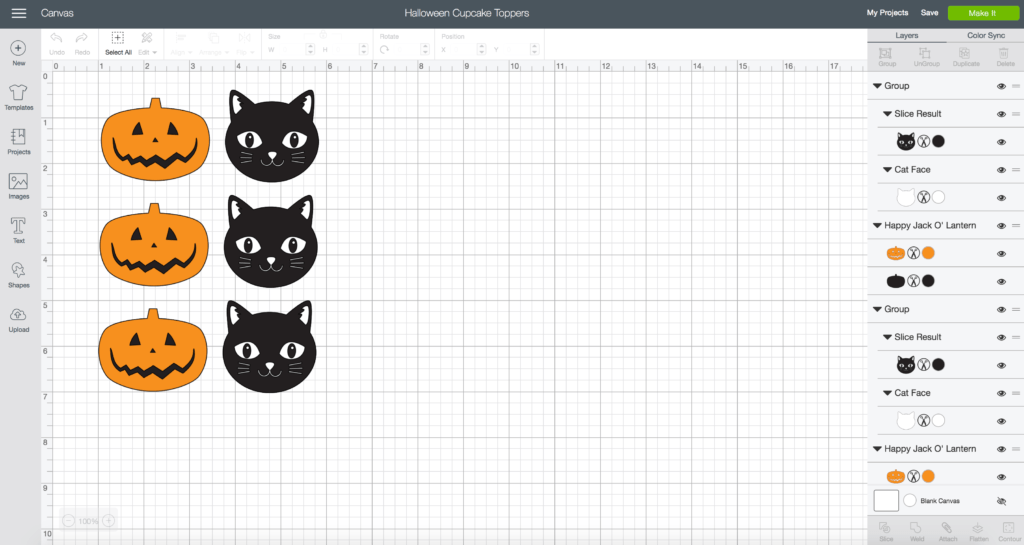
There are two designs that you’ll need to access in Cricut Design Space to make these Halloween Cupcake Toppers:
You’ll need Orange, Black, and White Cardstock for each of these projects. Each of the designs is layered (including the cupcake wrappers).
I designed the cupcake toppers to be approximately 2″ in width (the jack o’lantern is a little bigger). You can resize as needed but this size will work with standard cupcakes.

Because of the multiple layers, you’ll need to set up mats with all 3 colors of cardstock.

Once you have all of the pieces of the toppers cut, this is where the Xyron Creative Station comes in. Basically it will put adhesive onto all of your pieces for you, so you don’t have to glue them. Go check it out:
Attach the cupcake toppers to the lollipop sticks or paper straws with the hot glue.

Next up is the Halloween cupcake wrappers (if you’ve made your own cupcakes with pretty baking liners, you could skip this step. But I love the finished look that the wrappers give the cupcakes.
I made the cupcake wrappers double layered as well, because I didn’t want the holes to be “windows.” (You have both options – layered or non-layered) in the Design Space file. You can hide the back layer if you would like by clicking the little “eye” next to the layer you’d like to hide.

Sizing cupcake wrappers is tough. Depending on where you buy (or if you make) your cupcakes, the sizes can be slightly different. These cupcake wrappers are sized to fit a larger standard cupcake – if you want to test the size, try cutting one on cheap printer paper or scrap paper before you cut the cardstock. And it’s obviously better to make it a little larger that you need, because you can adjust the size with glue if you really need to!

You’ll see from my screenshot that Cricut Design Space places two cupcakes per sheet. While you’re on this screen you can actually click the wrapper piece and click the “. . .” button to move them to a different mat. Should you choose, you can push them closer together and fit more pieces depending on the size of liner you are cutting.
You don’t have to glue the two layers of the wrapper together – The DIY cupcake wrapper design is made with a tab that will fit in a slice in the other side of the wrapper to go right around your cupcake. Super easy construction! (Unless you’re like me and decide you want them to fit smaller around the cupcake after you cut them all – then break out the glue gun.)
Assemble your cupcakes and you’re done!
LATEST POSTS:
- Free Best Dad Ever Father’s Day Coloring Page
- xTool F1 Ultra Review: Dual Fiber Laser and Diode Laser for Crafters
- How to Make a Spotify Code Necklace with a xTool F1
- Make Laser Engraved Jewelry with the xTool F1 Laser Machine
- Free Printable Stanley Valentine’s Day Card
Pin DIY Halloween Cupcake Decorations

LOOKING FOR MORE DIY HALLOWEEN IDEAS? VISIT THESE POSTS:
NEW Hand drawn and Hand lettered SVGs for Halloween Crafts
FREE Halloween Boo to You Printables
FREE Hocus Pocus Halloween SVG
DIY Spiderweb Cake Topper with Martha Stewart, Cricut, and Michaels
How to Make a Trick or Treat Reverse Canvas with Martha Stewart, Cricut, and Michaels
And our most popular Halloween post: Hocus Pocus Trunk or Treat Ideas


ABOUT CHARYNN
Hi, y’all! I’m Charynn, the owner and designer of Pineapple Paper Co. I’m a mom of four kids (two girls and two boys) living in Pittsburgh. I love hand lettering, anything southern, cocktails, and of course, pineapples! I am excited to share my SVG files, printables, and craft projects with you! The pineapple is a symbol of hospitality, and I welcome y’all to my little corner of the internet. Read more…