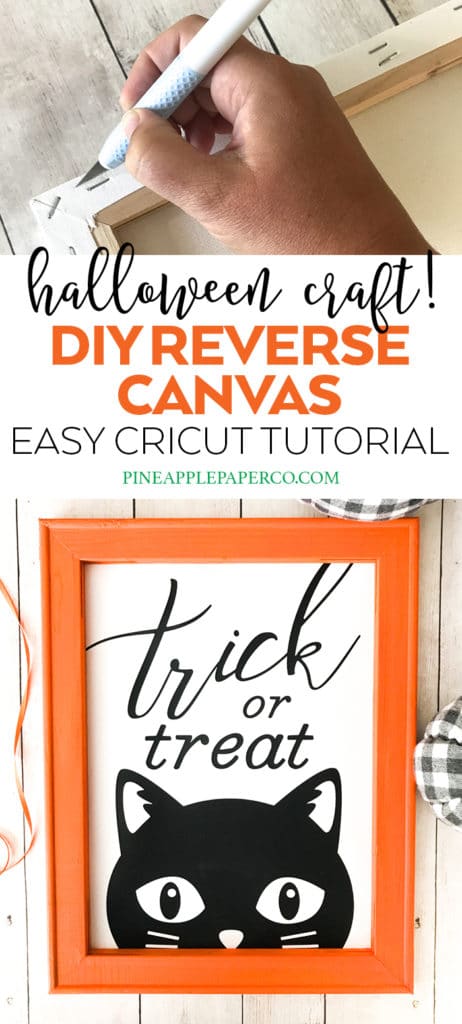
How to Make a Halloween Reverse Canvas with Cricut
This post and the photos within it may contain affiliate links. As an Amazon associate I earn from qualifying purchases. If you make a purchase through one or more of the links, I may receive a small commission at no extra cost to you.
Learn how to make your own reverse canvas with your Cricut machine and Iron On Vinyl for an easy Halloween craft! This Halloween Reverse Canvas project is perfect to use for DIY Halloween decor or as a Halloween party decoration. This project can be made in just a few minutes. The longest part is waiting for the paint to dry!
You guys, this summer went WAY too fast. It’s so hard for me to believe that Halloween decorations and parties are on my to-do list right now. Unless I walk into my local craft stores. Then I’m behind on Halloween projects. And Christmas projects, apparently. I have been dying to try a reverse canvas project with my Cricut Explore Air 2 Special Edition, Martha Stewart Bundle, so I am super excited to share this project! I didn’t realize how easy reverse canvas projects are, but now I’m going to be making them all of the time!
Cricut Explore Air 2 Martha Stewart Edition
If you’ve seen my other posts (like my Martha Stewart Unicorn Party, Martha Stewart Indigo and Peach Outdoor Party, or my Martha Stewart DIY Pineapple Cocktail Glasses), you know how much I love using my Cricut Explore Air 2. It can cut over 100 different materials just like the other Cricut machines, and makes it easy to take your crafting to the next level. The Martha Stewart Cricut Explore Air 2 is available exclusively at Michaels, and with your purchase you get access to 25 exclusive, free images that you can use in your projects–including an adorable little black cat that is perfect for Halloween and our Halloween Reverse Canvas!
In addition to using my Martha Stewart Explore Air 2, I got to try out the new Cricut TrueControl Knife while making this project. I have to admit, I’ve never had a craft knife that I loved using–but the TrueControl Knife is definitely a keeper! It has a patented hands-free blade changing system that makes it safe and easy to change blades, has a great cushioned grip, and the premium steel blade cuts through a variety of materials from paper, to thin plastics, to canvas like I used for this project.
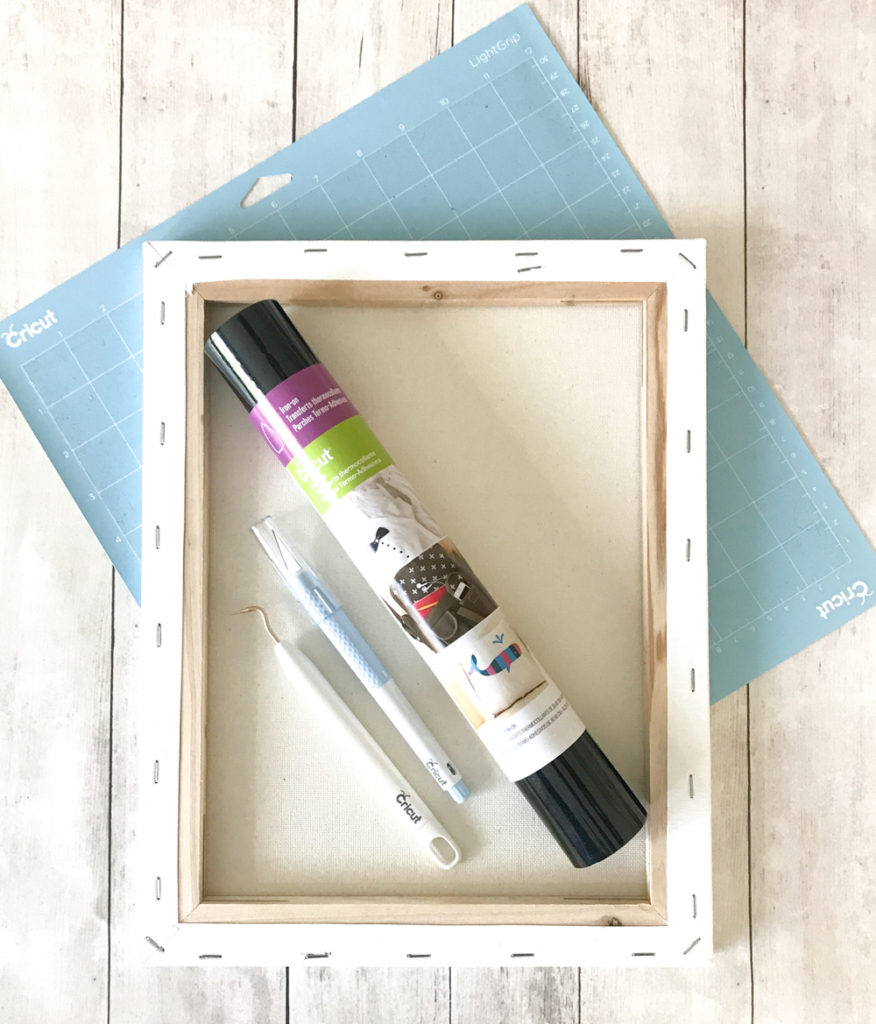
What Materials Do you Need to Make a Reverse Canvas?
–Blank Canvas (can be found on Amazon or at your local craft store)
–Cricut Explore Air 2 or other Cricut Machine
–Cricut Mat in 12×12″ or 12×24″ depending on the size of canvas used
–Cricut Black Iron-On | HTV at Expressions Vinyl
–Cricut TrueControl Knife
–Cricut EasyPress (a regular iron would work as well, but the EasyPress is SO convenient and easy to use!)
–Cricut Essential Tool Kit that includes the handy weeding tool (the Martha Stewart Explore Air 2 comes with a gorgeous gold version!)
-Craft Paint
How to Make a Reverse Canvas for Halloween
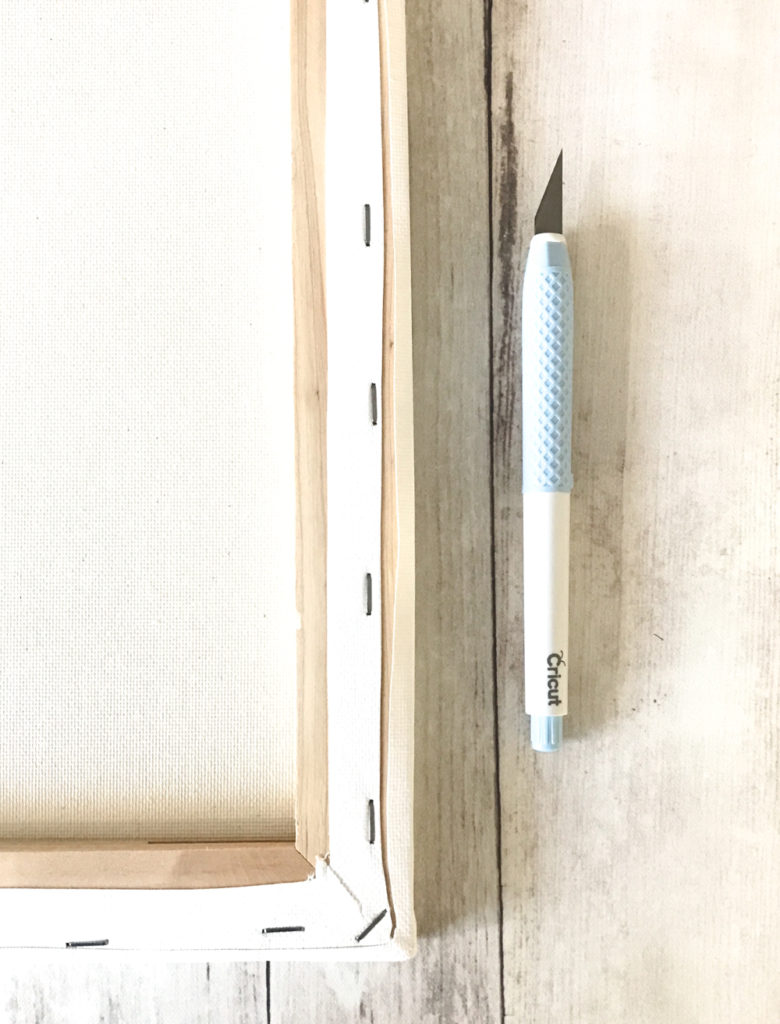
The first step to making a reverse canvas project is to remove the canvas material from the canvas frame. You have two options: pull out each of the staples on the back, or trim the canvas off using the Cricut TrueControl Knife. I obviously went for the easier and faster method of cutting it off with the TrueControl Knife.
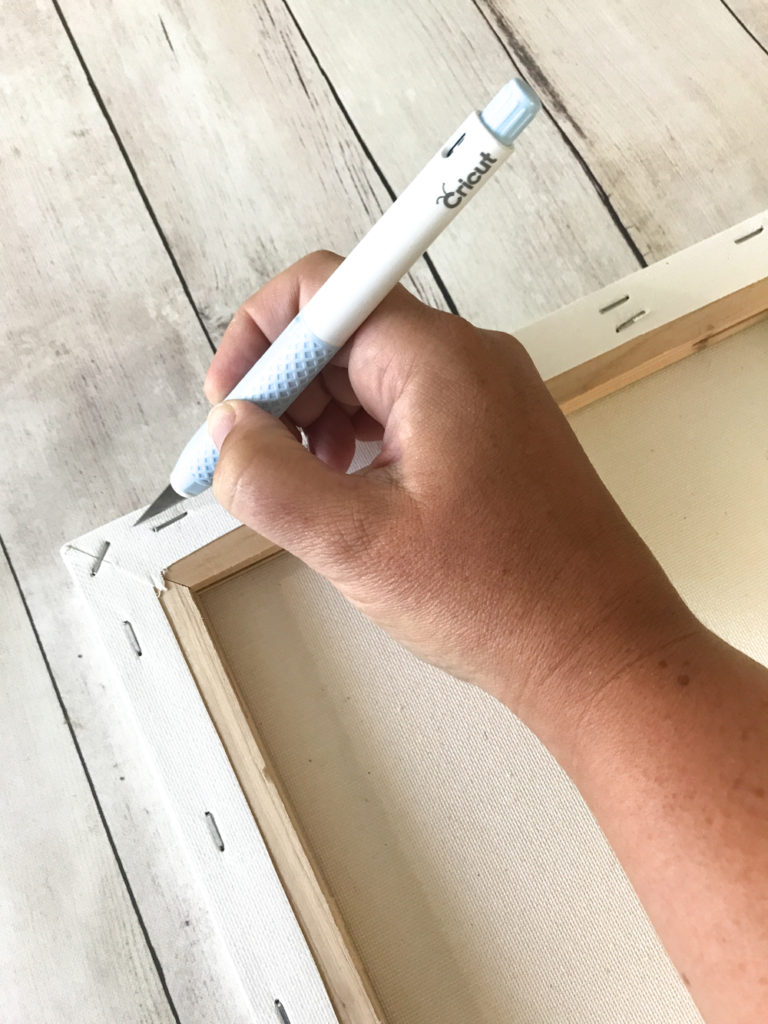
I was so impressed at how easily the blade of the TrueControl Knife cut through the thick canvas in one pass.
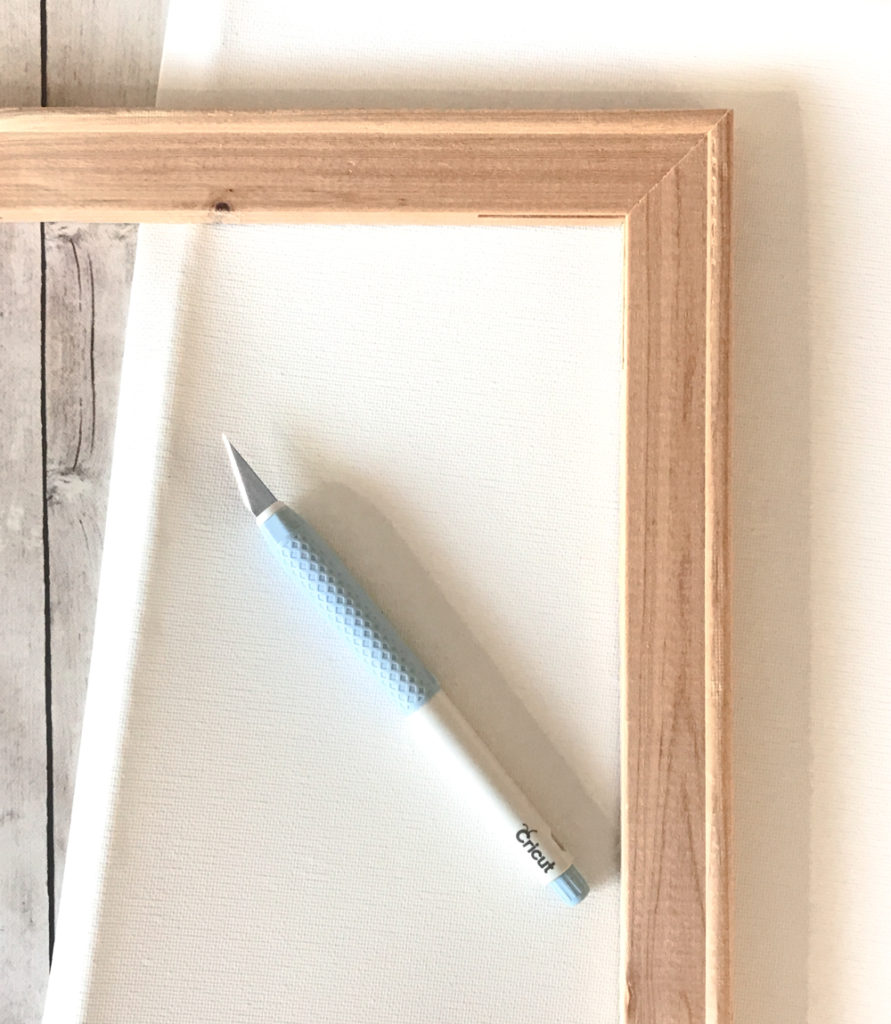
Once you have the canvas removed from the frame, you can paint the top side of the frame with a couple of coats of craft paint and set aside to dry.
Next, you need to open up Cricut Design Space get your design ready to cut. I have made it really easy for you; you can open up our Trick or Treat Halloween design right in Cricut Design Space to make in just a couple of minutes.
CLICK HERE TO OPEN HALLOWEEN TRICK OR TREAT DESIGN IN CRICUT DESIGN SPACE
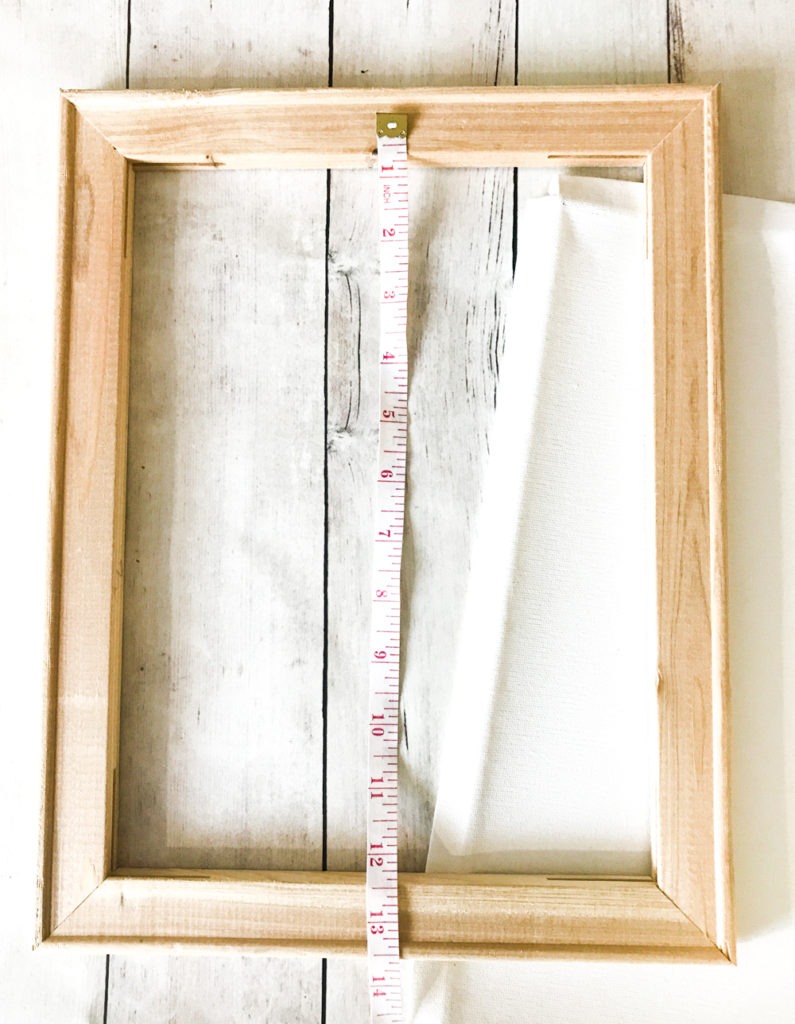
Measure your Canvas Frame to determine what size design you need to fill your frame. I wanted my design to overlap the edges of the frame a little bit, so I measured 1/2″ into the frame on each side.
Resize the design as needed. One trick I learned is that you can create a white rectangle to place behind the design that is the finished size of your canvas to get exactly the look that you want.
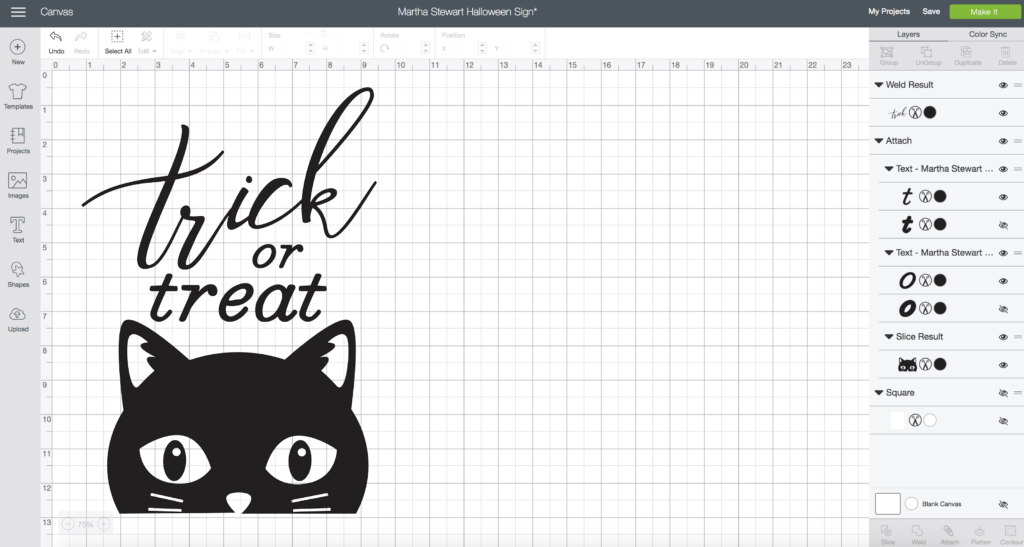
When you are satisfied with the design, click the green “Make It” button to head to the cutting screens.
Because my image was slightly longer than 11.5″ Cricut Design Space prompted me to either use a 12×24″ mat or resize my design. I proceeded with a 12×24″ mat.
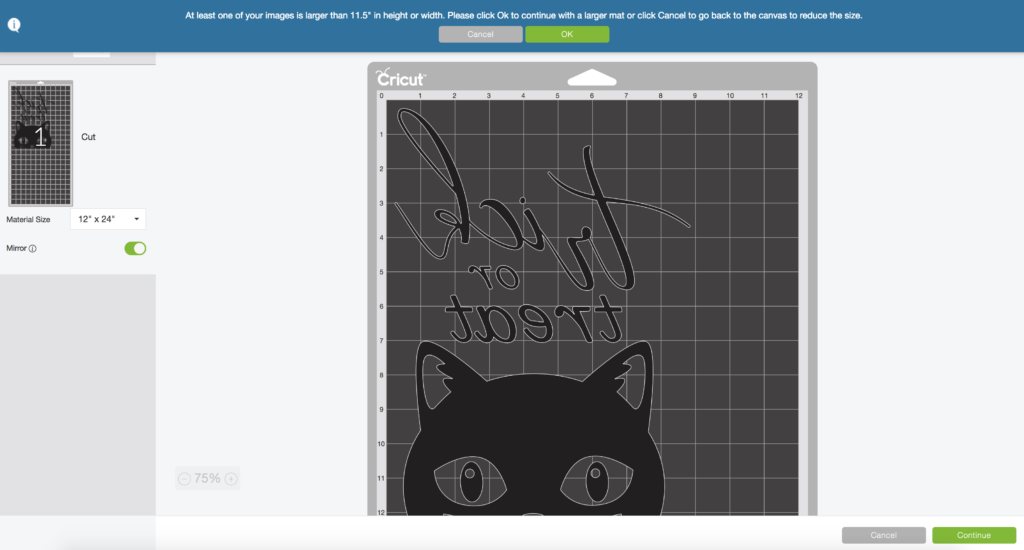
*Make sure that you have clicked the “Mirror” option, since you’ll be using Iron-On!
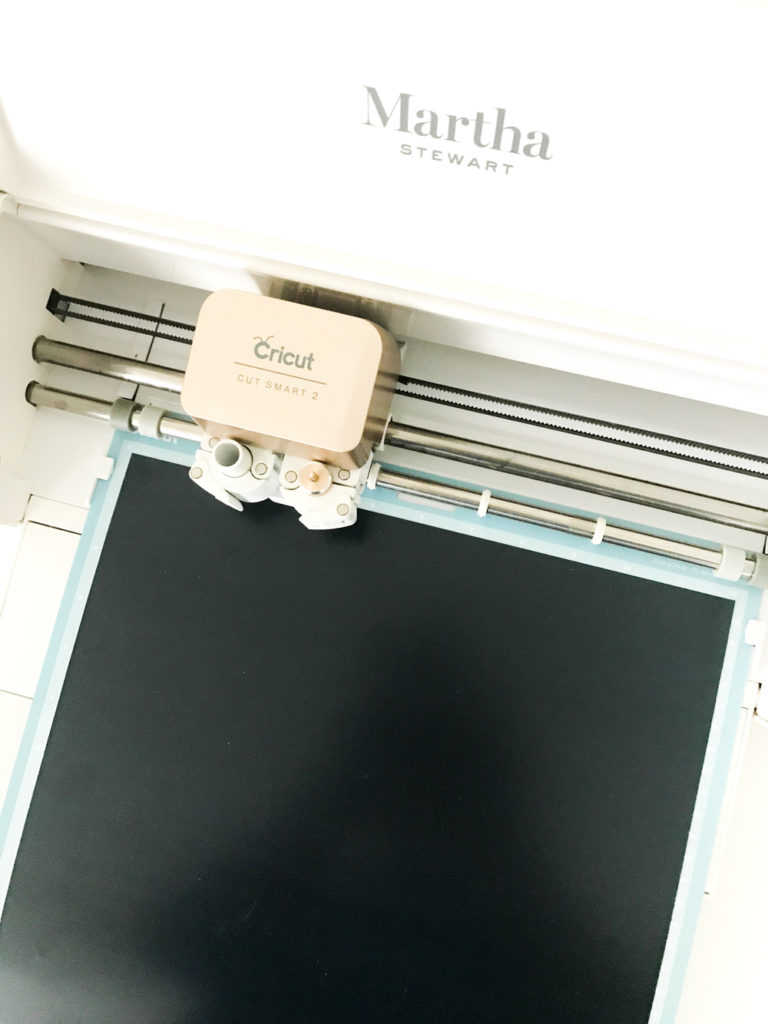
Place the shiny side of the iron-on down onto the mat and cut the design. The Martha Stewart Cricut Explore Air 2 has the prettiest gold details!
When your design has finished cutting, you need to weed out the iron-on that is not part of the design.
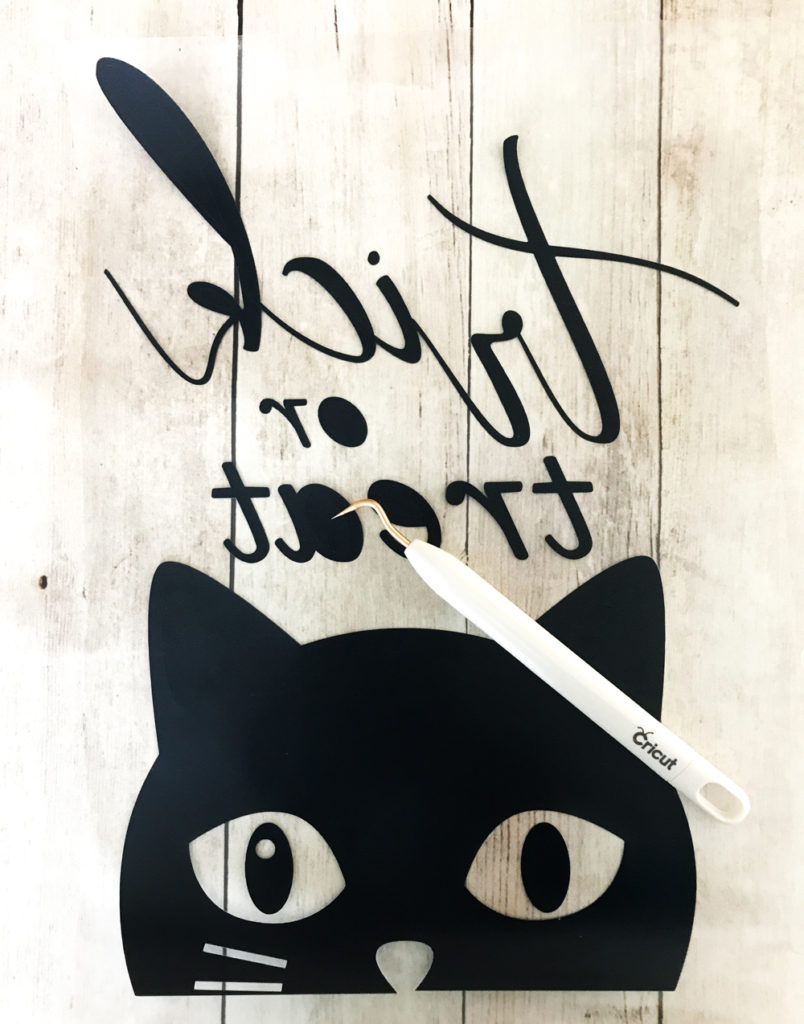
The gold weeding tool that comes with the Martha Stewart Explore Air 2 makes it a little more fun to weed all of the little pieces. Haha!
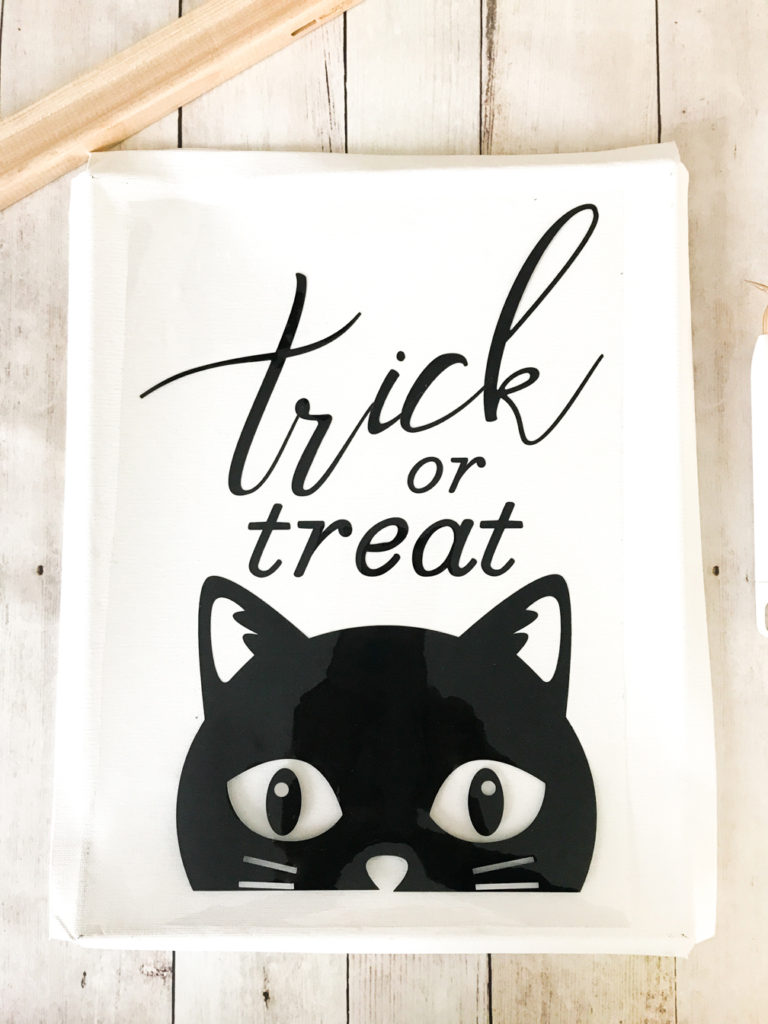
Place your design in the center of the canvas (white side of canvas facing up). You can use a regular iron to press the iron-on onto the canvas, or a much better option is to use the Cricut EasyPress! I am lucky enough to be testing a EasyPress 2 that will be available to buy this Fall, and I LOVE it! It comes in 3 different sizes, and the large 12×10″ size works perfectly for a larger reverse canvas! The Cricut EasyPress heats quickly and evenly and gives professional results. When they’re available you can order them HERE.
You can find the EasyPress settings HERE. For the reverse canvas, the settings I used were 340 degrees for 30 seconds. I will warn you–iron on the canvas in a well ventilated area. It does NOT smell great when you heat the pre-coated cotton canvas.
Attach your canvas to the back of the frame using a staple gun (or alternatively a hot glue gun), making sure to pull it tight. Using your Cricut TrueControl Knife, trim the excess canvas and you’re done!
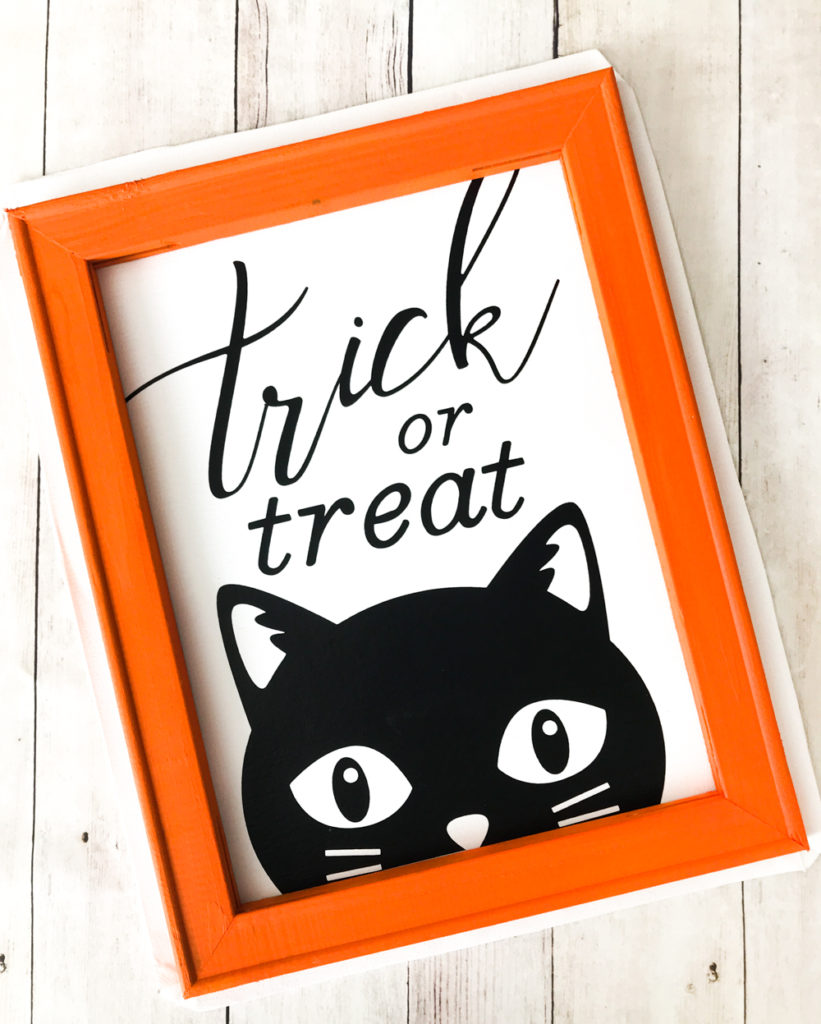
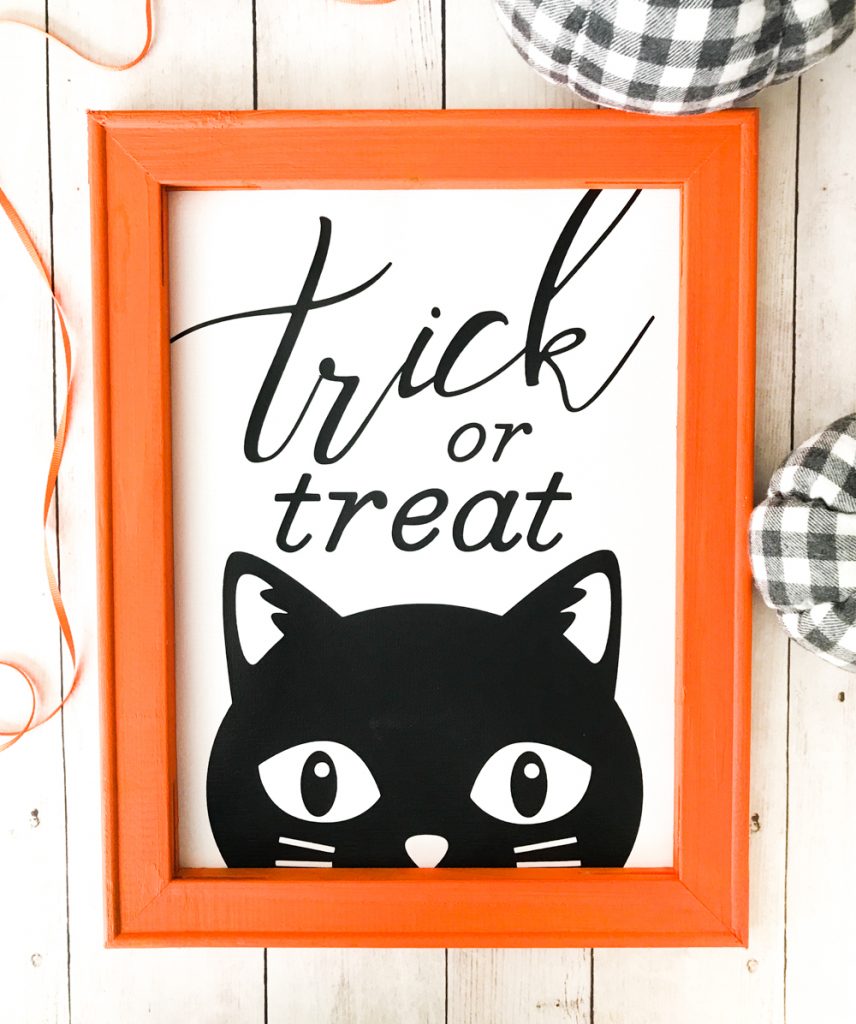
I absolutely adore how this Halloween Reverse Canvas project turned out, and I can’t wait to make more DIY Reverse Canvas Projects using my Cricut!
LATEST POSTS:
- Wicked Coloring Pages to Print for Free
- Free Thanksgiving Turkey Coloring Page Printable
- Free Printable Thanksgiving Meal Planner & Grocery List
- xTool M1 Ultra Beginner’s Guide and Review
- Free Best Dad Ever Father’s Day Coloring Page
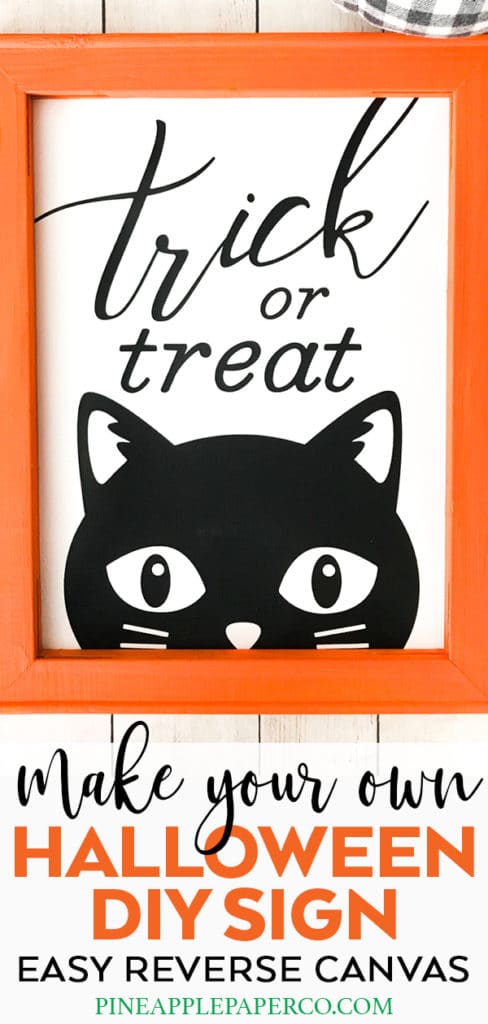
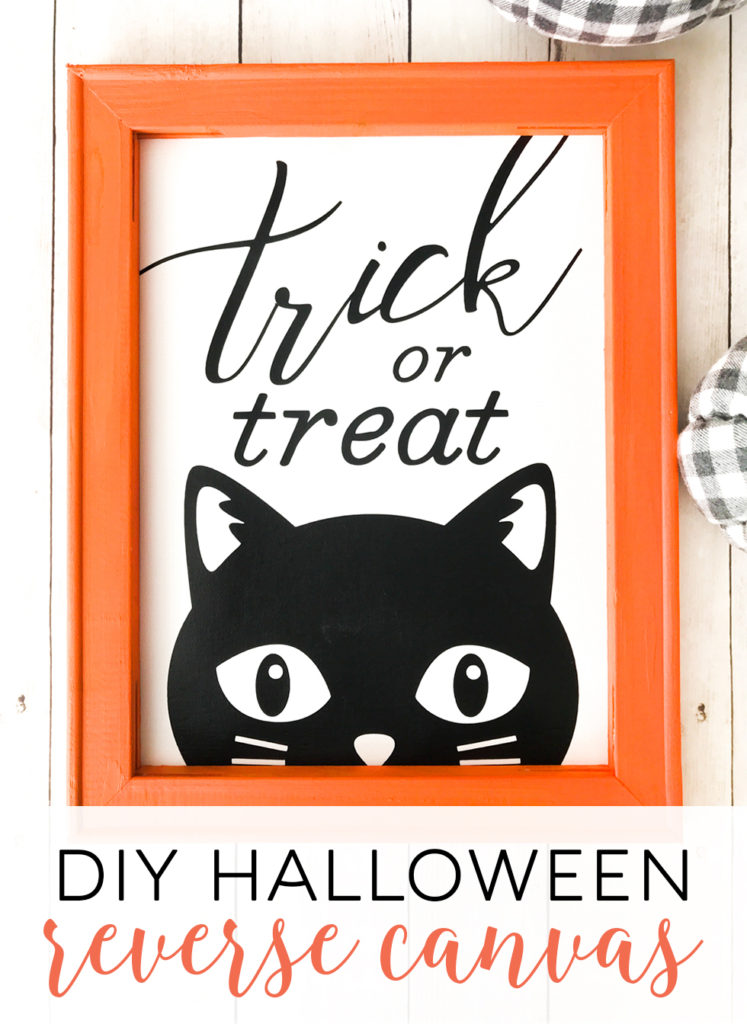
Pin DIY Reverse Canvas for Halloween:
This is a sponsored conversation written by me on behalf of Cricut. The opinions and text are all mine.


This is soooo cute! Love the reverse canvas technique. It’s one of my favs!
Thank you, Kim!!
How do I download this file?
The link to the Cricut Design Space File is in the post – all of the images and fonts are Cricut designs in Design Space 🙂
I love your ideas and video. Thank you for all the great info.
You are welcome!!!
Hi! I can’t find the image on Cricut design. do you know the name of the image?
Hi! Yeah – Cricut is still having trouble with Design Space links. Sorry about that! The cat is from one of the Martha Stewart sets – I saw it the other day under a “black cat” search I think. The font is a Martha Stewart font in Design Space as well 🙂