How to Blend Colors in Procreate
This post and the photos within it may contain affiliate links. As an Amazon associate I earn from qualifying purchases. If you make a purchase through one or more of the links, I may receive a small commission at no extra cost to you.
One of the most frequent questions I get about drawing in the Procreate app is How to Blend Colors in Procreate. If you are new to digital art and blending techniques, you will love these easy tips on how to blend colors with adjustment tools, different brushes, and the smudge tool.

Procreate is my favorite app for my iPad Pro and I use it all of the time for creating stickers, digital artwork, and even SVG files for my Cricut and my Laser Machines.
If you want to create professional looking artwork, it’s important to learn how to blend colors. You can add shadows, highlights, or softly blend colors together to add more detail to your drawings. Don’t worry, these blending methods and tips are for Procreate beginners, too!
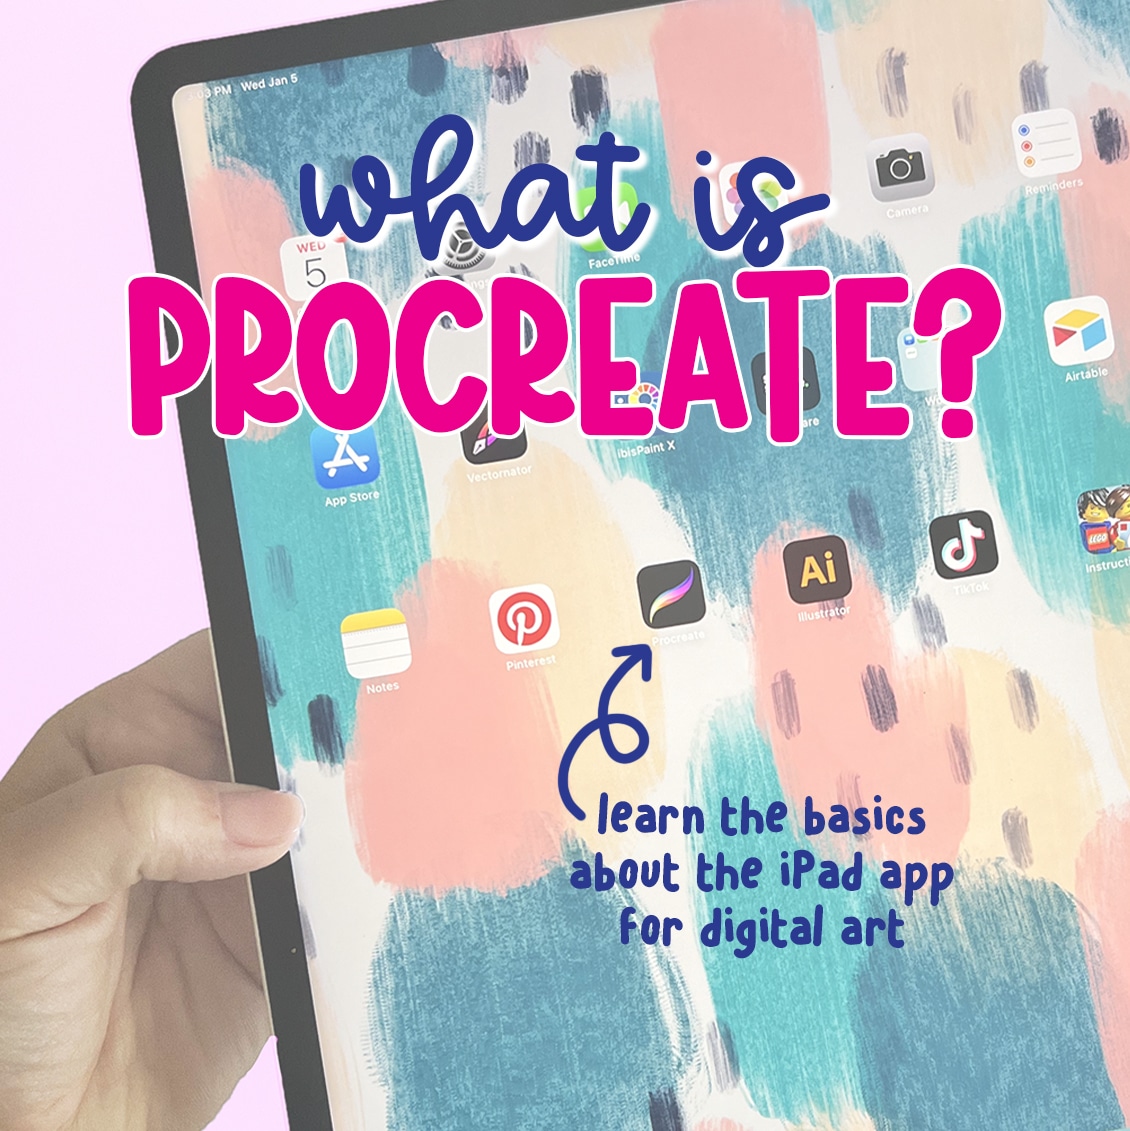
New to Procreate?
Learn everything you need to know about the Procreate app in this post: What is Procreate: iPad App Basics. I will share all of the app details and information you need before you get started with digital art!
There are several blending techniques you can use in Procreate, including using the smudge tool, adjustment tools, and brushes. I’ll teach you my favorite ways to blend colors with these different methods!
How to Blend Colors in the Procreate App
Click on each of the methods in the list below to jump to that section of the post!
Gaussian Blur Adjustment Tool
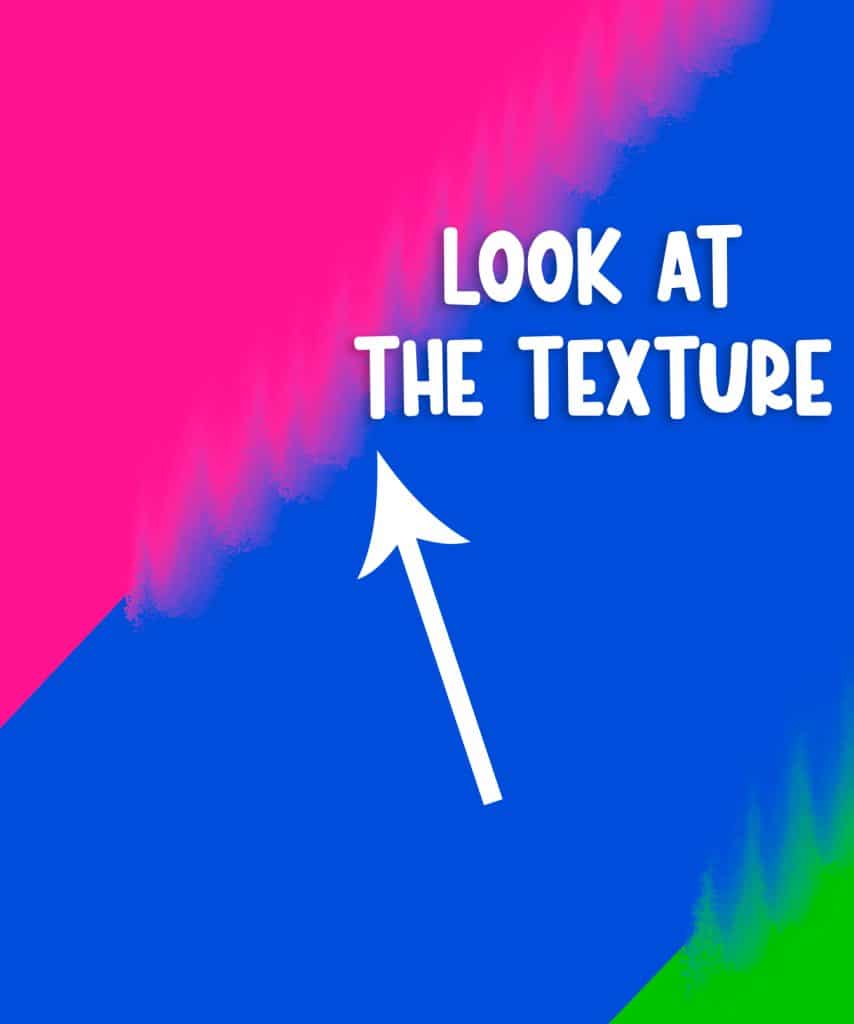
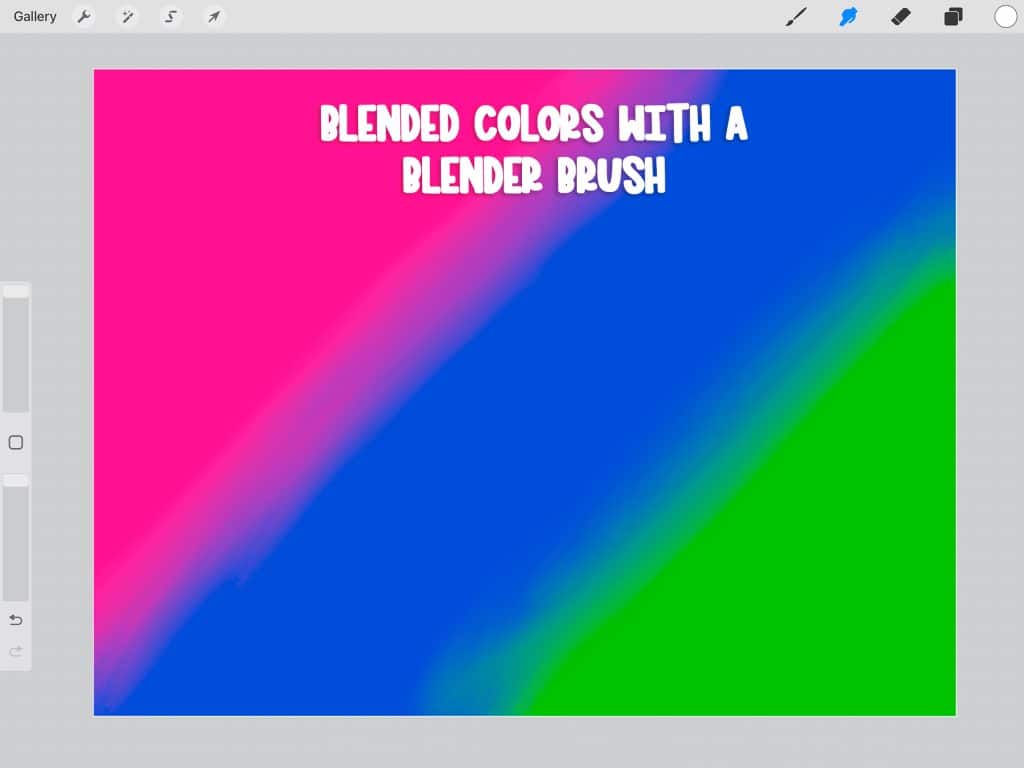
Gaussian blur is a great way to blend colors in a Procreate layer, especially if you have a lot of areas on your artwork that have analogous colors that can be blended together. It is especially good to blend colors in large shapes or background layers.
In this example, I am starting with color swatches that cover my entire Procreate canvas:

I also use the Gaussian Blur Adjustment Tool to add shadows and highlights to my artwork or hand lettering.
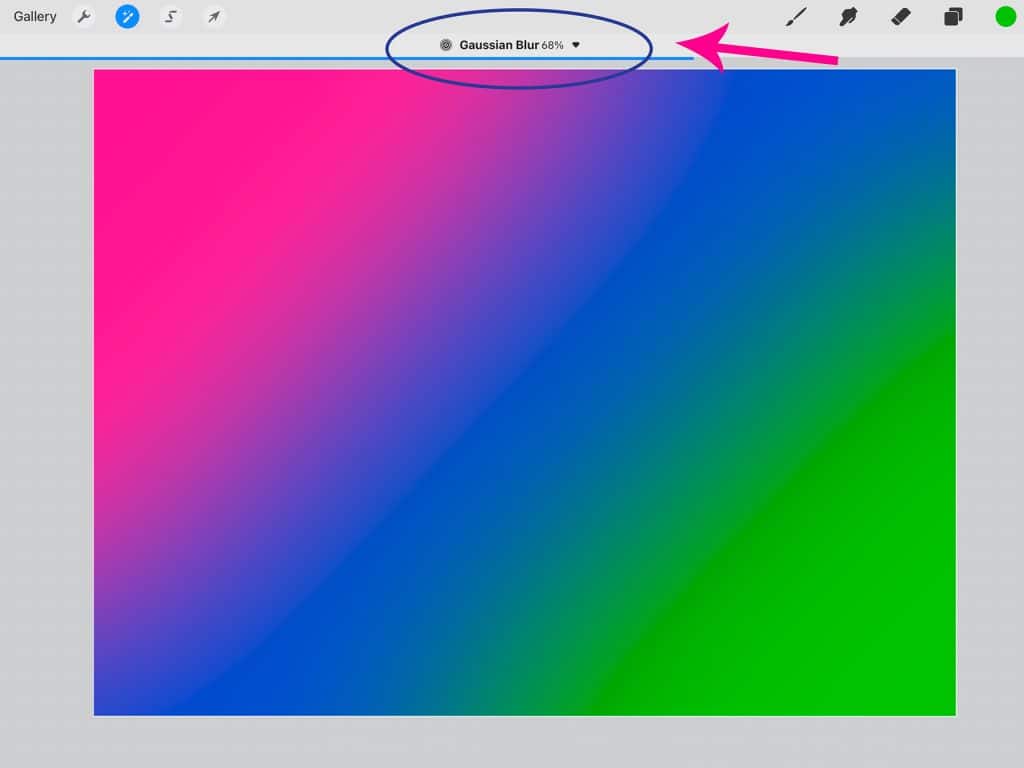
You can find the Gaussian Blur tool under the “Magic Wand” (Adjustments) icon in the upper left menu bar.

Select the layer you want to blend, then select Gaussian Blur. Drag your pencil to the right on the screen to start blending, and move apple pencil to the left to decrease the amount of blur (there will be a slider bar that moves at the top of the canvas).

As you can see, this is a great way to blend a large area of color at one time. You can get a perfect, smooth blend of colors on your canvas every time with the Gaussian Blur adjustment tool.
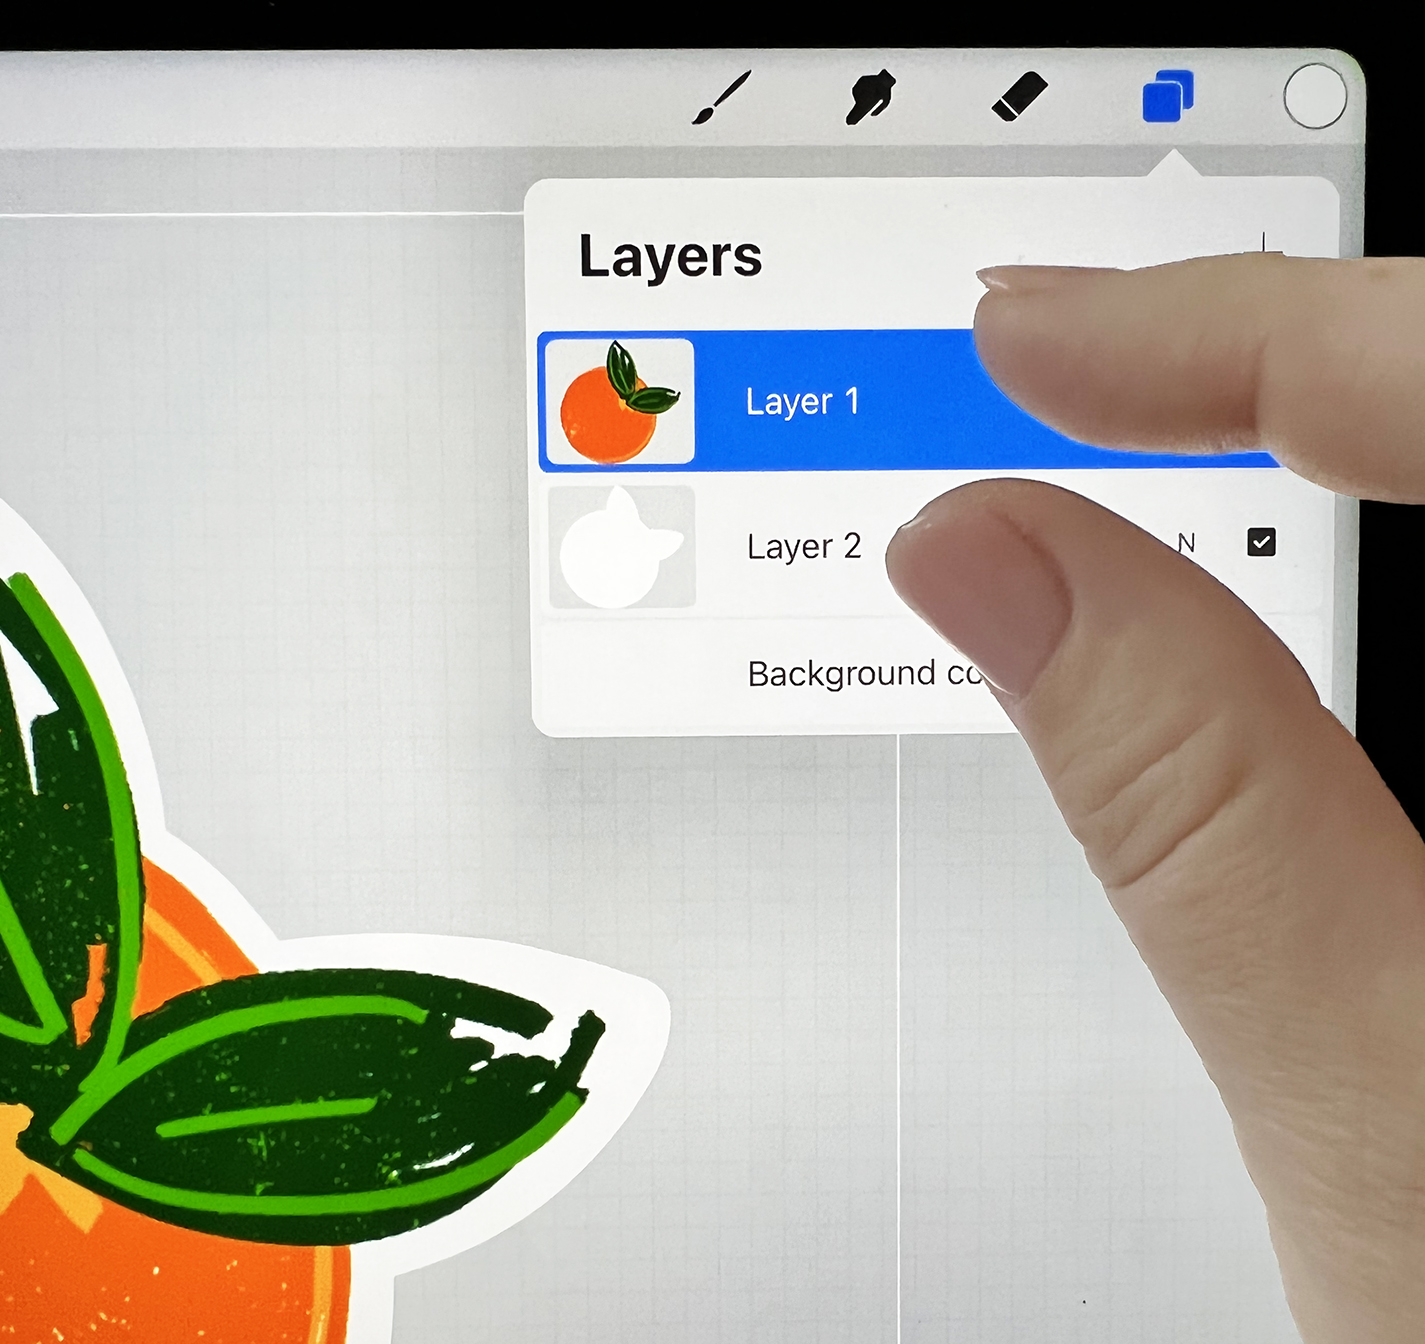
For more control inside of shapes or to blend within one layer (of a multi-layer design), make sure to apply Alpha Lock to your layer before applying the blur.
Smudge Tool
Where is the Smudge Tool in Procreate? The Smudge Tool is the small hand/finger in the icons on the top right of the canvas (next to the brush icon).
You can select a “brush” for the Smudge Tool to use, and also adjust the brush size, and opacity settings of the smudge “brush.”
It is easiest to see in a large space, so here’s what it looks like when used in my original colored canvas.
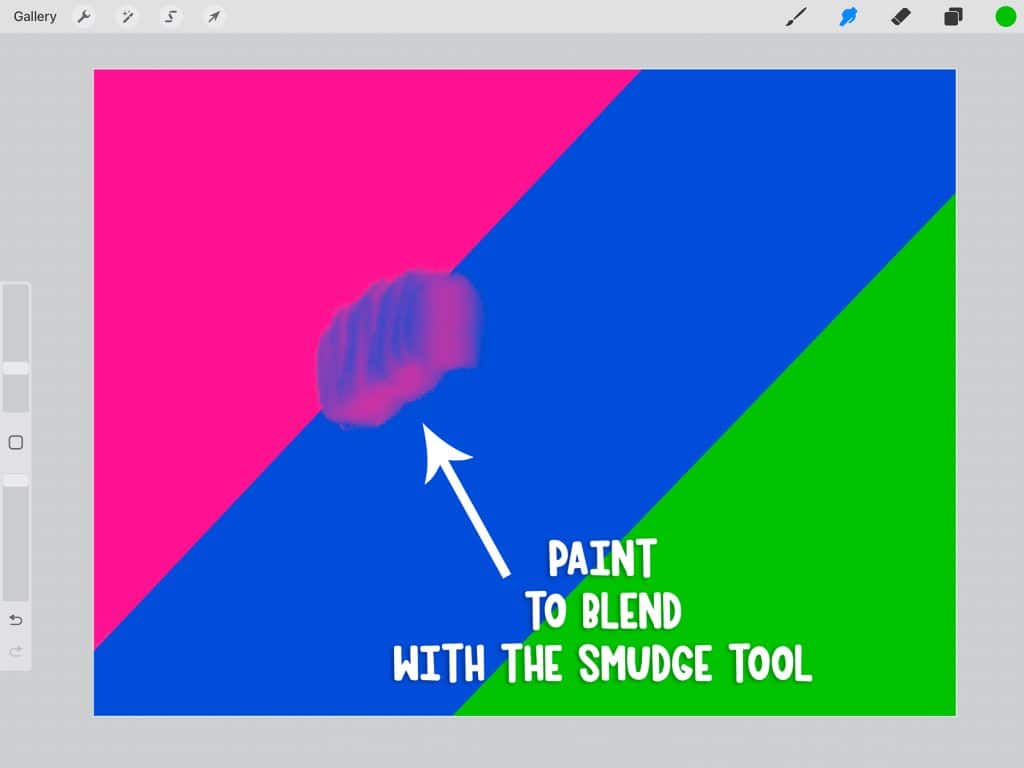
If you keep blending with your paintbrush, the colors will really start to blend together.

After a few minutes of blending and changing the direction of my paint strokes, each of the colors blend nicely.

I find that the Smudge Tool is best for blending small details and areas, and that I use the regular brushes usually before I manipulate my colors with the Smudge Tool.
Just like the Gaussian Blur, you’ll want to use Alpha Lock on the layer to contain your blending to the piece of the design you’re working on.
Blending Brushes
There are some blending brushes that have settings to work especially with the smudge tool, and I tend to to use them when I am blending with that tool. Yes, you can get brushes that are specifically made to smudge and blend colors in Procreate. Most of these brushes are also formulated to work with the features of the Apple Pencil.
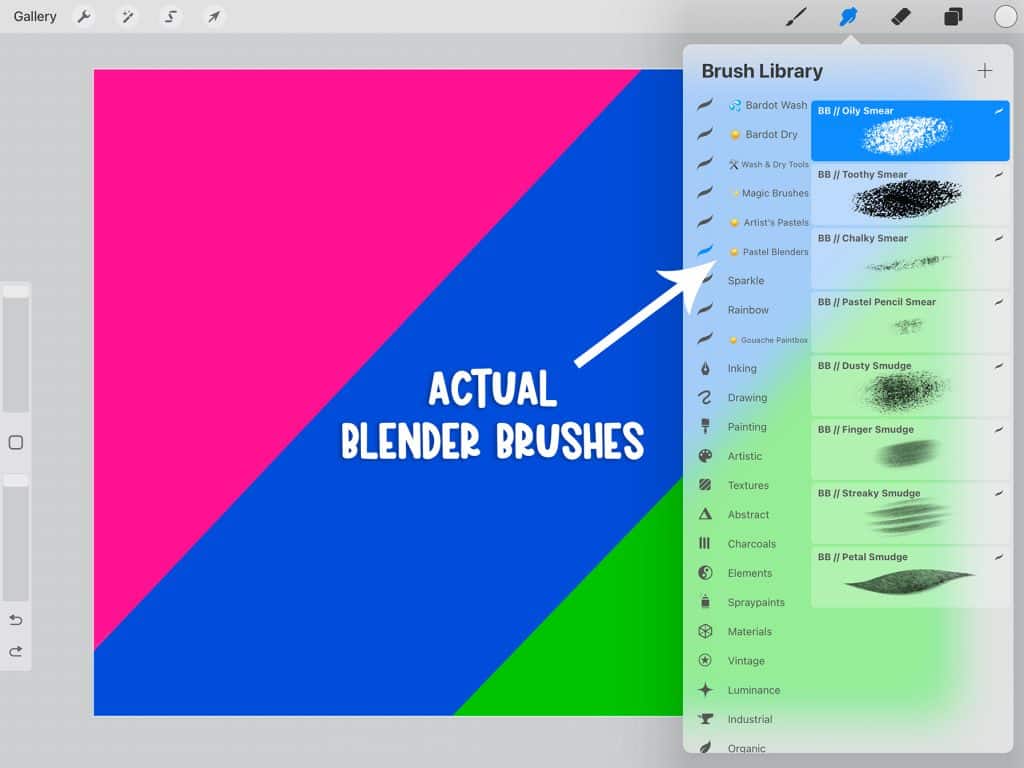
A blending brush is designed to provide different effects and textures to your artwork while smudging or blending the colors on the canvas.
Here are some of the brushes that I like:
- Procreate Blending Brush Set
- Procreate Blending Brushes by BrushBoy
- Artist’s Pastels from Bardot Brush
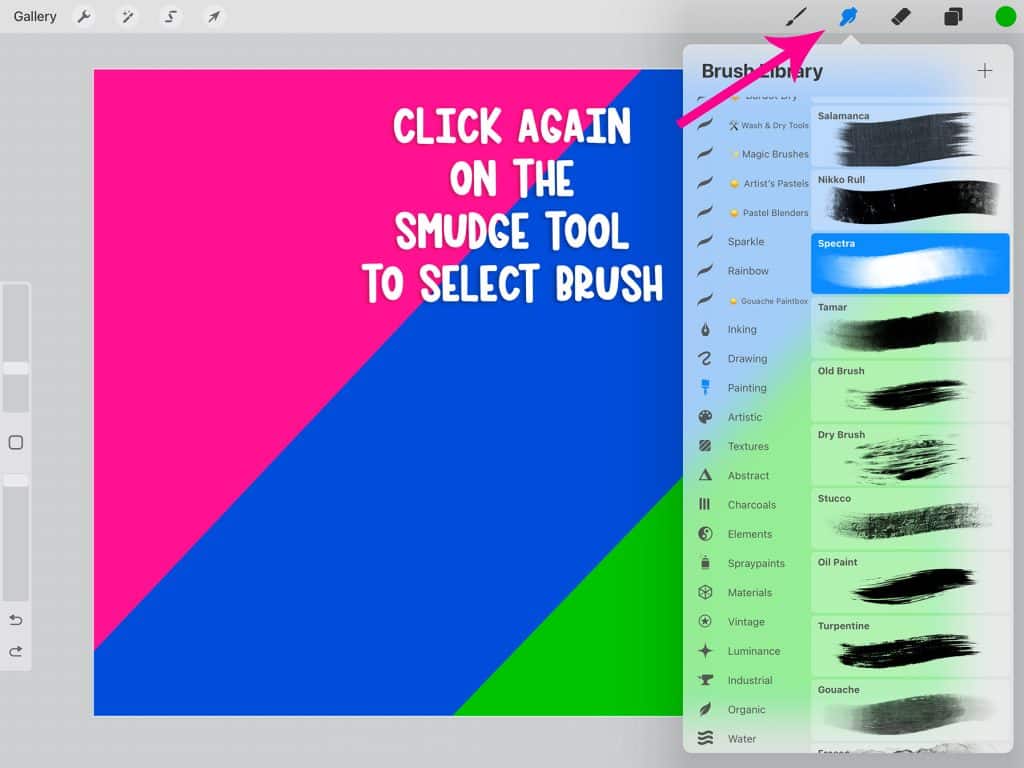
Once you’ve downloaded the Procreate blending brush sets and have uploaded them to Procreate (it’s SO easy!), you will click on the Smudge tool to select it, then click on the Smudge selection tool a second time open the brush library. Select one of the blending brushes and use your pencil to start blending.
You can adjust the brush size and opacity slider of the blending brushes, and choose from a variety of brush styles to find the blend that you like.
Watercolor Brushes
I use watercolor brushes a lot to blend together colors, and it is probably my favorite blending technique. You do not need to select the smudge tool, just use different watercolor brushes at varying sizes and opacities to achieve the blend of colors you want. I love how realistic and organic the results are.
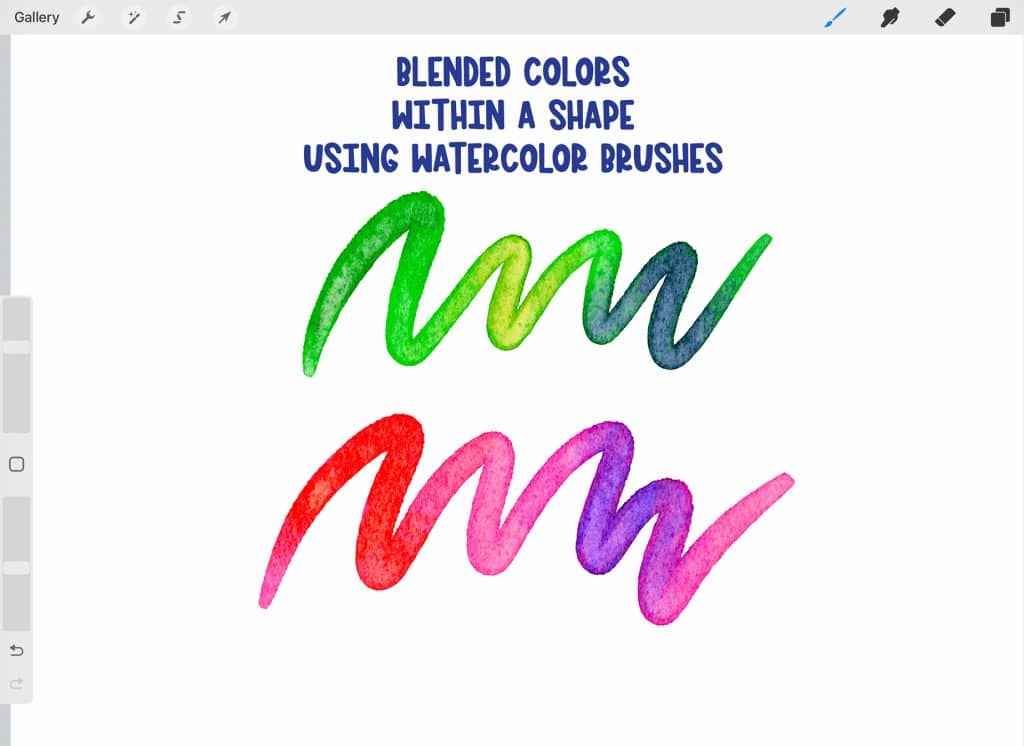
To achieve the desired color for these blends, I started with simple shapes using green and pink with a watercolor paintbrush.
Then I changed colors and with the same brush, painted in areas while reducing the opacity slider to a low opacity of the brush strokes to blend in the edges of the colors. I love the effect it produces! It really looks like real watercolor paint!
There are watercolor brushes that come with your purchase of Procreate, but the best (and most realistic) set of brushes that I have found is the Watercolor Wonder Brush Set from Bardot Brush. I absolutely love her watercolor brushes and use them all of the time.
It amazes me how you can blend colors and “water” with these brushes to mimic traditional watercolor paint on watercolor paper.
You can use “dry” brushes or “wet” brushes from the collection to achieve different looks while blending colors in Procreate.
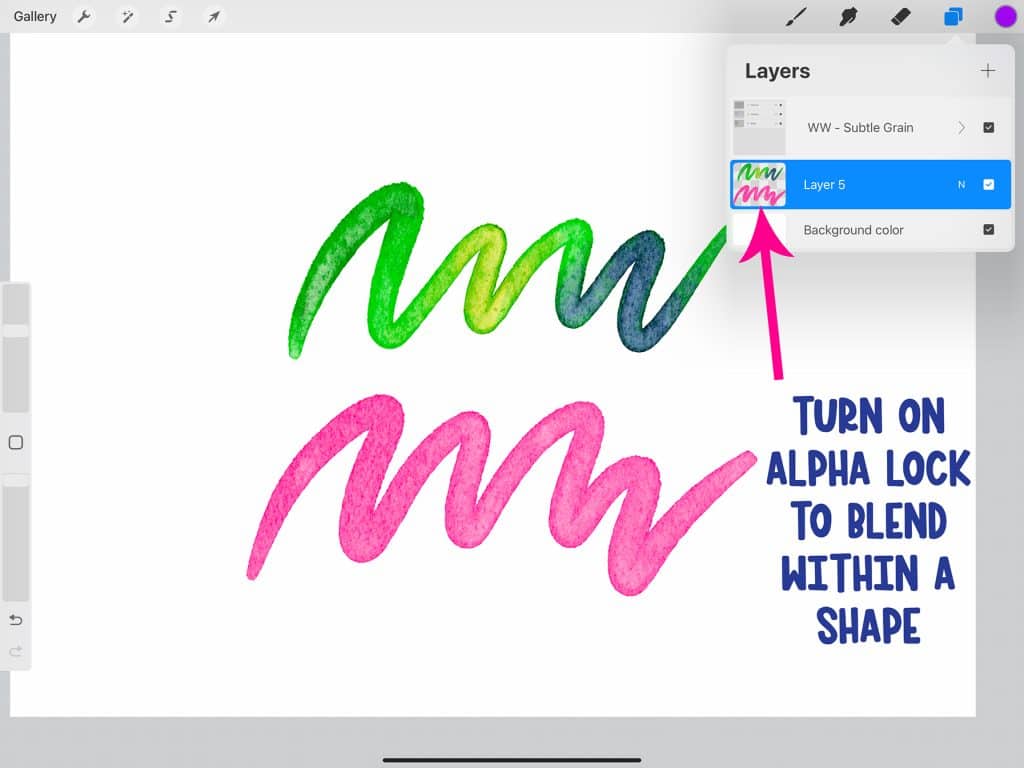
If you want to blend colors within a shape like I did, make sure you turn alpha lock on for that entire layer, or add a clipping mask to the layer above your shape.
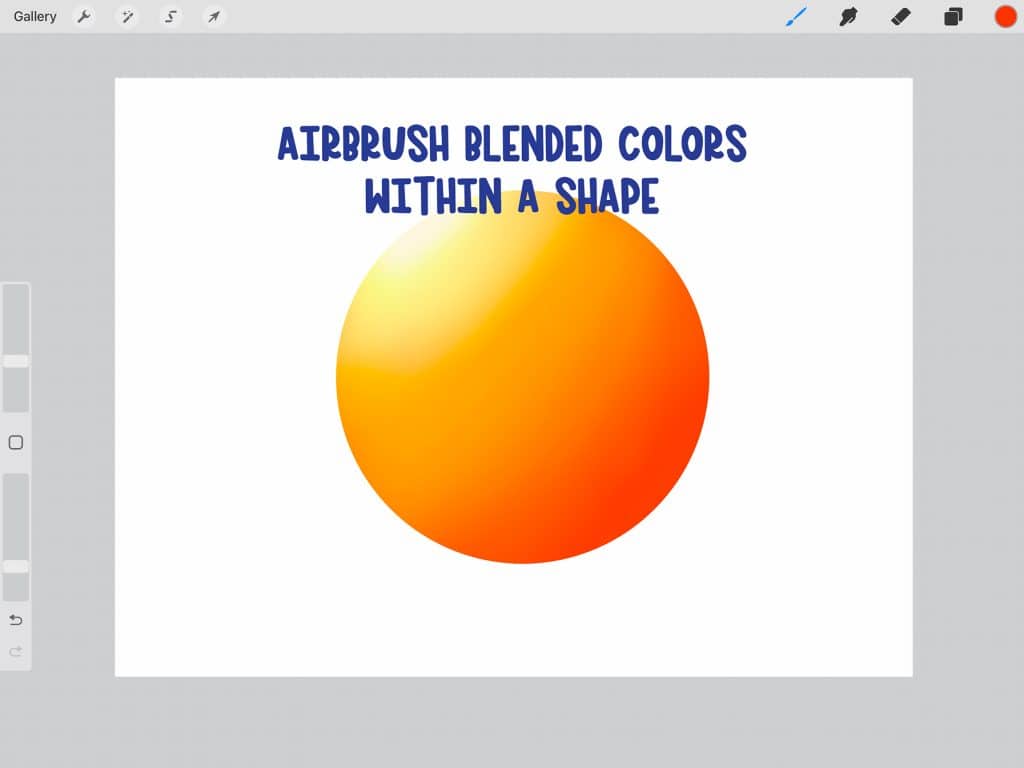
Airbrushes
Another set of brushes that comes with Procreate is a set of soft Airbrush “brushes.” They really do look like an airbrush is spraying paint on to your canvas. If you open the brush menu, you will see that there are soft airbrushes you can select.

By using these airbrushes at different sizes and opacities, you can layer and blend colors to get the perfect even blend in procreate – all without purchasing additional brushes!
You can also use the soft brush to create the base layer of a shape, then go back to add details. Just remember to use alpha lock or a clipping mask!
Tips and FAQs for Blending Colors in the Procreate App
Practice, Practice, Practice
Learning how to blend colors in Procreate takes practice, just like when using real art supplies. Playing with the different tools and brushes on a regular basis will allow you to use the blending tools more effectively in your designs.
Try different methods of color blending! Although I prefer the watercolor brushes, you may find that you like the smudge brush tool and can get really good results with certain smudge brushes.
Learn the Color Wheel
Use appropriate color theory and the color wheel to blend complementary colors. Just like with real paint or markers, you can blend colors that just look awful. Colors like red and blue, yellow and red, or yellow and blue blend very well together to create purple, orange, and green! But if you blend green and purple together, the results will be not as visually appealing.

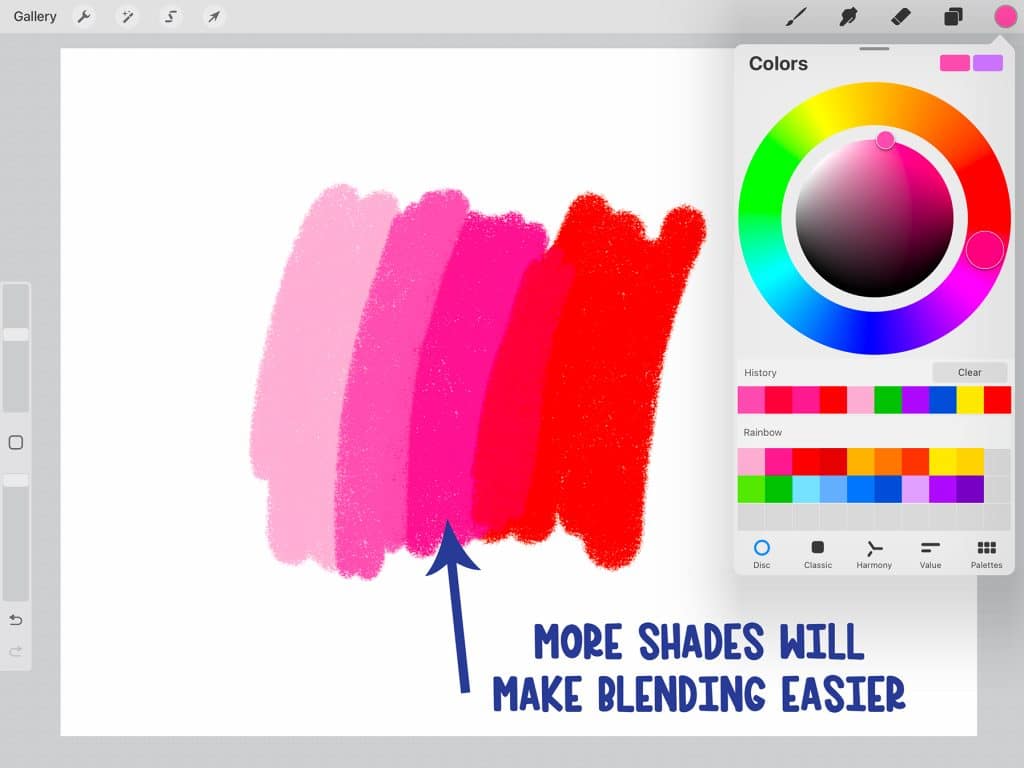
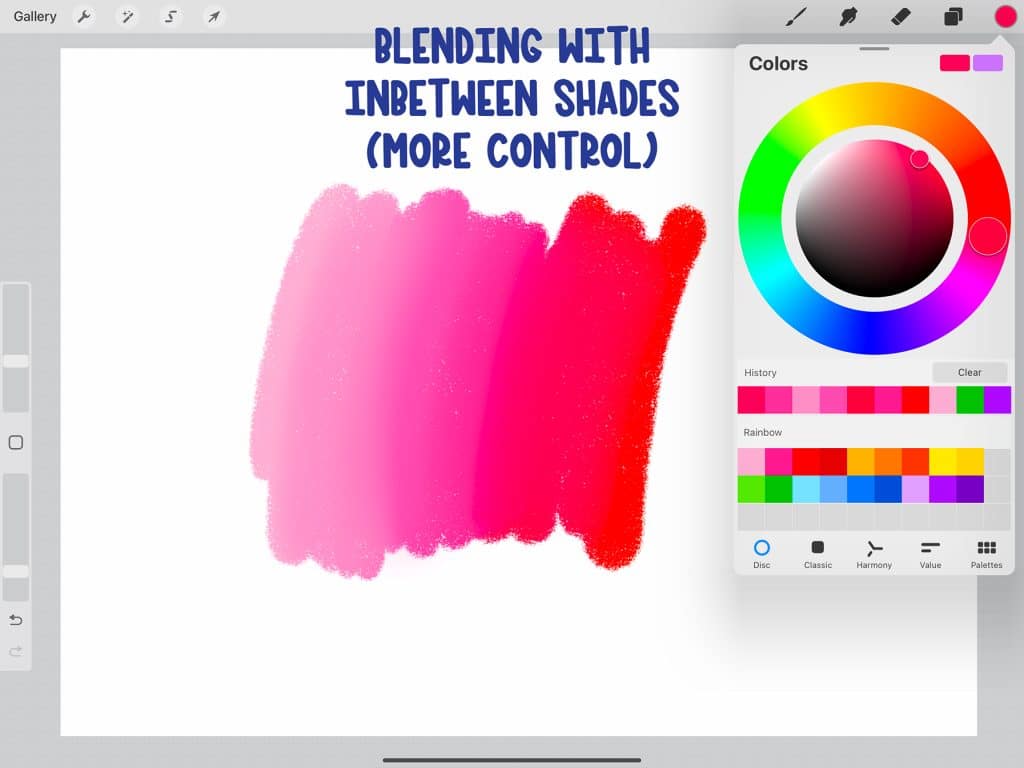
How Do You Blend Seamlessly in Procreate?
If you’re having trouble blending two different colors, try painting with a few of the hues in between your colors to get a seamless blend. For example, if you are blending pink to red, put some of the “middle” colors in your artwork and then blend.

The more “middle colors” you add, the easier it will be to blend them all together!
With patience, the finished result with manual blending will be a smooth transition even if you don’t use Gaussian Blur or the Smudge Tool.
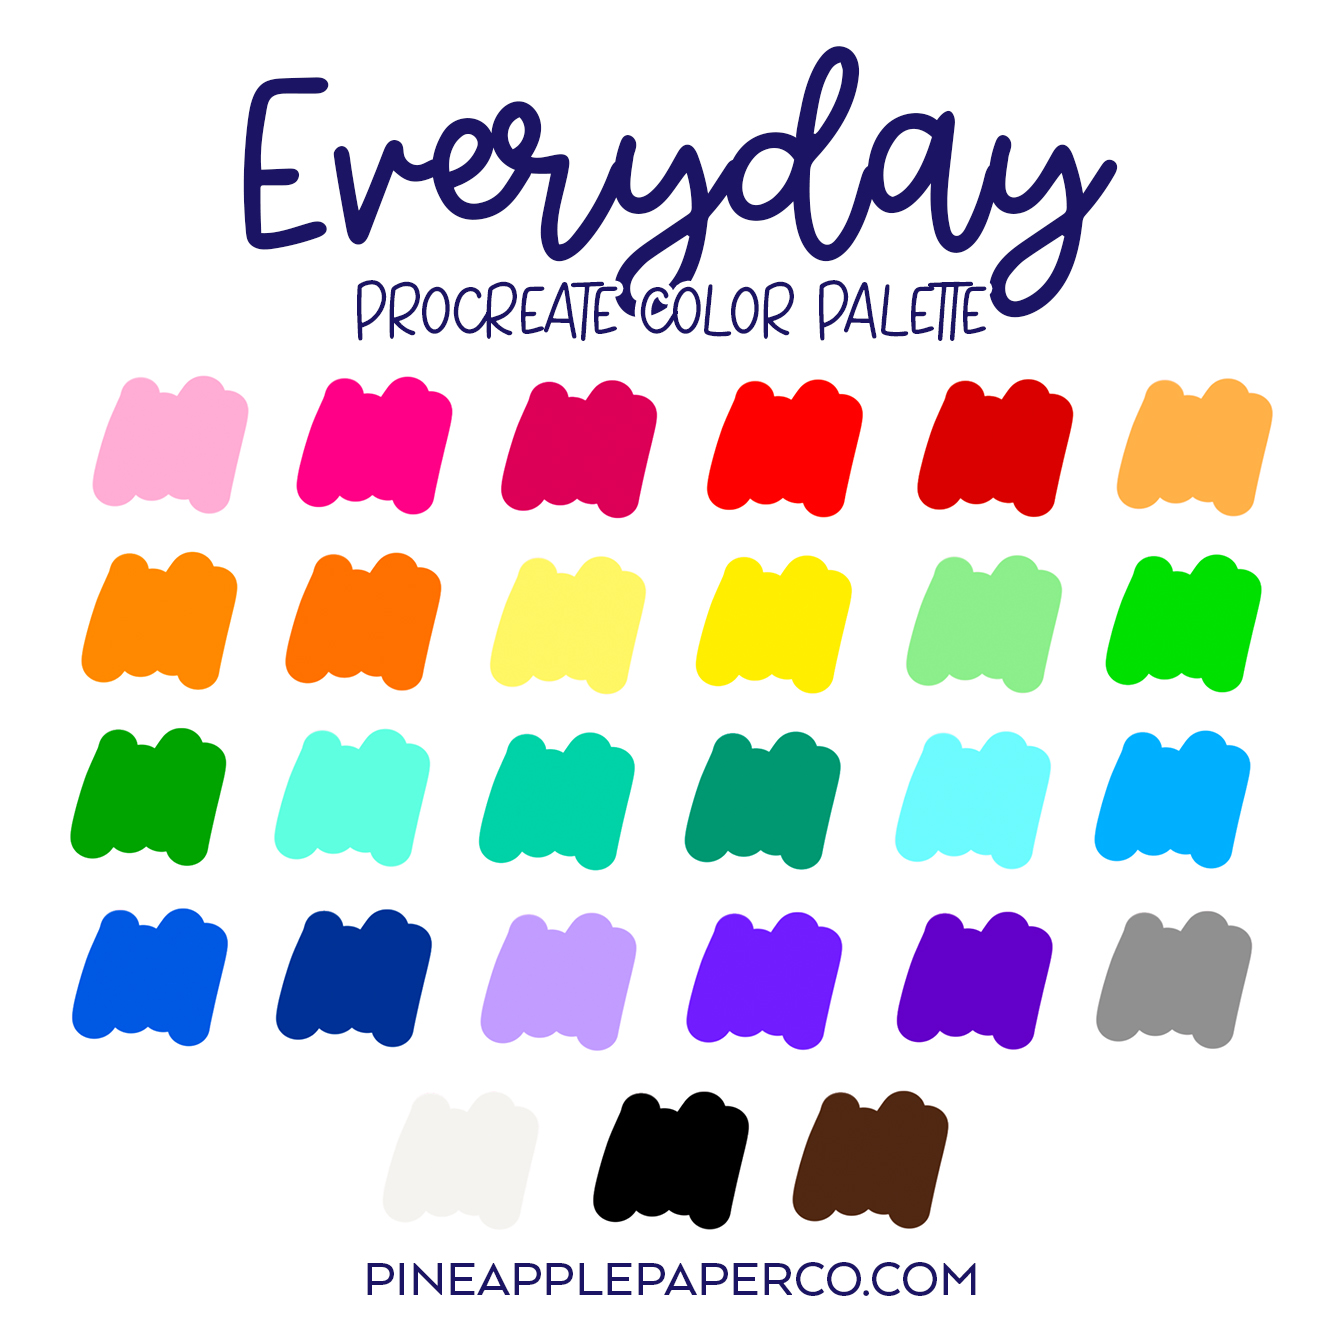
How to Create a Color Palette with Colors Created from Blending
You can use these methods for blending colors in Procreate to create a new color palette! Just blend the colors and use the color selector to choose one of the new colors.
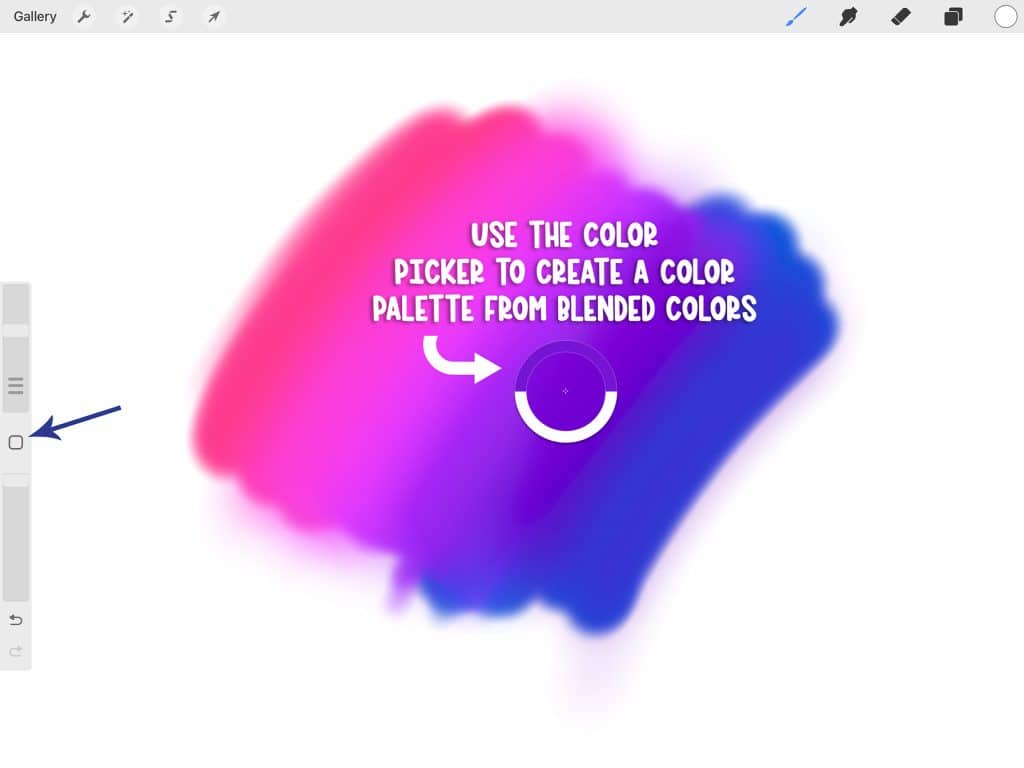
Then click a blank spot in your chosen color palette to set it to the new color!
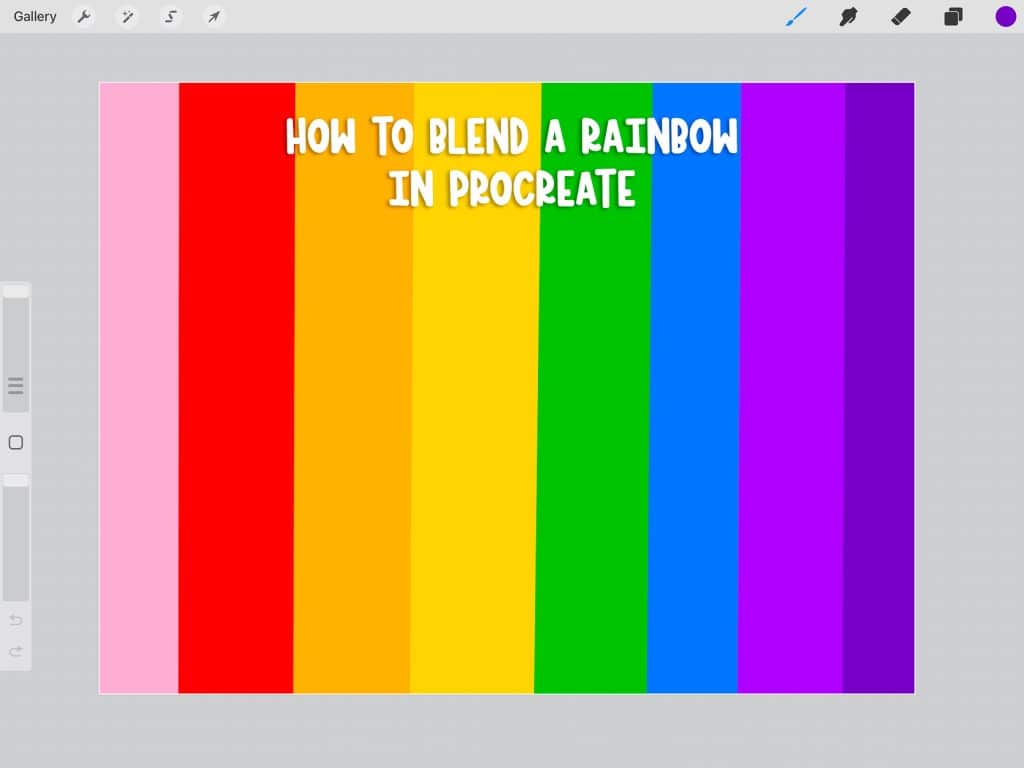
How Do You Blend a Rainbow Gradient in Procreate?
Creating a rainbow gradient effect is really easy using the Gaussian Blur Adjustment Tool. Place all of the colors next to each other on a single layer. Then apply the Gaussian Blur effect to blend all of the colors together in a smooth gradient.
Here’s the colors on the canvas:
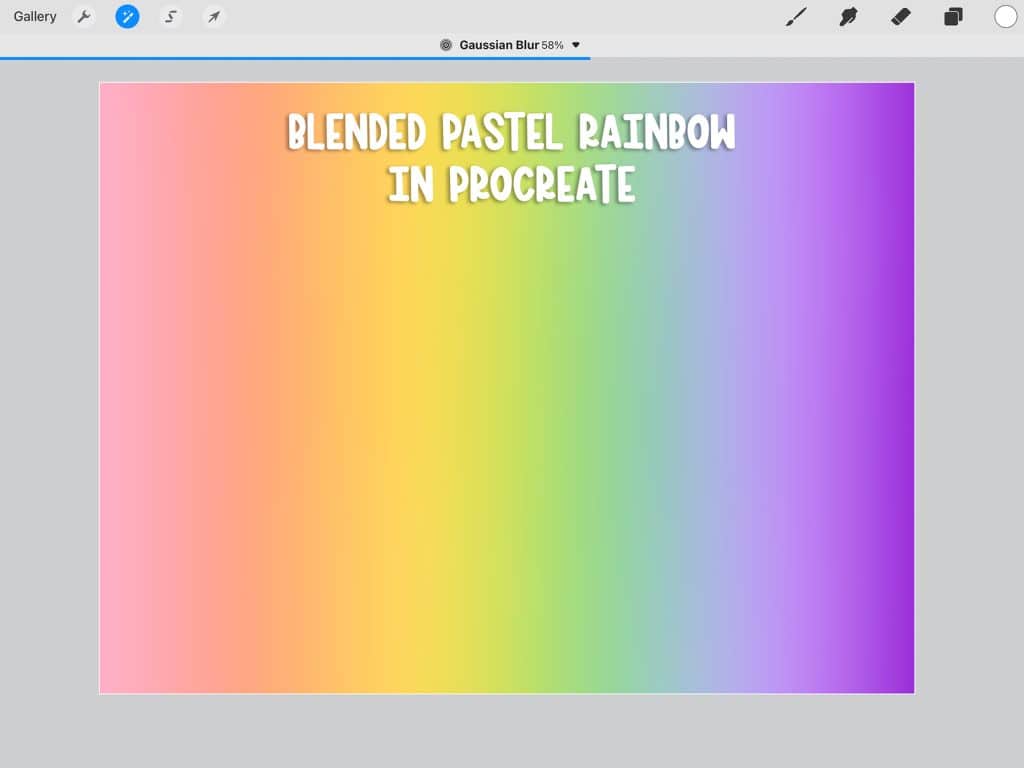
And then with Gaussian Blur applied:

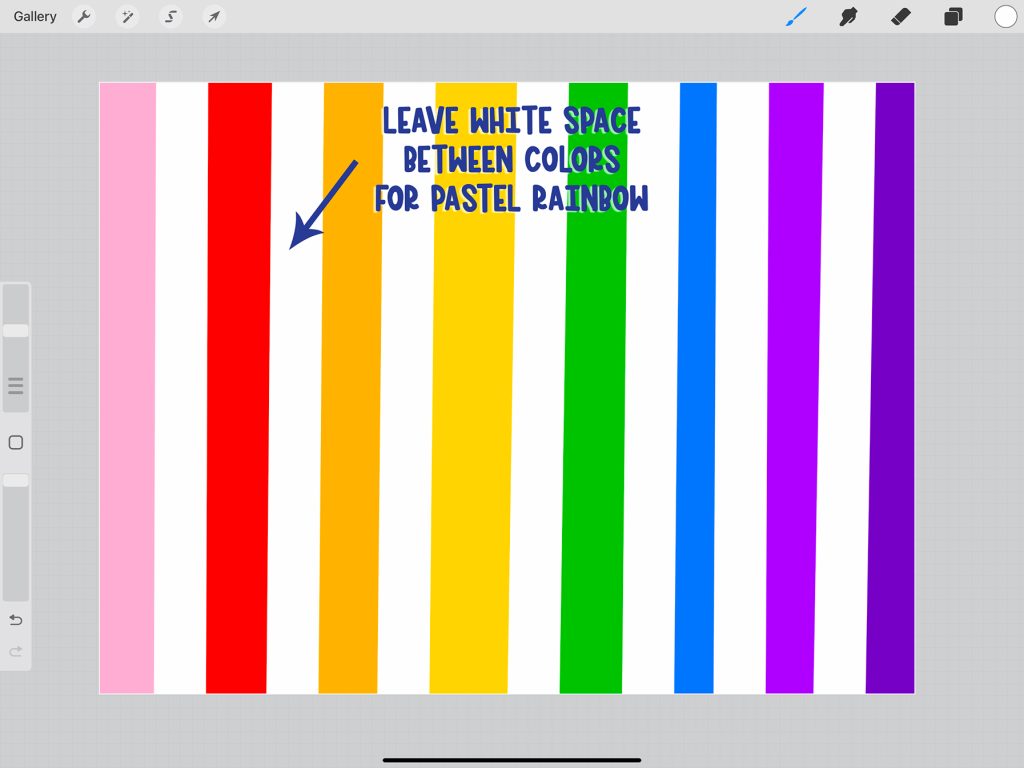
I like to sometimes leave a small white or blank space between the colors before I blend just to get a slightly different (pastel) result!
Look how great this rainbow gradient turned out:


I hope you enjoyed learning about How to Blend Colors in Procreate! Make sure you follow my Tiktok account and my Youtube account for more Procreate tutorials!
Don’t forget to pin this for later!


ABOUT CHARYNN
Hi, y’all! I’m Charynn, the owner and designer of Pineapple Paper Co. I’m a mom of four kids (two girls and two boys) living in Pittsburgh. I love hand lettering, anything southern, cocktails, and of course, pineapples! I am excited to share my SVG files, printables, and craft projects with you! The pineapple is a symbol of hospitality, and I welcome y’all to my little corner of the internet. Read more…