Make your Own Halloween Treat Bags with Iron-On Vinyl – Treats No Tricks
This post and the photos within it may contain affiliate links. As an Amazon associate I earn from qualifying purchases. If you make a purchase through one or more of the links, I may receive a small commission at no extra cost to you.
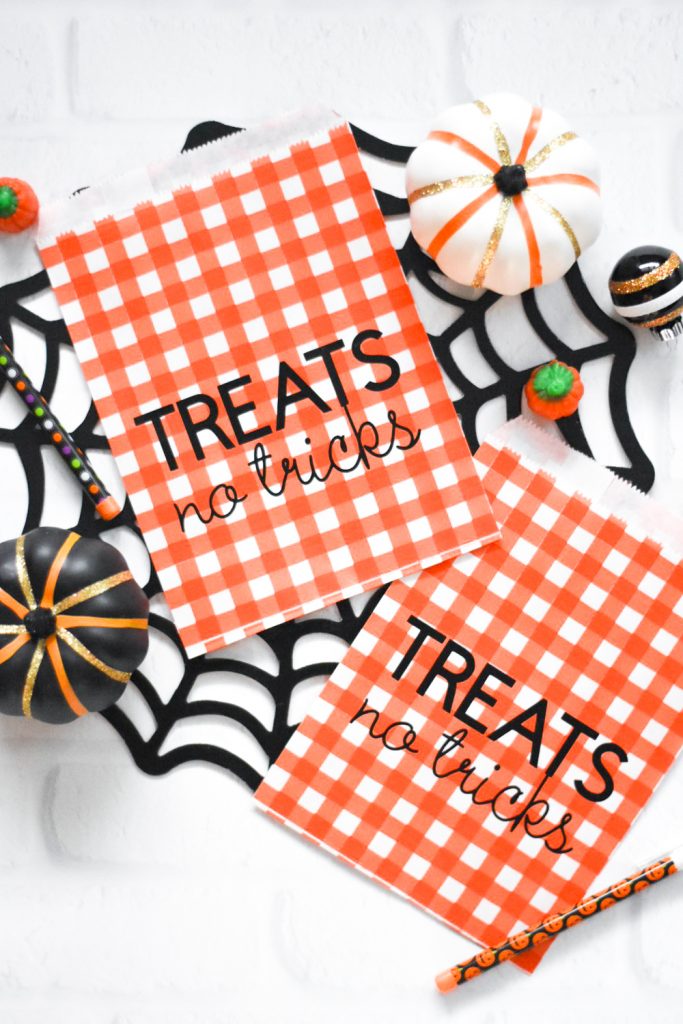
Make these adorable DIY Halloween Treat Bags with Iron-On Vinyl using the Cricut Maker. You can use them for a Kid-Friendly Halloween Party, to give out Treats for Halloween, or Halloween School Treats to send with your kids.
This post and the photos within it may contain affiliate links. If you make a purchase through one or more of the links, I may receive a small commission at no extra cost to you.
I’m absolutely obsessed with using Iron-On Vinyl on materials other than t-shirts. Probably my favorite thing to make is DIY Paper Napkins – like the ones from my Peach & Indigo Martha Stewart party!
The newest ones I just made are for the Halloween Party I threw with Martha Stewart, Cricut, and Michaels. I also made this awesome Personalized Wood Tray using Cricut Foil Iron-On and the EasyPress 2.
When I was planning the Trick or Treat Party with Cricut, I knew that I wanted to try something different – so I made these darling “Treats No Tricks” DIY Halloween Treat Bags with inexpensive paper treat bags and Cricut Iron-On Vinyl.
RELATED POST: Over 35 Trunk or Treat Ideas You Can’t Miss!
What you Need to Make DIY Halloween Treat Bags
-Paper Treat Bags (I bought the Gingham ones in-person at Michaels; but THESE are cute!)
–Cricut EasyPress 2 or Regular Iron
–Cricut Iron-On Protective Sheet (to place in between EasyPress and Project)
How to Make DIY Halloween Treat Bags
I’ve created the Treats No Tricks design for you to use in Cricut Design Space – if you own a Cricut, just click over and get started! (If you don’t have a Cricut Maker, READ THIS POST).
CLICK HERE TO OPEN TREAT BAGS DESIGN IN CRICUT DESIGN SPACE
Once you have your project open, you can customize the size of the design to fit the treat bags you’ve purchased.
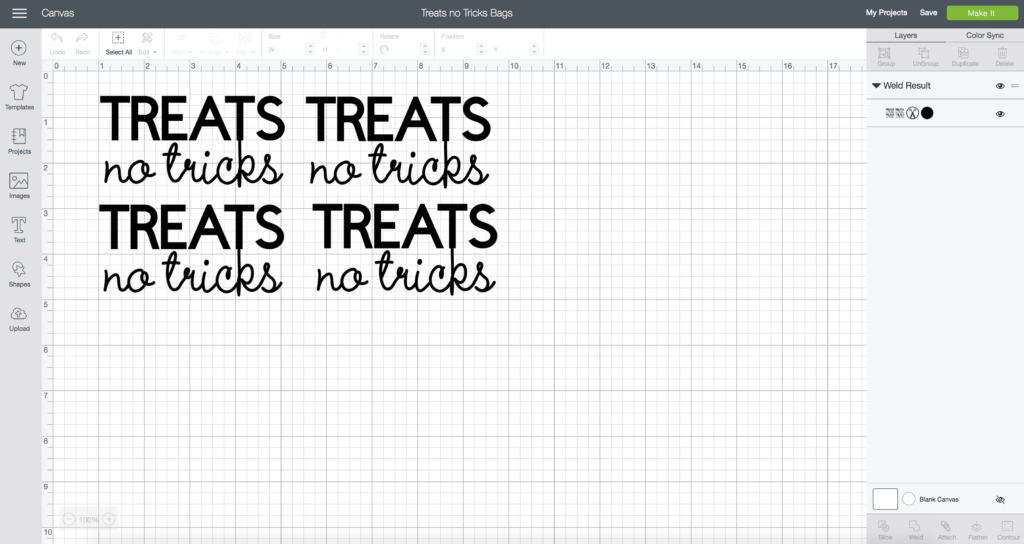
Once you have them re-sized, just click the green “Make It” button.
Now, because you are going to be cutting these out of Iron-On you HAVE to click the “Mirror” slider button On.
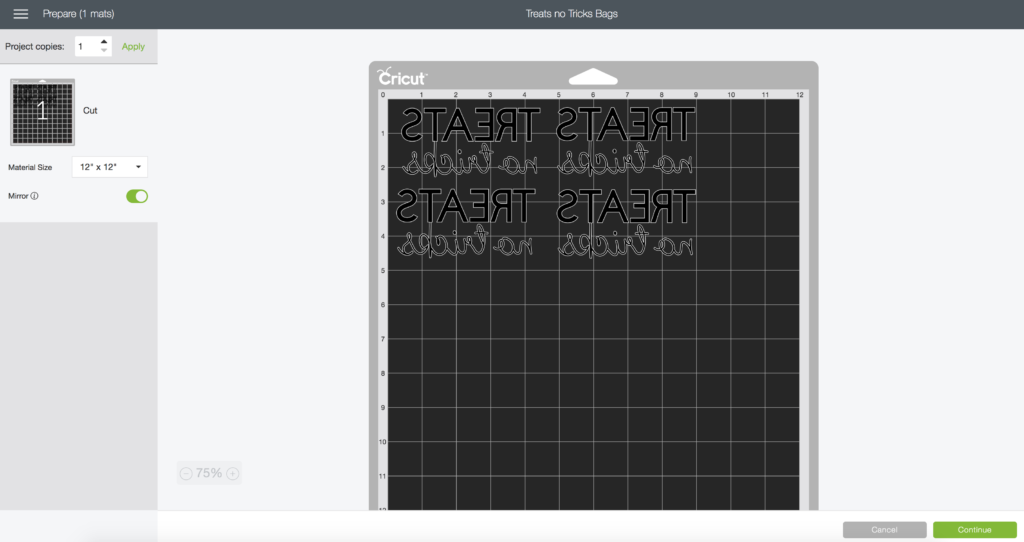
After they are cut, remove the unwanted vinyl and separate each design for the bags.
Preheat your Cricut EasyPress to the lowest setting – 250 degrees.
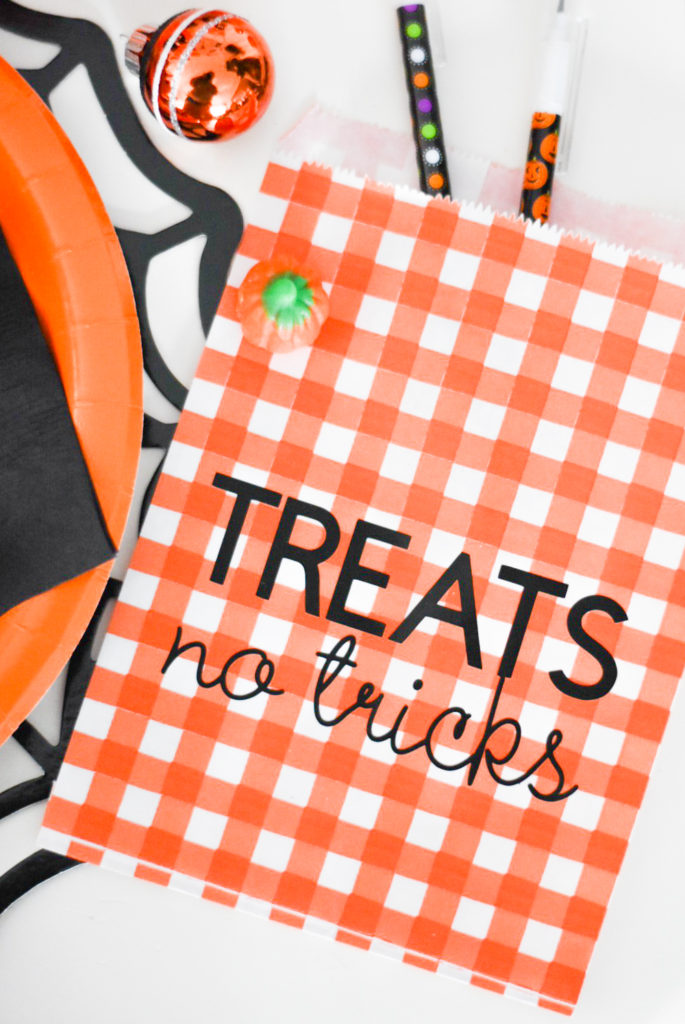
Press the designs onto the bags, using the protective sheet as a barrier for 10 seconds. Peel the backing off carefully; it won’t take much heat to make the Iron-On to adhere to the paper, but you want to make sure it’s secure.
You’re done! Fill the DIY Halloween Treat Bags up with candy, or non-candy treats like Halloween pencils, erasers, and small toys.
LOOKING FOR MORE DIY HALLOWEEN IDEAS? VISIT THESE POSTS:
NEW Hand drawn and Hand lettered SVGs for Halloween Crafts
FREE Halloween Boo to You Printables
FREE Hocus Pocus Halloween SVG
DIY Spiderweb Cake Topper with Martha Stewart, Cricut, and Michaels
How to Make a Trick or Treat Reverse Canvas with Martha Stewart, Cricut, and Michaels
And our most popular Halloween post: Hocus Pocus Trunk or Treat Ideas


ABOUT CHARYNN
Hi, y’all! I’m Charynn, the owner and designer of Pineapple Paper Co. I’m a mom of four kids (two girls and two boys) living in Pittsburgh. I love hand lettering, anything southern, cocktails, and of course, pineapples! I am excited to share my SVG files, printables, and craft projects with you! The pineapple is a symbol of hospitality, and I welcome y’all to my little corner of the internet. Read more…