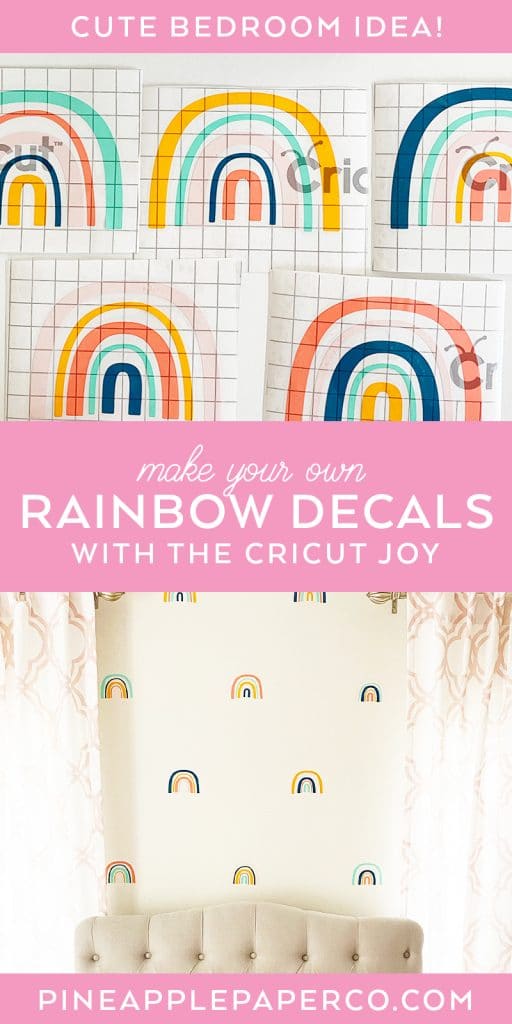
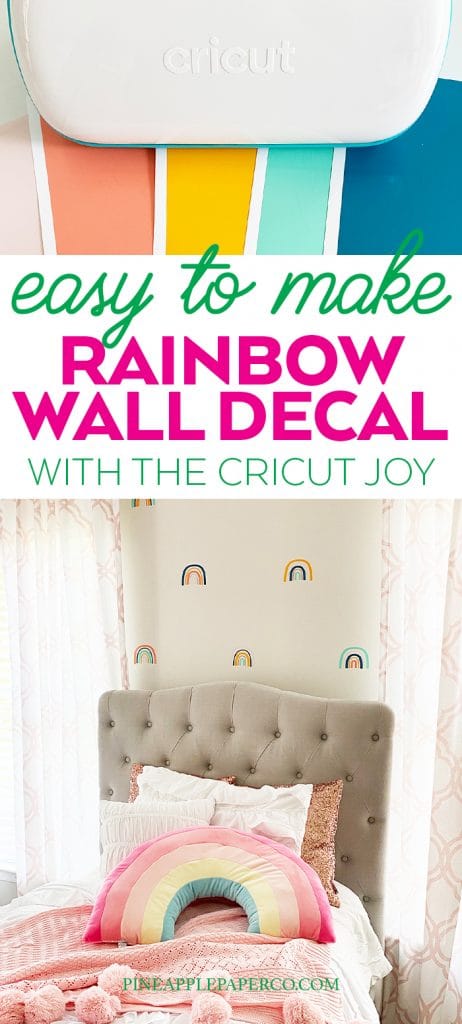
DIY Rainbow Wall Decal with Cricut Joy
This post and the photos within it may contain affiliate links. As an Amazon associate I earn from qualifying purchases. If you make a purchase through one or more of the links, I may receive a small commission at no extra cost to you.
This is a sponsored post written by me on behalf of Cricut for Cricut. All opinions are 100% mine.
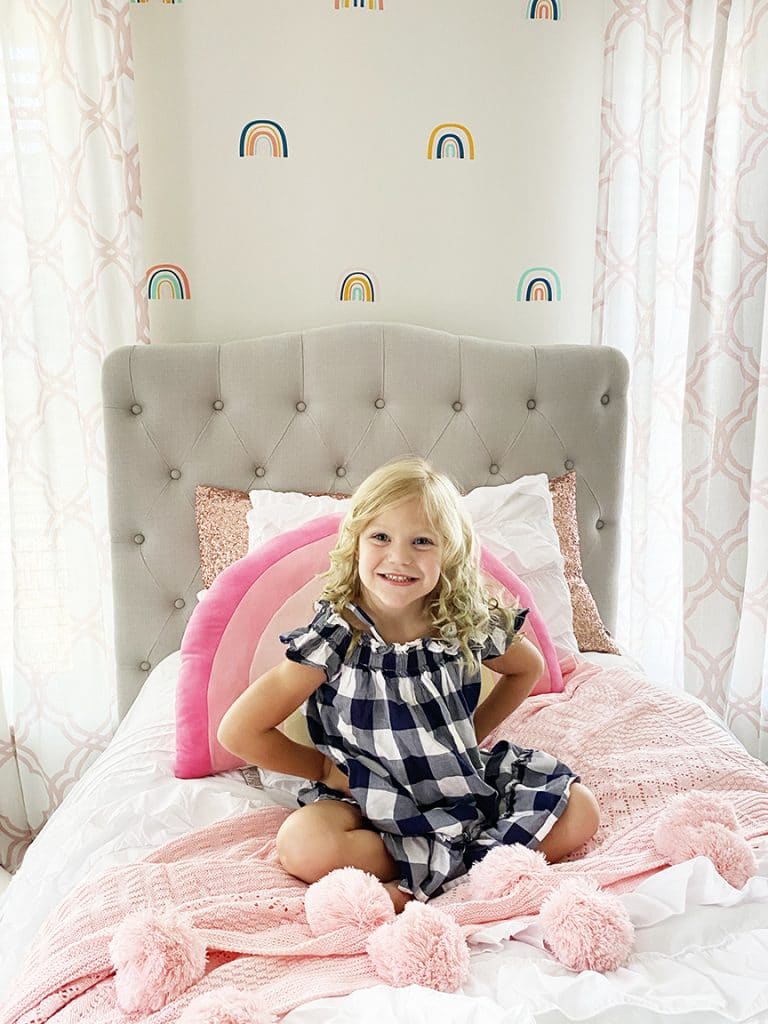
Make your own Rainbow Wall Decals to decorate a bedroom, playroom, or other room! Use your Cricut Joy and vinyl to make removable rainbow wall stickers that any kid (or adult!) will love!
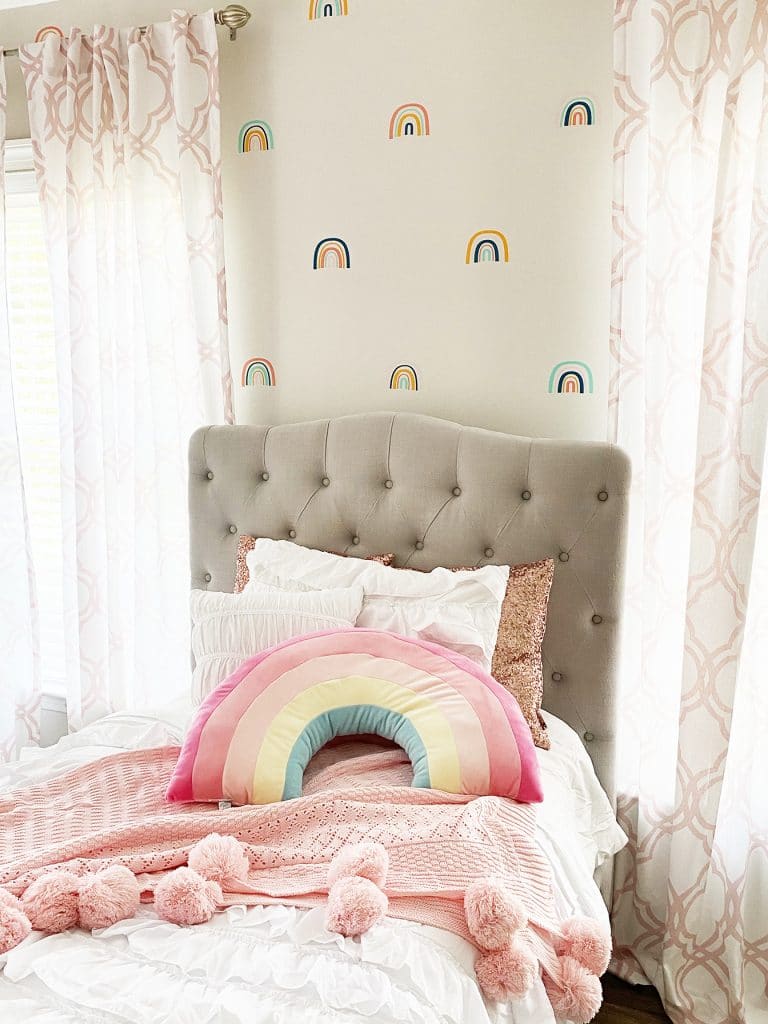
My youngest daughter has been begging for a bedroom makeover, so when Cricut asked me to make a home decor project using my Cricut Joy, I knew exactly what I was going to make! She loves anything with rainbows and unicorns (can you tell she’s 5? HA!), so I designed an accent wall behind her bed with small rainbow wall decals. Y’all, it turned out SO cute, and she loves it!
RELATED POST: How to Make Stickers with Procreate
Despite it’s small size, Cricut Joy is perfect for projects that will make a big impact! It is SO easy to use with vinyl, iron on, or Infusible Ink materials to personalize anything in your home. Make sure you check out the Cricut blog for more home decor ideas!
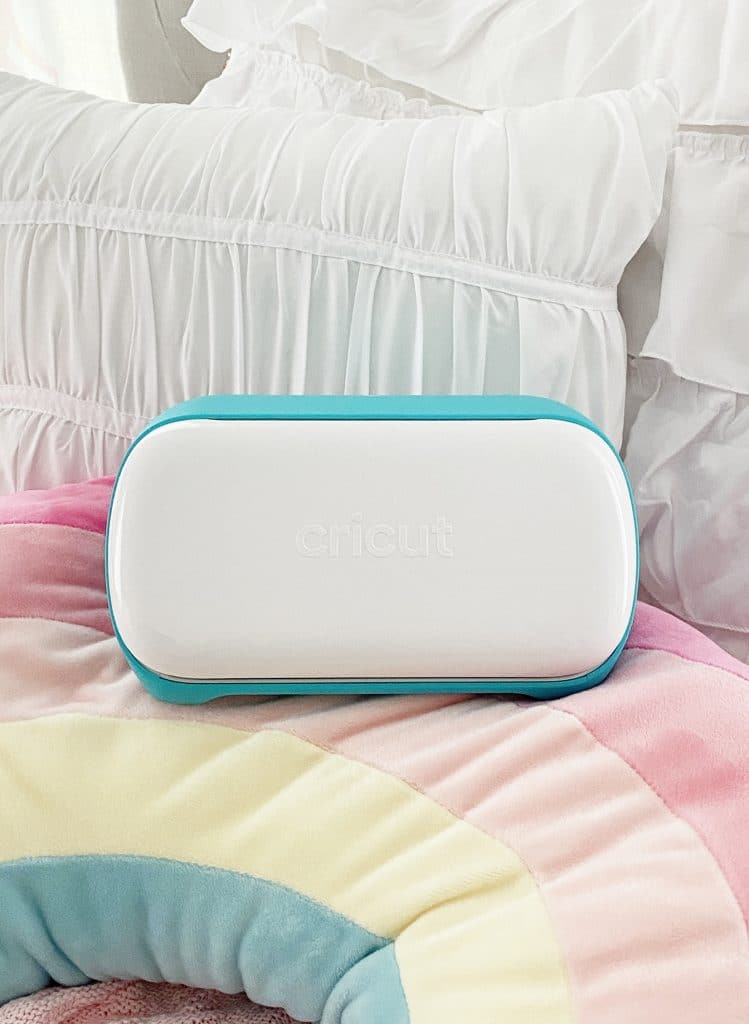
Although I’m a huge fan of the larger Cricut Explore Air 2 and Maker, I absolutely love how convenient and easy Cricut Joy is to use. I can design and cut projects anywhere in my house using my mobile device. Or use my computer when my craft room is clean, which is rare. Ha!
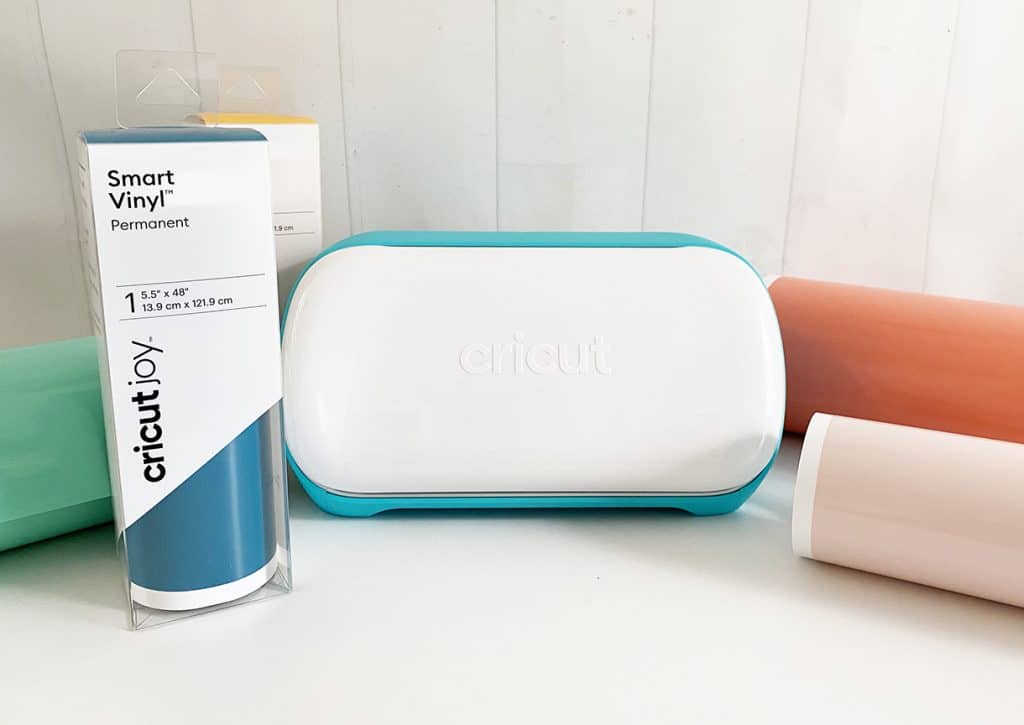
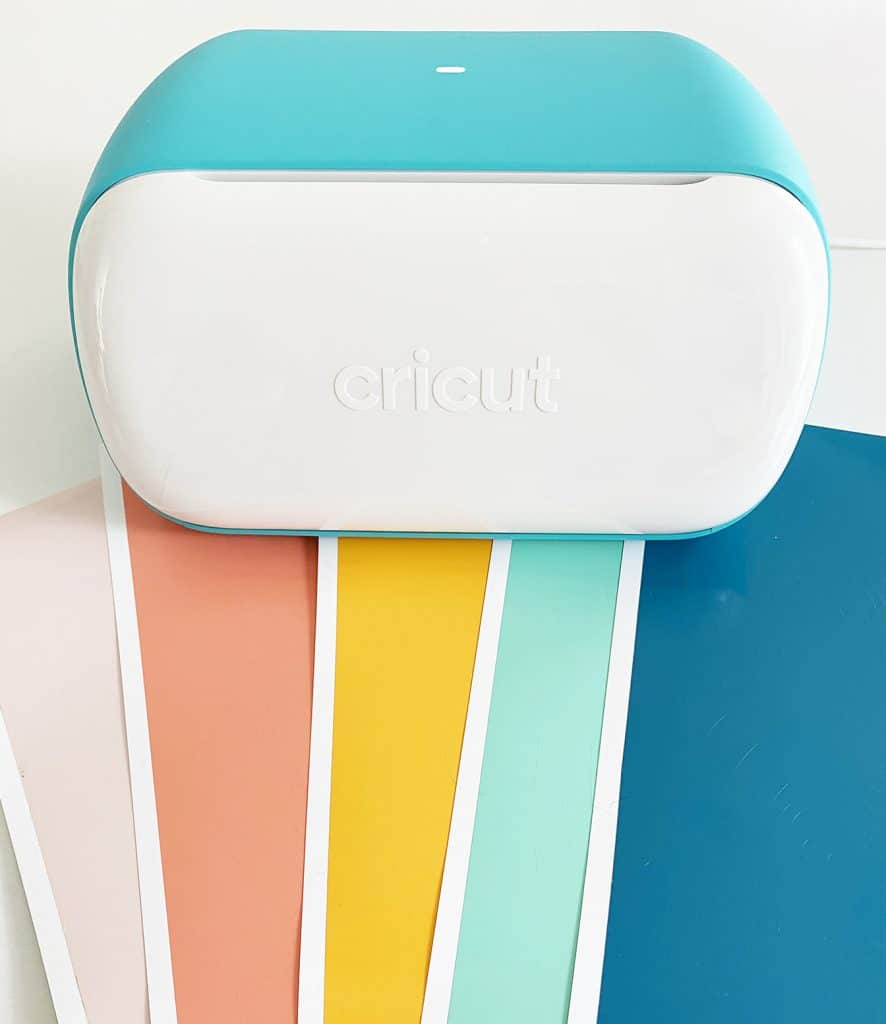
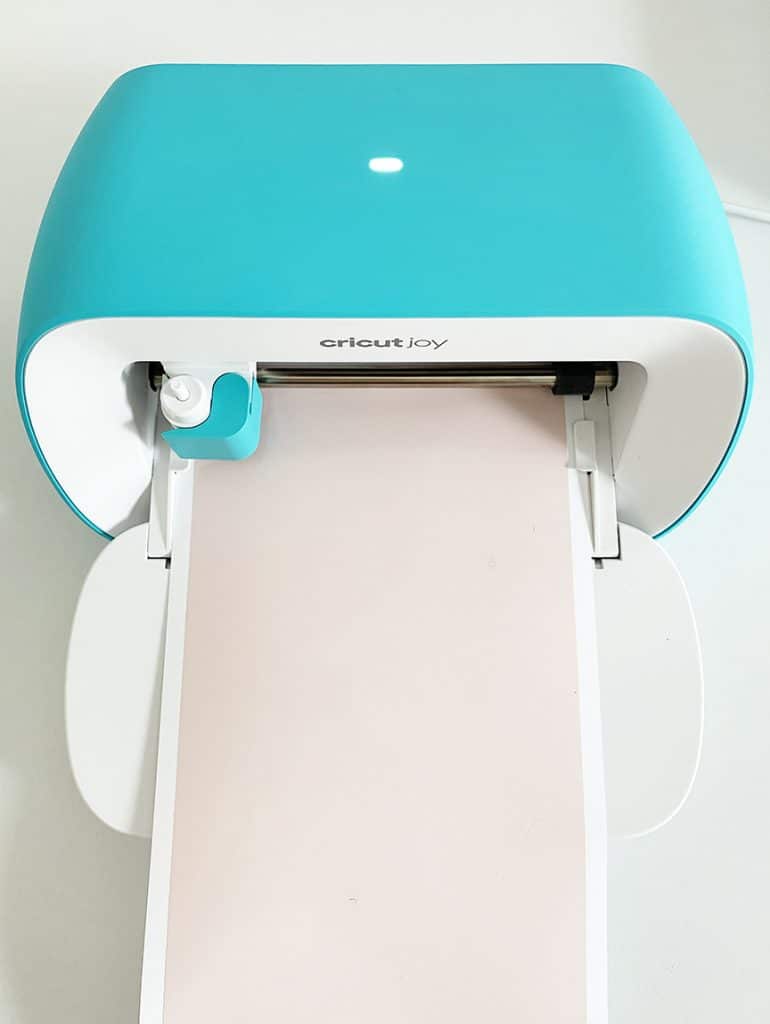
One of my favorite features of Cricut Joy is the ability to cut materials without a mat. Cricut Smart Materials are different than other vinyl and paper – less cutting supplies to buy and transport! Plus, it makes cutting different colors of vinyl so much faster. For these adorable little DIY rainbow wall stickers, I used Cricut Smart Vinyl with matless cutting, and it worked great! You’ll love using it for home decor projects.
I LOVE making cards with my Cricut Joy, and I discovered how awesome it is for making DIY storage labels, too. This was my first time using the Smart Vinyl and it did not disappoint!
Supplies Needed to Make Rainbow Wall Decals
- Cricut Joy
- Cricut Smart Vinyl in Tulip, Mint, Teal, Coral, and Tangerine
(Bonus! All of these colors are included in the Beachside Smart Vinyl Sampler – if you only have a small area to cover, you can make this project for under $10 in vinyl!!) - Cricut Transfer Tape
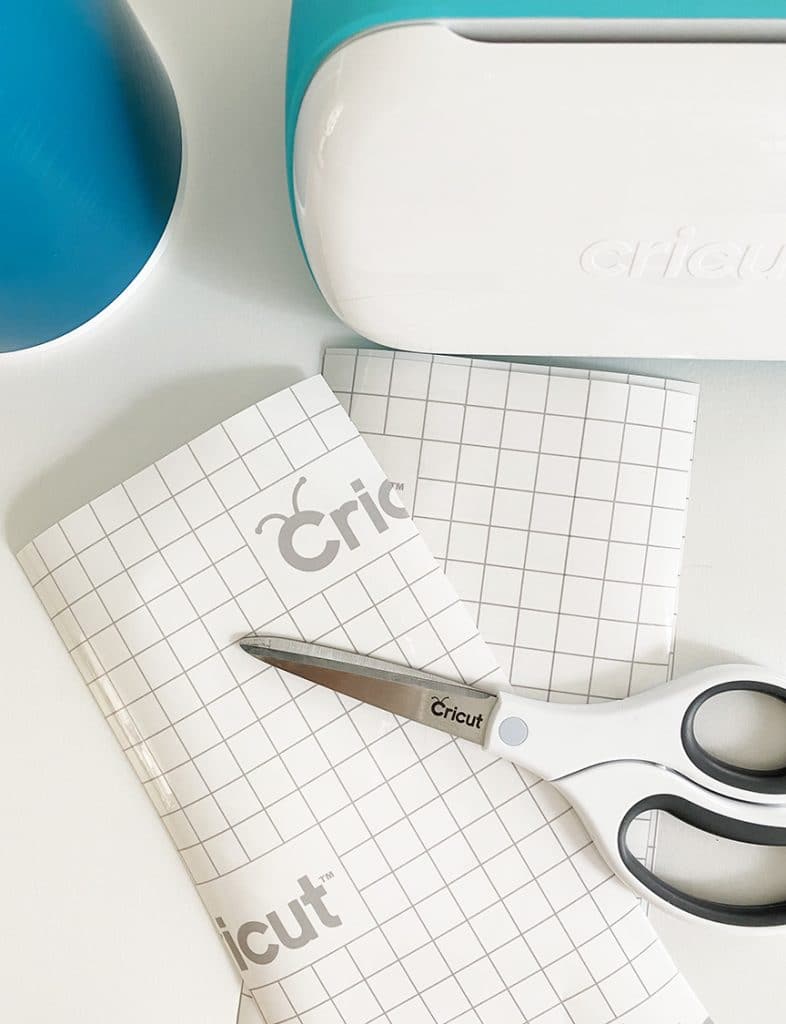
- Cricut Scraper
How to Make DIY Rainbow Wall Stickers
For these easy decals, I used a rainbow design available with Cricut Access. Need to know more Cricut Access? Learn about the convenient subscription program (and all of the great discounts you get with a membership!) at the Cricut Access webpage.
My daughter’s wall used 20 rainbow vinyl decals – you can get the Cricut Design Space file at the link below, and remove or add shapes based on the number you need. The file, if used as designed, will require TWO Beachside Smart Vinyl sampler packs.
Rainbow Wall Decal Cricut Design Space File
I have the rainbow shapes separated into each of the 5 colors. By cutting each of the rainbows one color at a time, I was able to use less vinyl for the project. It’s a little more time consuming in the end, but will save you SO much money! Once the rainbows are cut, you’ll just mix and match the layers to give you multi-colored rainbows!
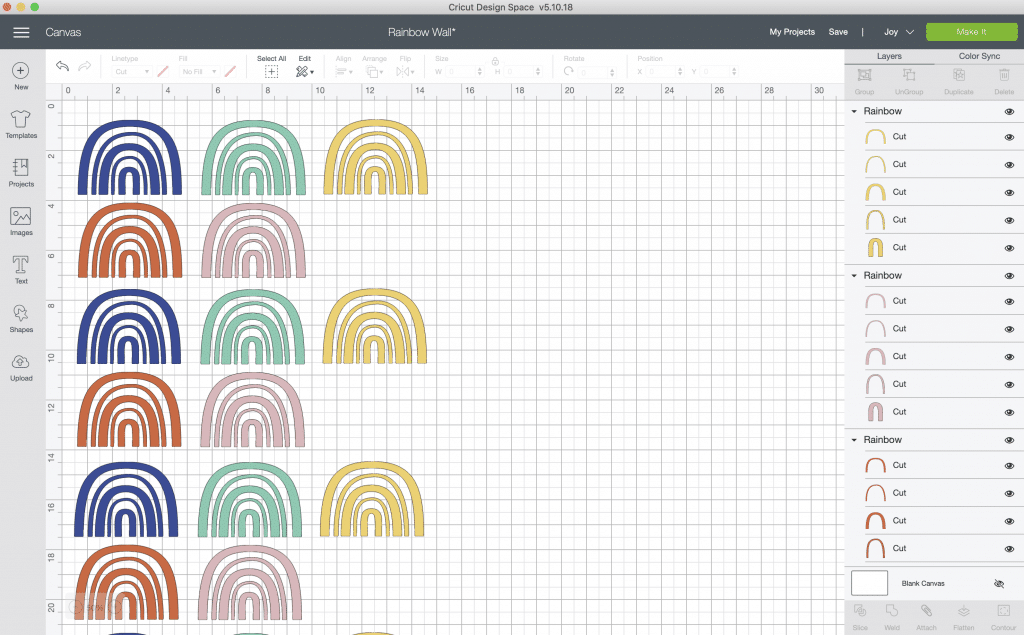
Size the rainbows to fit your project – the rainbows I used above are just over 4″ wide. Click “Make It” when ready to cut.
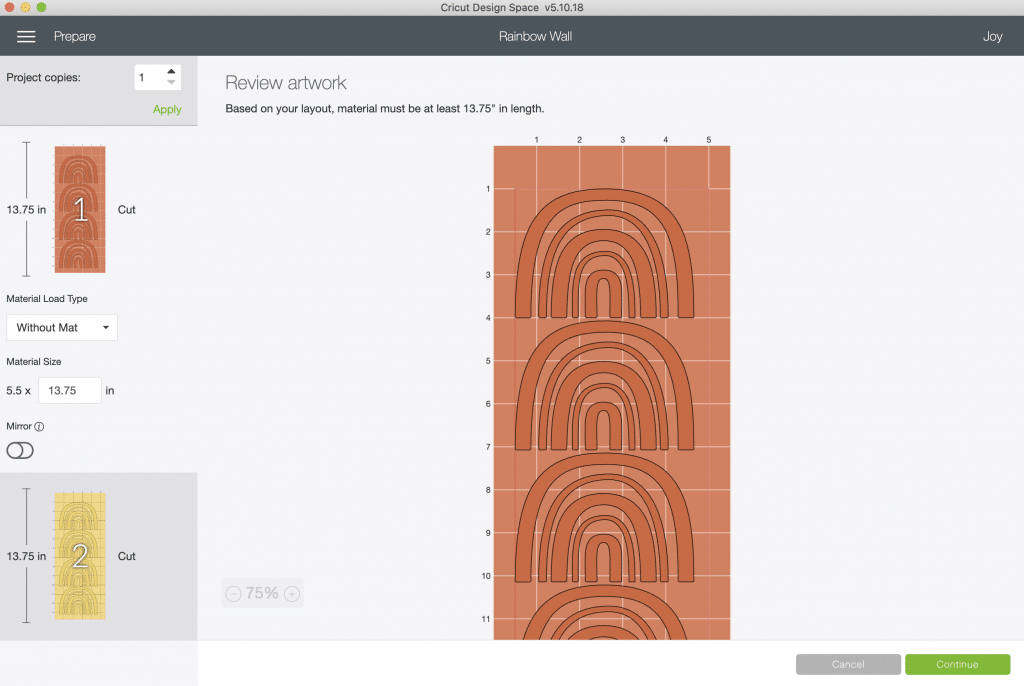
Design Space will prompt you to choose how you are cutting your material – with Smart Vinyl, choose “Without Mat.”
Design Space will also tell you how long of a piece of vinyl is required – in this case, at least 13.75″ of vinyl is required. You can also use the “Material Load Type” dropdown box in the left column if you need to change your mat setting.
Then select the material you are using. I used Smart Vinyl – Permanent for the rainbows.
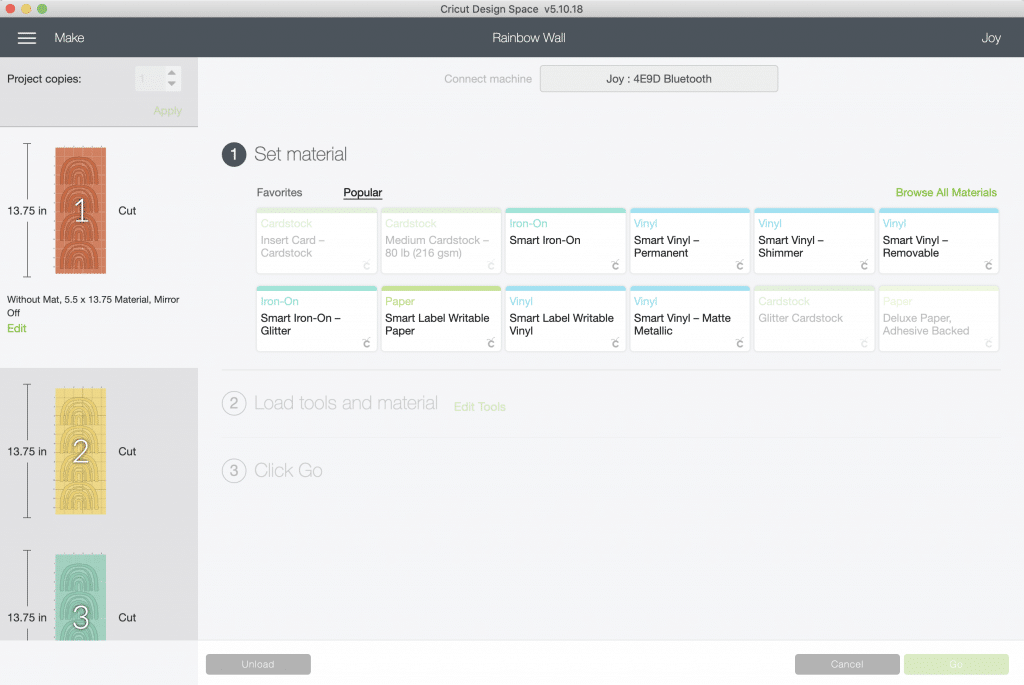
Follow the onscreen prompts to cut each color of vinyl.
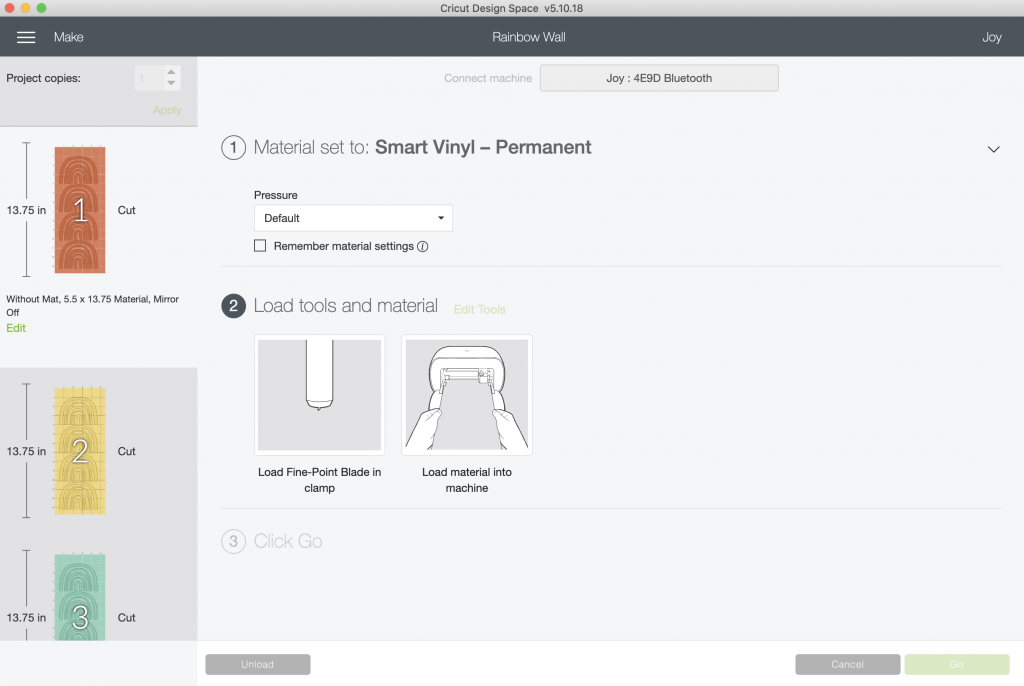
Cricut Joy senses the Smart Vinyl and will verify that the material you are using is long enough for your project. (So cool!)
When the rainbow decals are finished cutting, weed away the extra vinyl. Smart Vinyl is SO easy to weed!
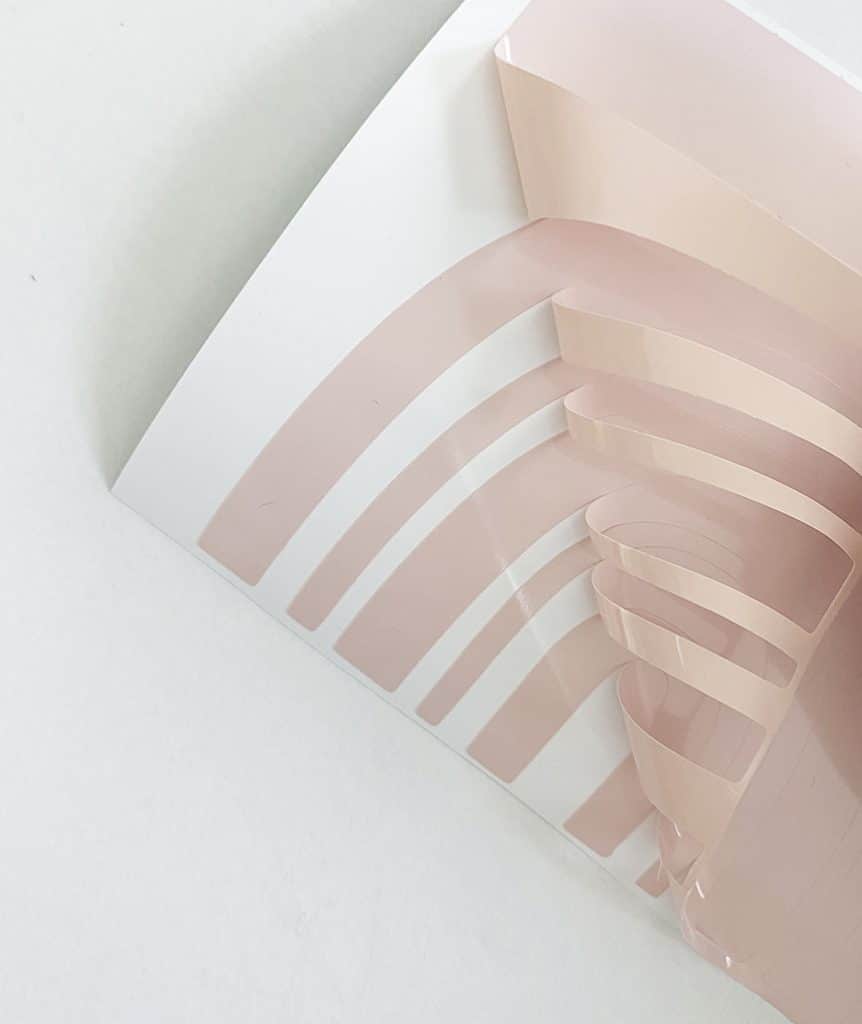
You could definitely use just the solid color rainbows to decorate – they are adorable!
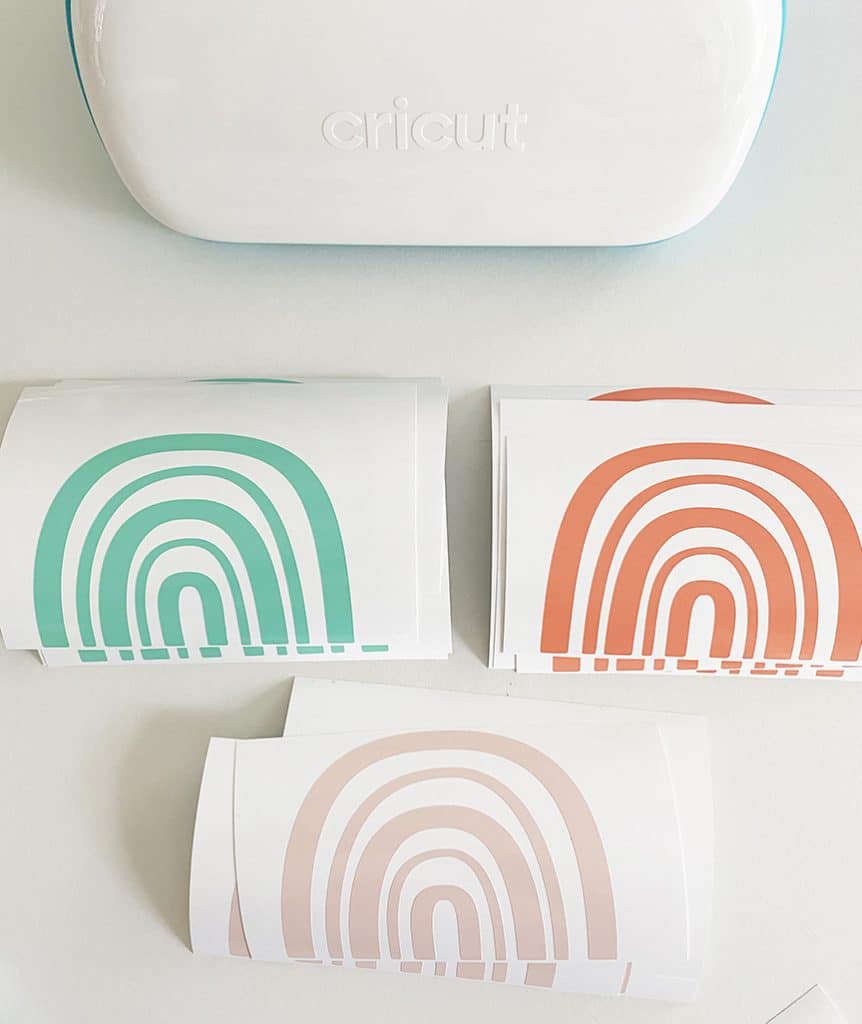
Cut apart the rainbow pieces. It will make it easier to mix the colors onto one piece of transfer tape.

Cut squares of transfer paper a little larger than each rainbow (about 4×5″).
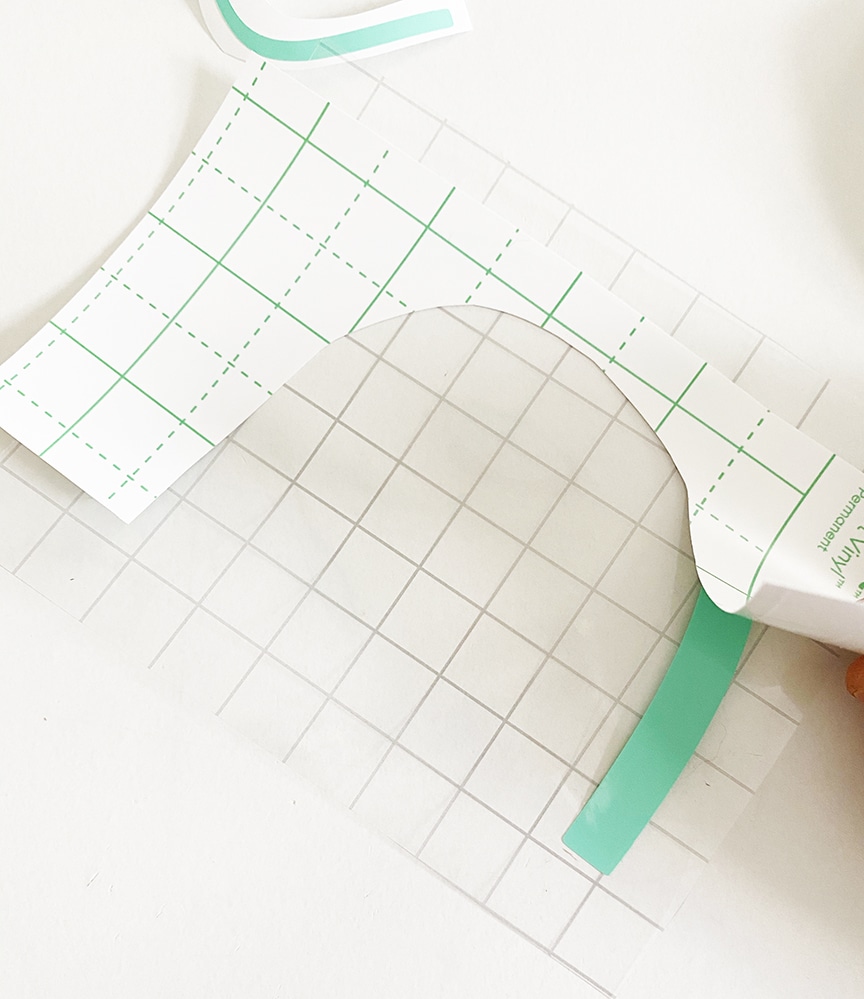
Use one of the rainbows as a pattern and transfer one piece of each color to build your rainbows.
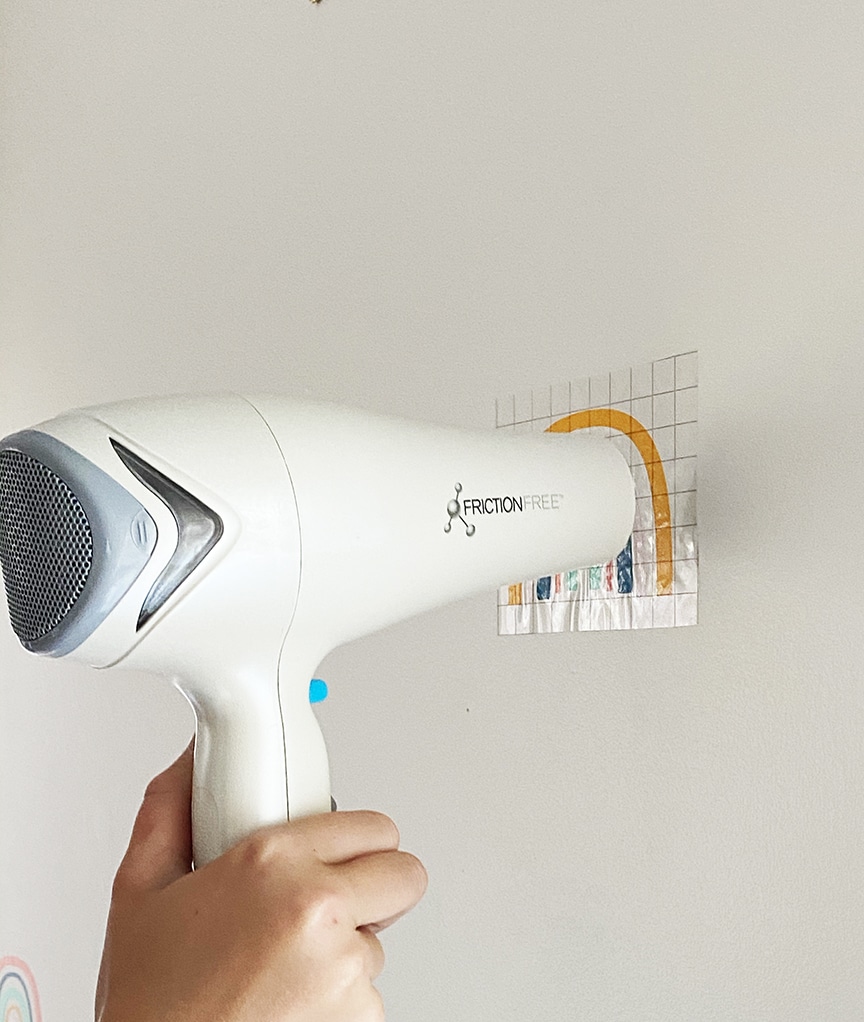
Depending on the type of wall you have in your home, using decals can be a little tricky. My daughter’s bedroom walls have a slight texture and shine to them, so I had to be very patient. But it worked great! I found it easiest to use a hairdryer and a Cricut scraper. Place the decal on the wall and smooth with your fingers. Use the hairdryer to heat the design (only about 1″ away) for 20-30 seconds.
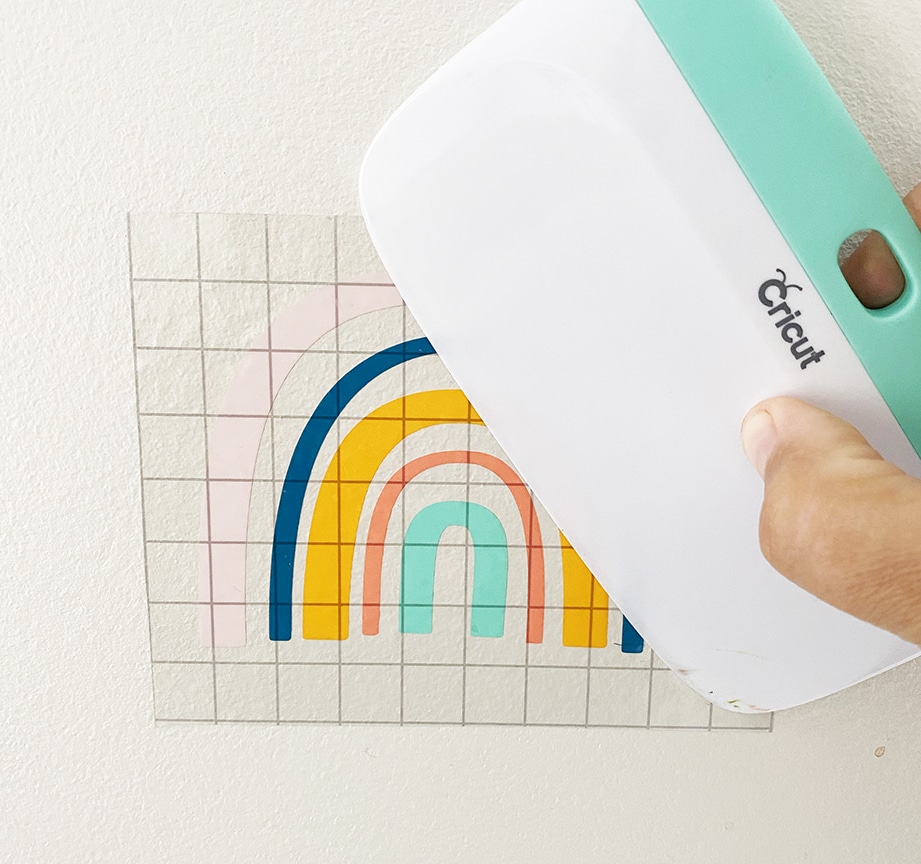
Press the design onto the wall with the scraper. While still warm, start with a corner of the transfer paper and remove at a 45 degree angle.
I spaced out the rainbows about 12″ vertically and 16″ horizontally to fit the wall behind my daughter’s bed. She loves them!
I am so excited about how her room turned out. Using my Cricut Joy, I was able to make a large impact in my daughter’s bedroom with these rainbow wall decals! You could easily replicate this project for any room. Plus, when you’re all done, you can pack your Joy away in a closet or small storage space. It’s so cool!
LATEST POSTS:
Pin DIY Rainbow Wall Decals


I purchased this on my phone. I saved it to my account. I went to open it on my laptop and it says that I need to purchase it again? I cant use my phone to cut this as I have an explore one and no adaptor. I would like a refund.
Hi! Since I don’t own this design (I only share the link to Cricut Design Space) and you purchased it from Cricut, you will have to contact their customer service team. Sorry you’re having problems!