Make Craft Room Labels with Cricut Joy
This post and the photos within it may contain affiliate links. As an Amazon associate I earn from qualifying purchases. If you make a purchase through one or more of the links, I may receive a small commission at no extra cost to you.
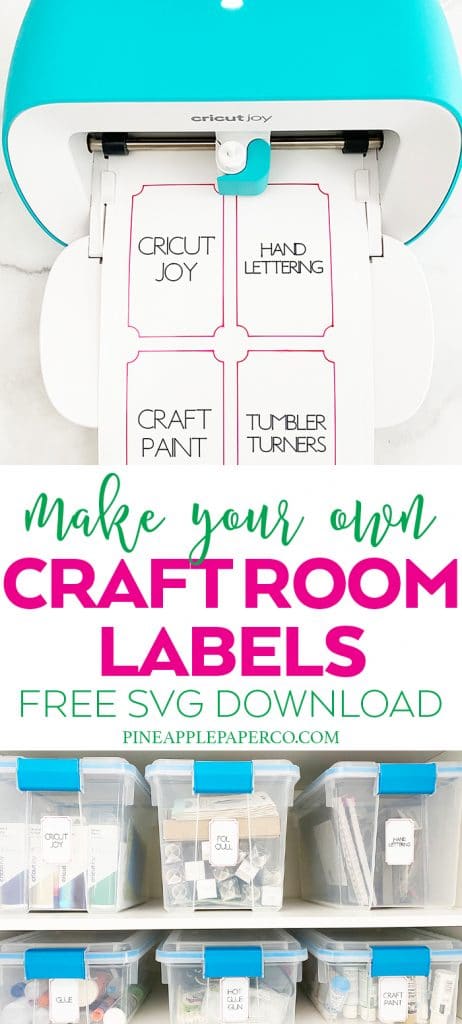
Download a FREE Craft Room Storage Label SVG File to organize the craft room of your dreams! You can cut these DIY Craft Room Labels with your Cricut Joy, Explore Air 2, or Maker to label storage bins or boxes using sticker paper or Smart Label vinyl.

I’ve been busy organizing the other half of my craft room (the first part I did was my small Cricut organization area), and I was so excited to get some storage bins and start putting stuff AWAY. I don’t have it completely done yet, but I have some process photos saved in my Instagram stories if you want to check them out!
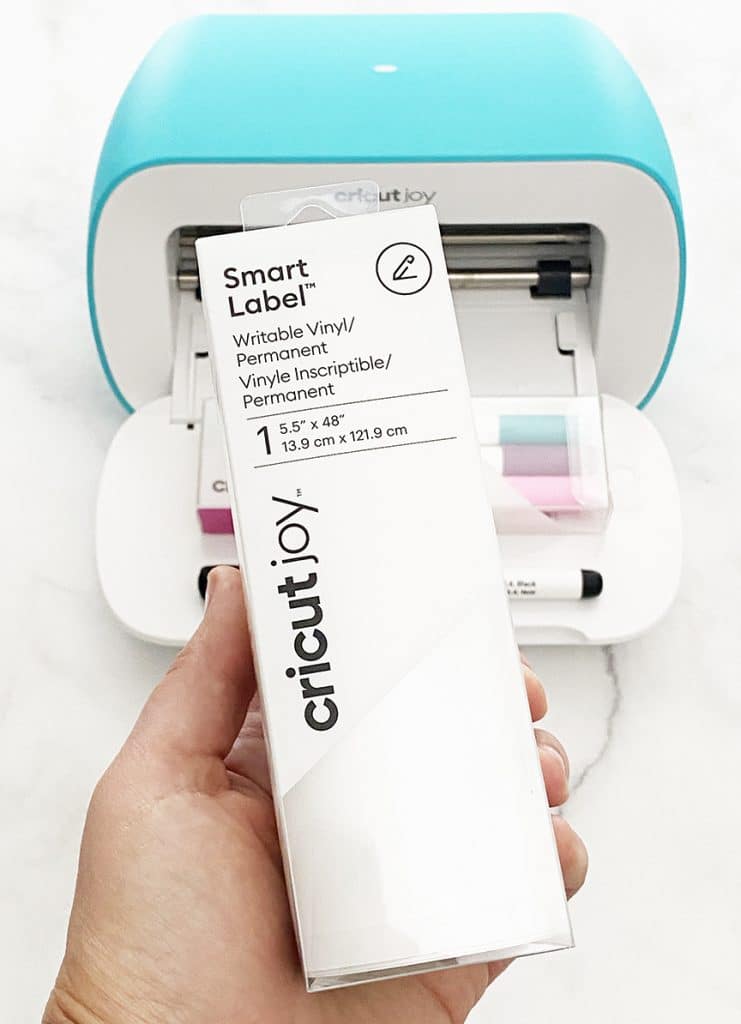
Right after I started my craft room organization overhaul, I got a Cricut Joy. One of the first materials that I couldn’t wait to try was the Smart Label Writable Vinyl – it’s a vinyl material but you can use the Cricut pens to WRITE on it just like printable vinyl or sticker paper. It is such a cool product!
For my first project with the Smart Label writable vinyl, I made these Craft Room labels with my Cricut Joy that fit my new storage bins perfectly. PLUS, I’m sharing the FREE SVG file that I used to create my labels so you can download it and use it to make DIY labels for your craft room, pantry, toys, and more!
RELATED POST: Make Your Own Cricut Stickers in Procreate
Keep reading for the full tutorial about how to make these craft room labels with Cricut Joy and download the FREE SVG at the end of the post!
Supplies for DIY Craft Room Labels
- Cricut Joy
- Smart Label Writable Vinyl
- Cricut Joy Pens (regular pens are best!)
- Craft Storage Label SVG (Download at the end of the post)
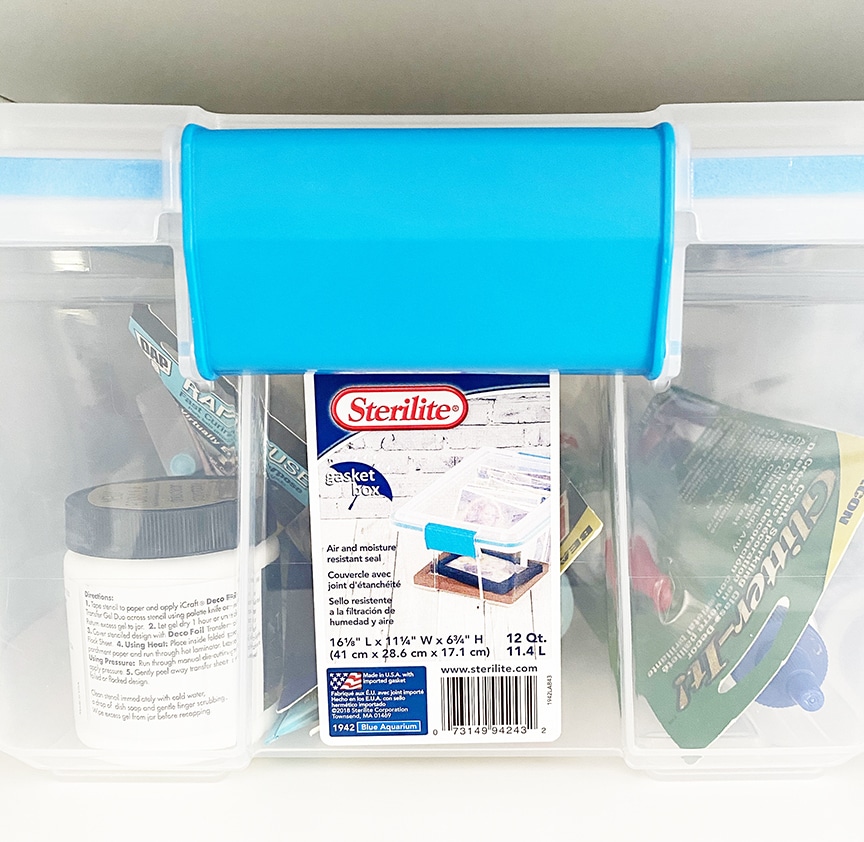
- Storage Bins – these are the Sterilite bin design in my craft room – you can choose the size that works best for your space.
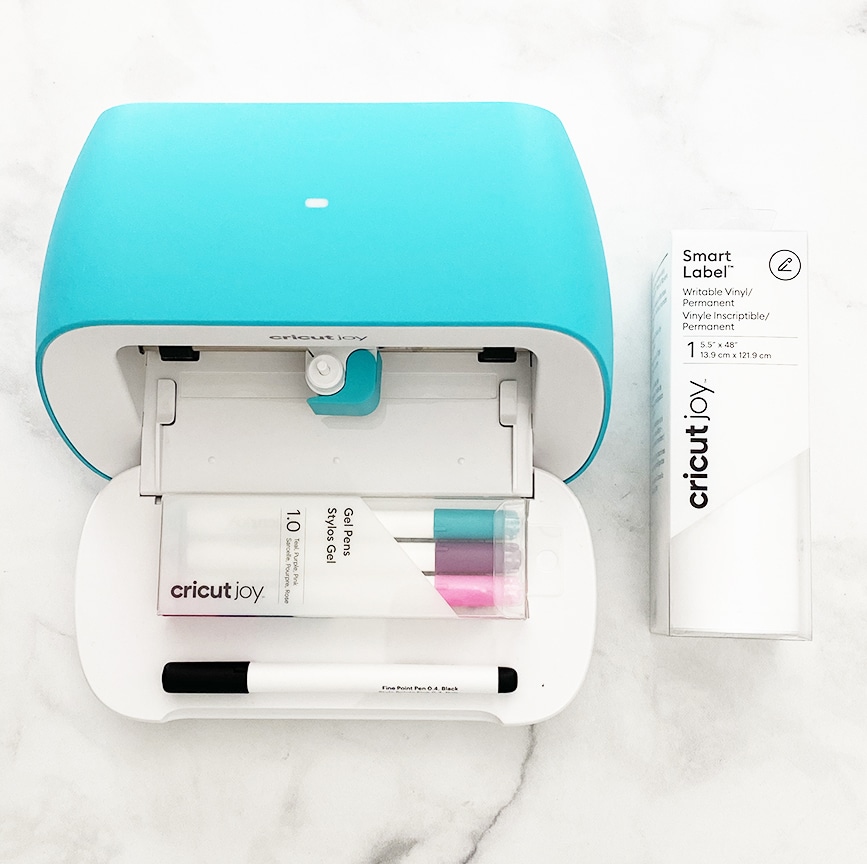
Note: I used the Gel Pens for this project, but I wouldn’t recommend them! You will see why in the tutorial!
How to Make Craft Storage Labels with Cricut Joy
If you’re new to using SVG files with your Cricut machine, make sure you read my full post on How to Upload an SVG to Cricut Design Space.
If you’re not familiar with using Design Space, the step by step tutorial for making my craft room labels is below. If you’re a pro, scroll to the bottom of the post to grab the free SVG file!
I used my desktop Design Space app to create these labels for my craft closet storage because I find it easiest to edit design files on my computer. If you’d like to see a tutorial for other devices with Cricut Joy, check out my Cricut Joy card tutorial with the iPad, and DIY Cricut Joy Cards with the iPhone.
Download the FREE Craft Room Labels SVG file (in the big gray box at the end of the post) and import it into Design Space. At this point you can resize the design to fit your storage, or copy and paste to produce as many label as you need for your space.
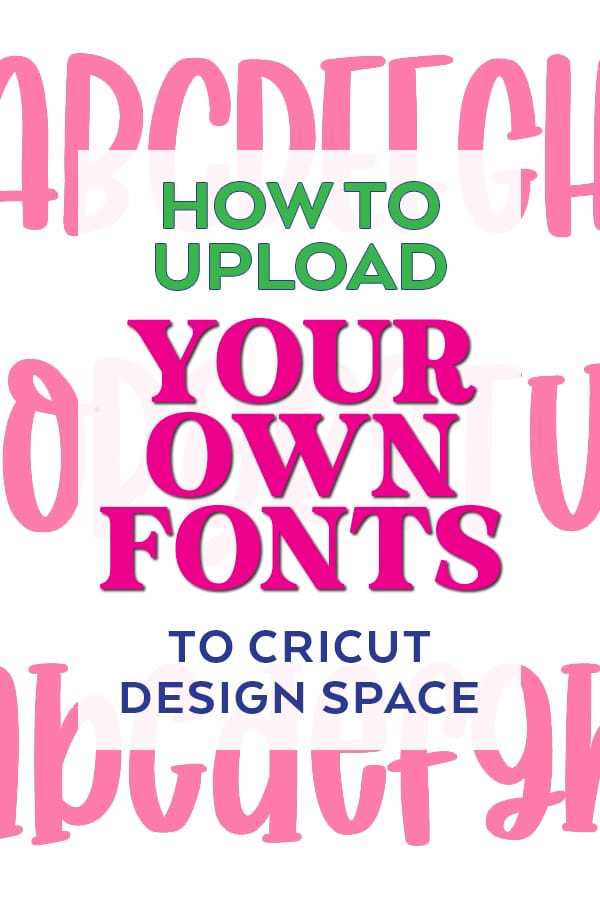
You can even use any font that you have on your computer! Learn How to Upload Your Fonts into Cricut Design Space.
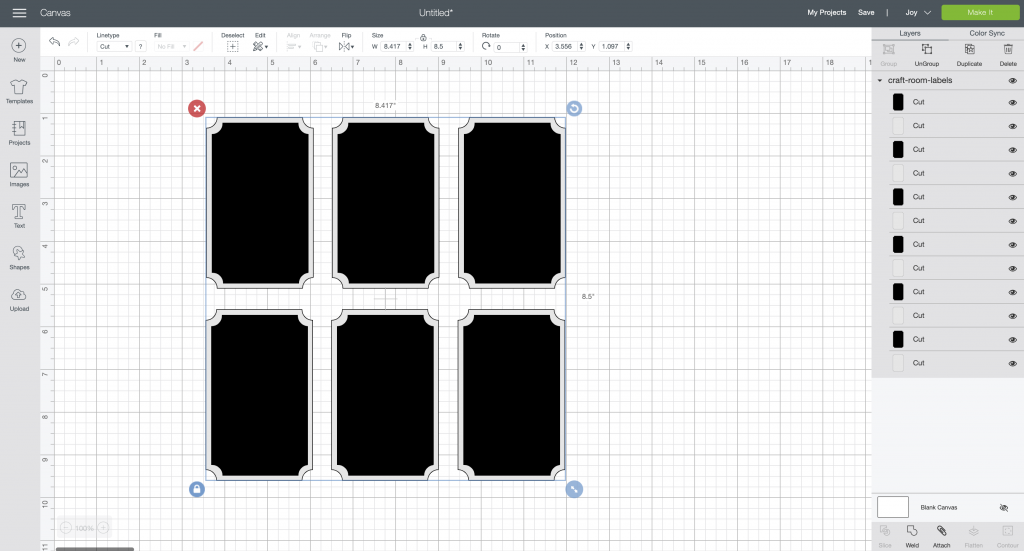
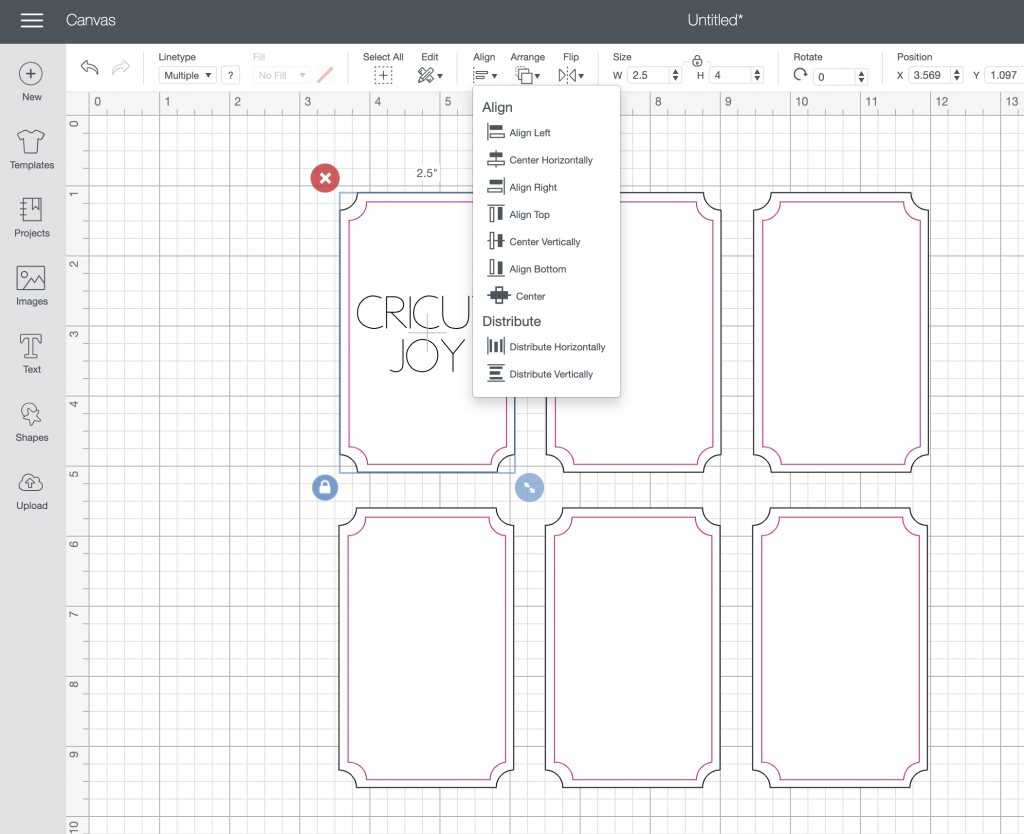
The first major step is to change the inside box to “Draw” instead of “Cut.” In the screenshot above, you’ll notice that the inside box in each label is filled with black. Select all of the layers with a black fill. *Tip: you can use Shift + Click the mouse to select multiple images at once.
In the top left side, click the dropdown box that says “Linetype” and select “Draw” instead of “Cut.” They will switch to a gray box with a black outline.
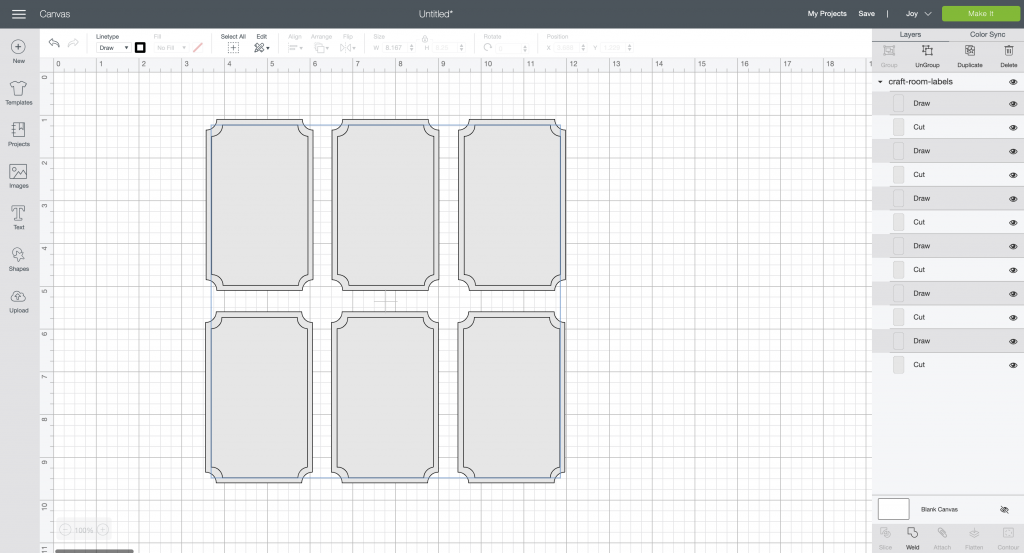
If you select the square box with the black outline next to “Linetype,” you can change the color of the outline. This is really only important when you use multiple colors/styles of pens in one project (which I did in this project). The machine will prompt you to insert the proper color of pen if you have them selected in your design.
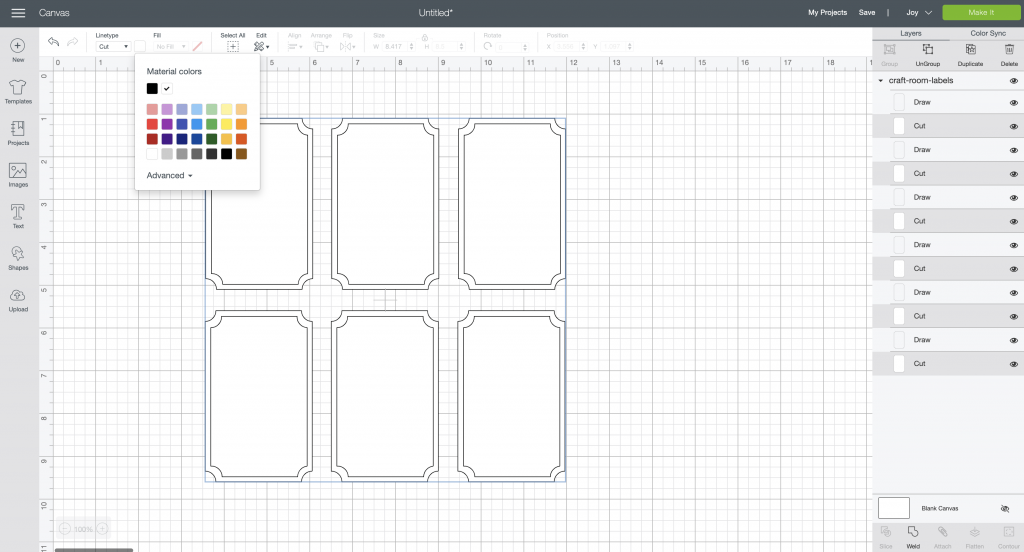
I used a fuchsia color for the label border, so I selected a pink color for the outline of each shape.
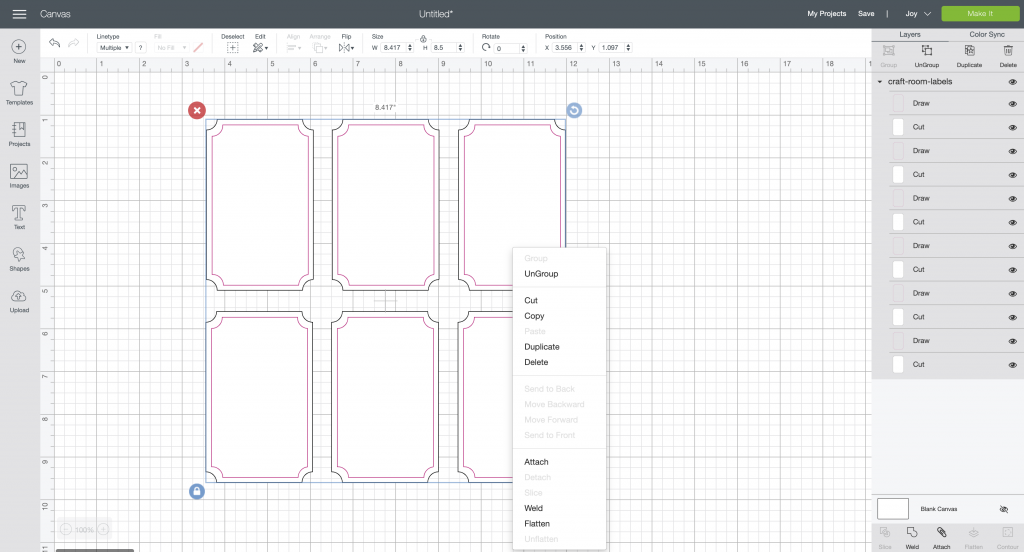
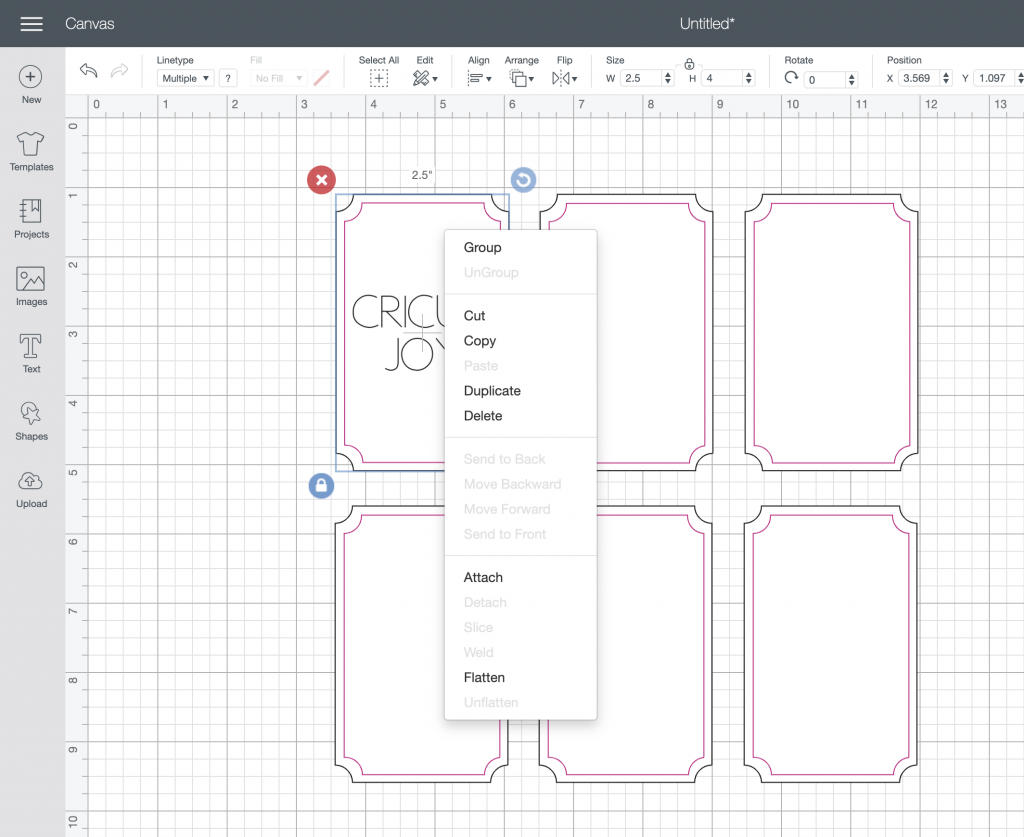
The next step is to ATTACH the “Draw” shapes to the “Cut” shapes. This step is IMPORTANT because it ensures that when you send the design to cut, that the draw function and cut function will be performed within the same overall shape. The easiest way is to select all of shapes on the canvas and right click to bring up this menu to select “Attach” or select all shapes and then click the “Attach” button in the bottom right corner of Design Space.
I used a font available in Cricut Design Space to write the craft supply name on each of my craft room labels. Click the “Text” button in the left column of your screen and type the name for your first label. Now you need to select your font. The easiest way to select a great font for drawing with a Cricut pen is to FILTER your font selections.
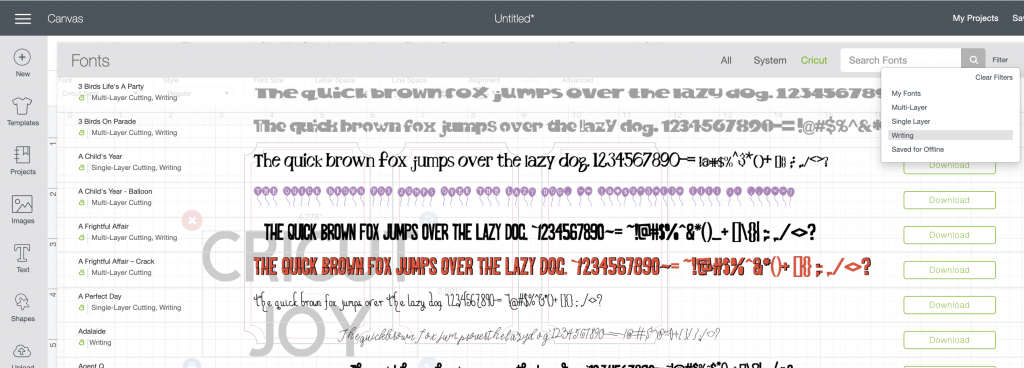
When you select the font name dropdown box in the text toolbar at the top of your screen, all of the fonts from your system and Cricut Design Space will appear in a large box. To filter the fonts – click the “Cricut” name beside the “Search Fonts” box so it turns green (like in the picture below).
That makes sure all of the fonts you’re looking at are in Cricut Design Space. Then click the small “Filter” button just to the right of the Search Fonts box. A dropdown box will appear and you’ll select “Writing.” That will then filter all of the fonts showing down to those that include formatting for writing. There are tons of fonts available with Cricut Access!
Can you use your own fonts? Yes, absolutely! In the text toolbar you can select “System” instead of “Cricut,” which will then show only fonts on your computer. If there’s a font that I know I want to use, I will use my personal fonts, but for writing projects I tend to use Cricut fonts because I know they’re formatted just for the Cricut machine.
When you have your font selected, move the text into the label.
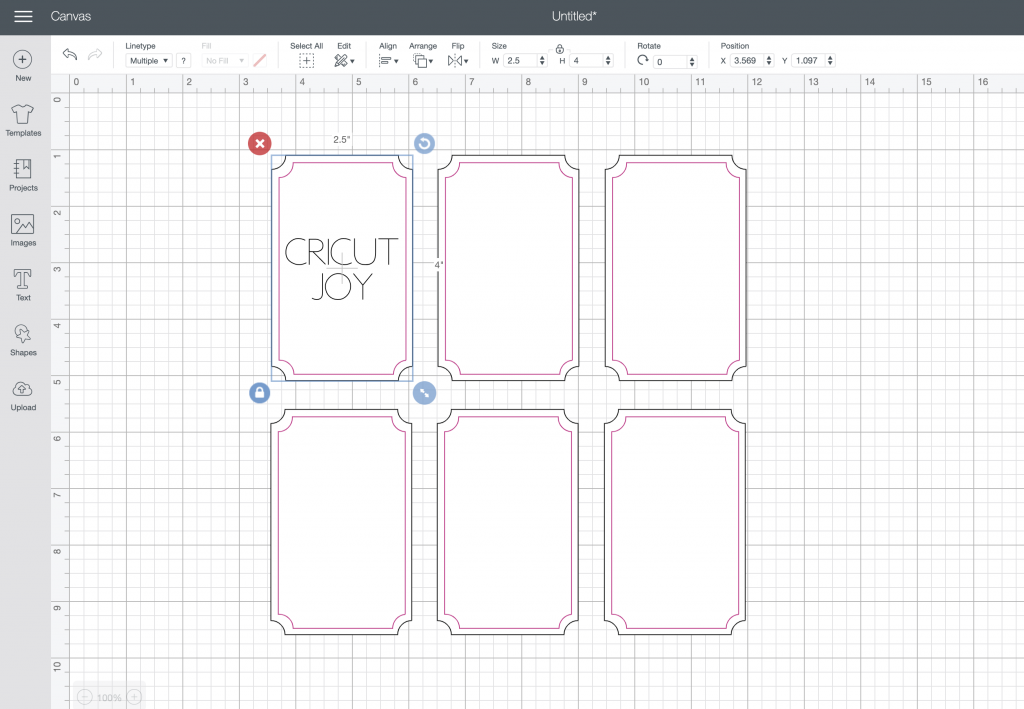
To ensure that the text is centered in the label, select all pieces of the label, then use the “Align” dropdown box in the top toolbar to center horizontally and vertically.
You also need to “Attach” the text to the label just like you did with the border. Select the text and the label and right click to select “Attach” (or select the Attach button in the bottom right hand corner of the screen).
Repeat the process for each label. When you’re ready to cut, select “Make It.”
How to Cut Vinyl Craft Room Labels with Cricut Joy
For these labels, I used the brand new Smart Label Writable Permanent Vinyl. It’s just like vinyl, but you can use the Cricut pens to write on it!
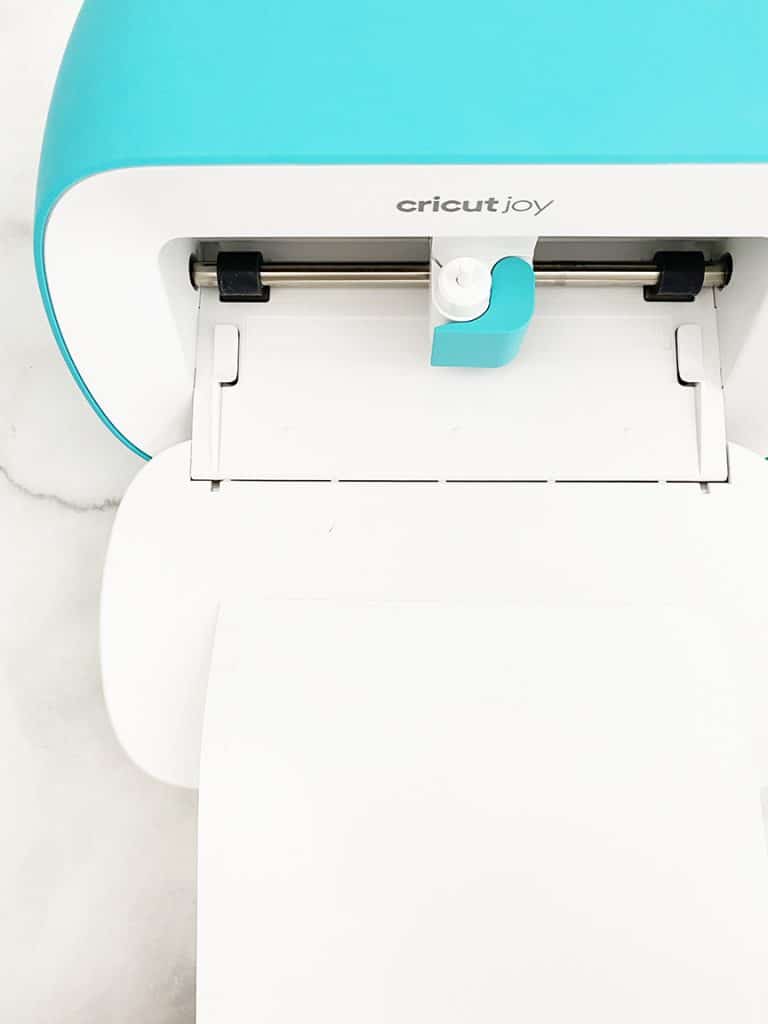
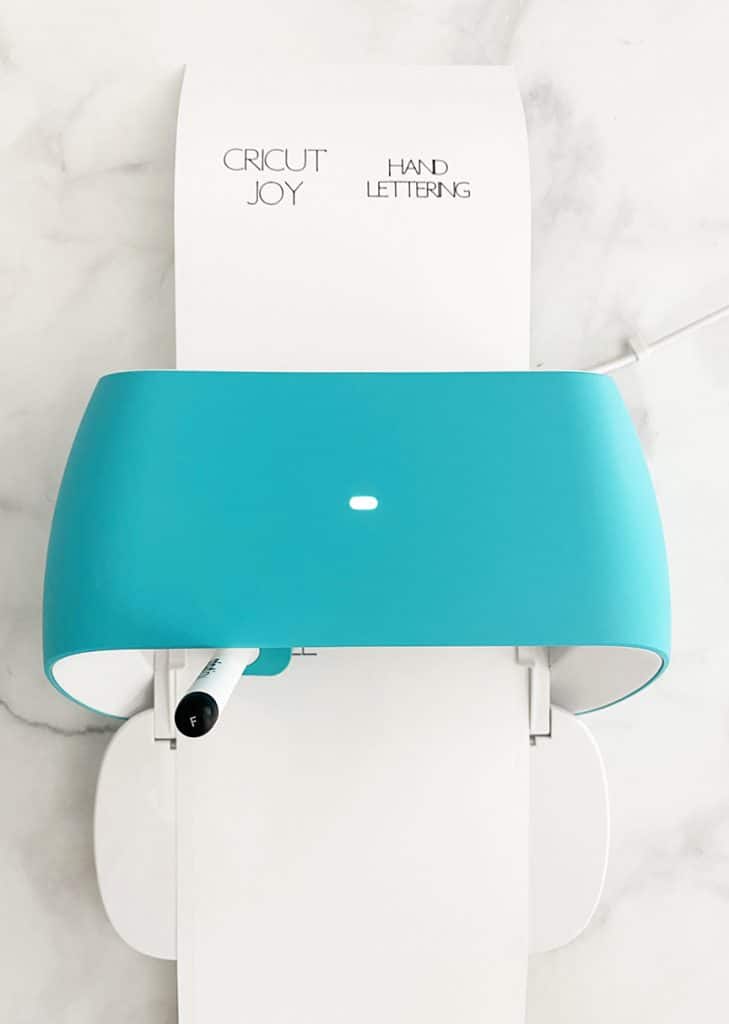
One new feature of the Cricut Joy I LOVE is that you can cut the new Smart Labels and Vinyl without a mat! When prompted, just insert the vinyl right into your Cricut Joy. It will do the rest!
Cricut Joy will first draw with the Cricut Pens.
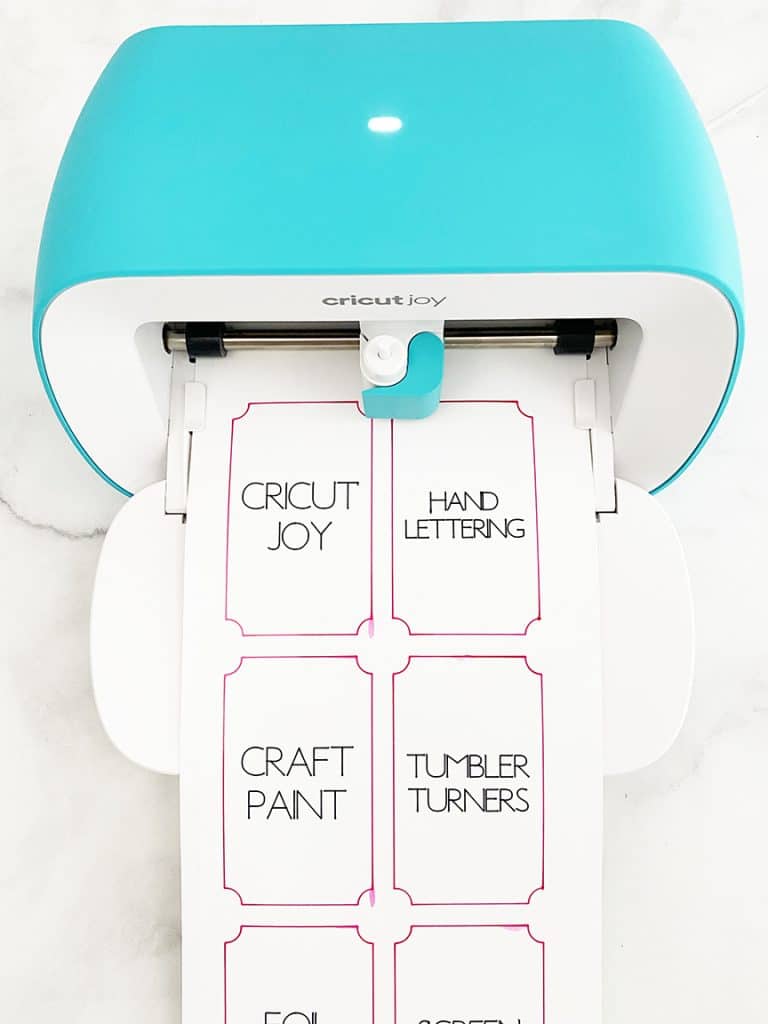
When the machine has completed the “Draw” portions of the design, it will prompt you to remove the Cricut Joy Pen and insert the fine point blade (the blade that comes with the machine).
If you look closely, you’ll see why I don’t recommend the Gel Pens for use with the Smart Label Writable Vinyl (and for the record, neither does Cricut). I really wanted to use pink for the label border, and all I had were the Cricut Joy Gel Pens. When you use the Gel Pens with the writable vinyl, they tend to smear slightly.
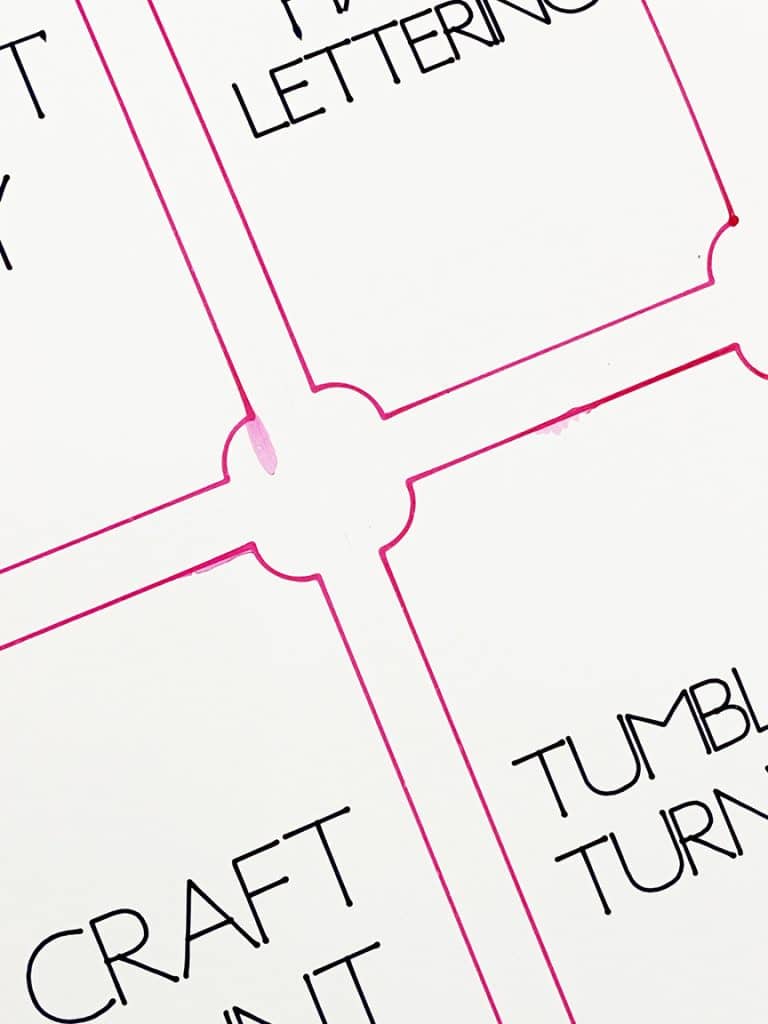
I decided to just keep them because it wasn’t that bad, but the next time I make them, it will be with regular Cricut Joy pens!
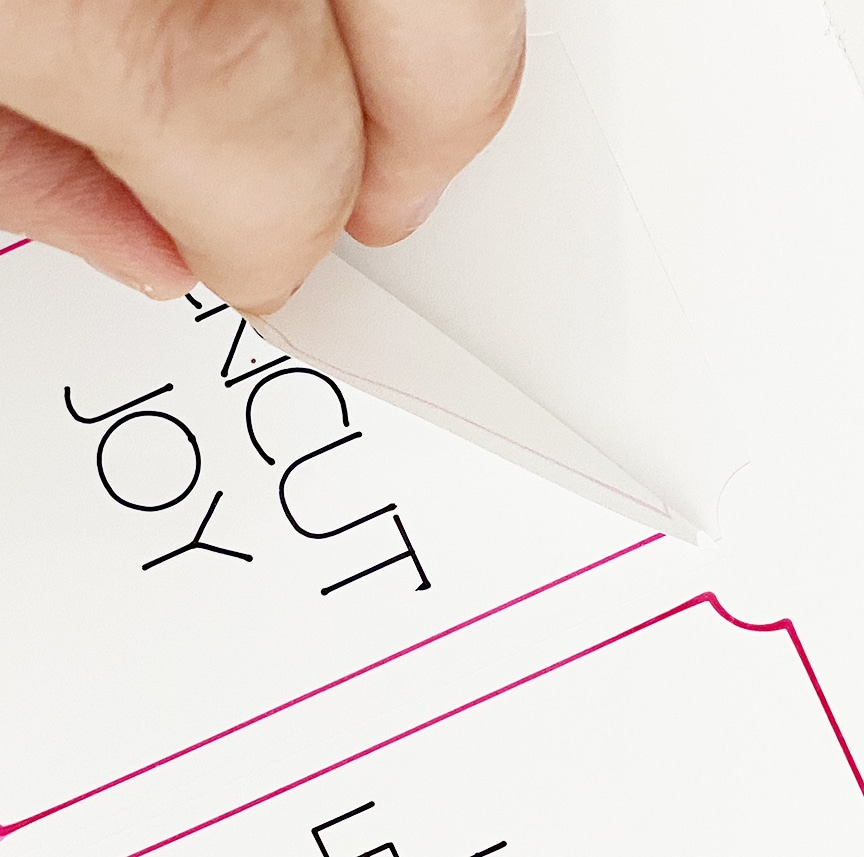
Because the Smart Labels are vinyl instead of paper, they peel so easily!
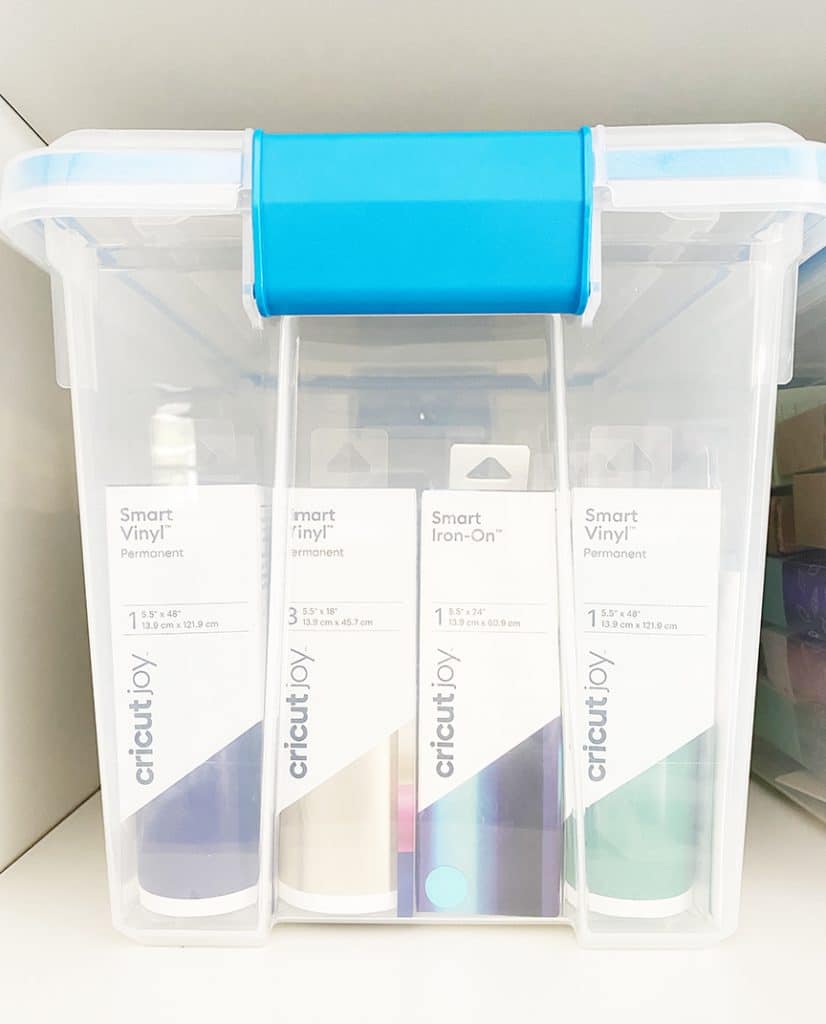
Another thing I love about the Cricut Joy is how small it is! All of my supplies AND the machine fit in this medium sized storage bin in my closet.
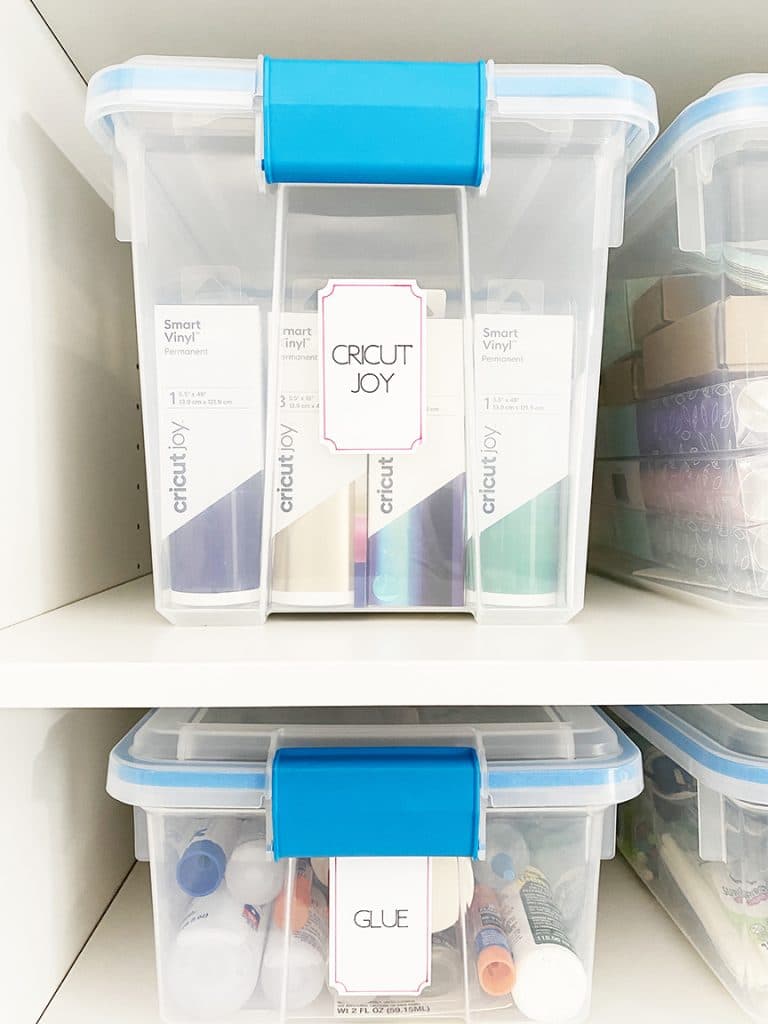
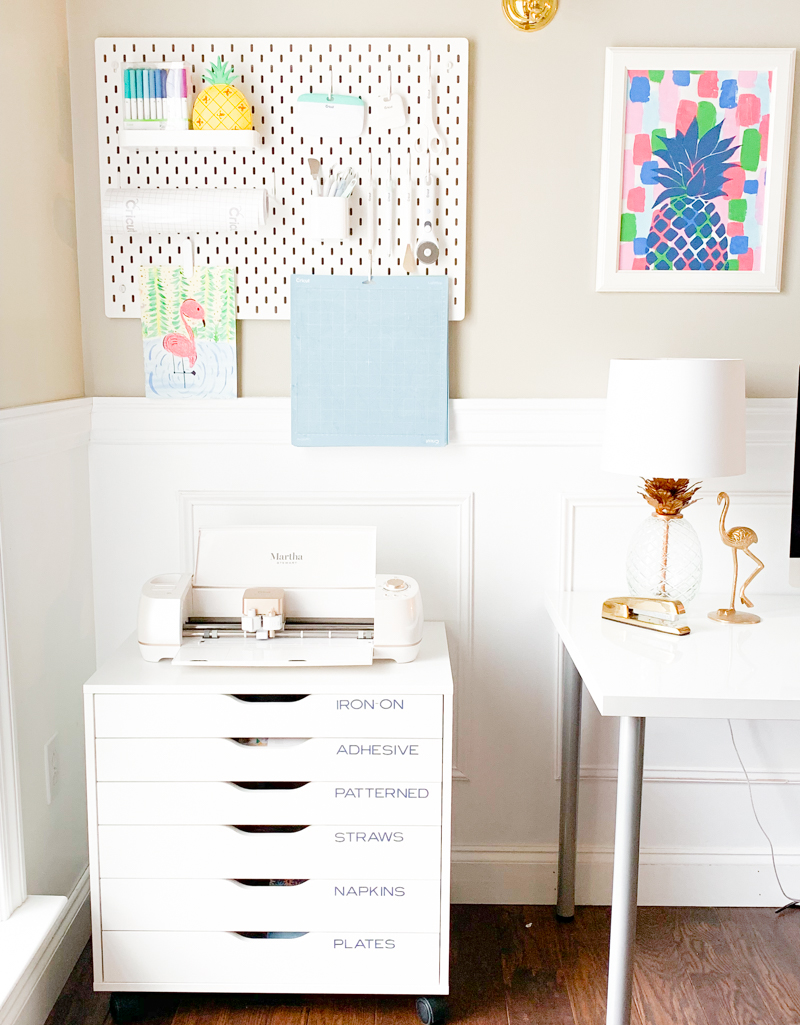
I put labels on all of my storage bins, and it took my craft room storage closet to a new level!
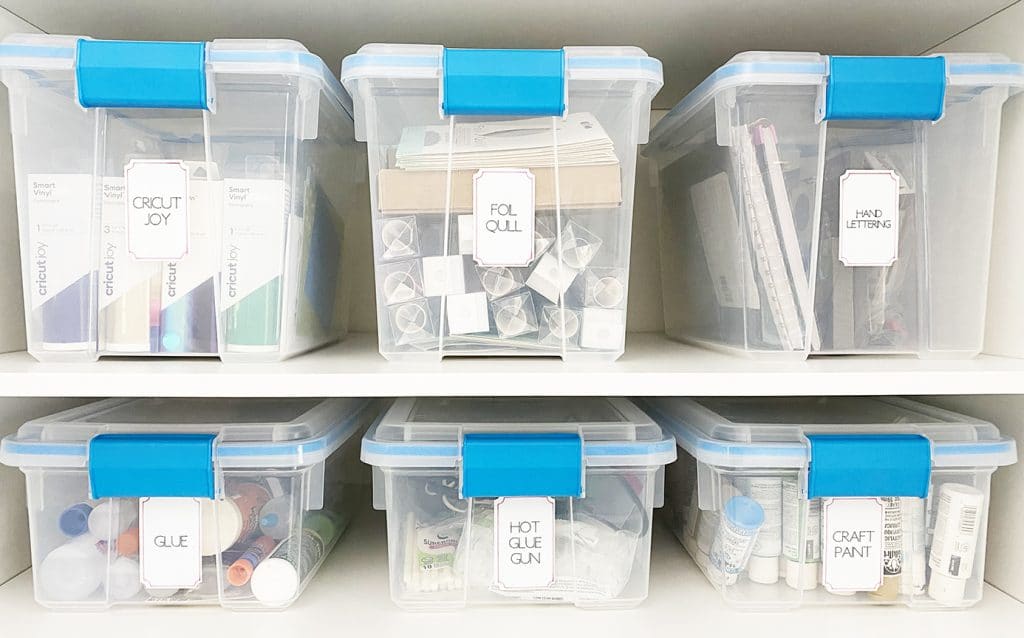
Look at the difference from the original storage container stickers!
LATEST POSTS:
- Wicked Coloring Pages to Print for Free
- Free Thanksgiving Turkey Coloring Page Printable
- Free Printable Thanksgiving Meal Planner & Grocery List
- xTool M1 Ultra Beginner’s Guide and Review
- Free Best Dad Ever Father’s Day Coloring Page
Download Free Craft Room Label Cut File
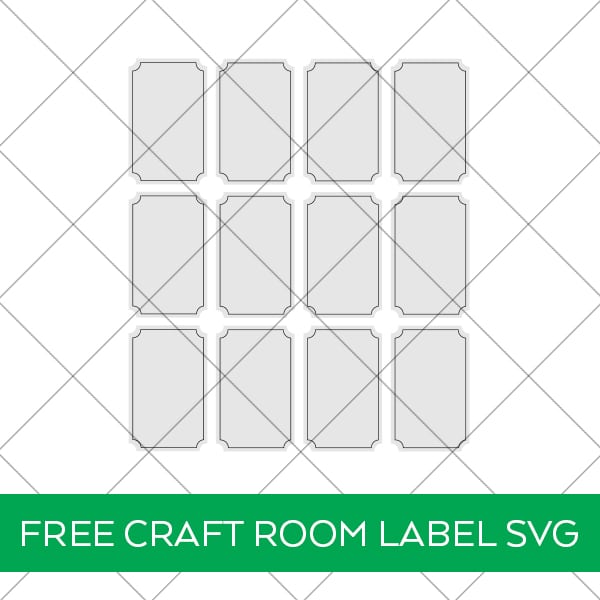
The file is designed to FIT the Cricut Joy, but can easily be used with the Cricut Explore Air 2 or Maker.
This file is DOWNLOAD #128 in my FREE DOWNLOADS LIBRARY.
Get the password below! (If you have the password, head over to the library to download the file.
You will NOT receive an email with the download file. SVG files can be used with Cricut Design Space and upgraded versions of Silhouette Studio.
Pin Craft Room Labels Free Download


Hi, I’m new to Cricut so it’s likely user error but when I “attach” the draw and cut layers it tells me my project is incompatible with the Joy. If I leave them unattached it says it compatible but wants me to do 2 steps to create (first step cut, unload, then reload and draw). What am I doing wrong?
Uh oh! That’s crazy! I’ll double check there isn’t something weird going on – have you tried resizing a little bit? It’s possible on import Cricut is making the file a little bigger?