DIY Mermaid Cake Topper
This post and the photos within it may contain affiliate links. As an Amazon associate I earn from qualifying purchases. If you make a purchase through one or more of the links, I may receive a small commission at no extra cost to you.
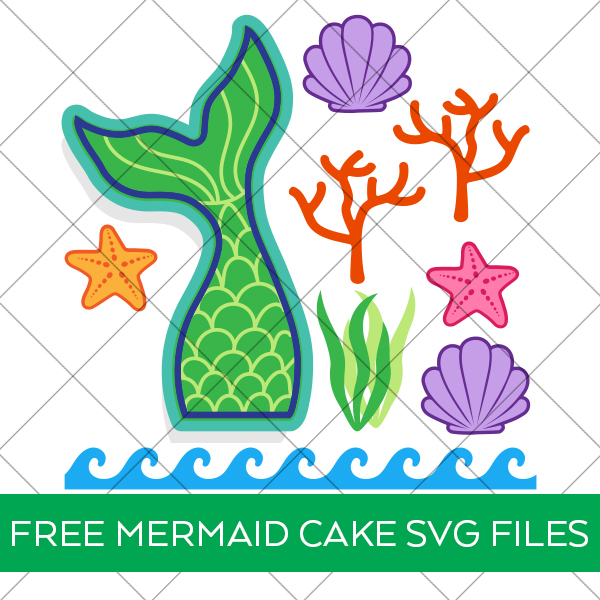
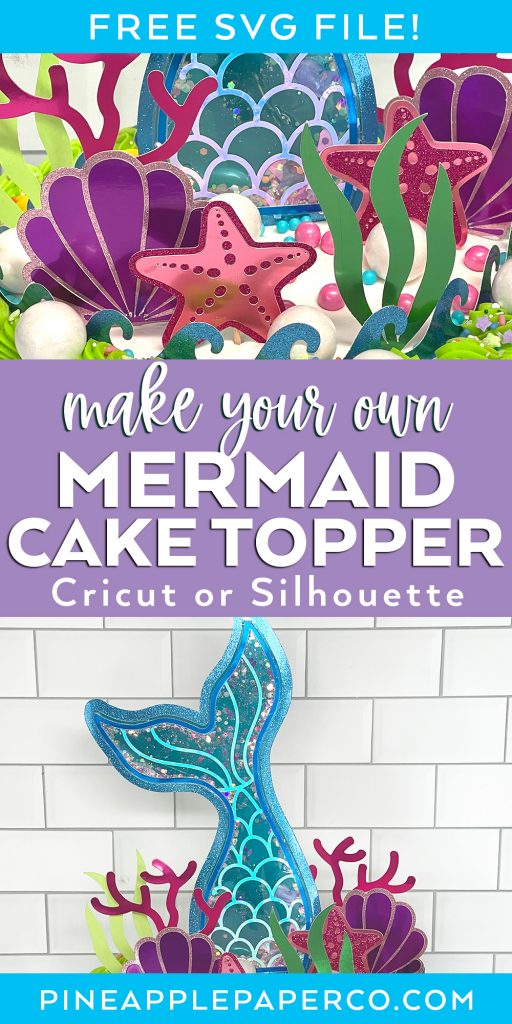
Download a FREE Mermaid Cake Topper SVG to decorate an EASY DIY Mermaid Cake! If you are having an Under the Sea or Mermaid Birthday Party, you NEED to see how easy it is to make your own Mermaid Cake Decorations with your Cricut or Silhouette!
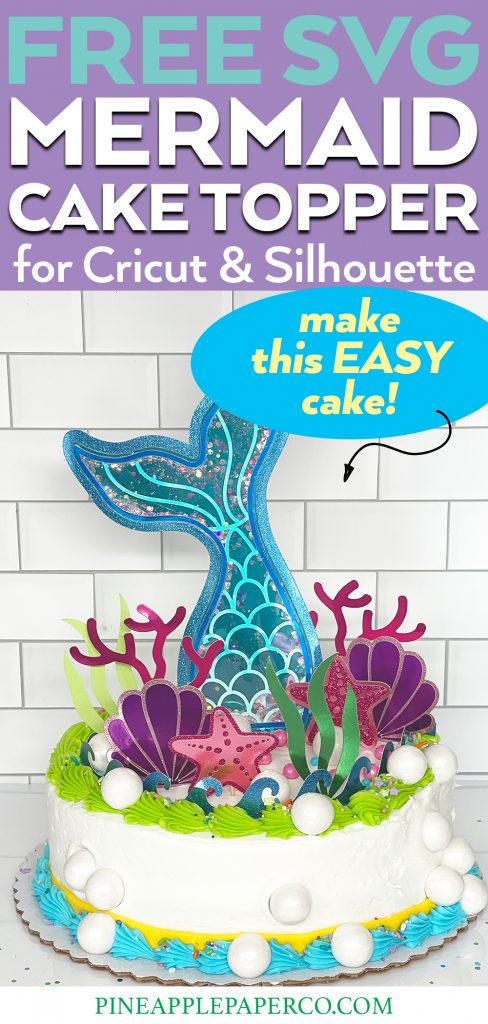
I have been admiring Mermaid cakes from all over the internet since my oldest daughter was a toddler. Now my youngest daughter is turning 6 (time goes so fast!), and she has been begging for a mermaid birthday party with the perfect Mermaid cake. I designed an entire set of Mermaid Cake Decor, including a SHAKER Mermaid Tail Cake Topper!
You can download all of the under the sea cake decorations FOR FREE to use with your Cricut or Silhouette machine! Look for the big gray box at the end of the post for the SVG download, and keep scrolling to see all of the adorable mermaid cake topper details and instructions!
RELATED POST: Free Printable Mermaid Cupcake Toppers
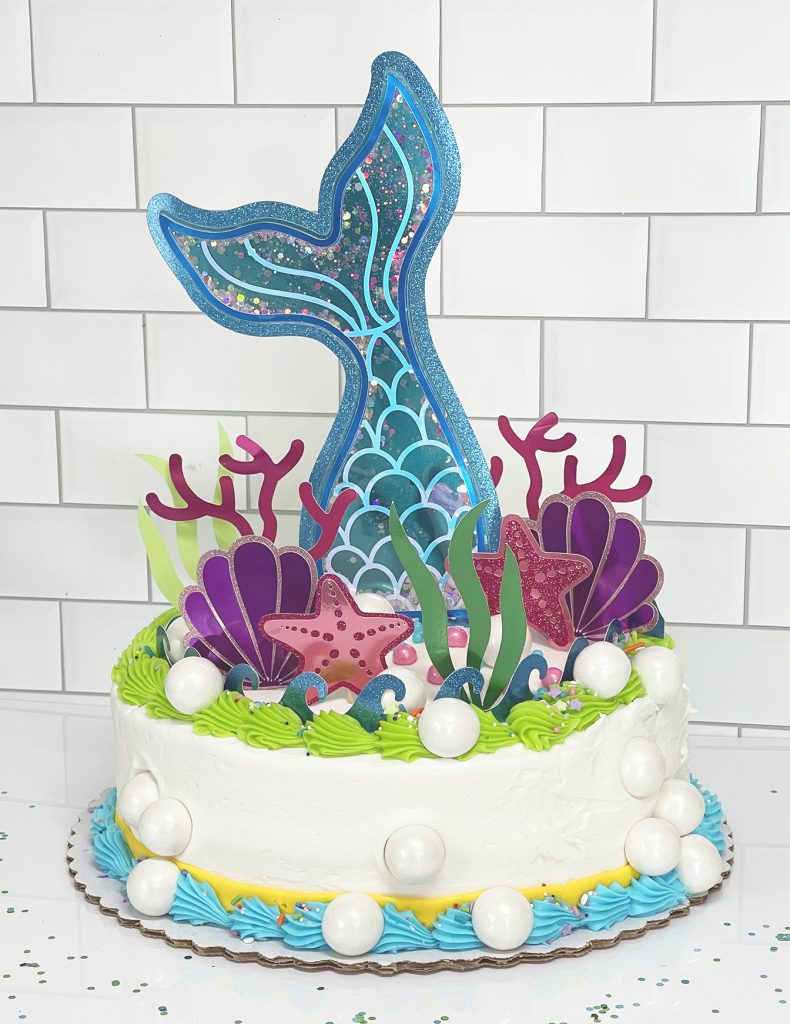
What’s AMAZING about this cake is that I didn’t bake it! That’s right – it’s a store bought cake from Sam’s Club! I grabbed this cake right off the shelf (it was actually a unicorn cake) for $15, and removed all of the decorations. Then I added all of the paper cut mermaid decorations, and some candies to make it “extra!”
What You Need to Make a Mermaid Cake Topper with your Cricut
You can make any of the decorations included in the SVG bundle, or all of them! I love that the whole set can be used in whatever materials you have to match your party theme, too. You can even cut just the shells and starfish to make cupcake toppers! I will give you the materials I used, but be creative and use whatever you have or want to get.
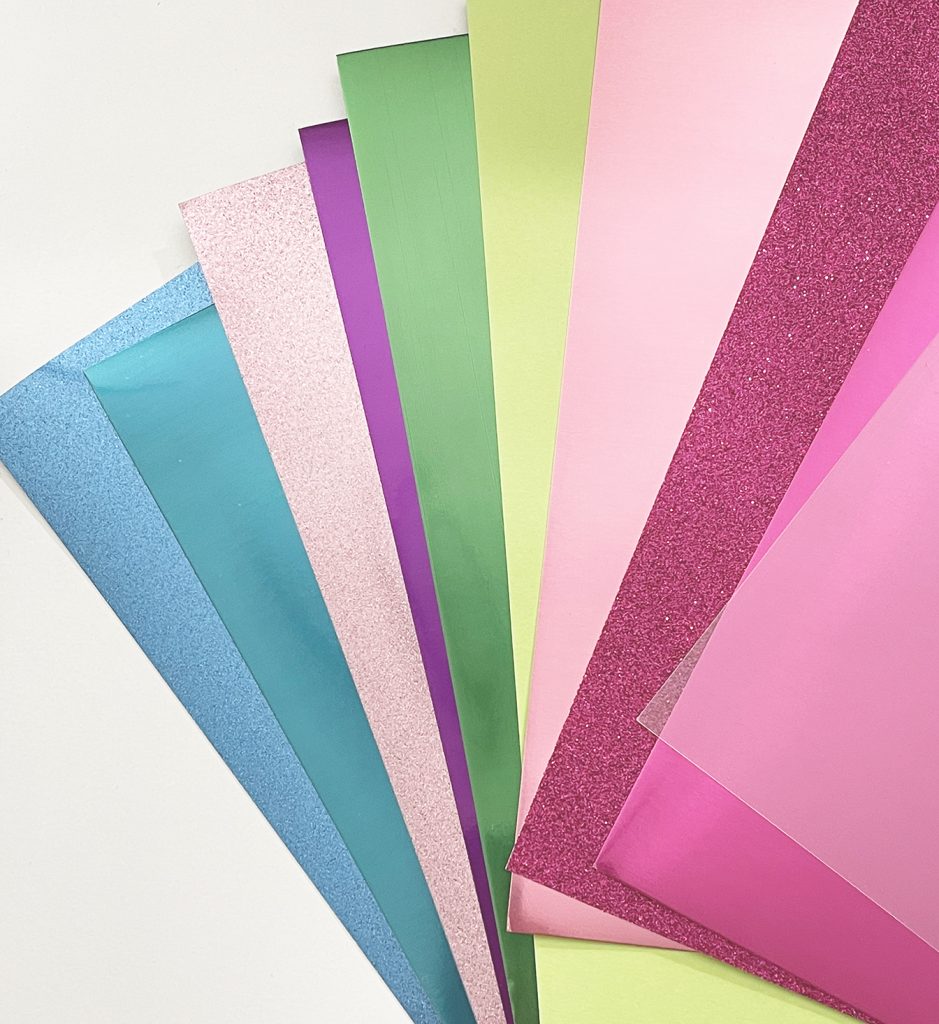
Supplies to make and assemble Mermaid Cake decorations:
- Foil Poster Board
- Sparkle Paper
- Holographic Adhesive Vinyl
- Clear Acetate
- Transfer Paper
- Glitter Cardstock
- Cardstock
- Zip Dry Glue
- Toothpicks or Skewers
- Hot Glue Gun
- Glitter
If you don’t have an electronic cutting machine, you’ll need either a Cricut Explore Air 2, Cricut Maker, or Silhouette Cameo along with a standard grip cutting mat and fine point blade (comes with the machines).
How to Make DIY Mermaid Cake Decorations with a Cricut
If you’re new to using SVG files with your Cricut machine, make sure you read my full post on How to Upload an SVG to Cricut Design Space.
Open the SVG bundle in Cricut Design Space. IMPORTANT: You will need to measure your cake and resize the elements according to the diameter of your cake.
For reference, I used a 10″ round cake and the mermaid tail is approximately 10″ tall and 6″ wide.
To make it easier to cut (there are TONS of colors and mats!), I hid all of the cake decorations except the tail pieces, and then resized the tail pieces and cut them.
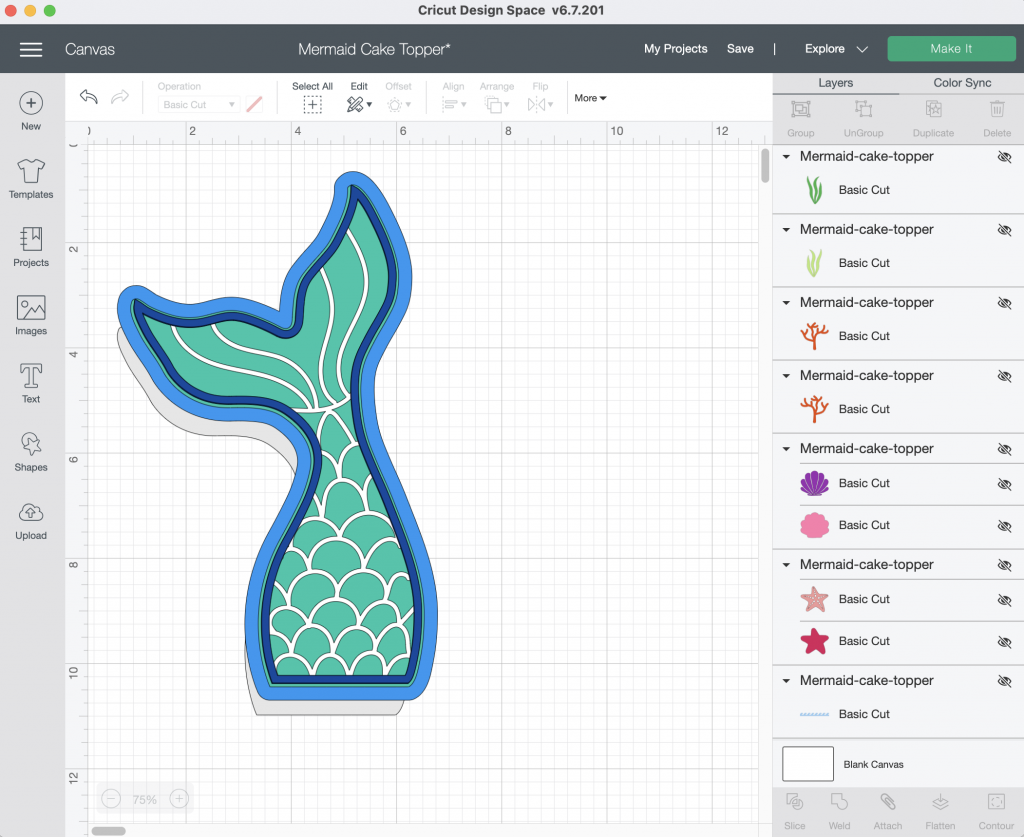
Then I went back to the canvas, hid the tail pieces and resized the rest of the cake decorations and then cut those. It made it a little easier for me to organize all of my cutting mats.
Once all of the pieces were cut, I assembled all of the small decorations with Beacon Zip Dry Glue. I LOVE Zip Dry, and use it all of the time for paper crafting. It dries quickly, and holds really well.
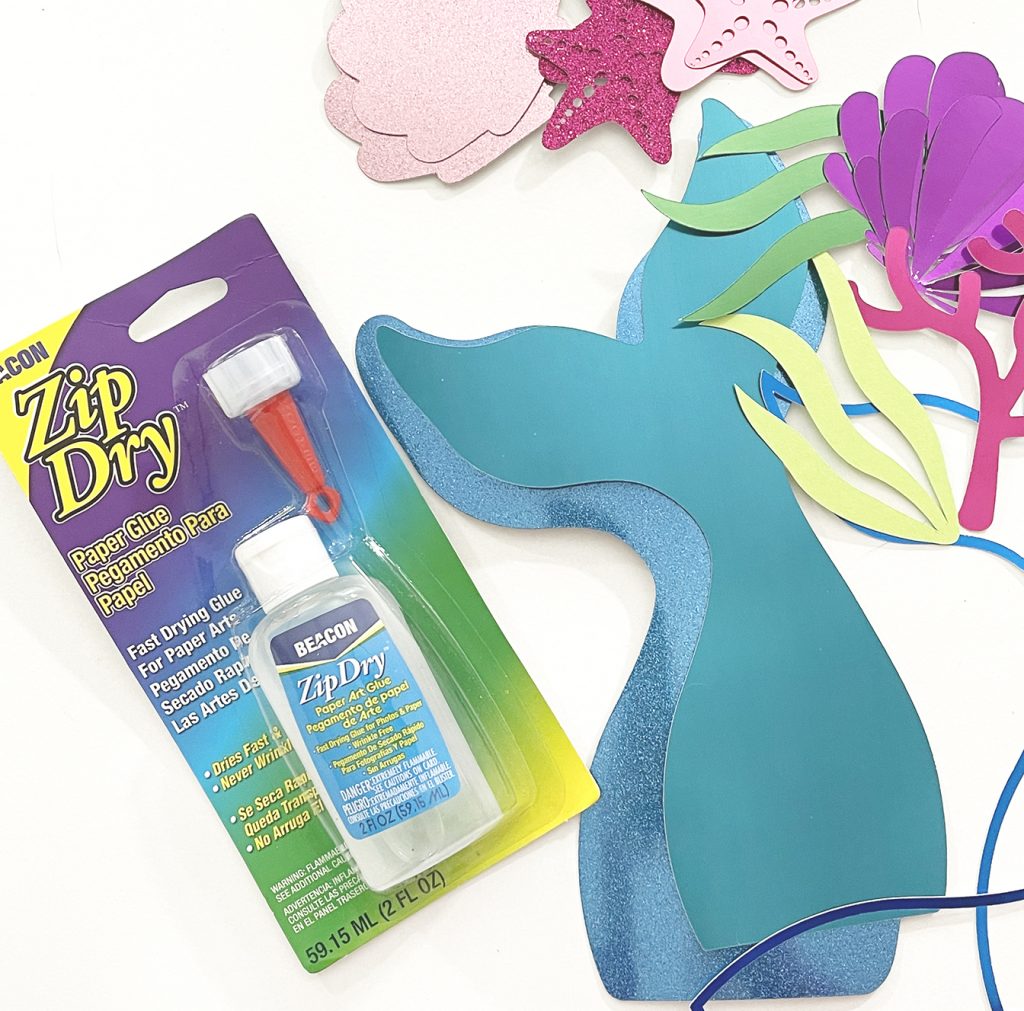
You can alternatively use a hot glue gun, but I tend to burn myself when assembling small pieces like these sea shells.
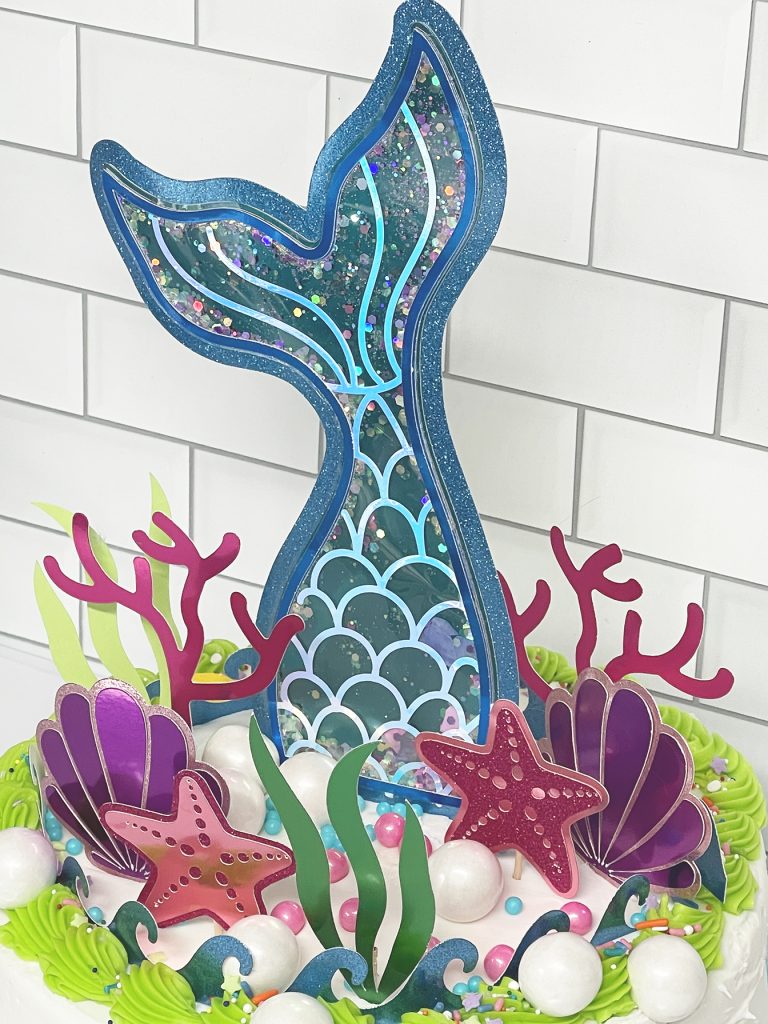
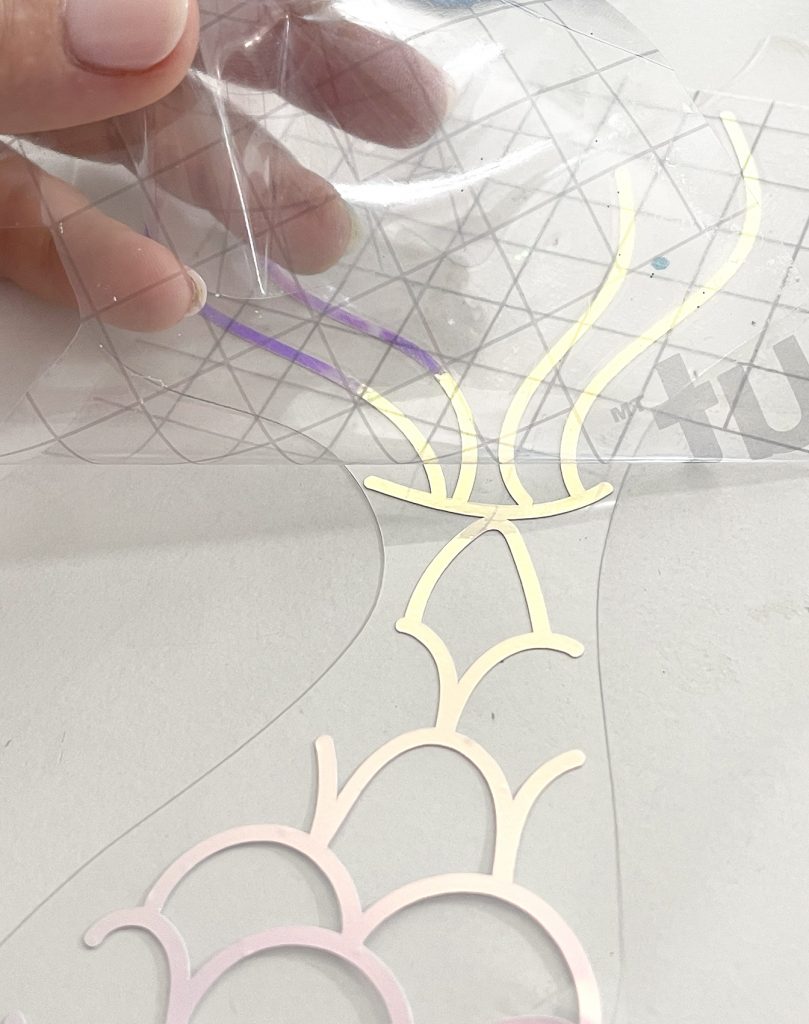
Then I used transfer tape to move the mermaid scales cut from holographic vinyl to the acetate tail.
How to Assemble the Shaker Mermaid Tail Cake Topper
What is a Paper Crafting “Shaker”?
A shaker is a 3-Dimensional paper design that is assembled to have an empty space between the paper layers. The space is filled with sprinkles, glitter, or other small objects and is then covered by a clear piece of thin acetate plastic. The space create allows the filling to “shake” around!
How to Glue Together a Shaker Paper Craft
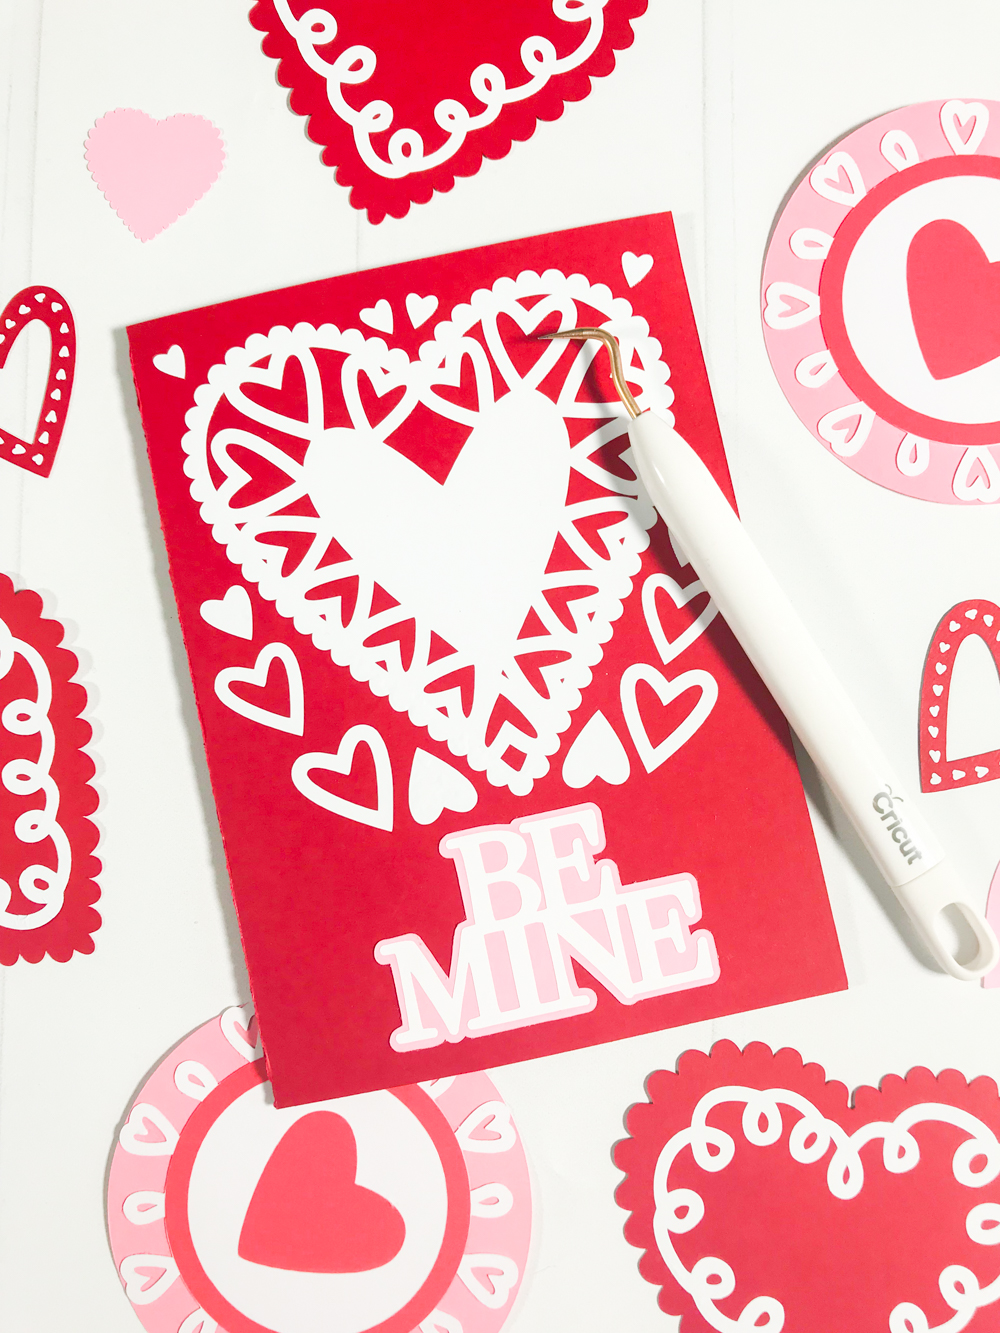
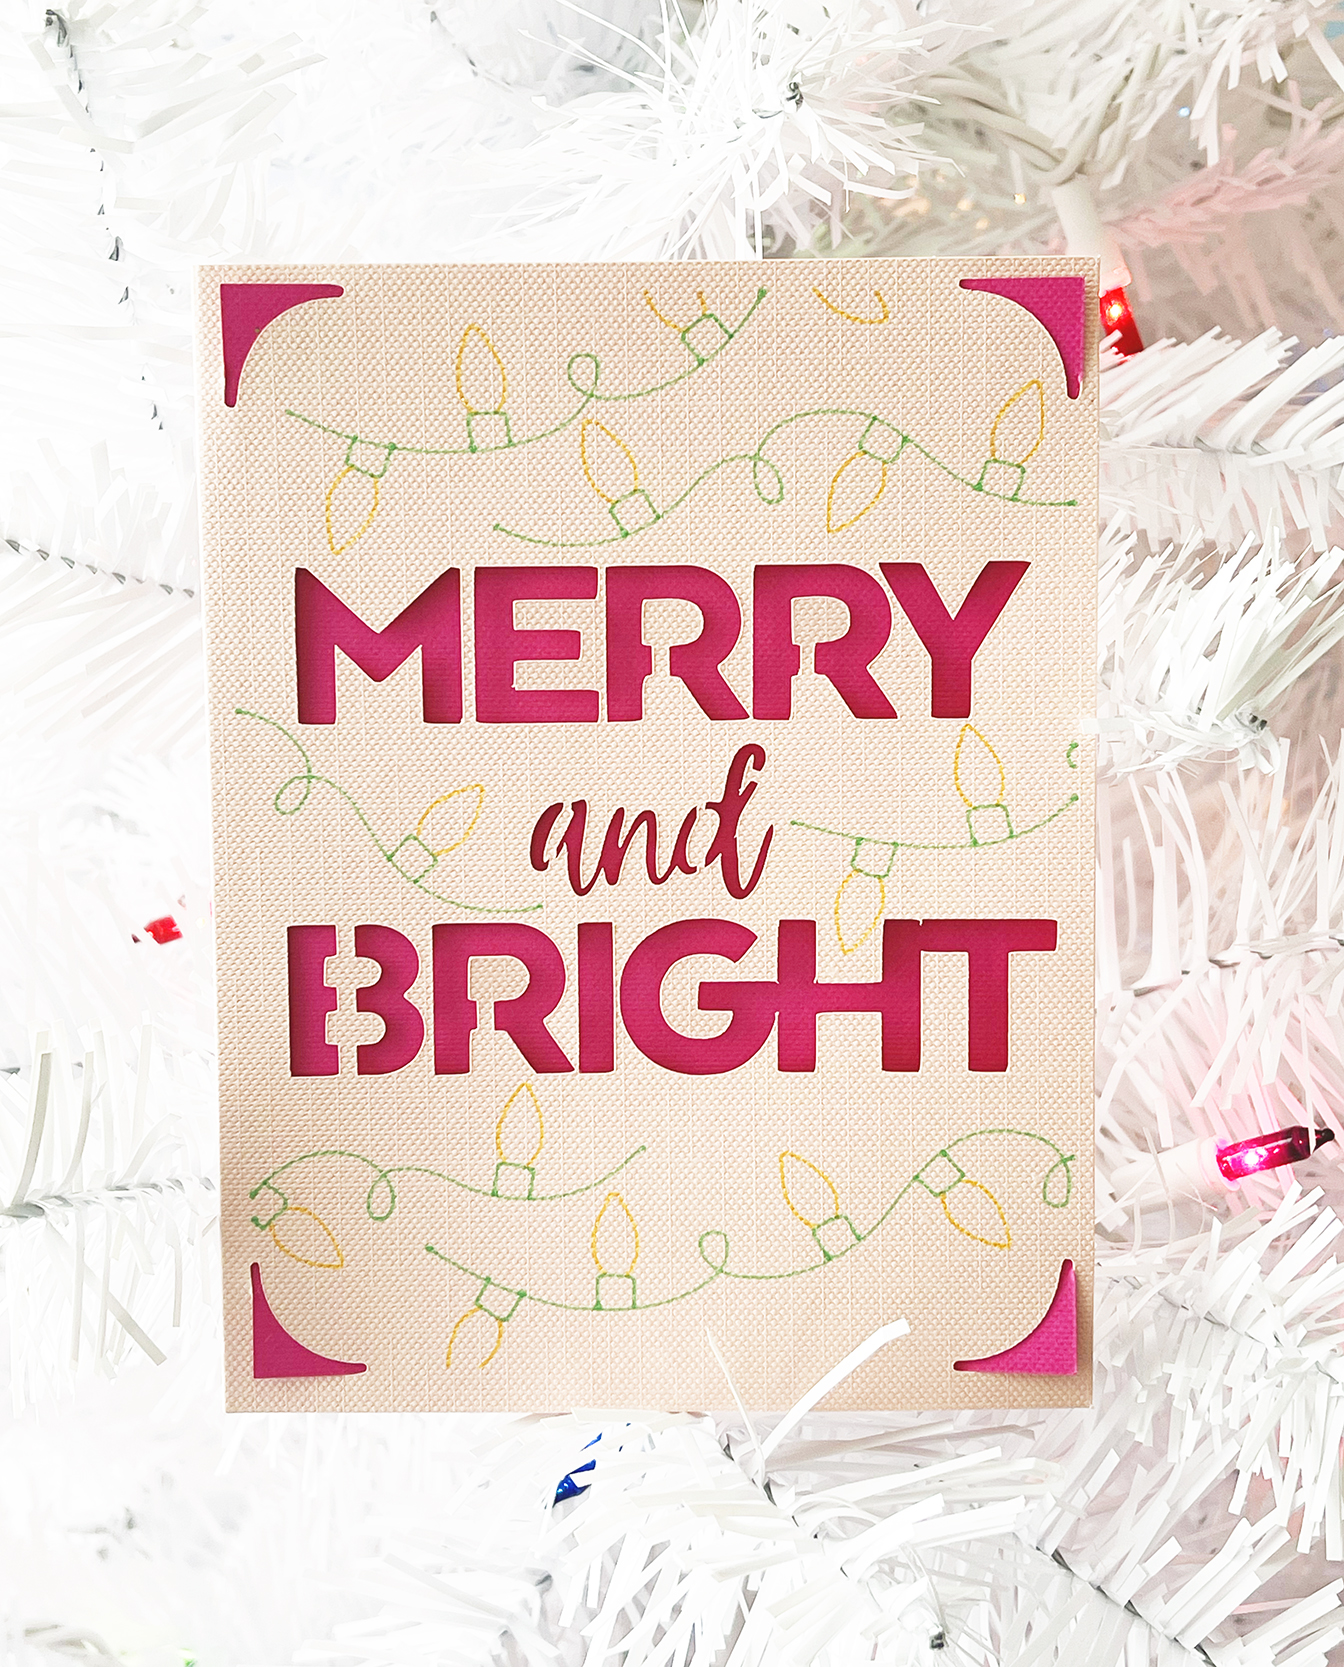
There are multiple ways to put together a shaker craft, this is just the easiest way for me since the Mermaid tail border was quite thin. I used Zip Dry glue, and have used this method for other crafts like these Shaker Cricut Christmas cards. There are THREE thin mermaid tail borders in the SVG bundle. I glued TWO together to give it a little height, added the glitter, then glued the clear acetate piece on. Then I topped the acetate with the final border piece.
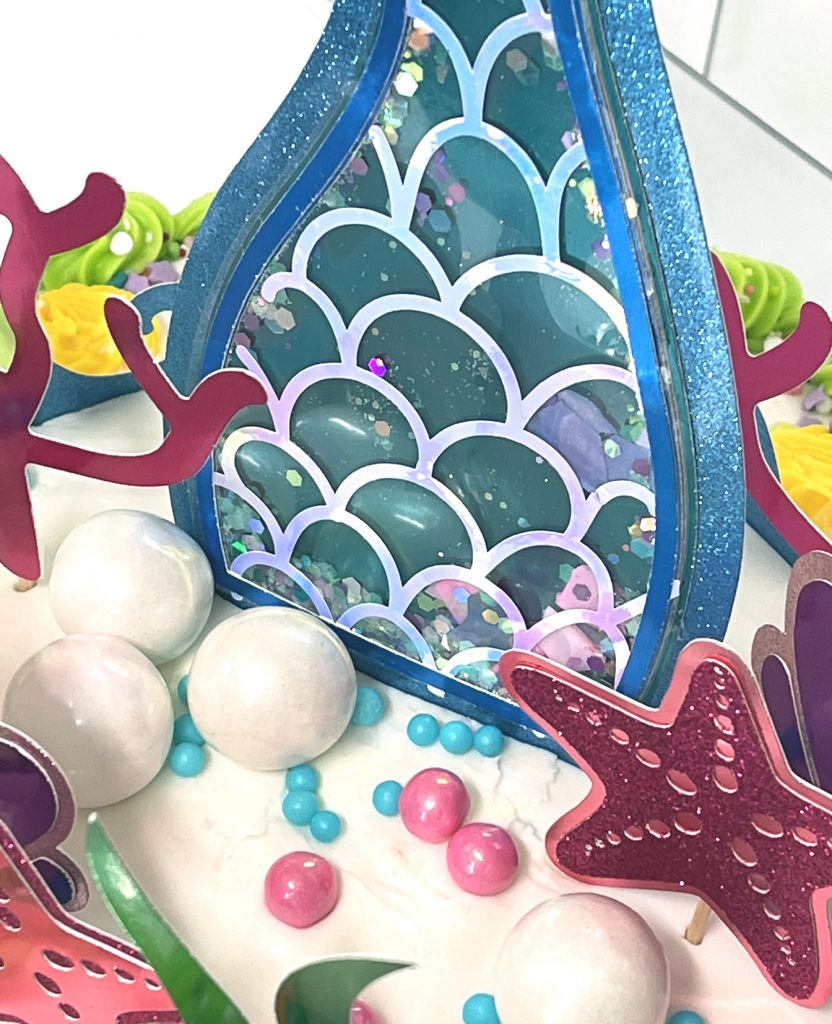
I used large (but thin) glitter and thin shell flakes. If you are using thick add-ins like sprinkles or thick glitter flakes, you can cut extra border pieces to increase the height. You can also use hot glue to assemble the bottom border pieces, as it will dry much thicker than standard glue.
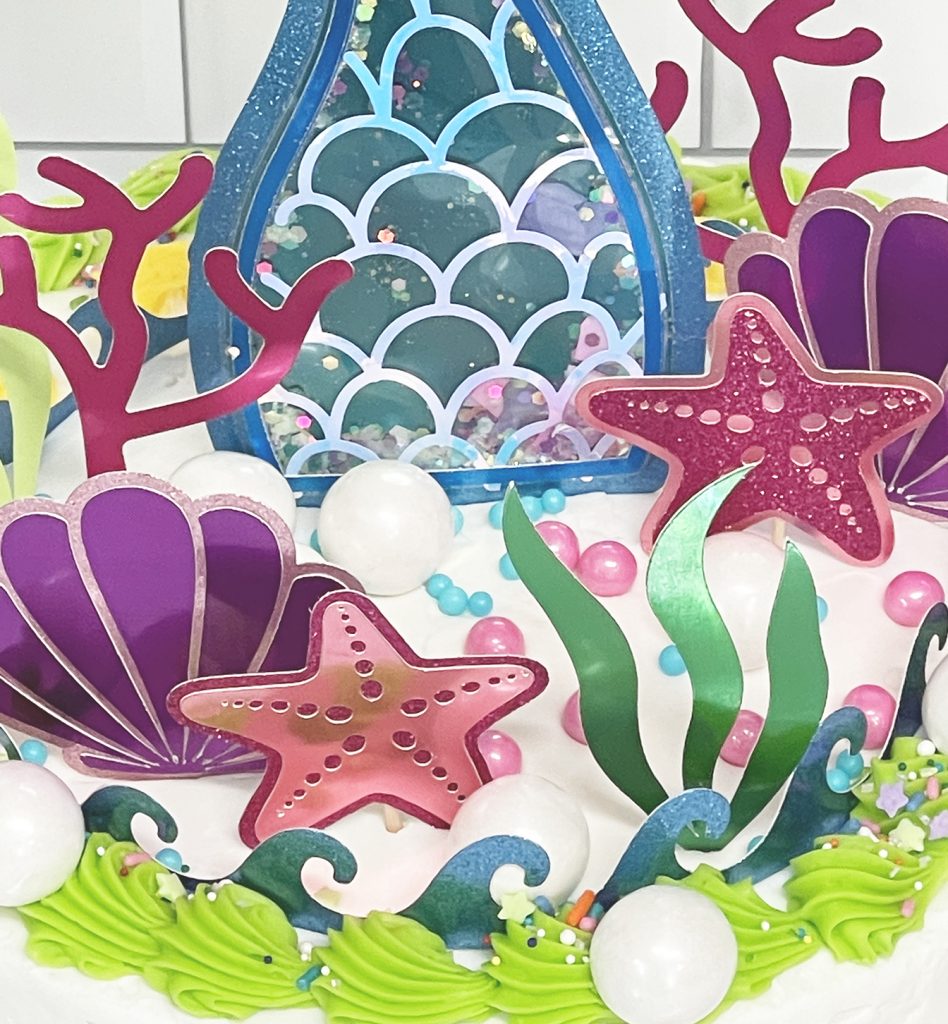
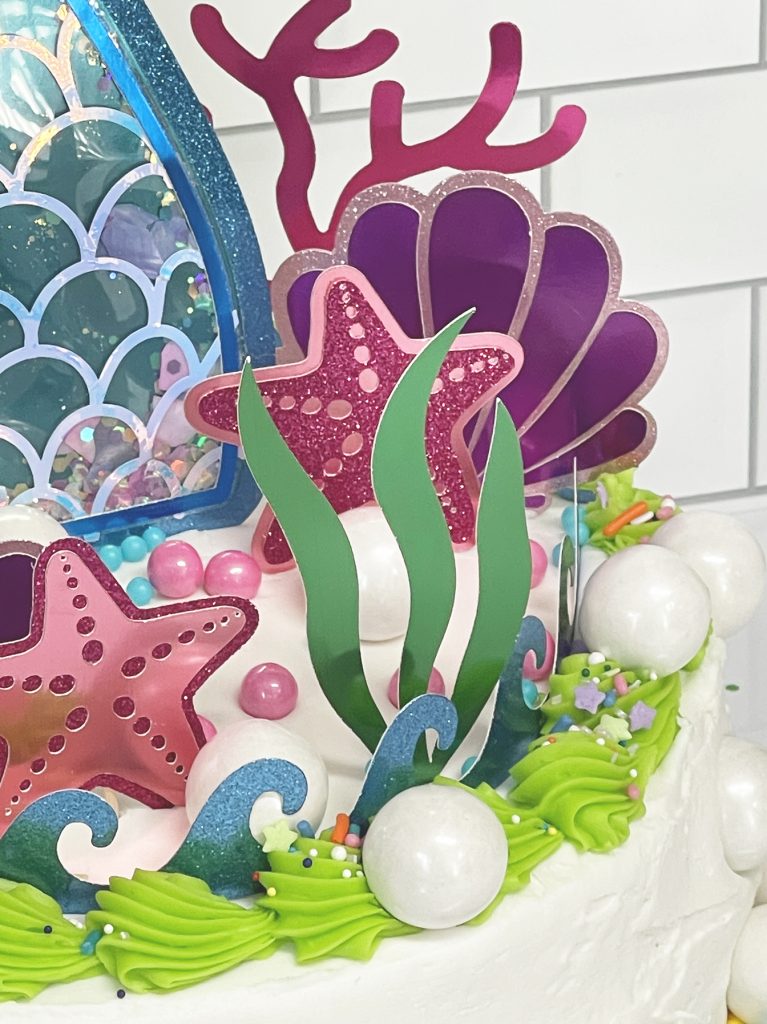
How to Decorate an Under the Sea Cake with DIY Paper Mermaid Decor
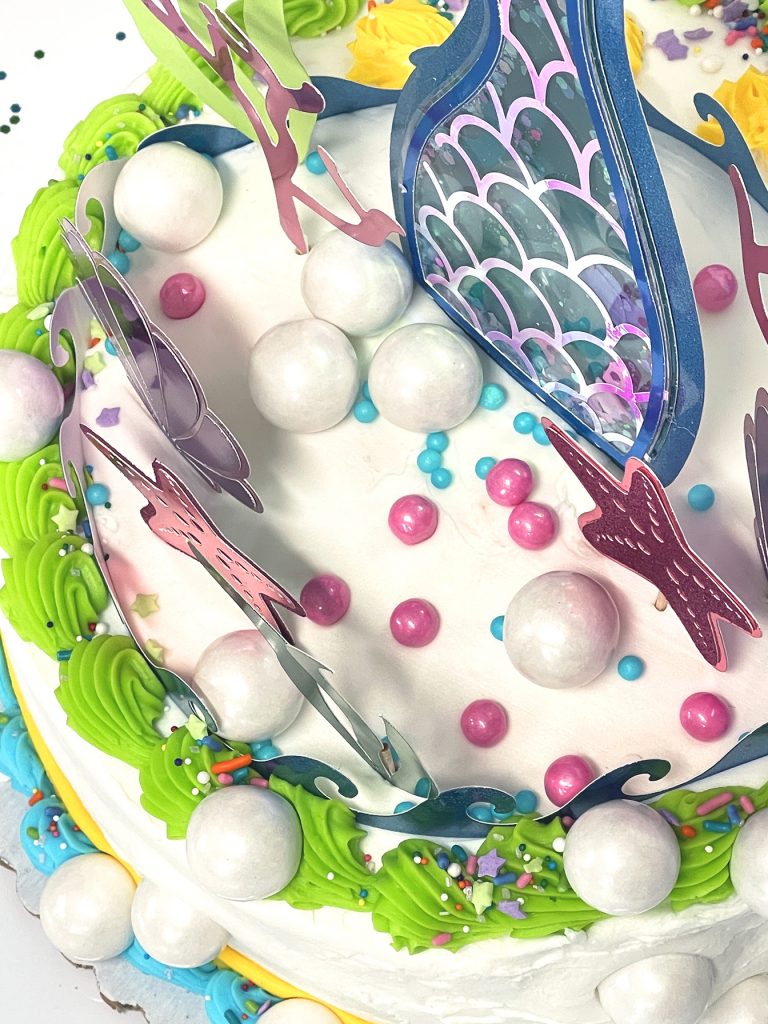
Once all of your cake decorations have been put together and are completely dry, you will need to add toothpicks or skewers to the back of the pieces. Use your hot glue gun to secure the toothpicks so that there is an inch or so at the bottom. Use multiple sticks for the larger pieces, like the mermaid tail. Let the glue completely dry.
Just before your party, stick the paper pieces in the cake so it looks like an under sea adventure. Then add round candy sprinkles, chocolate balls, and white gum balls for “bubbles!”
RECENT POSTS:
Download Mermaid Cake Topper SVG Free
This file is DOWNLOAD #234 in my FREE DOWNLOADS LIBRARY.
Get the password below! (If you have the password, head over to the library to download the file.
You will NOT be sent an email with the file. Free SVG files available for download are for PERSONAL USE ONLY. SVG and DXF files are included to use with Cricut Design Space & Silhouette Studio.
Pin Mermaid Cake Topper SVG File


stunning!
Worked perfectly. Thanks!