How to Make Print then Cut Stickers with Foil
This post and the photos within it may contain affiliate links. As an Amazon associate I earn from qualifying purchases. If you make a purchase through one or more of the links, I may receive a small commission at no extra cost to you.
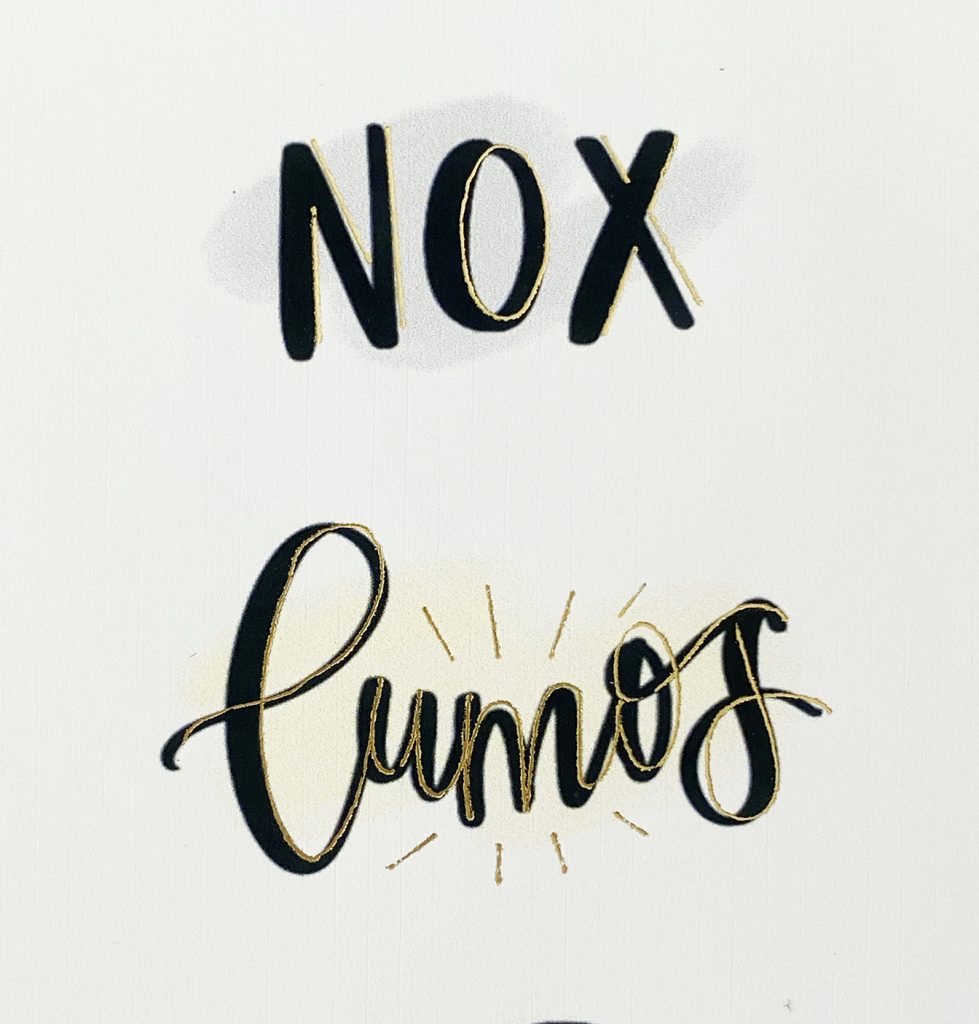
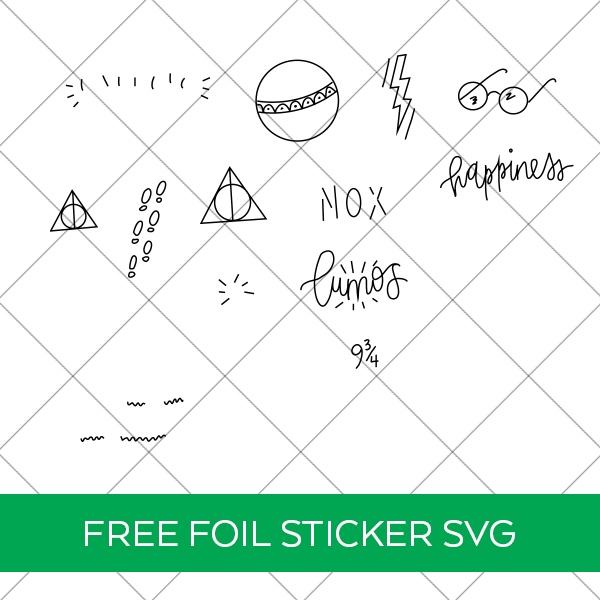
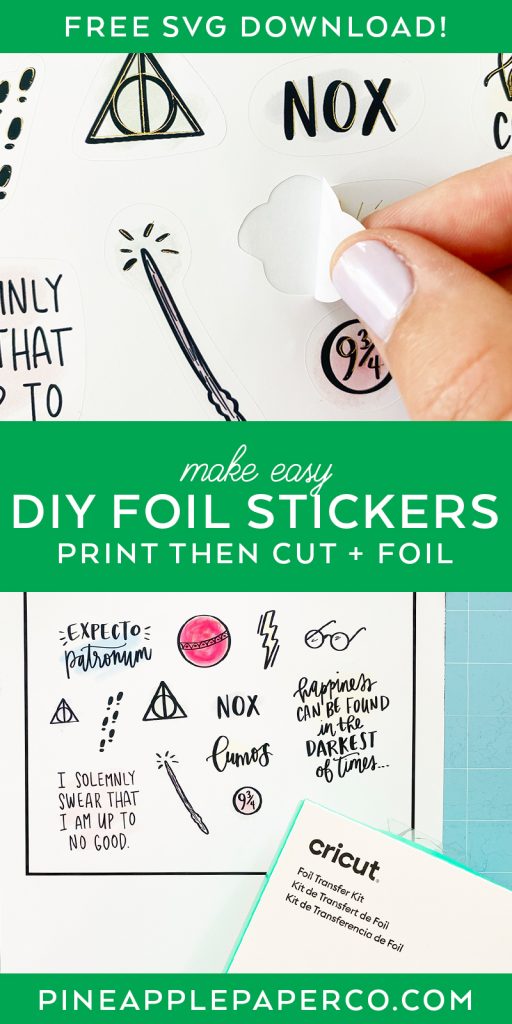
Follow this easy tutorial to Add Foil to your Print then Cut Stickers! Using your Cricut you can make your own amazing stickers and add foil details to them. Download a FREE Draw Line SVG and add it to stickers for a shiny effect!

I have been experimenting with my Cricut Foil Transfer System, and I was really excited to try adding foil to Print then Cut Stickers that I made using Procreate! I love how they turned out, so I’m sharing the single line SVG file for you to add foil details to my Free Printable Harry Potter Stickers.
Are you just learning about the Foil Transfer Kit? Make sure you read my What is the Cricut Foil Transfer System and How to Use the Cricut Foil Transfer Kit for all of the details!
What You Need to Make Foil Stickers
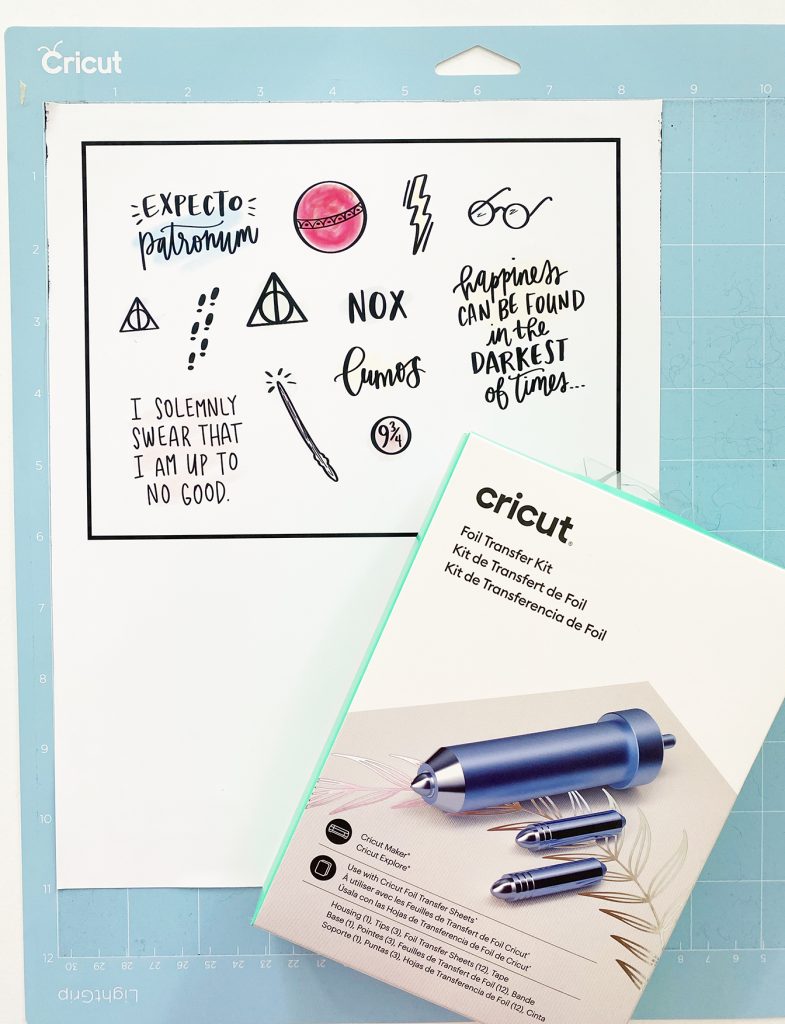
- Cricut Machine (Explore Air Series or Maker)
- Cricut Foil Transfer Kit
- Cricut Foil, Gold
- Cricut Printable Vinyl
- Printer (this one works especially well with printables – if you see it in stock, grab it!)
- Free Harry Potter Printable Stickers
- Single Line Draw Detail SVG for Harry Potter Stickers (download at the end of the post)
How to Make Foil Stickers with your Cricut
If you’re new to using SVG files with your Cricut machine, make sure you read my full post on How to Upload an SVG to Cricut Design Space.
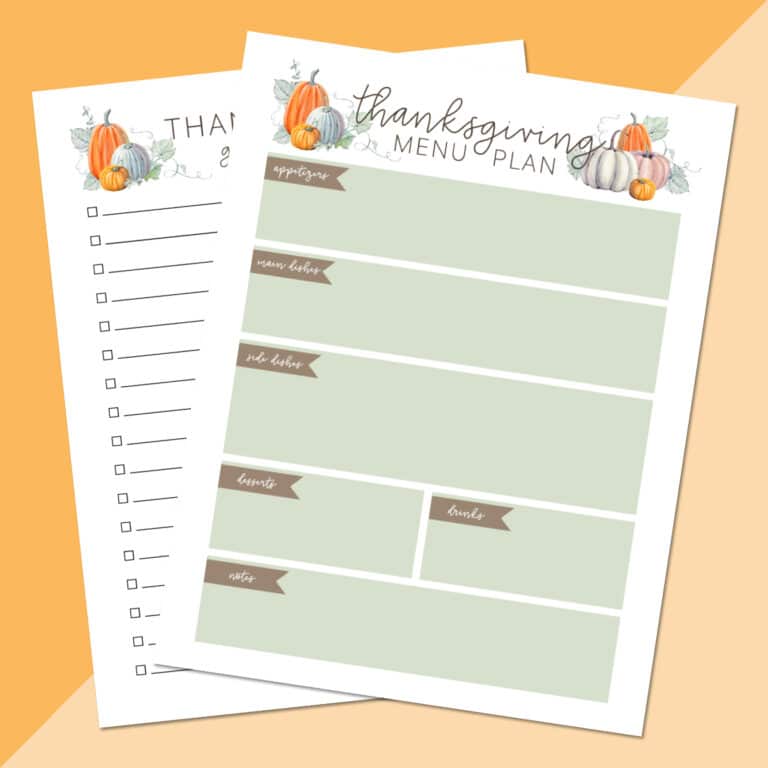
For a full tutorial (with a quick video) on using Print then Cut to make Stickers, head over to my Printable Fall Planner Stickers post – and grab another FREE download while you’re over there!
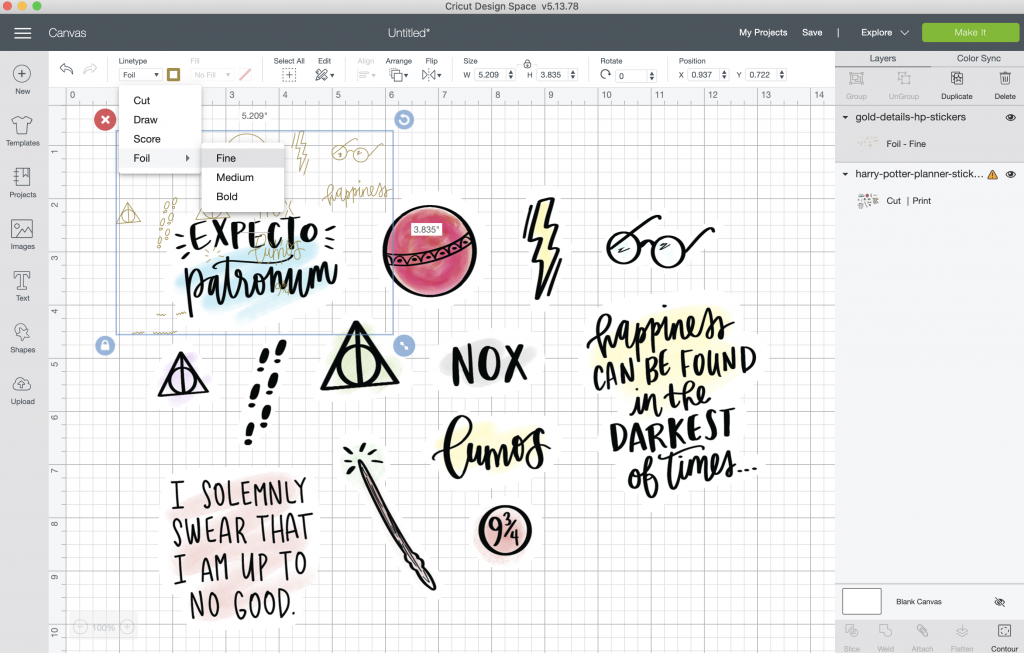
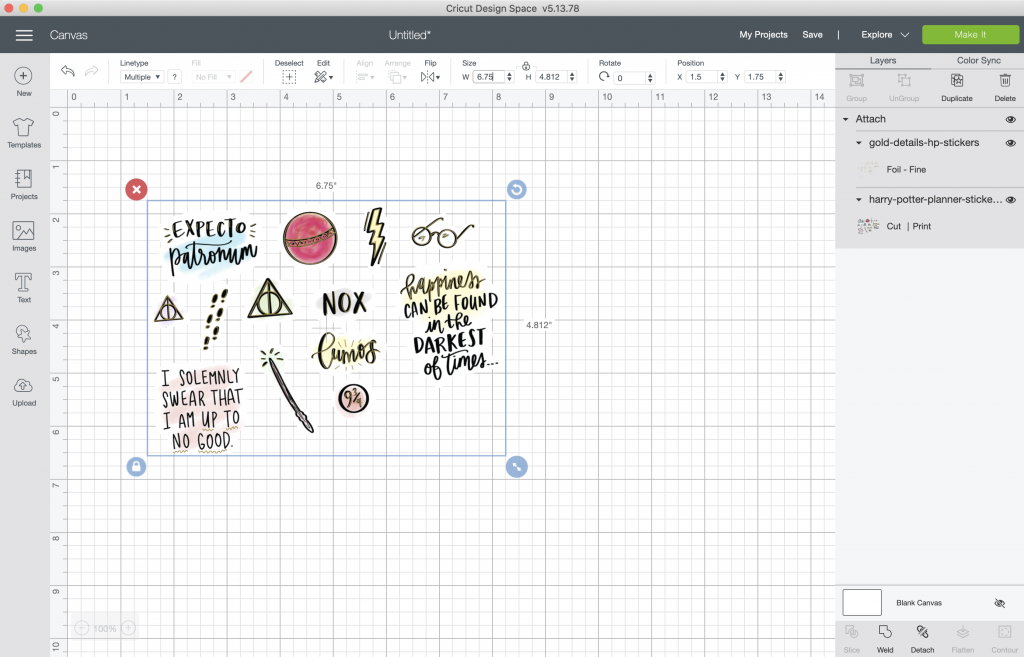
Upload the Harry Potter inspired stickers (.png file) into Design Space as a print then cut file and insert on to the canvas.
Then, upload the Detail Single Line SVG for the stickers (.svg file) as a “cut” file and insert it onto the canvas as well.
The first step is to select the single line file and change the design type from “Cut” to “Foil – Fine”
Since the stickers and details are two separate SVG files, the most difficult part of this project is making sure that the draw file is lined up on top of the sticker file. Just resize the file and move the details until they line up with the stickers.
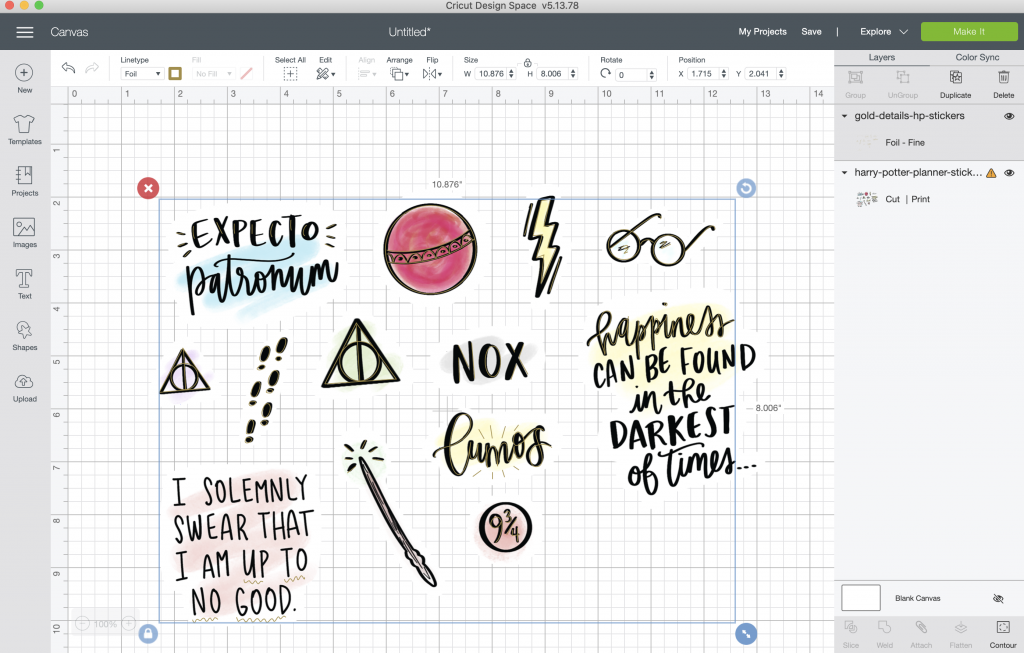
Select both layers and click “Attach”. Attaching the files will make sure that Design Space knows to line up the foil layer to the stickers (and then cut them out) perfectly.
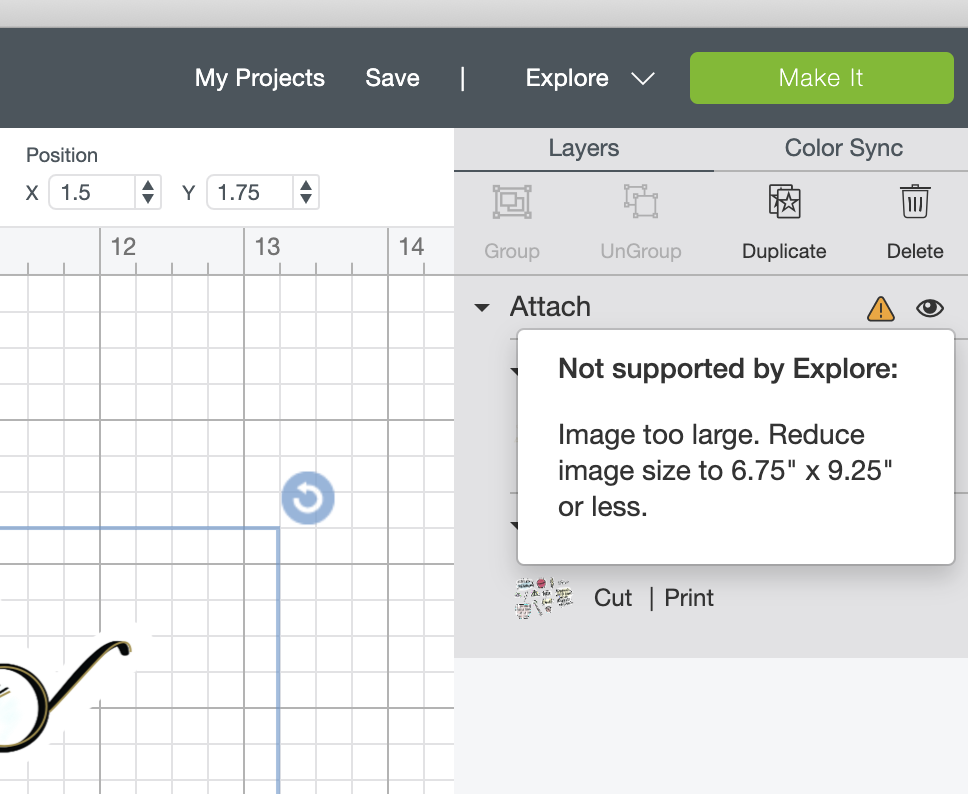
Since Cricut Print then Cut is limited to a size of 9.25″ x 6.75″, Design Space will prompt you to change the size of the stickers. Select the designs and resize to a width that’s 6.75″ wide or less.
Click the green “Make It” button when you’re ready to make your stickers.
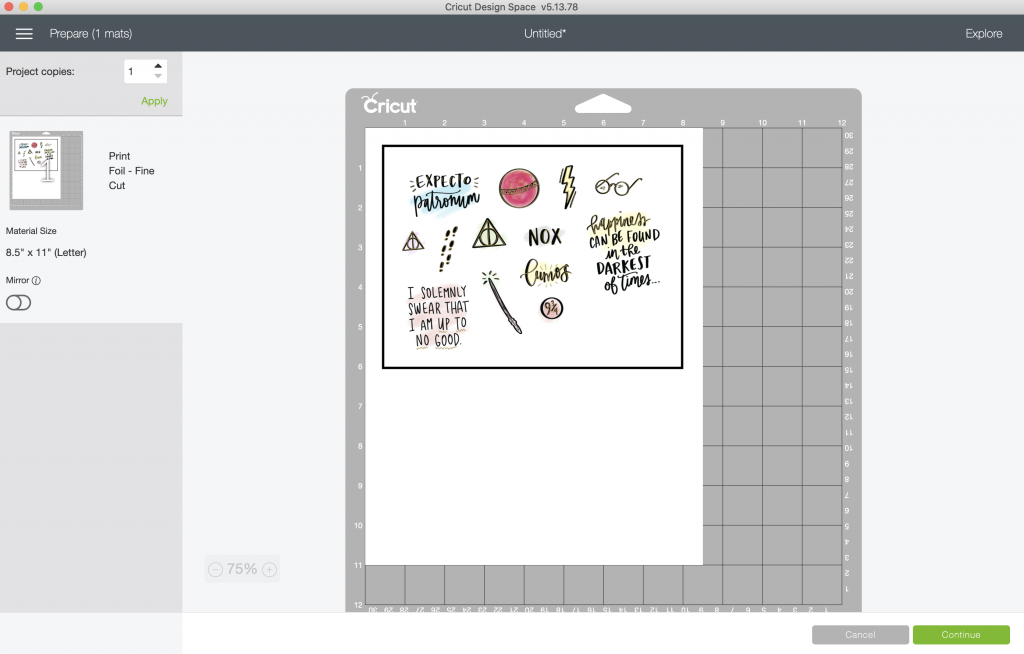
Follow the onscreen instructions to send the sticker file to your printer. The stickers will print inside of a black border line – that’s the line your Cricut will scan and use to calibrate to your design.
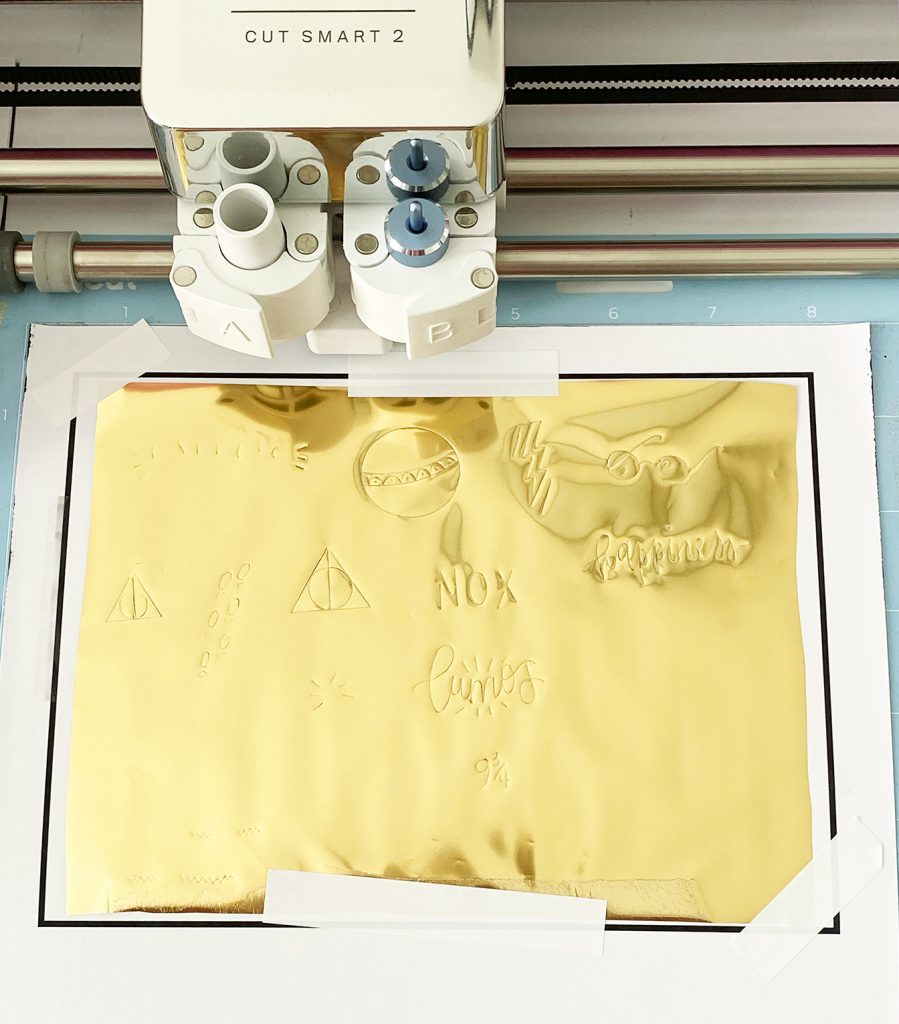
Trim a piece of foil to fit INSIDE of the black border. Apply tape to the corners of the foil to secure it to the sticker sheet, making sure to cover as little of the black lines as possible (I applied 2 on the corners and 2 on the bottom and top edges once I knew where the Cricut machine would scan.
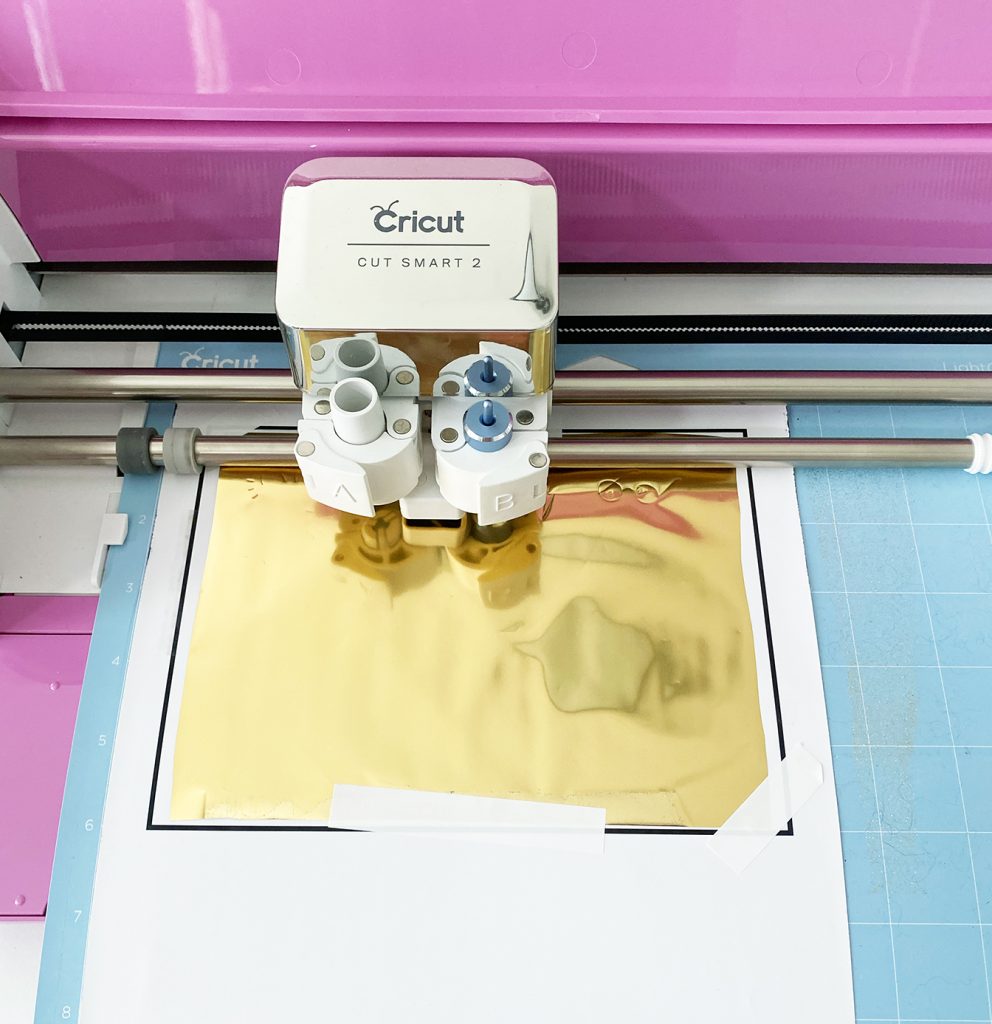
Continue to follow the onscreen instructions to apply the foil with the Foil Transfer kit and then cut out the stickers. I love how the Cricut does all of the work for me!
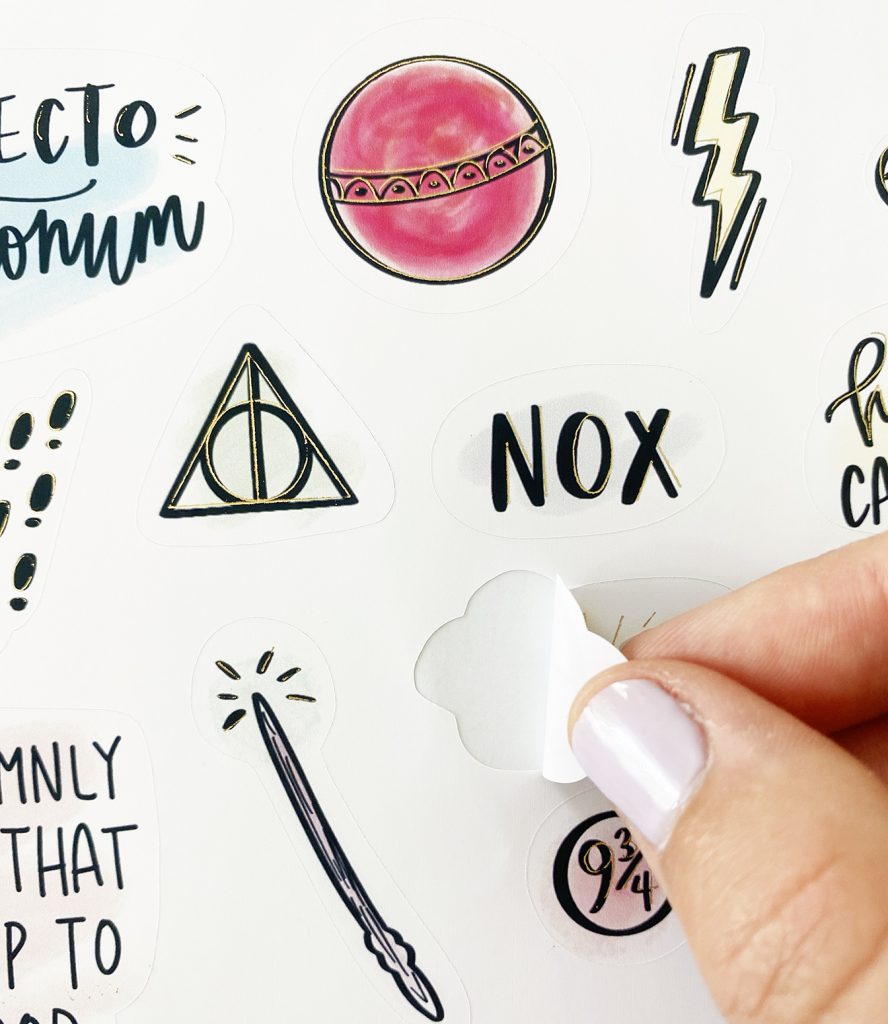
Your Cricut will cut the stickers so that you can just peel them off the backing!


Download Draw SVG for Foil Stickers
This file is DOWNLOAD #160 in my FREE DOWNLOADS LIBRARY.
Get the password below! (If you have the password, head over to the library to download the file.
You will NOT be sent an email with the file. Free SVG files available for download are for PERSONAL USE ONLY.
Pin to Remember How to Make DIY Foil Stickers


ABOUT CHARYNN
Hi, y’all! I’m Charynn, the owner and designer of Pineapple Paper Co. I’m a mom of four kids (two girls and two boys) living in Pittsburgh. I love hand lettering, anything southern, cocktails, and of course, pineapples! I am excited to share my SVG files, printables, and craft projects with you! The pineapple is a symbol of hospitality, and I welcome y’all to my little corner of the internet. Read more…