Decorate your Christmas Tree with DIY Cricut Christmas Ornaments
This post and the photos within it may contain affiliate links. As an Amazon associate I earn from qualifying purchases. If you make a purchase through one or more of the links, I may receive a small commission at no extra cost to you.
Make your own Christmas Ornaments with your Cricut! You can use a variety of Cricut cutting materials to create unique DIY Christmas Ornaments. See how I made a DIY Farmhouse Sign Ornament, a large “Merry” script tree decoration, and three styles of 3D Christmas ornaments!
I’ve had my original Cricut Maker (I want to upgrade to a Cricut Maker 3) for years now, and I love making DIY projects with it. I’ve decorated entire parties, made a reverse canvas, made a TON of Christmas shirts for myself and my family, including a Christmas Story Shirt, and a Grinch Shirt!
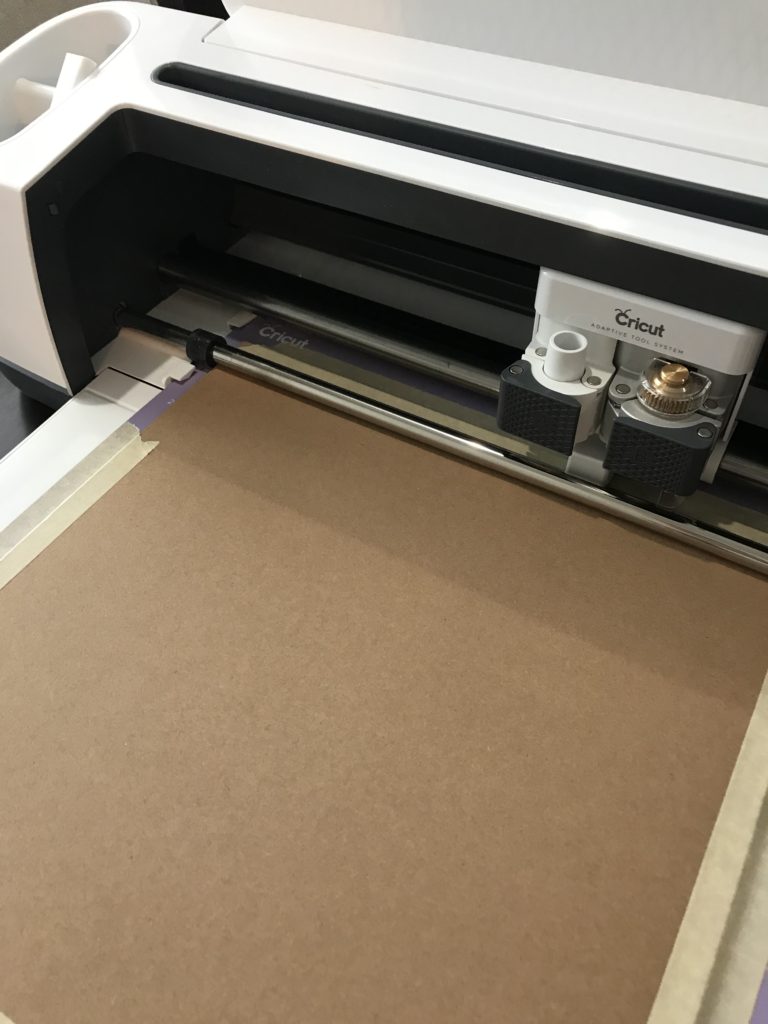
The Cricut Maker is a great machine because of the Adaptive Tool System that allows for advanced cutting tools like the Scoring Wheel, Rotary Blade (perfect for fabric), and the Knife Blade. The Cricut Knife Blade was the tool that I was most excited about when the Cricut Maker was announced. I couldn’t wait to make Christmas ornaments!
The Adaptive Tool System allows the Cricut Maker to cut thicker materials than the previous Cricut models, including Chipboard. I used the Knife Blade to cut Cricut Chipboard to make 4 out of 5 of these ornaments, and then customized them with a variety of Cricut cutting materials.
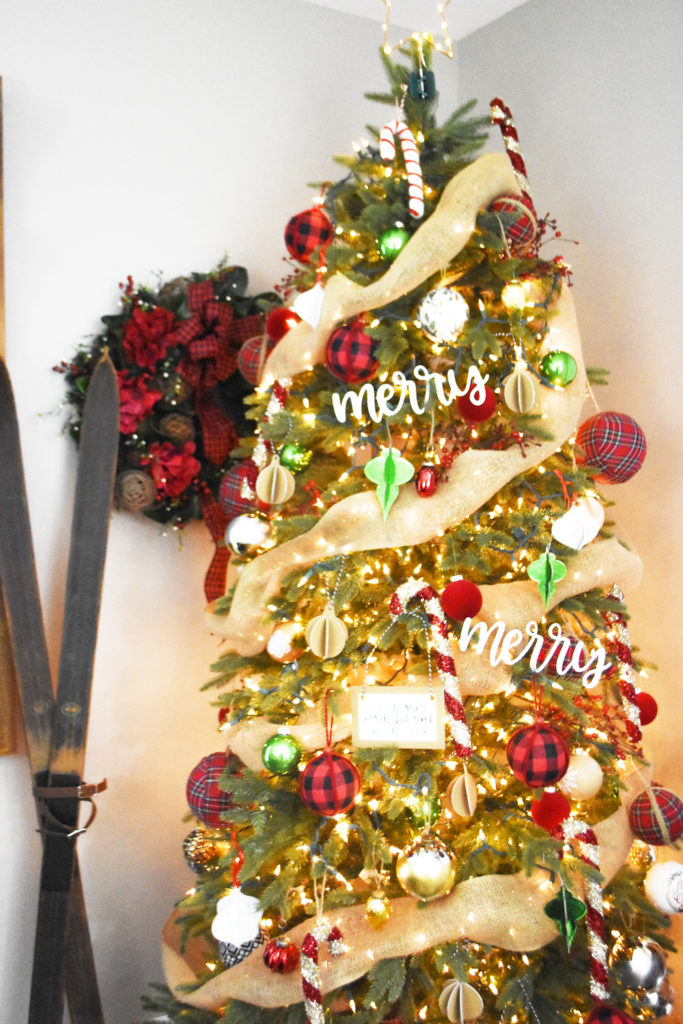
I was able to dress my tree with all of these ornaments plus some I already had in my Christmas decorations. I create themed trees in my house, and instead of looking all over for coordinating ornaments, I was able to make EXACTLY what I wanted for my tree.
Update for 2023: If I were to make these ornaments again, I’d use my laser craft machine and cut them from draftboard!
To Make All of these DIY Christmas Ornaments just like I made them, you’ll need these Cricut Supplies:
- –Cricut Maker
- –Cricut Knife Blade
- –Cricut Chipboard
- –Kraft Board
- –Iron On Vinyl, Black
- –Foil Iron On, Green
- –Patterned Vinyl, Winter Wonderland
- –Corrugated Cardboard
- –Cricut EasyPress
- -White Acrylic or Craft Paint
- -Ribbon (I bought this twine on Amazon)
- -Hot Glue Gun (this one from Amazon is a great one!)
Don’t want to forget this project? Send it right to your email so you can find it later!
How to Make a DIY Farmhouse Sign Ornament
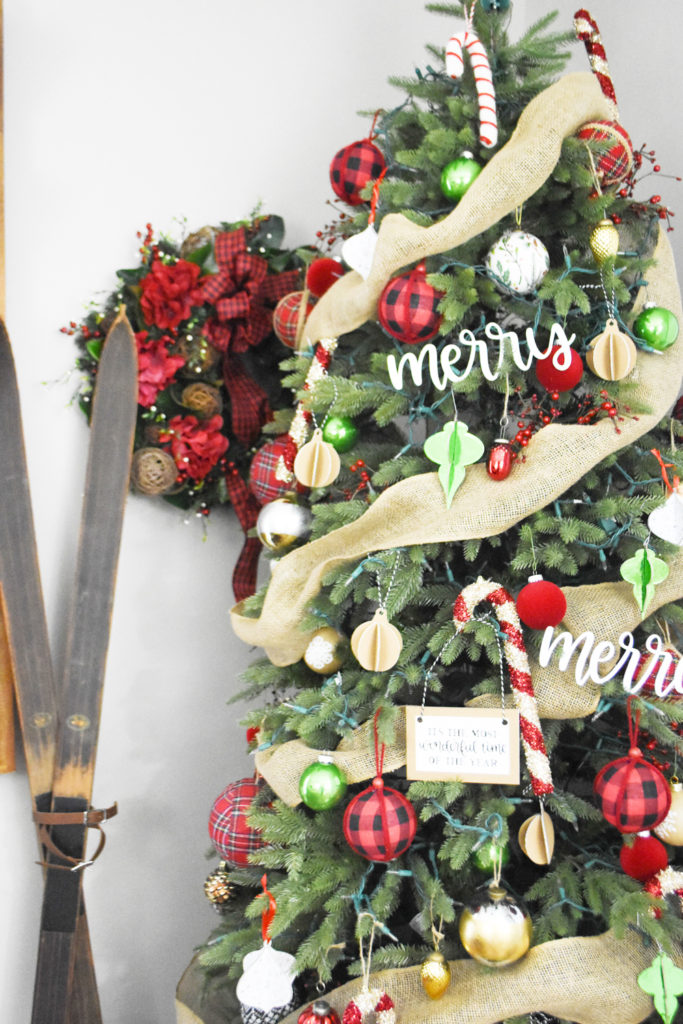
This DIY Farmhouse Sign Ornament with a hand lettered “Most Wonderful Time of the Year” design from Cricut Design Space is my favorite! This design would be absolutely adorable as a full wooden farmhouse sign, too!
To make the small farmhouse sign for my tree, I used white Cricut Kraft board and layered the design on with Iron On Vinyl (YES! you can use Iron On on paper! Check out this post and this post for more ideas!) I added a chipboard “frame” and hung it from the tree with simple black and white twine. I hope to make Joanna Gaines proud haha!
Click on the link below to open the design in Cricut Design Space:
Click to Make: DIY Farmhouse Sign Christmas Ornament
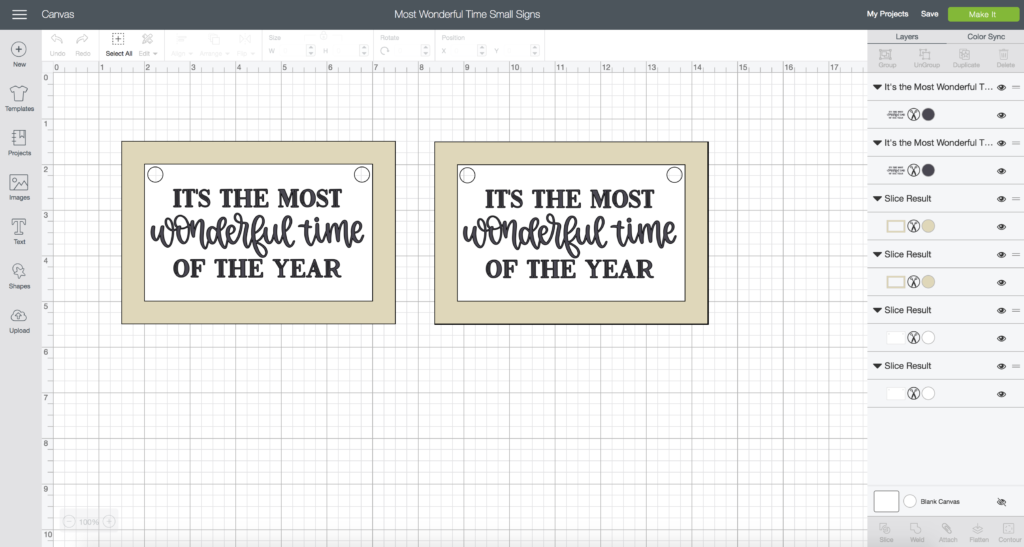
Open the design and click “customize” to change the size or number of ornaments you’d like to make.
The “It’s the Most Wonderful Time of the Year” design is part of a darling set of Christmas and Winter designs that I just love:
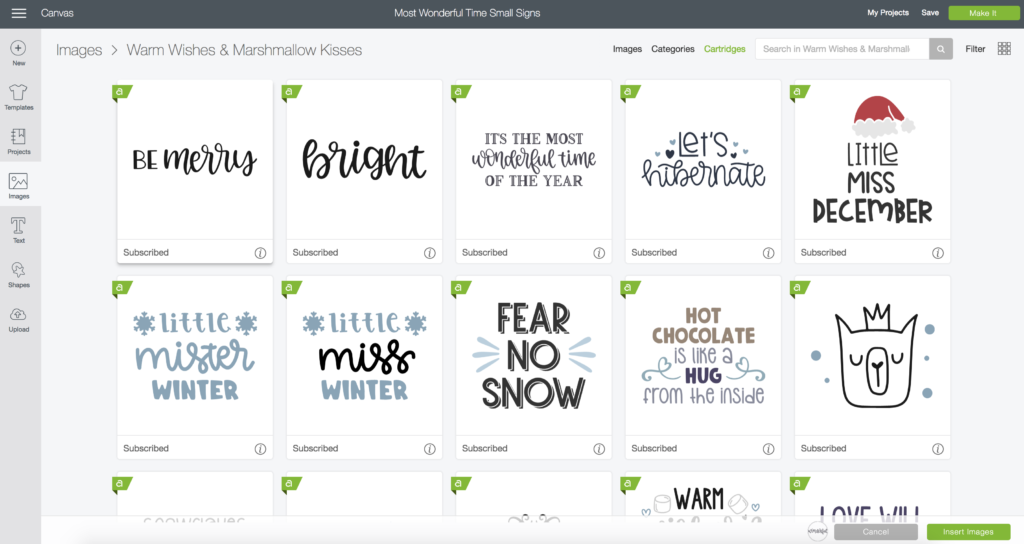
There are a ton of options in this design set, and as you can see, it comes for FREE as part of the Cricut Access subscription! (Learn more about Cricut Access on the Cricut Website). The “merry” design that I used for the large tree ornament is also part of the collection!
Click “Make It” when you’re ready to cut.
The most important part to remember when creating a single project from a variety of different projects is that you need to change your Material setting before moving on to the next mat.
The White Kraft Board is the piece of the project that is set to cut first when I click “Make It.”
When you get to the Chipboard “frame,” make sure you tape down all four sides of the chipboard to your mat, and move your star wheels (the white pieces on the roller bar inside the machine) the whole way to the right. Chipboard is slightly smaller than other cutting materials, so designs for chipboard need to be less than 11″ x 11″.
Once all of the pieces are cut, assemble the sign by first applying the black Iron On Vinyl to the white Kraft board with the Cricut EasyPress (visit the Cricut website for recommended settings), and then gluing the Kraft board to the chipboard frame.
**NOTE: If using the new Everyday Iron-On, peel the backing sheet away when the vinyl is COOL.** If you don’t, the vinyl will lift from the paper (I learned this the hard way!)
String ribbon or twine through the holes, and hang on your tree!

The second design I made was the large “Merry” tree decoration using Cricut Chipboard.
I love how well the Cricut Knife Blade cut this more intricate design with ease!

The only step required to finish the Merry tree decor is to pain the script design white after it’s done cutting! I found that White All Surface Craft paint works great and covers in two coats.
I love how the large design looks on the tree. I’ve always wanted to buy large ornaments like the Merry sign but either couldn’t find them or they were really expensive!
Click to Make: Large “Merry” Tree Decoration
I made a set of 3D DIY Christmas ornaments that are in one Cricut Design Space file. You can copy the designs to make additional ones, or delete the designs you don’t wish to make.
Click to Make: 3D Christmas Ornaments

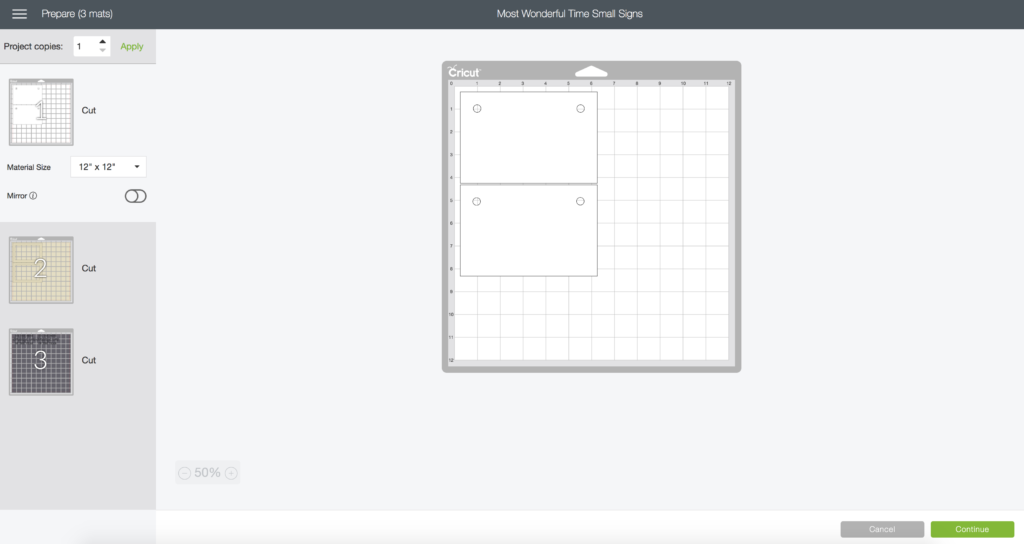
As mentioned above, because chipboard is slightly smaller, your designs cut from that material need to fit within a 11″ x 11″ space. If you cut the designs as pictured, you’ll need to move the ornaments on the cutting mat a little bit.
Here are the ornaments as the show up after clicking “Make It”:
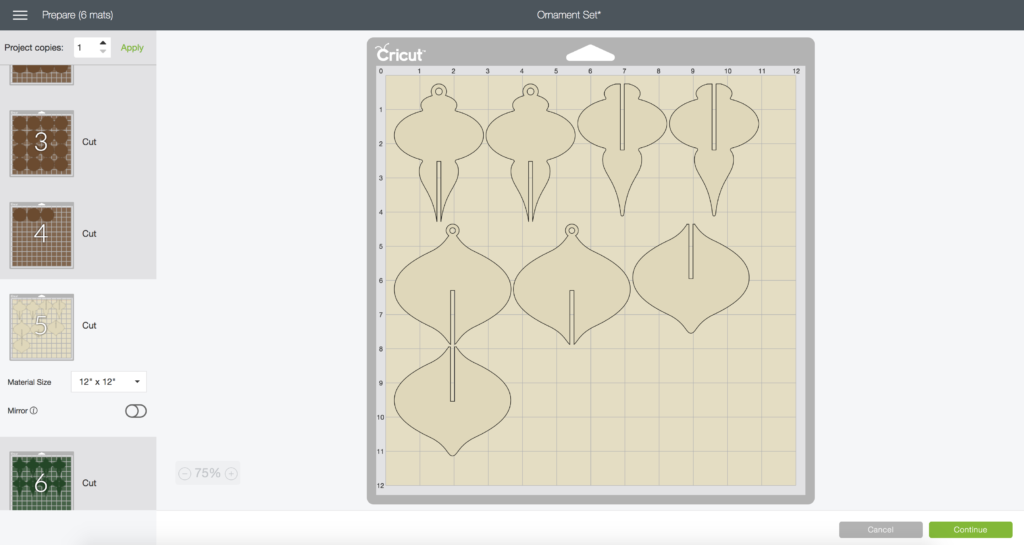
As you can see, the ornament in the top right is JUST shy of 11″, and the bottom ornament cross the 11″ line. I clicked on each ornament on this screen and dragged them to rearrange:
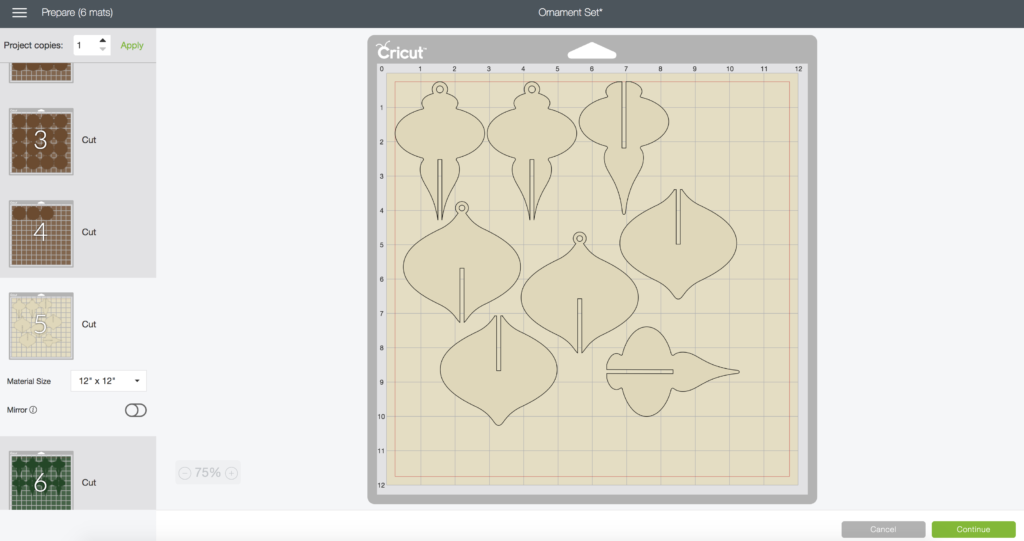
By fitting them within the 11″ x 11″ space, they will all cut with no problems!
The first design is a chipboard ornament layered with Foil Iron On vinyl:
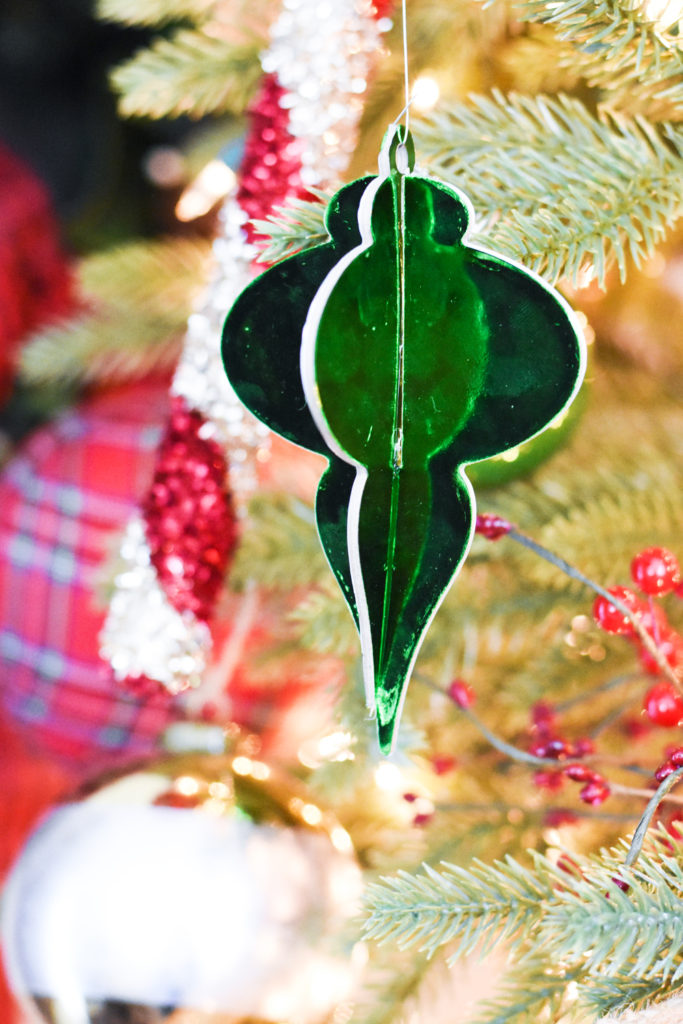
It’s so shiny, it looks like a real bulb from a distance!
This ornament is also chipboard, but instead of using Iron On, I used Patterned Iron On in this cute black and white snowflake pattern:

I covered both sides of the chipboard with vinyl so if it spins, you will only see the vinyl.
The last design is this round ornament, made with corrugated cardboard. It’s such a unique material, and I thought it would look great on this farmhouse/rustic tree theme.
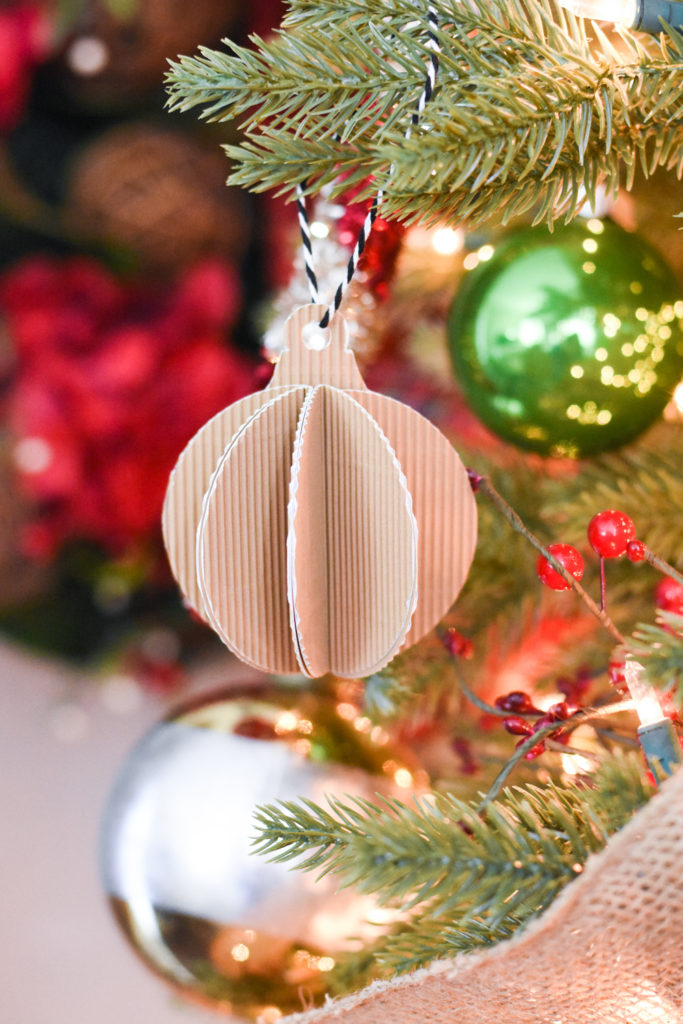
The corrugated cardboard rounds are hot glued to to the base to create the 3D look!
To complete the look of the tree, I used a variety of other ornaments. You can find similar ones on Amazon:
Buffalo Plaid and Burlap Ornaments
Amazon also has a buffalo plaid tree skirt like mine as well: Shop Plaid Tree Skirt
IF YOU’D LIKE MORE DIY CRICUT IDEAS, I THINK YOU’LL LIKE THESE POSTS:
Make DIY Christmas Cards with the Cricut Maker
Free Grinch SVG + Cricut Shirt DIY
Free Merry Christmas Y’all SVG
Merry and Bright Flamingo Sign + FREE SVG
Christmas Cookie Exchange with Oriental Trading
DIY Monogrammed Plaid Tote (DIY Christmas Gift Idea!)
12 Days of Christmas Countdown Boxes
DIY Christmas Tags in 15 Minutes
If you’re interested in learning more about laser craft machines (and how one might be better to make these ornaments, make sure you check out my FREE eBook!
Trying to decide what Laser Craft Machine is Right for You?
Download my FREE eBook: Beginner’s Guide to Laser Craft Machines! With 3+ years of experience and testing of 5+ lasers, let me teach you the basics! Learn the different types of lasers, projects you can make, potential cost, and more!
Read the guide BEFORE you buy!


I have had a Cricut for quite awhile and have just not learned how to use it. Couldn’t even tell you which one right now. But I would love to learn how to use👍🏼
There are tons of free tutorials – this time of year is so good to get started 🙂