DIY Personalized Wood Tray with Cricut EasyPress 2
This post and the photos within it may contain affiliate links. As an Amazon associate I earn from qualifying purchases. If you make a purchase through one or more of the links, I may receive a small commission at no extra cost to you.
A personalized wooden tray is a great hostess gift or fall decoration that you can make with your Cricut. The Cricut EasyPress 2 now comes in a large size which is ideal for making a large personalized wooden tray!

This post and the photos within it may contain affiliate links. If you make a purchase through one or more of the links, I may receive a small commission at no extra cost to you.
I recently got a Cricut EasyPress 2 and I’m so excited to share this DIY Wood Tray made with Cricut Foil iron-on and the EasyPress 2! It is perfect for fall entertaining. With your Cricut you can use a store-bought tray to make an easy DIY Personalized Wood Tray for all of your fall parties, or even as a project idea for Thanksgiving.
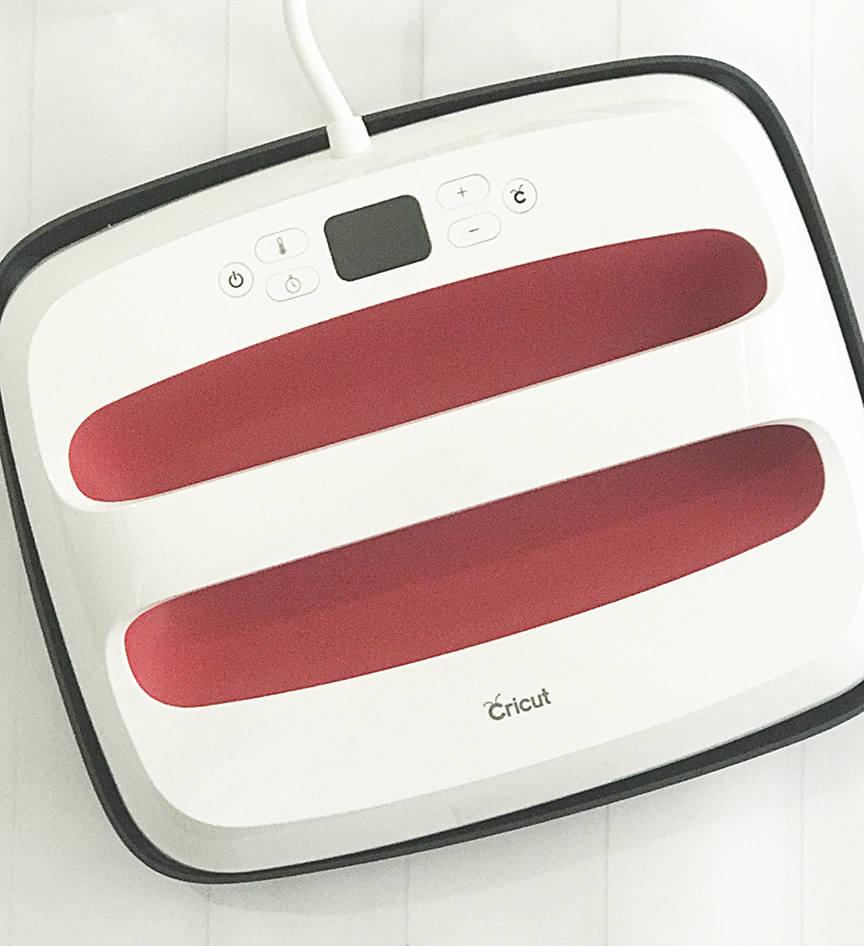
What is the Cricut EasyPress 2?
The Cricut EasyPress 2 is the BRAND NEW version of the Cricut EasyPress that will be released this Fall. It is a portable heat press that has precise temperature control like a professional heat press, but with the portability of a regular iron. And, it’s so easy to use! Finish your projects in 60 seconds or less with temperature controls of up to 400 degrees F.
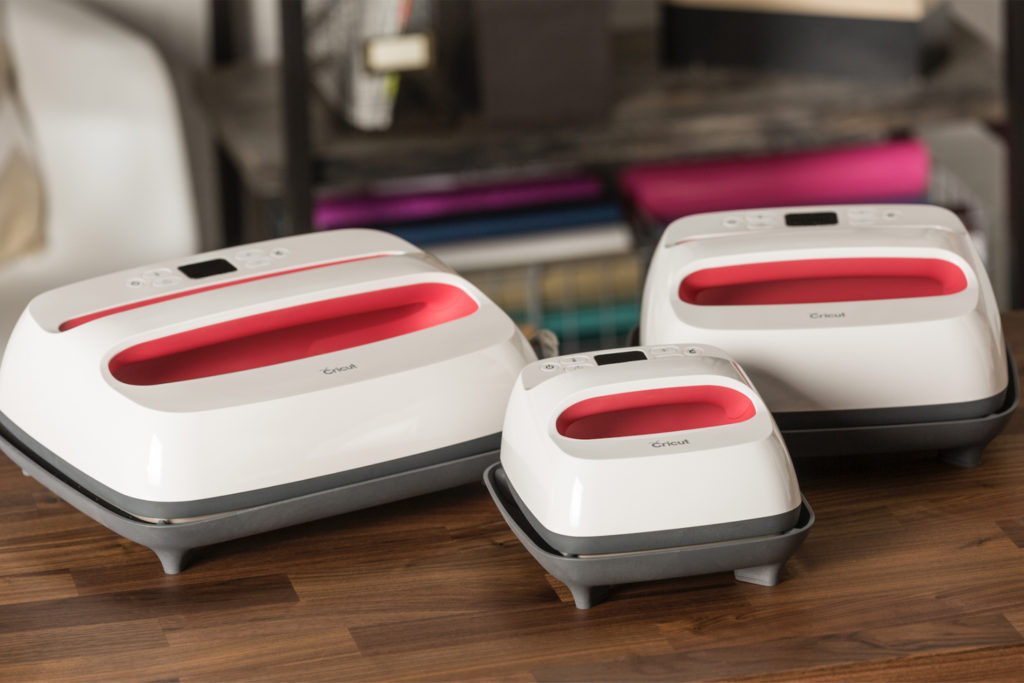
What is AWESOME about the Cricut EasyPress 2 is that it comes in THREE different sizes to suit every project: 6×7″, 9×9″ and 12×10″. I was really lucky to get to try out the 12×10″ version to make my DIY Personalized Wood Tray with an oversized design.
Why Use a Cricut EasyPress 2 instead of an Iron or Heat Press?
The Cricut EasyPress has the ability to maintain an even heating temperature over its entire surface, unless like a regular iron, which is great when you are making a design that fills the entire surface. The ceramic-coated plate gives the EasyPress 2 the ability to provide the even, dry heat.
Unlike a traditional heat press, it is much safer because you don’t have to place your project (or your arm!) under a really hot plate. The Cricut EasyPress2 also comes with an insulated, streamlined safety base that protects your crafting surface while in the resting position.
The EasyPress 2 is easy to learn and simple to use–just press the EasyPress 2 on your project and press the Cricut “C” button to start the timer.
How to Make a Personalized Wooden Tray

What Materials Do You Need to Make a DIY Wood Tray?
-Cricut Maker or Explore Air Series Machine–SHOP HERE
-Cricut EasyPress 2 (Available in Fall 2018–SHOP HERE)
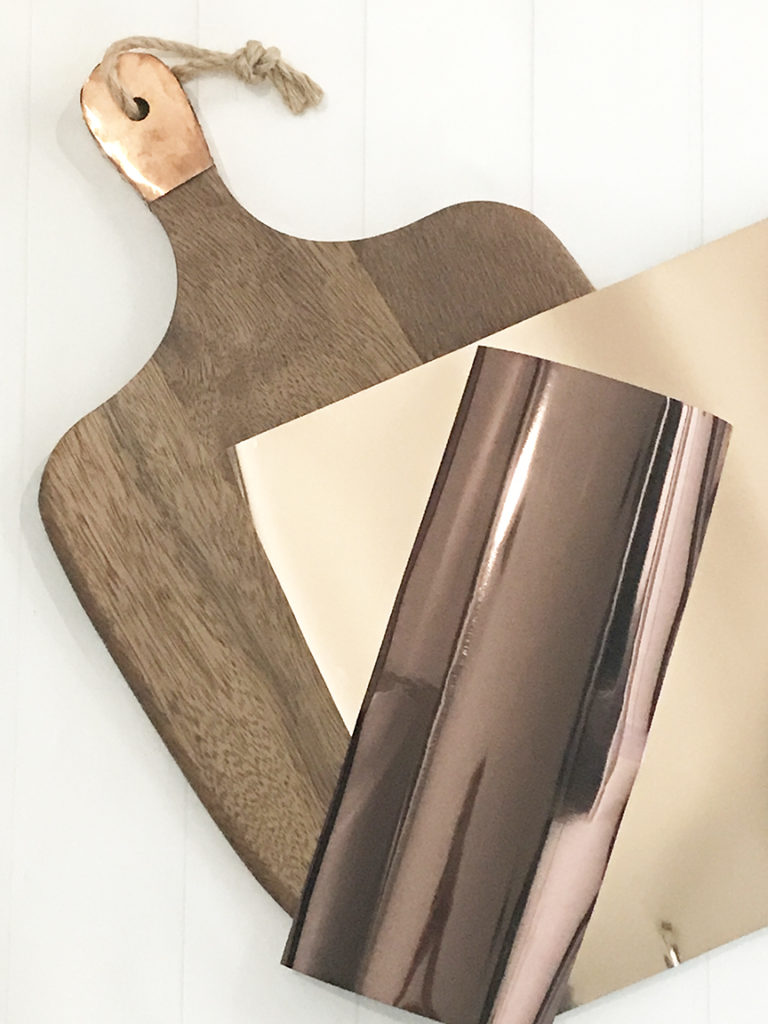
–Cricut Foil Iron-On in desired colors
–Cricut Iron-On Protective Sheet
-Wooden Tray (I found mine at Michaels)
First, prepare your Cricut Design Space project by clicking “Customize” and resizing the project to fit your tray. Our design is a little over 12.3×9.6″.
CLICK HERE TO ACCESS THE DIY WOOD TRAY DESIGN IN CRICUT DESIGN SPACE
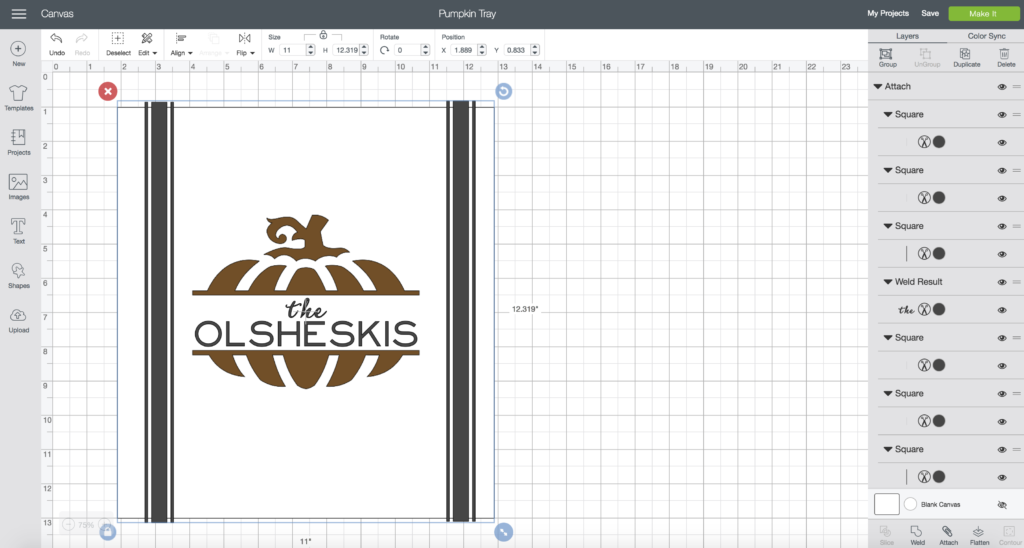
I placed a white rectangle in the back of my design, so I could see exactly how the pumpkin design and stripes would look on my tray when finished. You’ll want to hide that rectangle before you cut your design.
You can use two colors of Cricut foil iron-on, or can switch the colors to use more or less!
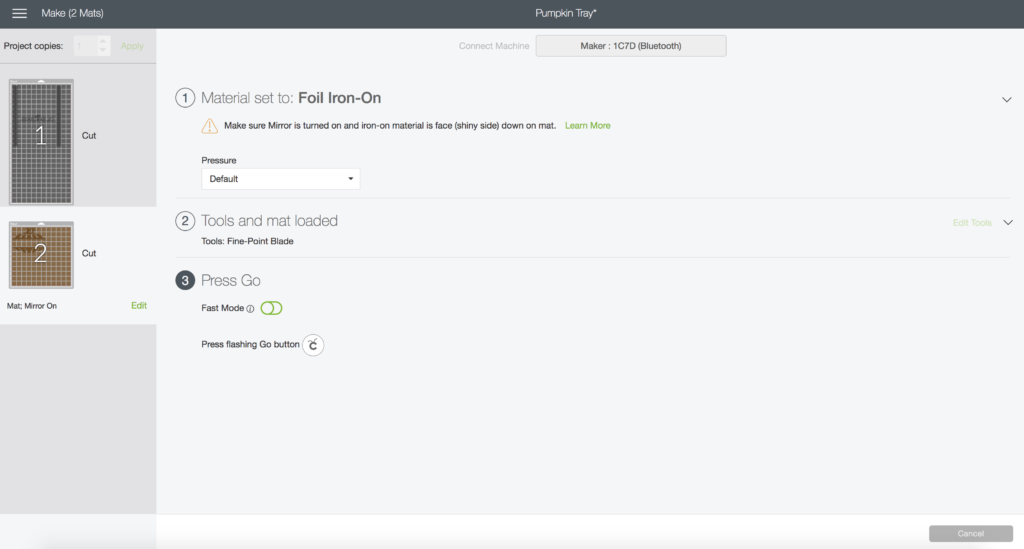
When your design is properly sized, click the green “Make It” Button. Make sure you click the “Mirror” to the green “ON” position since we are using Iron-On. Approve your mat size (my design cut on a 12×24″ mat), and select your material to start cutting! The shiny side of the foil iron-on goes DOWN on the cutting mat.
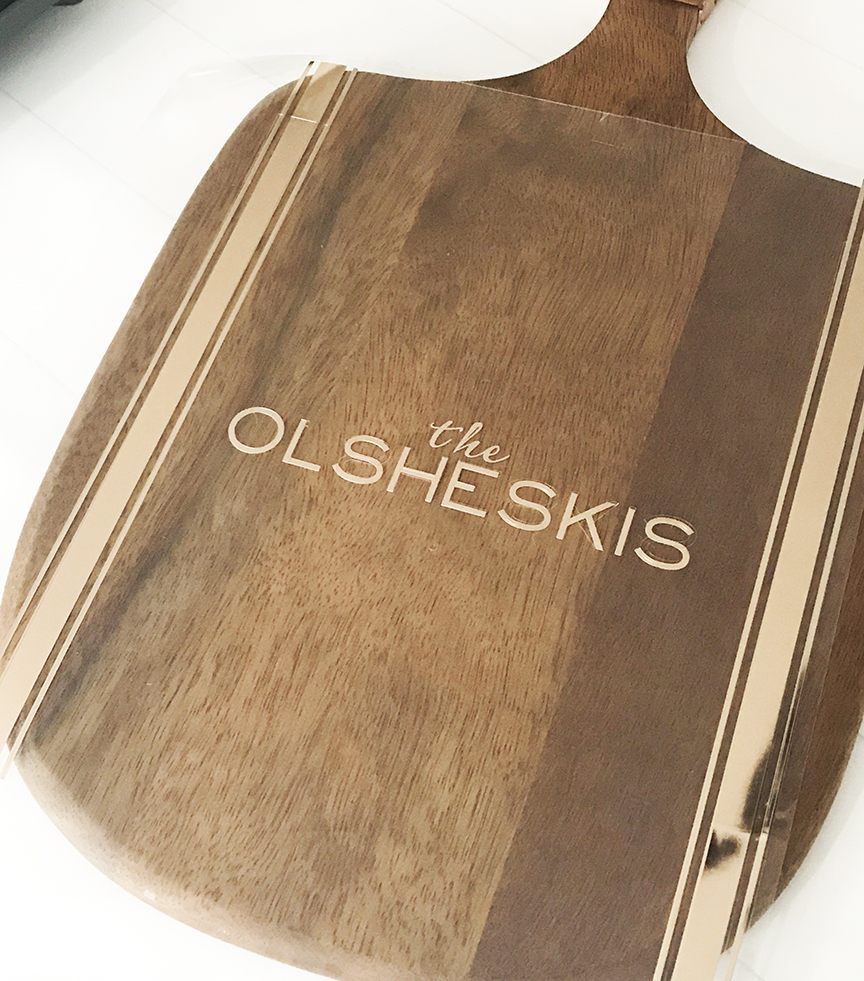
Once your design has been cut, weed away all of the excess material and place your design on the wood tray. Here’s the first layer of foil iron-on on the tray:
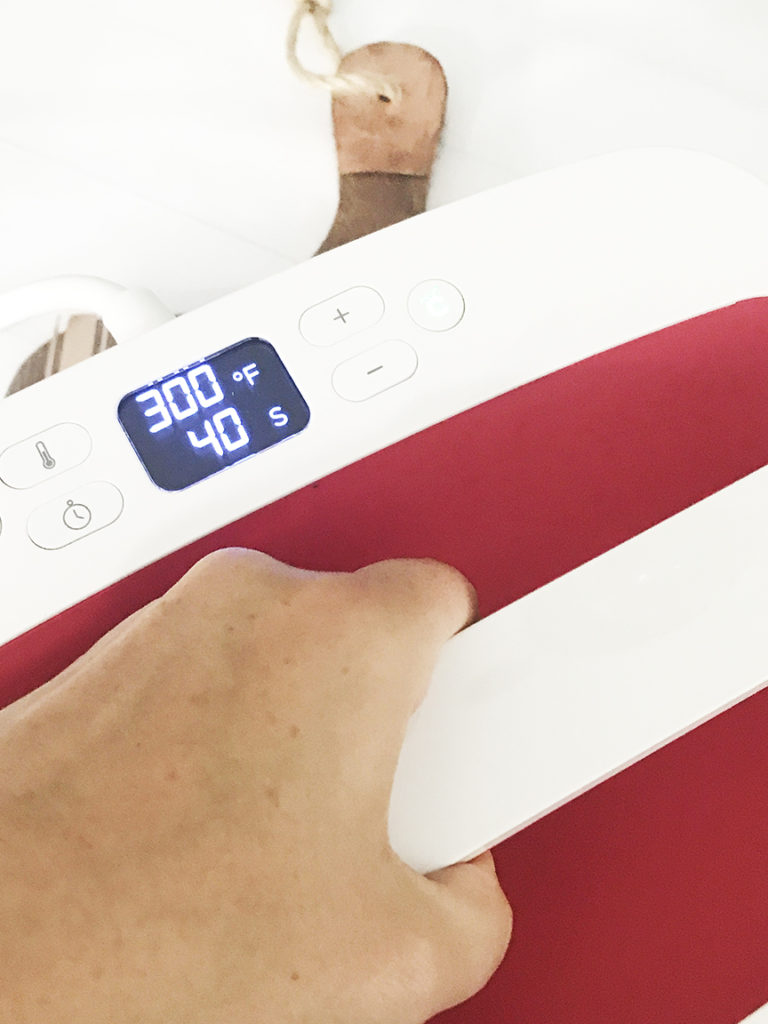
On the Cricut Website, there is a GUIDE CHART that allows you to see what temperature you need to use based on the cutting material and base material you’re using. The recommendation for using Foil Iron-On on Wood is 300 degrees F for 40 seconds. Preheat your Cricut EasyPress 2 and get ready to make your project!
Using the Cricut Protective Iron-On Sheet, apply light pressure to the surface of your Iron-On design. I found while making this project that I needed to increase the temperature by 25 degrees while making this project to make sure the iron-on was activated.
After the iron-on has cooled, peel back the carrier sheet and admire your handiwork! After the Iron-On has adhered and the carrier sheet is removed, you can use the protective sheet over the foil iron on once more just to make sure all of the foil has adhered.
Because the corners of my tray were rounded, I also had to trim the edges of foil iron-on away.
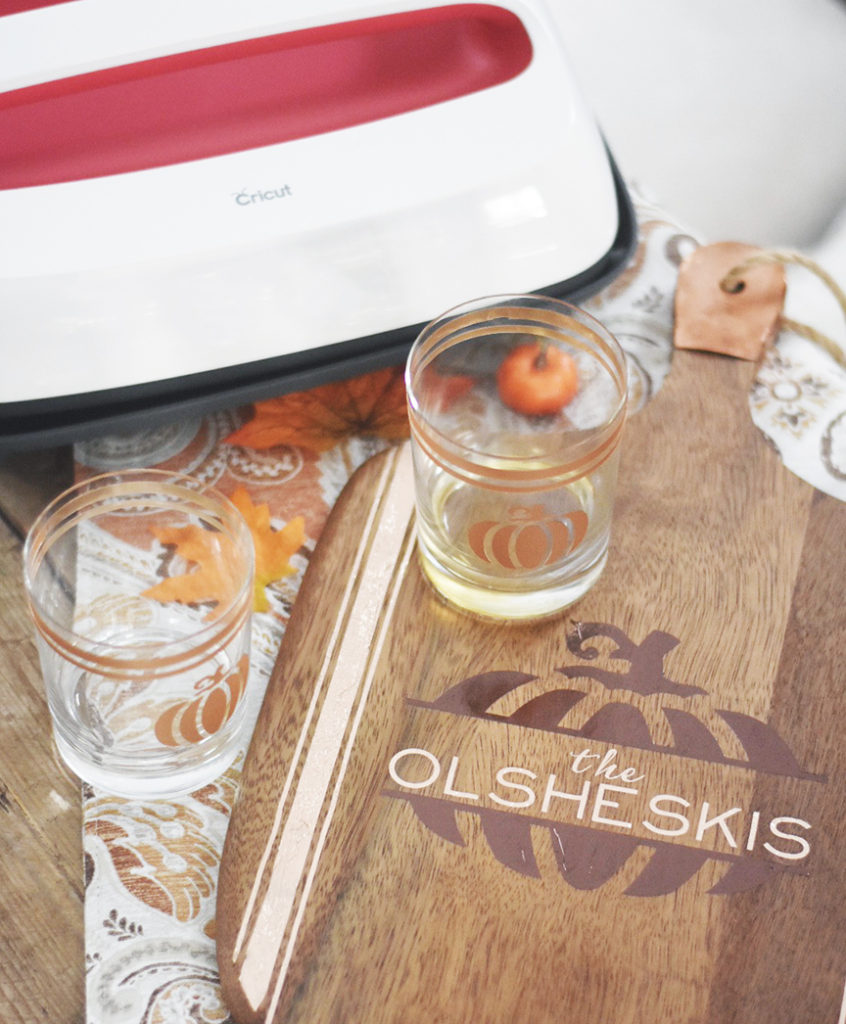
This DIY Personalized Wood Tray was so easy to make and would make the perfect holiday entertaining gift!

If you have any questions about the Cricut EasyPress 2 , I’d be happy to help! Just leave your comments below!
If you have any questions about a heat press for this project, here’s a great post about a traditional heat press.
And, if you’d like to see those adorable little Pumpkin Glasses in action and make yourself an Apple Cider Bourbon Cocktail, just out the recipe HERE.
If you like this Personalized Wood Tray, I think you’ll love these Fall + Thanksgiving DIY Projects:
DIY Fall Porch Ideas Perfect for Thanksgiving
Use a Pumpkin SVG 3 Different Ways
DIY Thanksgiving Table as seen in RUE Magazine
Check out these AWESOME projects some of our favorite bloggers made using the Cricut EasyPress 2:
- DIY Cork Board Travel Map by Happiness is Homemade
- How to Make Glitter Iron-On Pillows by Printable Crush
This is a sponsored conversation written by me on behalf of Cricut. The opinions and text are all mine.


ABOUT CHARYNN
Hi, y’all! I’m Charynn, the owner and designer of Pineapple Paper Co. I’m a mom of four kids (two girls and two boys) living in Pittsburgh. I love hand lettering, anything southern, cocktails, and of course, pineapples! I am excited to share my SVG files, printables, and craft projects with you! The pineapple is a symbol of hospitality, and I welcome y’all to my little corner of the internet. Read more…
One Comment