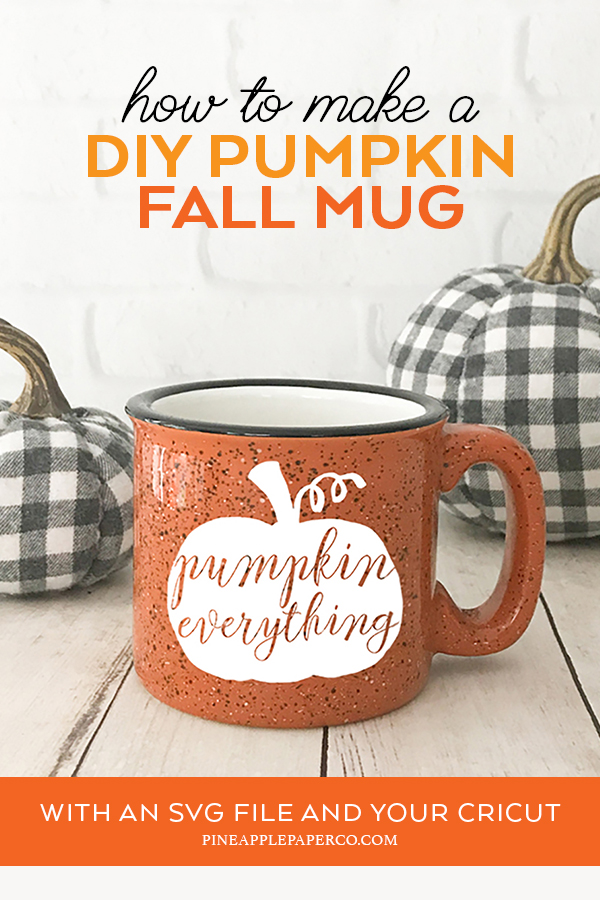
How to Use a Pumpkin SVG Three Ways
This post and the photos within it may contain affiliate links. As an Amazon associate I earn from qualifying purchases. If you make a purchase through one or more of the links, I may receive a small commission at no extra cost to you.
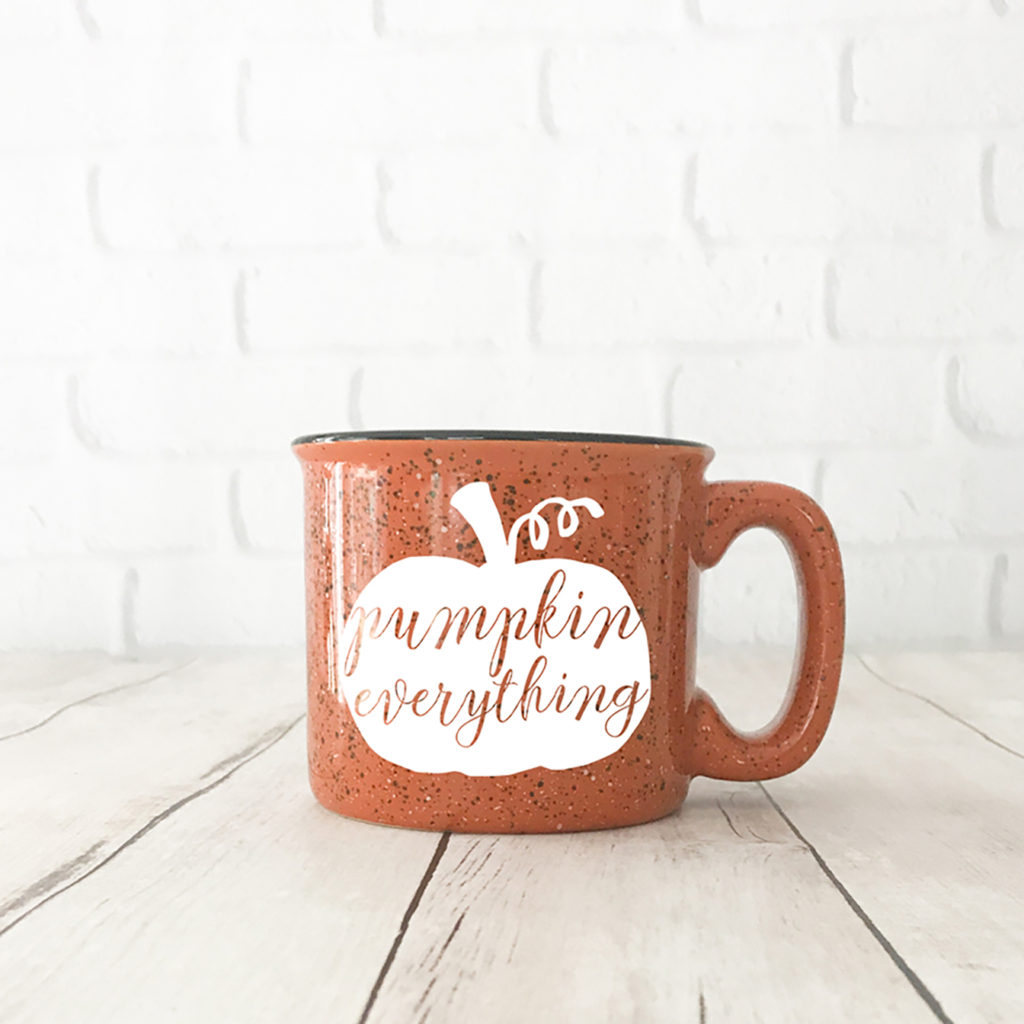
Using SVG files is an easy way to customize craft projects in just a few minutes. I use SVG files to make DIY T Shirts (for Back to School or Halloween, for example), DIY Fall Decor, and DIY Holiday Decor ALL the time. If you have a Cricut cutting machine, they are even easier to use because you can upload them right into Cricut Design Space and either edit the design or cut it as is. (If you happen to have a Silhouette cutting machine, you need Designer Edition to upload SVG files). Along with my friends Jessica at Everyday Party Magazine and Lindsay at See Lindsay, we are going to show you how you can use the same Pumpkin SVG File THREE different ways to make DIY Fall Projects. I used the Pumpkin SVG File to make a DIY Pumpkin Everything Mug.
This post and the photos within it may contain affiliate links. If you make a purchase through one or more of the links, I may receive a small commission at no extra cost to you.
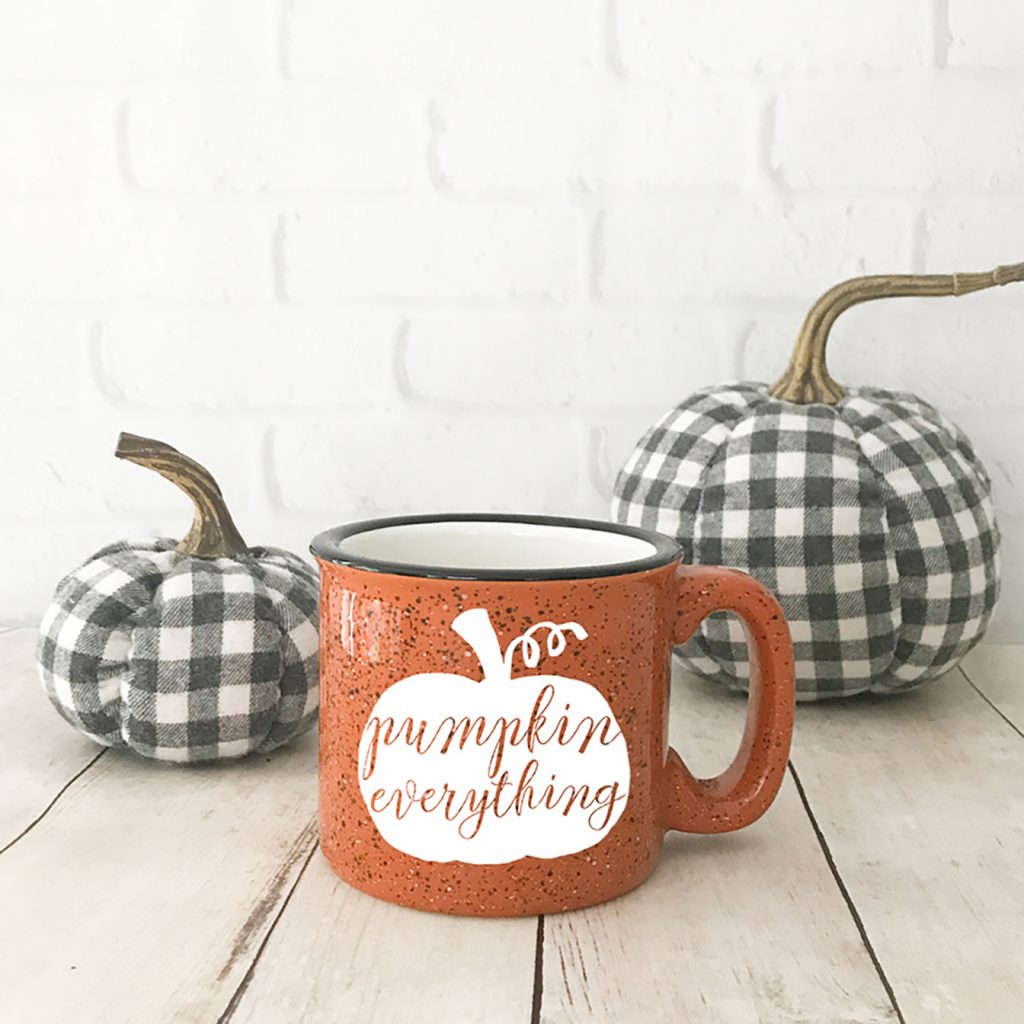
How to Make a DIY Pumpkin Mug using a SVG File
Supplies You Need to Make a DIY Pumpkin Mug
-Cricut Cutting Machine (our favorites are the Cricut Maker and Cricut Explore Air 2 – check out the different machines HERE)
–Cricut White Vinyl, Permanent
–Cricut Transfer Paper
-Mug (we bought ours HERE)
The Pumpkin SVG file is available at Everyday Party Magazine (there’s a FLASH SALE going on right now and you can get the pumpkin for less than $1!)
When you open Cricut Design Space, on the left hand side of the page at the bottom of the column you can pick “Upload.” Click there, and another page will open where you can immediately upload your SVG file. This is the part of the screen that you want to look for:
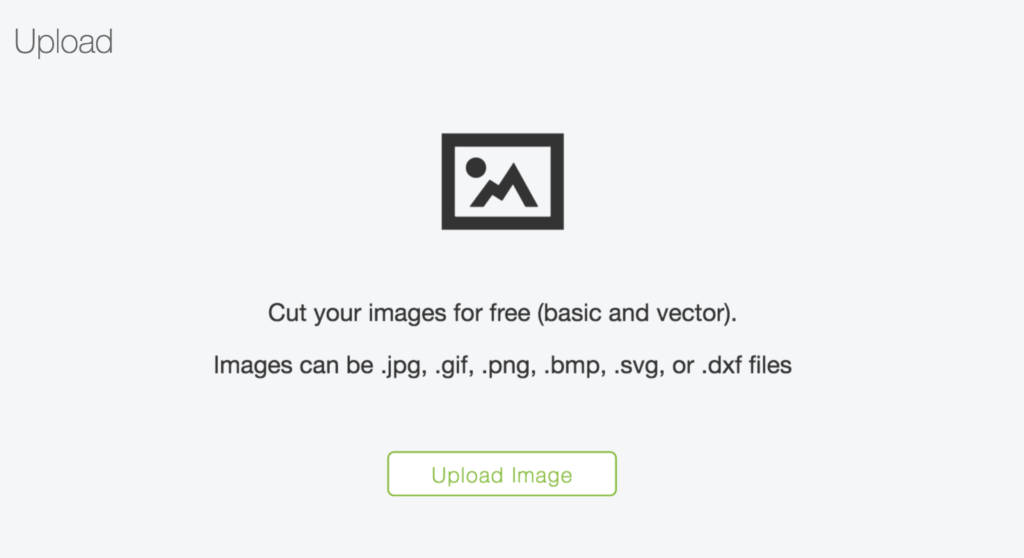
Locate your SVG on your computer and click “Upload Image.” After you have downloaded the file and verified what you would like the name the file for use in Design Space, click on the uploaded image and click the “Insert Image” button to insert it on to your canvas.
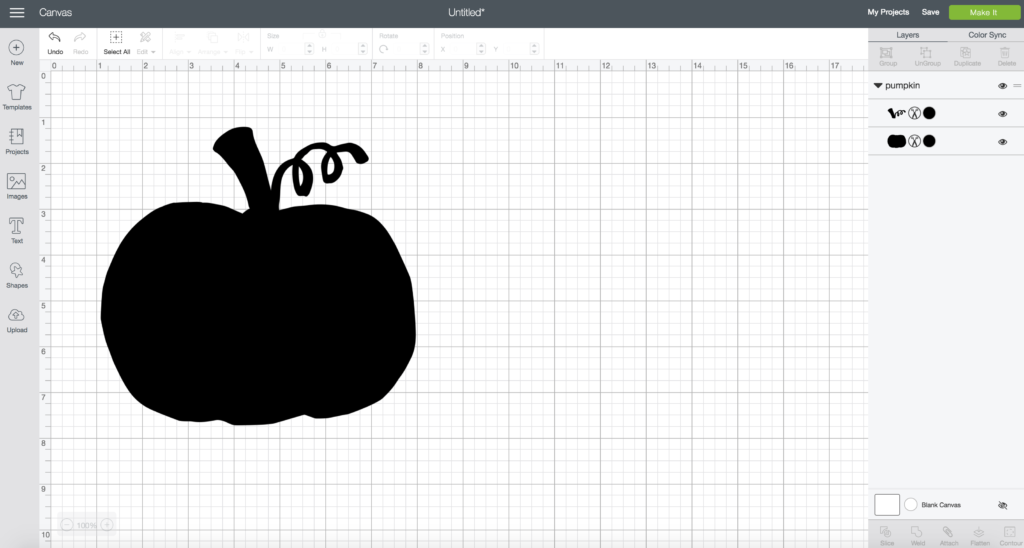
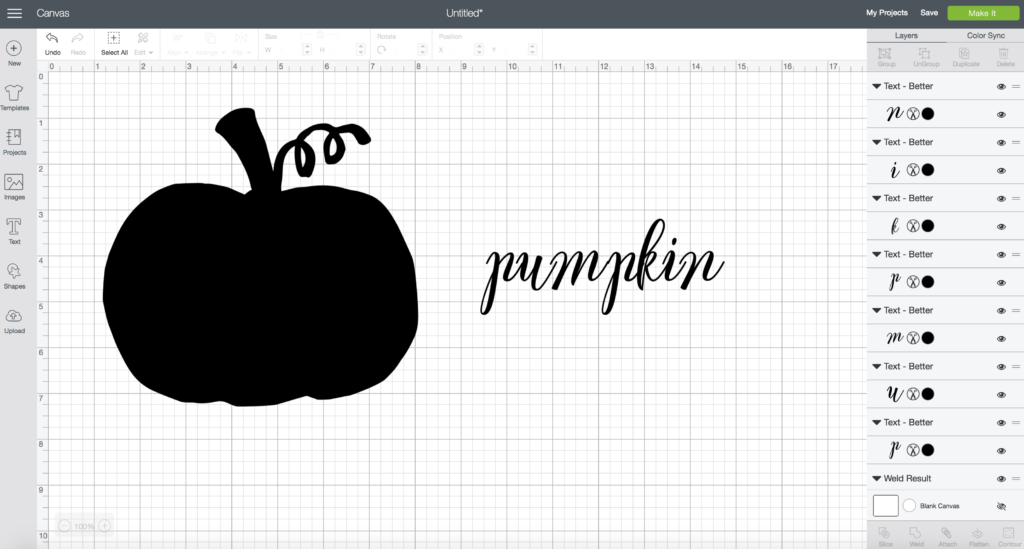
You’ll notice on the right hand side of the page that the pumpkin comes in two pieces (in case you want to make it orange and green for a Pumpkin T Shirt or other project with color). If you’d like to make the “Pumpkin Everything” design like I did, the first thing you want to do is select both pieces of the design and “Weld” them together. Welding the image will make it one solid piece.
The next step in this DIY Pumpkin Everything Mug is to select the font you would like to use for your text. One thing I really like about Cricut Design Space is that you can use the fonts on your computer just as easily as the Cricut provided fonts. For this project, I used a script font that is on my computer.
You’ll notice in the above picture that my letters in the word “pumpkin” don’t line up, even if I decrease the font spacing. Another great feature of Design Space is that you can “ungroup” your text into individual letters so you can move them independently. In the right sidebar, you can see that each letter is now its own shape. I can adjust each letter so that they line up perfectly.
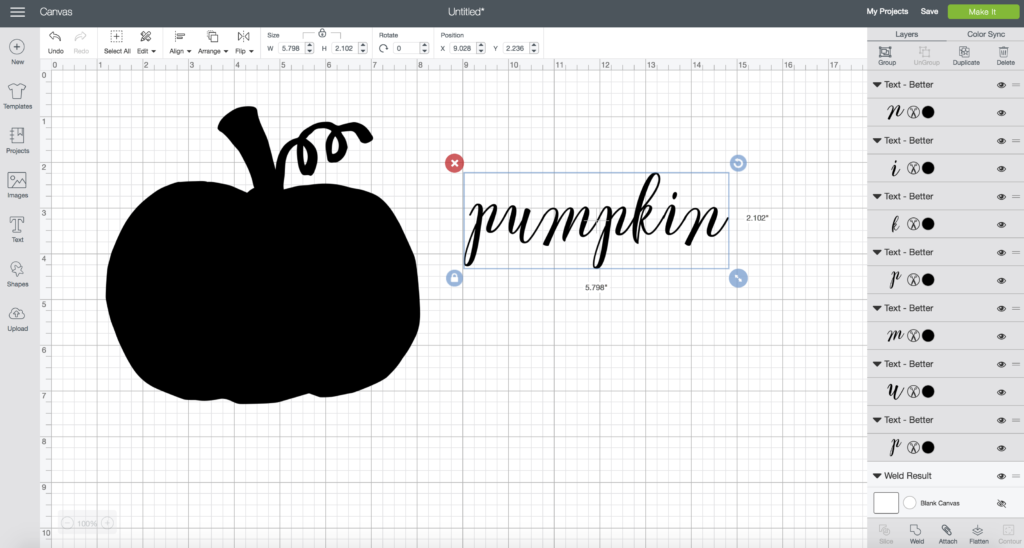
* Important * It’s SO important to weld your script fonts to get a professional look for your projects. So once you have lined up all of your letters, select the entire word and click “Weld” in the bottom right corner. Not only does welding make your design look professional and appealing, it creates one shape out of the entire word so that the Cricut won’t cut overlapping areas of the text.
I then changed the color of the text to white so it would show up on the black pumpkin. I followed the same process as above to create the “everything” text and placed both on the pumpkin and sized to fit.
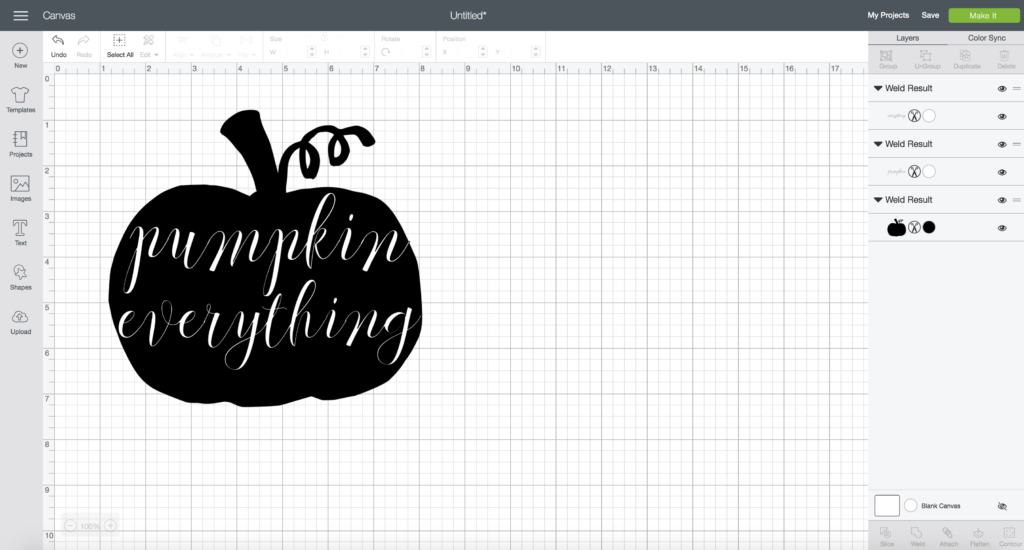
Then, to make sure that the text is cut out of the pumpkin image, you need to “slice” each word out of the pumpkin. Select one word and the pumpkin and click “slice” and then do the same with the other word. Delete all pieces except the black pumpkin image with cut out text.
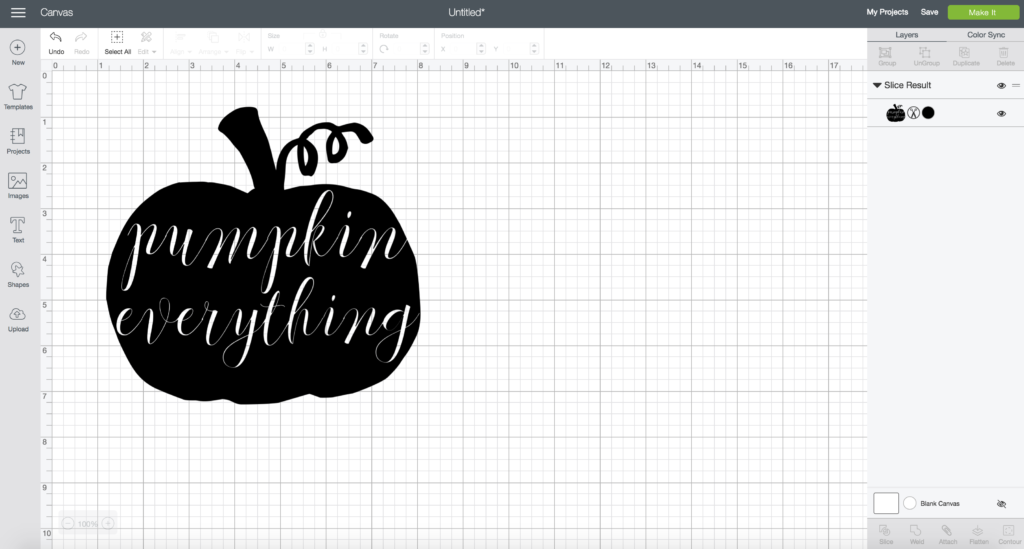
You’re now ready to size the pumpkin to fit your project and click the green “Make It” button!
If you’re making a DIY Pumpkin Mug like mine, make sure you use Cricut Permanent Vinyl and cut on the correct settings. Transfer to your mug using Cricut Transfer Paper and you’re done! After the adhesive has had a day or two to cure, the vinyl is permanently adhered to your mug.
Would you like to see what Everyday Party Magazine and See Lindsay have crafted using the Pumpkin SVG?
DIY Fall Pillow – Everyday Party Magazine
DIY Fall T Shirt – See Lindsay
For more DIY Pumpkin Crafts and DIY Fall Decor, make sure you follow Pineapple Paper Co. on Pinterest!
And check out some of our other DIY Fall Projects:
DIY Fall Porch Ideas Perfect for Thanksgiving
Make a Personalized Thanksgiving Wood Tray
DIY Thanksgiving Table as seen in RUE Magazine


ABOUT CHARYNN
Hi, y’all! I’m Charynn, the owner and designer of Pineapple Paper Co. I’m a mom of four kids (two girls and two boys) living in Pittsburgh. I love hand lettering, anything southern, cocktails, and of course, pineapples! I am excited to share my SVG files, printables, and craft projects with you! The pineapple is a symbol of hospitality, and I welcome y’all to my little corner of the internet. Read more…
2 Comments