DIY Lighted Halloween Sign with FREE SVG File
This post and the photos within it may contain affiliate links. As an Amazon associate I earn from qualifying purchases. If you make a purchase through one or more of the links, I may receive a small commission at no extra cost to you.
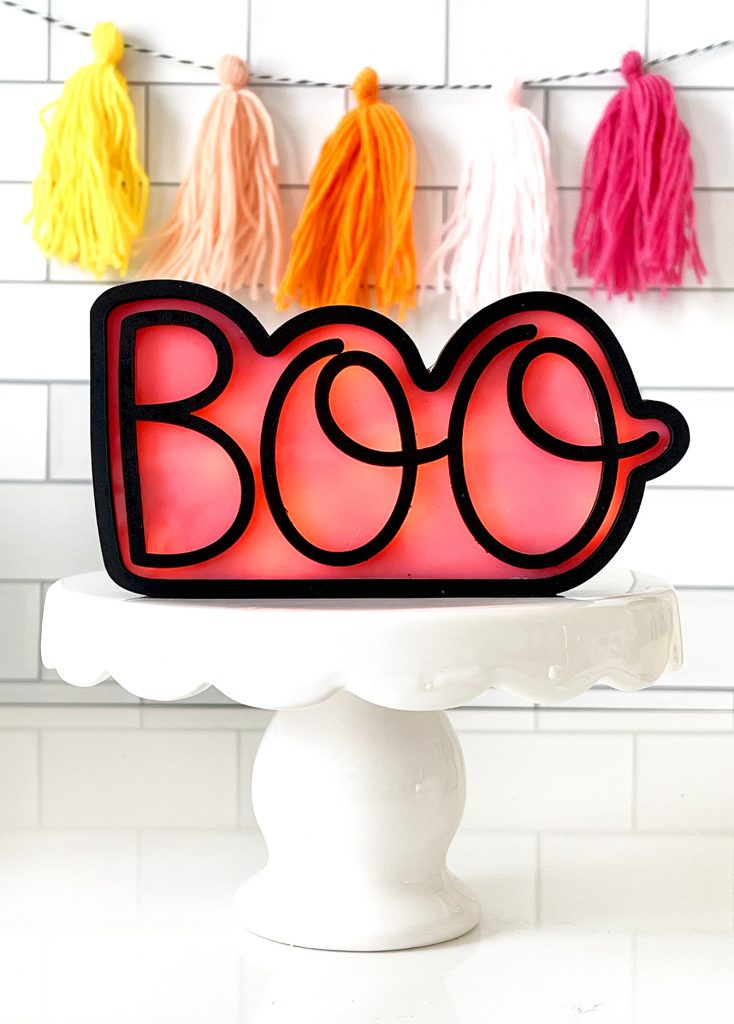
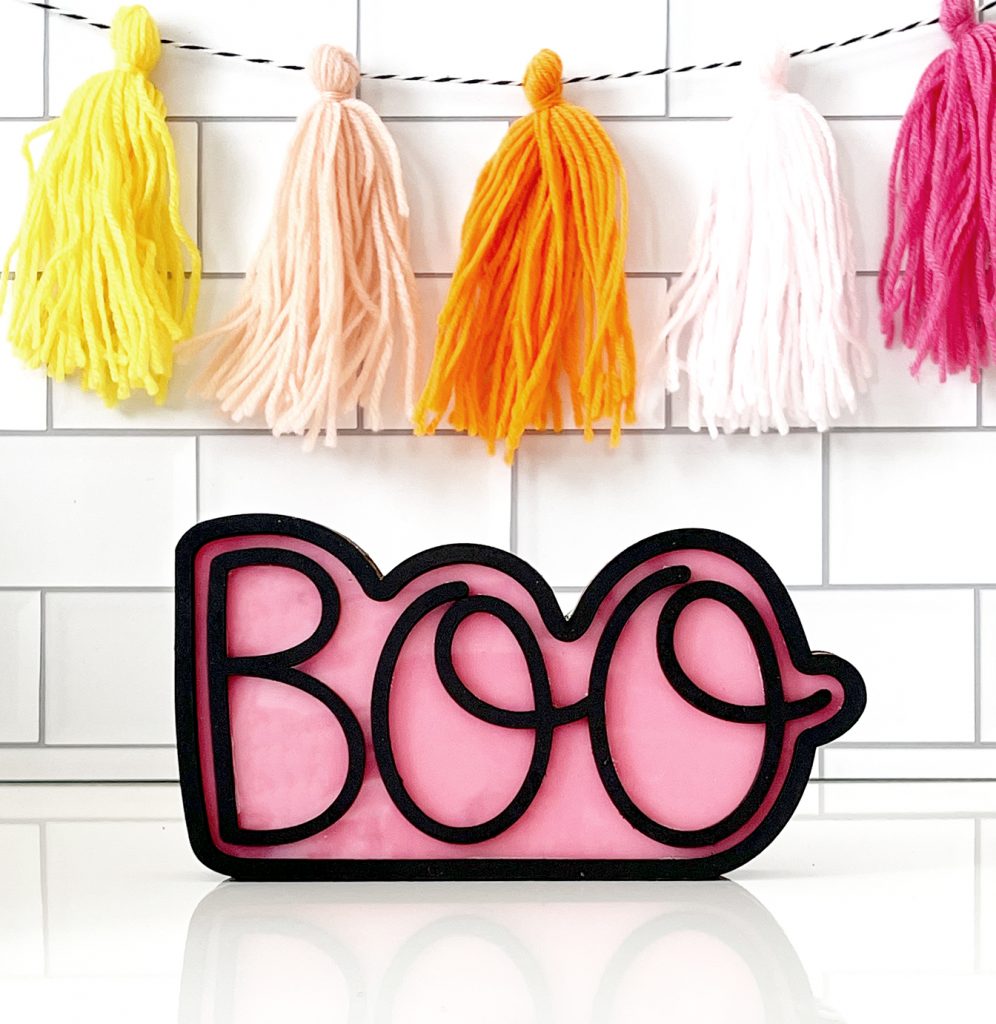
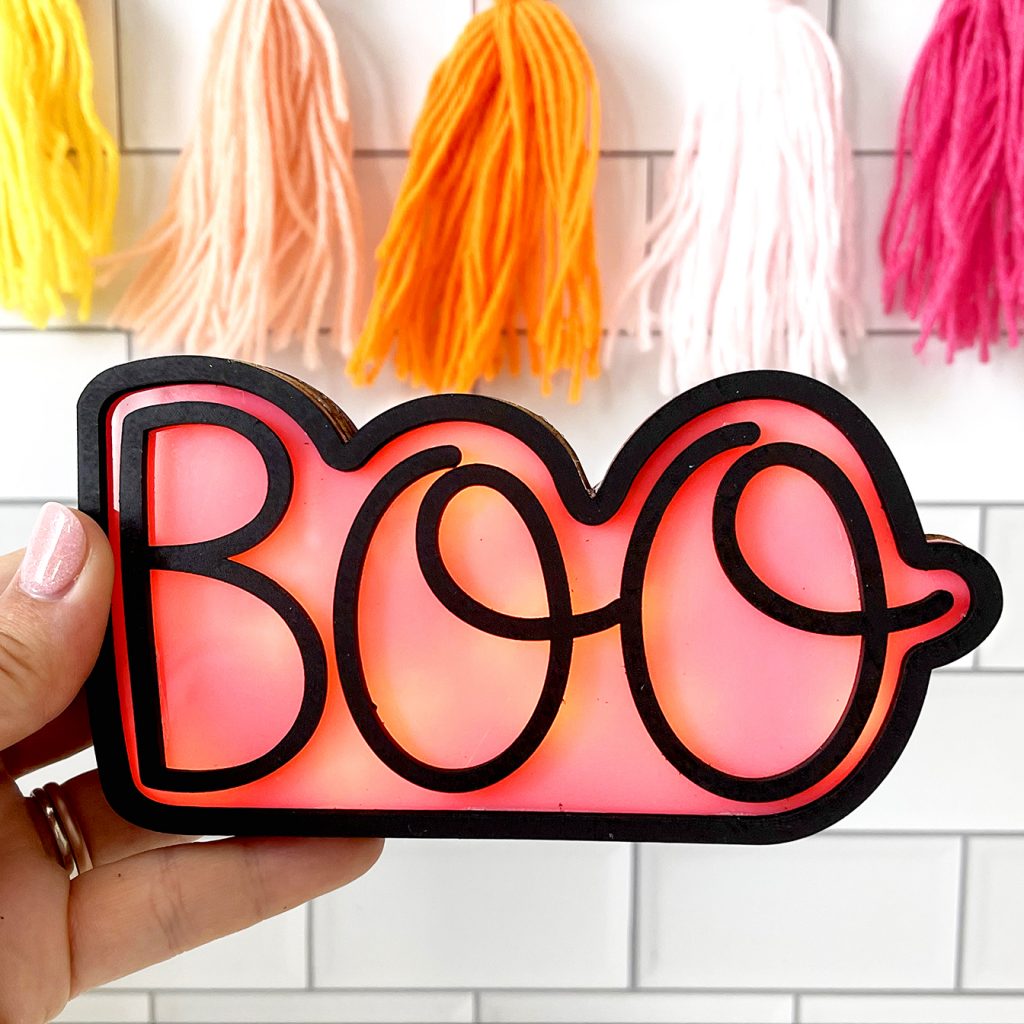
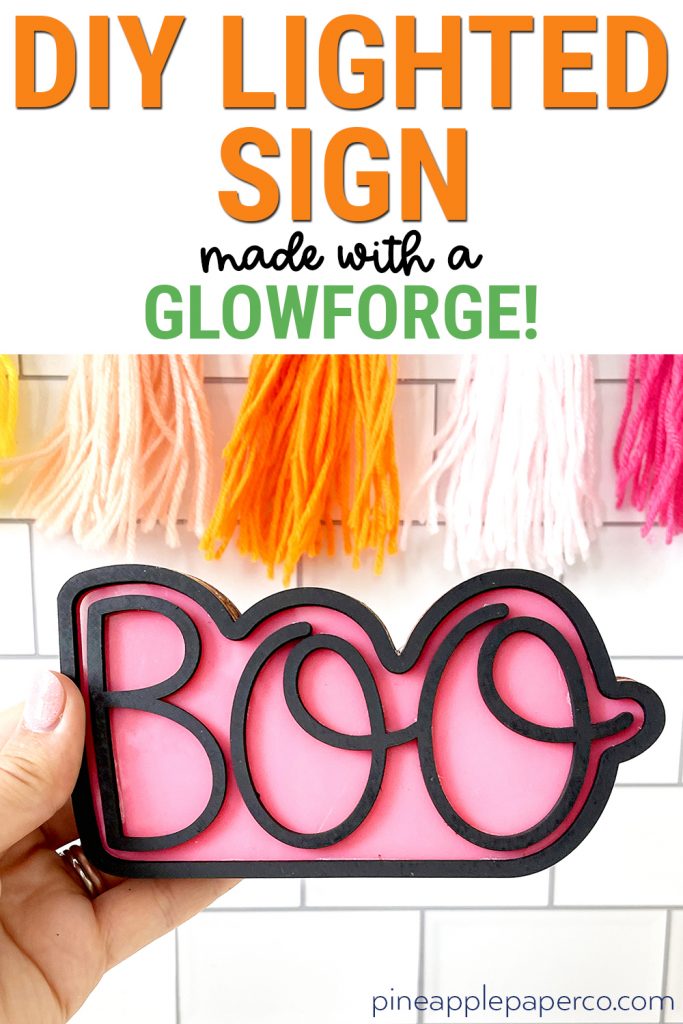
Make your own DIY Lighted Halloween Sign out of wood and acrylic with a Glowforge 3D laser printer! It is perfect for Halloween tiered tray displays, or Halloween shelf decor. Then, light it up at night for a spooky touch to your Halloween decorations.
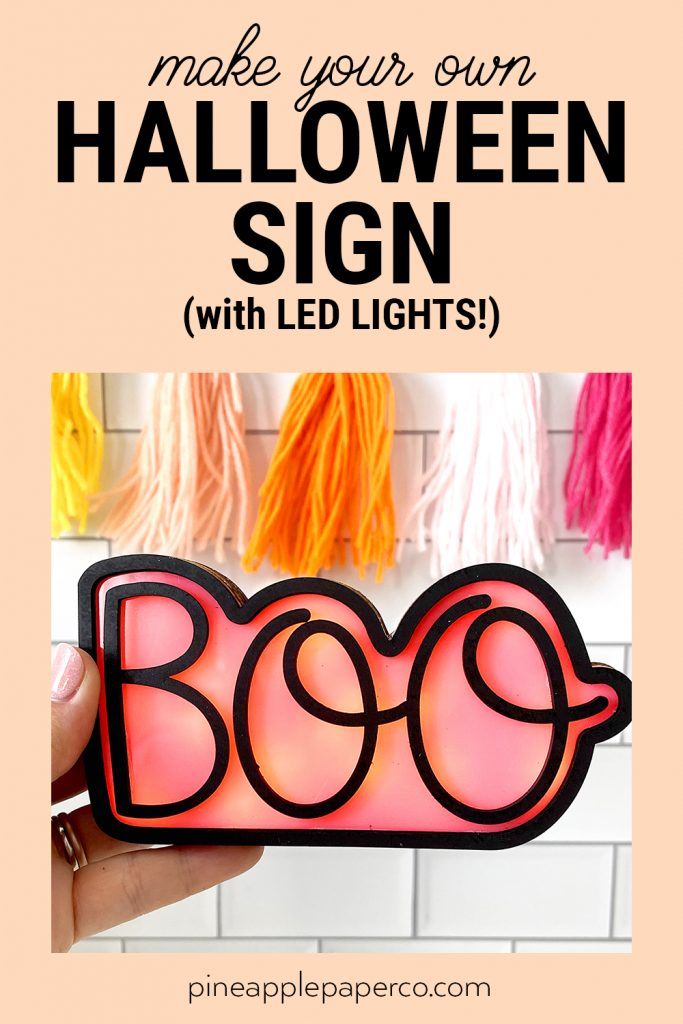
I have made some awesome Halloween decorations with my Glowforge (umm, have you seen the Madame Leota nightlight I made?) and this Boo Halloween sign with LED lights is one of my new favorites! I seriously can’t get over how easy it is to make professional looking crafts with my Glowforge.
Have you heard of a Glowforge? I use my SVG files with it ALL of the time, and you can too! Check out my Glowforge Basics post and see what you need to get started and how you can save up to $500 on your very own 3D laser printer!
I wanted to make a small lighted sign to place on my Halloween 3-tiered tray display, so this is a small sign. You can make it much larger with more materials, but this size is perfect for my decorations.
I am sharing the laser ready SVG file for this sign, so if you have a Glowforge or other laser cutter, you can find the SVG download in the gray box at the end of the post.
This file is designed to be made on a Glowforge, but you can definitely use the file to create signs from other materials on a Cricut or Sihouette. Neither of these craft cutting machines can cut 1/8″ acrylic or wood, but you could substitute with chipboard and plastic acetate sheets. Because standard craft machines can only cut thin materials, you may have to cut additional layers to make the sign as thick as you would like.

Supplies to Make LED Halloween Sign with a Glowforge
Here are the materials I used to make this easy sign:
- 1/8″ MDF Draftboard (available on Amazon, Glowforge, or other craft retailers)
- 1/4″ MDF (optional, for the sign back panel)
- Pink Cast Acrylic Sheet (available or Amazon or Cerulean Tides)
- Black Spray Paint
- Beacon Power-Tac Adhesive
- LED Micro String Light (Battery Operated)
How to Make a Halloween Sign with Lights Using a Glowforge
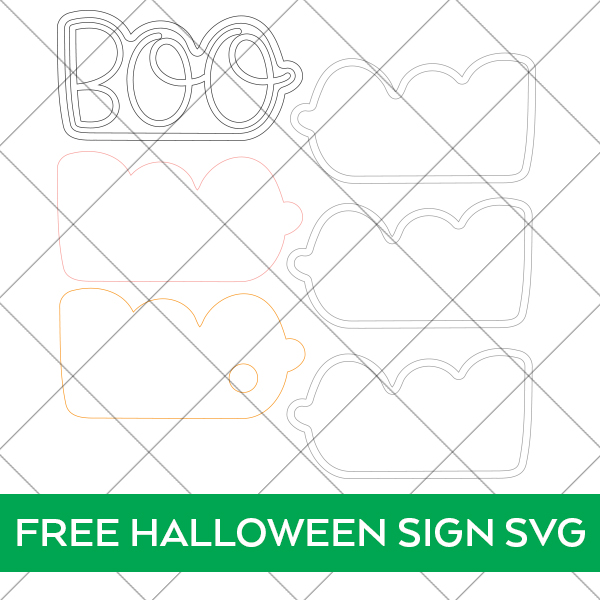
The SVG file for this sign contains all of the pieces you’ll need to construct a Halloween sign with LED lights. Just upload the file to the Glowforge App and resize all of the pieces (as a group) as desired. Cut the back panel (has the hole for the light string), border layers, and details from draftboard. The solid piece (with no hole) is the acrylic piece.
How to Assemble LED Glowforge Sign for Halloween
I created a Youtube video of how I assembled the lights and pieces of the Halloween sign! Head to my YouTube channel and subscribe to see more project tutorials!
Once you have cut all of your pieces, the next step is to attach the lights to the sign back. I decided to use electrical tape to adhere all of my lights to the back panel in rows so that the lights will stay towards the back of the sign. The rows of lights also allowed me to control the spacing of the lights for a more even lighted sign.
Feed the lights through the hole in the back panel and carefully tape them down with the tape. Align the rows so that the lights are evenly spaced and the lights remain inside where the next layer of the sign will be glued.
Then use Beacon Power-Tac glue (or a hot glue gun) to layer the draft board border pieces. I have found that the Power-Tac holds the acrylic to the draft board very well, so that is the glue I commonly use.
Attach the acrylic on top of the border pieces, then carefully glue and attach the “Boo” pieces on top. Allow your sign to dry completely and you’re done!
The battery pack at the end of the light string will allow you to illuminate your sign at night! They even make fairy light strings with timers so they will turn on every night.
LATEST POSTS:
- Wicked Coloring Pages to Print for Free
- Free Thanksgiving Turkey Coloring Page Printable
- Free Printable Thanksgiving Meal Planner & Grocery List
- xTool M1 Ultra Beginner’s Guide and Review
- Free Best Dad Ever Father’s Day Coloring Page
Download Free LED Laser Ready Halloween Sign SVG
This file is DOWNLOAD #257 in my FREE DOWNLOADS LIBRARY.
Get the password below! (If you have the password, head over to the library to download the file.
You will NOT be sent an email with the file. Free SVG files available for download are for PERSONAL USE ONLY. SVG file is included to use with xTool Creative Space, Glowforge App, and other laser specific software.
Don’t forget to pin this image or another from the post to your favorite Halloween craft board! It helps to support the creation of my Free Designs!


ABOUT CHARYNN
Hi, y’all! I’m Charynn, the owner and designer of Pineapple Paper Co. I’m a mom of four kids (two girls and two boys) living in Pittsburgh. I love hand lettering, anything southern, cocktails, and of course, pineapples! I am excited to share my SVG files, printables, and craft projects with you! The pineapple is a symbol of hospitality, and I welcome y’all to my little corner of the internet. Read more…