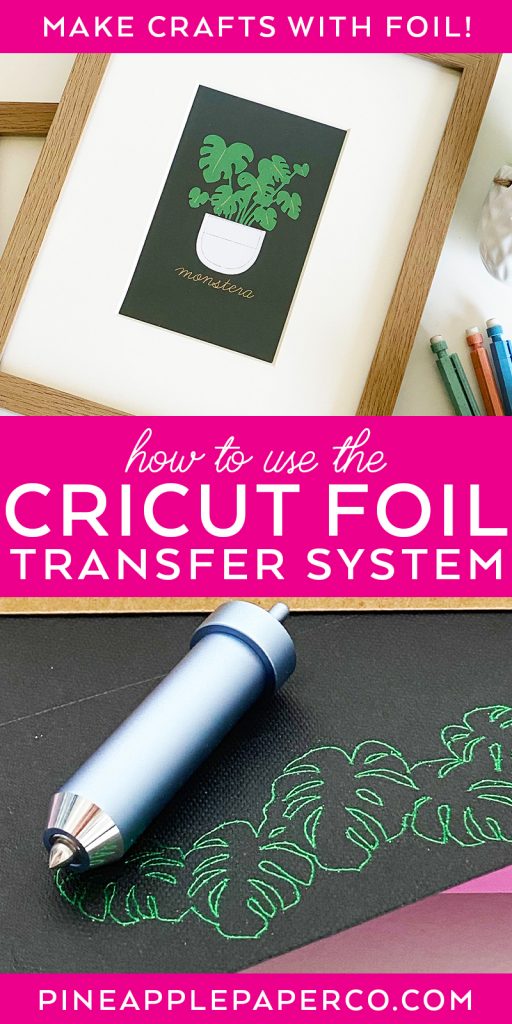
How to Use the Cricut Foil Transfer System
This post and the photos within it may contain affiliate links. As an Amazon associate I earn from qualifying purchases. If you make a purchase through one or more of the links, I may receive a small commission at no extra cost to you.
This is a sponsored post written by me on behalf of Cricut. All opinions are 100% mine.
Are you ready to take your crafts to the next level with stunning foil accents? Learn the best tips and tricks to apply foil to your Cricut projects with the Cricut Foil Transfer System.
I’ve been crafting with the Cricut Foil Transfer System for a couple of weeks, and I’m loving the extra shine it gives my Cricut projects. Yesterday I shared an extensive post on what the new Foil Transfer System is (make sure you read it to learn ALL the things), and now I’m so excited to be sharing TWO new projects I’ve made with it! Plus, I’ll walk you through how to use the Cricut Foil Transfer System so you can make your own gorgeous crafts!
If you’re just learning about it for the first time, the Foil Transfer System from Cricut is a unique, pressure-activated tool that easily applies foil accents to various Cricut materials.
It comes with three tips – Fine, Medium, and Bold that you can use to embellish cardstock, kraft board, faux leather, and more with three different widths.
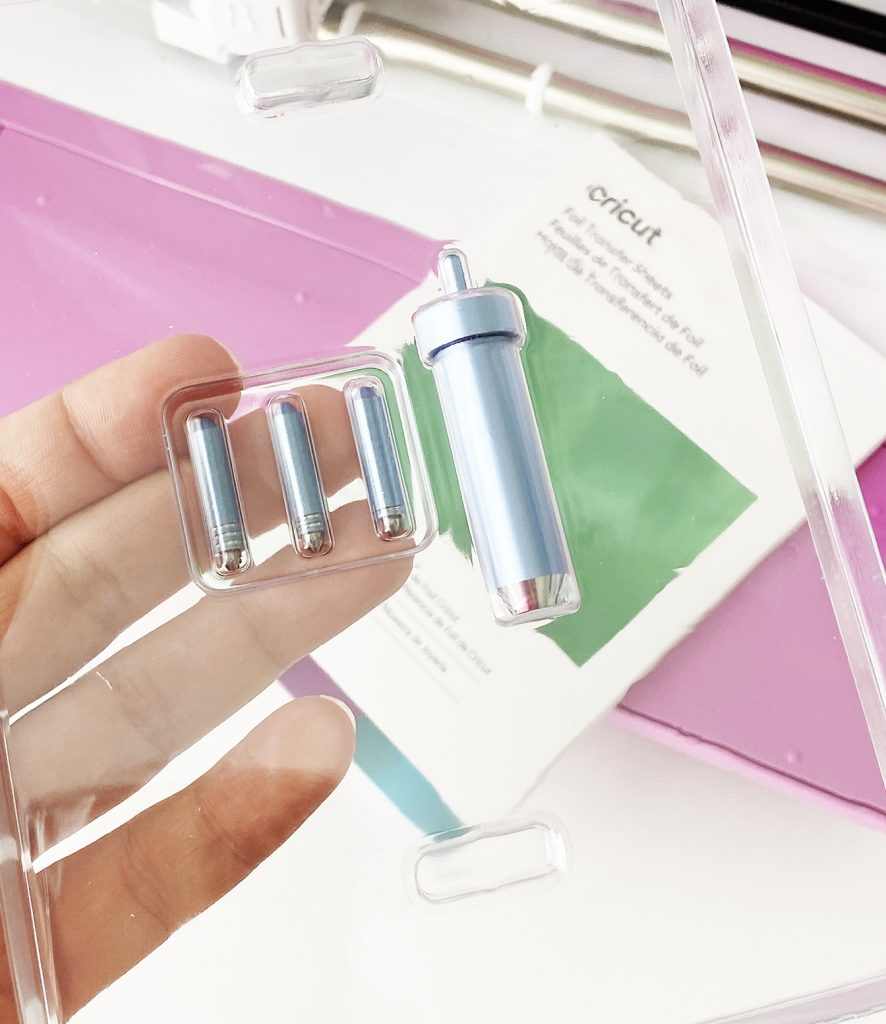
Because it uses pressure instead of heat to apply foil, there are no cords. Plus, it is fully integrated with Cricut Design Space so you can use foil along with your other tools – cut, score, emboss, and more.
I am going to show you how to make two projects in this post:
- Plant Themed Foil Art Prints
- Easy Thank You Card
Let’s start by gathering up the supplies you’ll need for these projects!
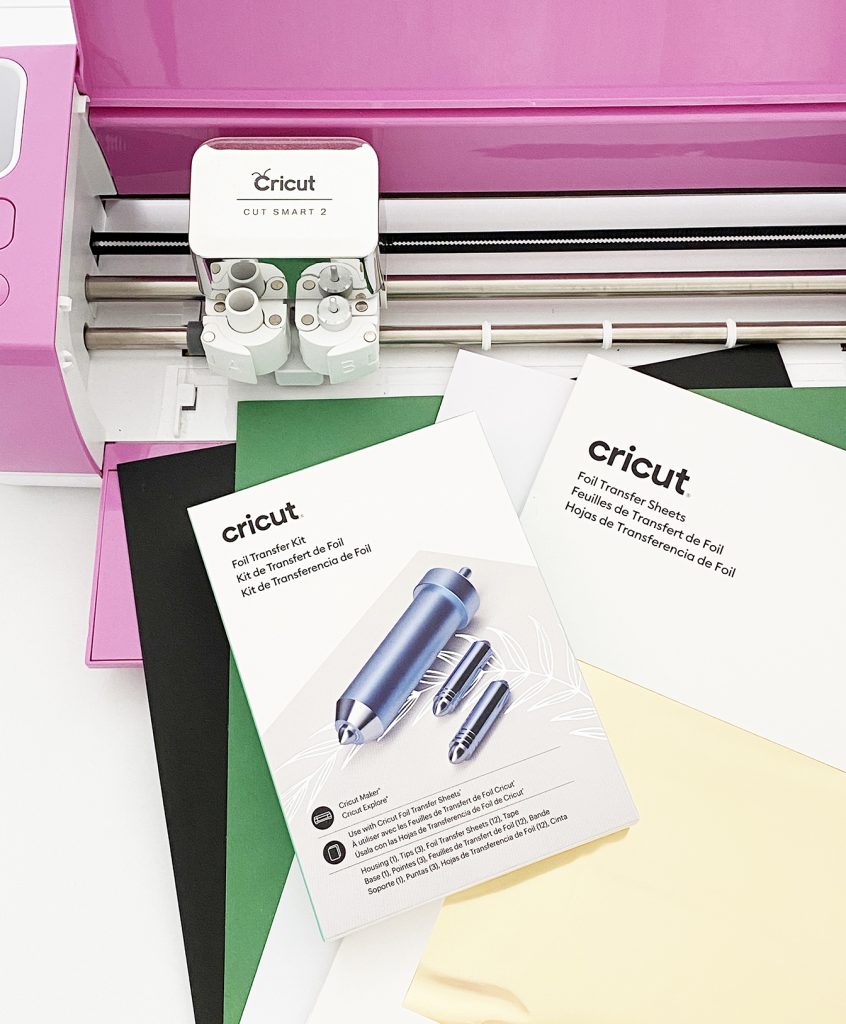
What You Need to Make Projects with the Cricut Foil Transfer System
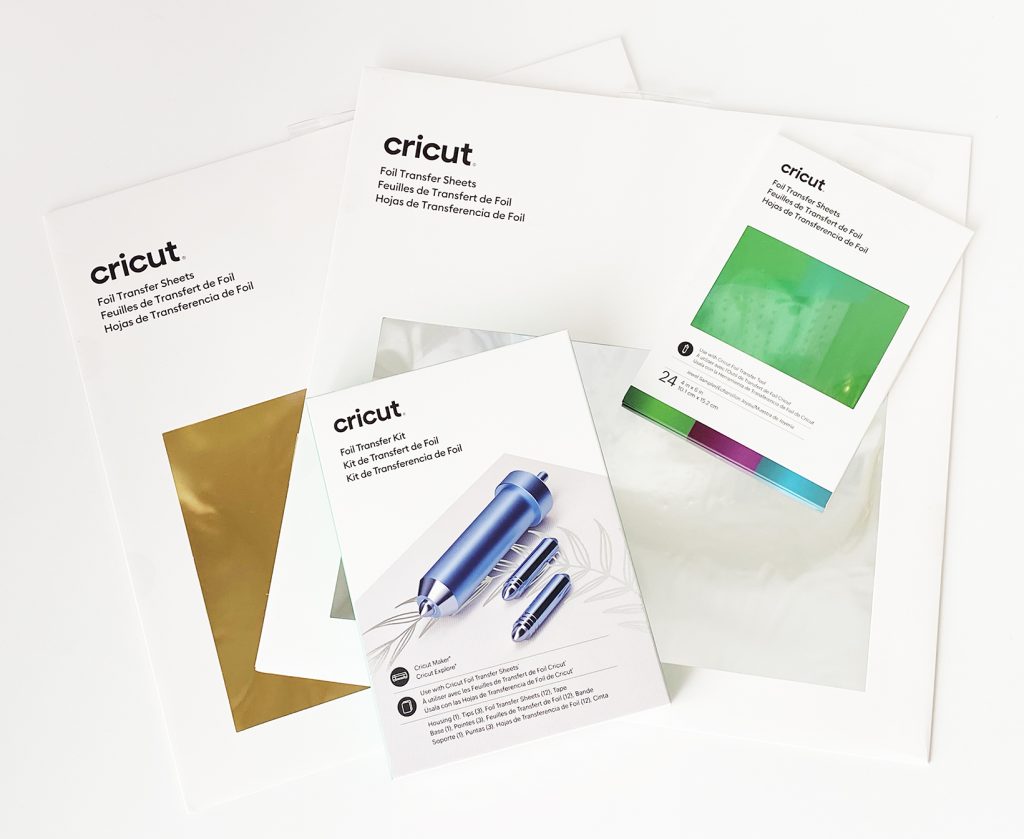
- Cricut Foil Transfer Kit (comes with all 3 tips plus several sheets of silver and gold foil to use!)
- Cricut Foil Transfer Sheets, Gold
- Cricut Foil Transfer Sheets, Jewel Sampler
- Cricut Machine (Explore or Maker Series)
- Cricut Cutting Mat
- Cricut Fine Point Blade (comes standard with machines)
- Kraft Board, Black and Kraft
- Cardstock, White, Green, Black
- Cricut Fine Point Pen, Black
Tips and Tricks For Using Foil with your Cricut
Here are some tips and little tricks I’ve learned while making my Cricut foil crafts. Keep them in mind while making foil projects with your Cricut:
- Follow the instructions/prompts within Design Space as to when to apply and remove your foil. This is especially important when your project has multiple steps like cut, foil, score, emboss, etc.
- The tape that comes with the foil transfer sheets is necessary to hold the foil to the mat, but it can be VERY sticky. If you’re not careful, it can damage your project when peeling it away. I like to stick it a couple of times to my shirt and peel it off before applying it to the material so it will still firmly hold down the foil, but won’t damage the material underneath.
- With the same thought, it is a good idea (when possible) to make sure the foil covers your entire project area. If the tape is outside the cutting/design area, the tape poses less of a risk to your material.
- Make sure you adjust the location of your design on the mat to allow you to remove the tape and foil in between steps of your project.
How to Make a Foil Design in Cricut Design Space
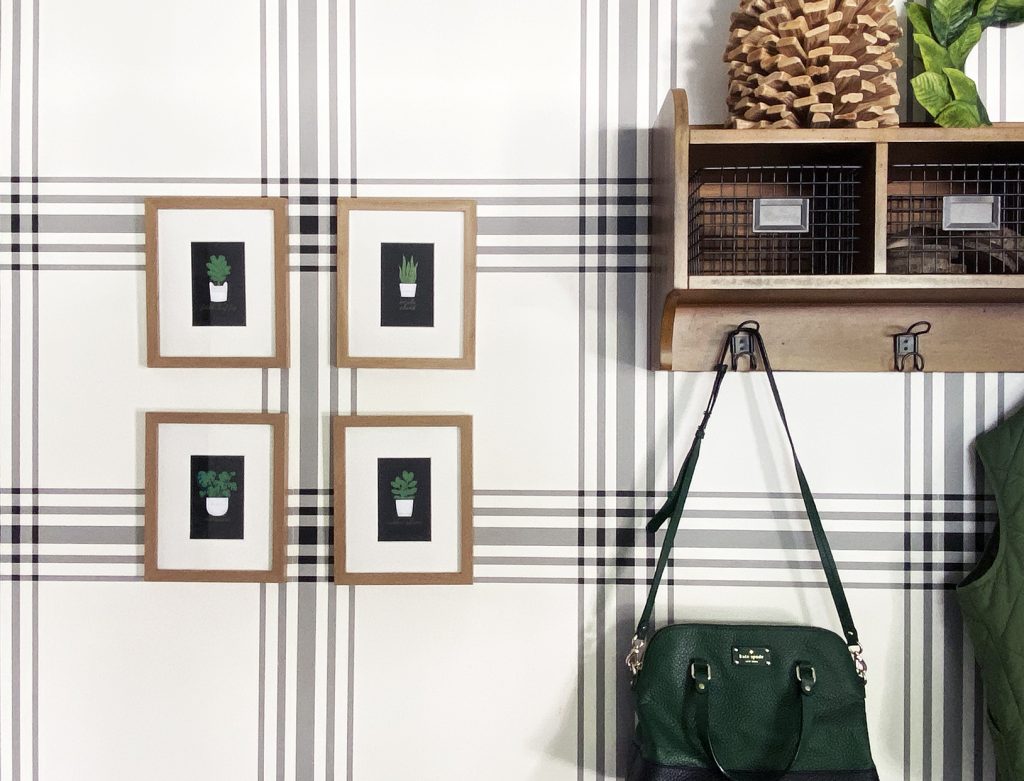
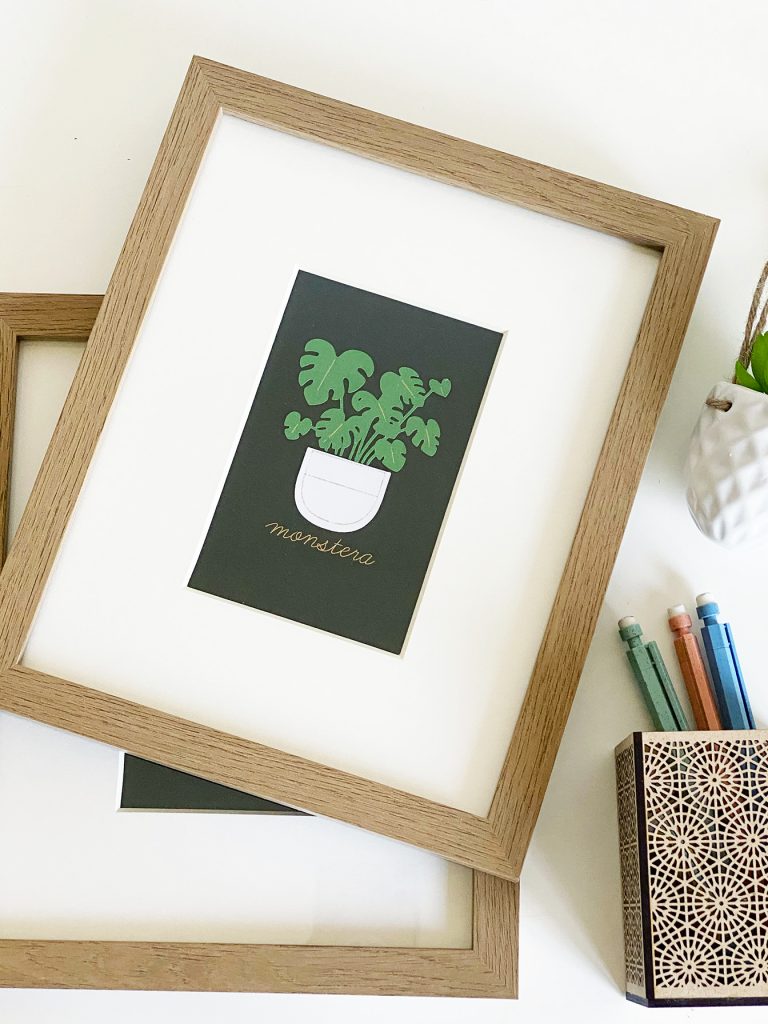
This is such an easy project that will make a big statement in your home. I designed 4 separate plant themed art prints that have a modern farmhouse feel to them with a touch of shine using foil with the Cricut!
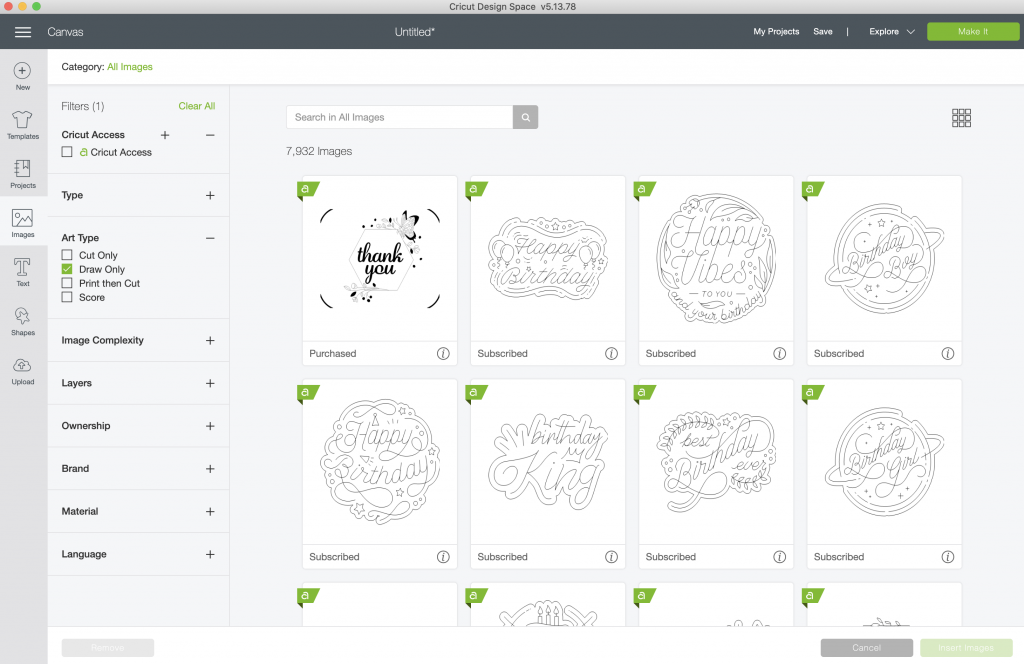
All of the images I used to create these prints for my wall are available in Cricut Design Space. Cricut has been adding TONS of Single Line “Draw” designs to Design Space, and almost all of them are available with Cricut Access! Now is a GREAT time to grab a subscription – you’ll get access to thousands and thousands of free images PLUS save money on supplies, too!
Click here to Access the Cricut Design Space File
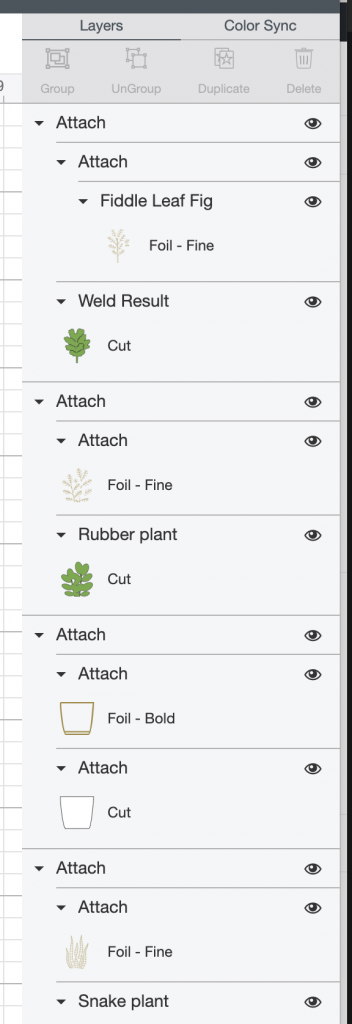
When you normally open your image in Design Space, you have the ability to change it from the “Cut” setting to “Draw.” If you’ve used the Cricut pens, you’ll know this! NOW, you can also change the setting to “FOIL” and choose “Fine”, “Medium”, or “Bold”, as well as choose the color of foil you’d like to use.
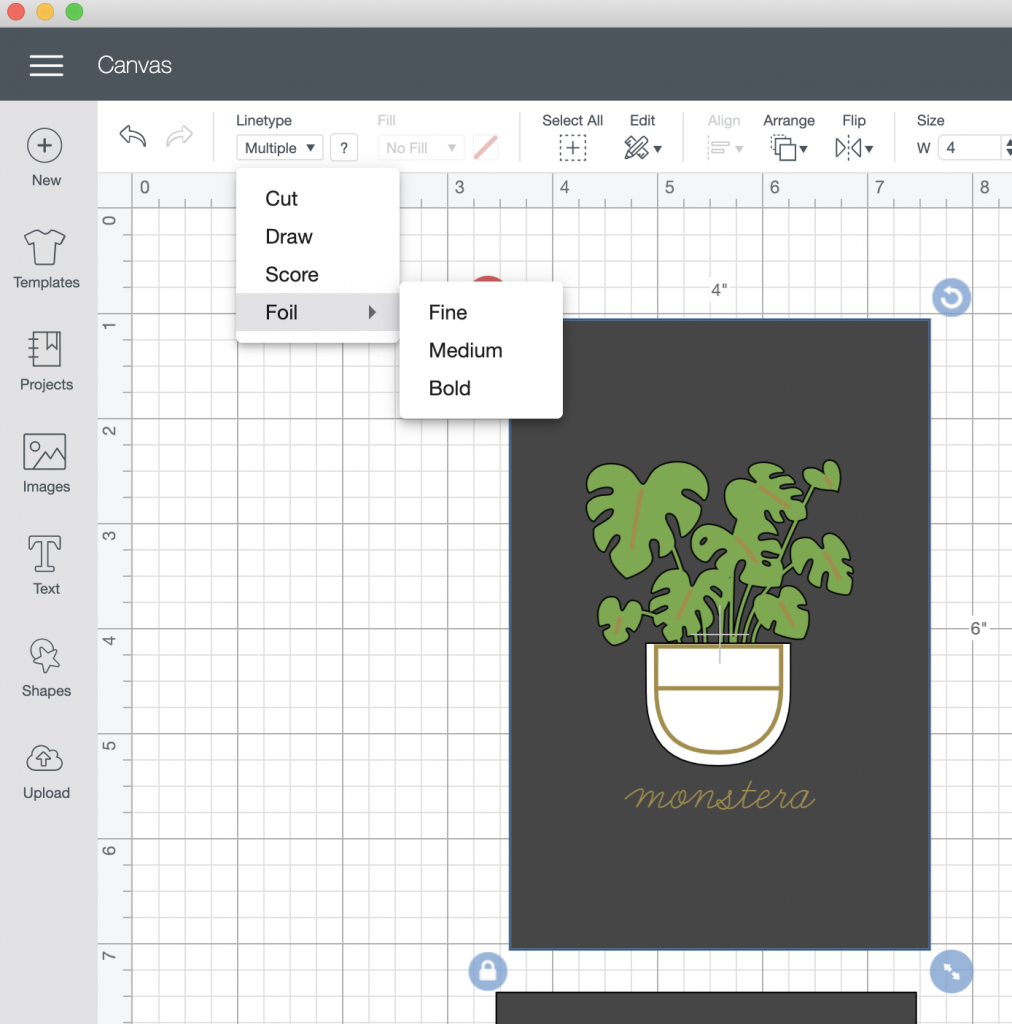
I manipulated these plant designs a little to suit my design needs. I created a small pot for each plant, plus added a kraft board rectangle to mount the two colors of cardstock on, and added the foil details! There is tons of ways you can use the designs in Design Space to get what you need!
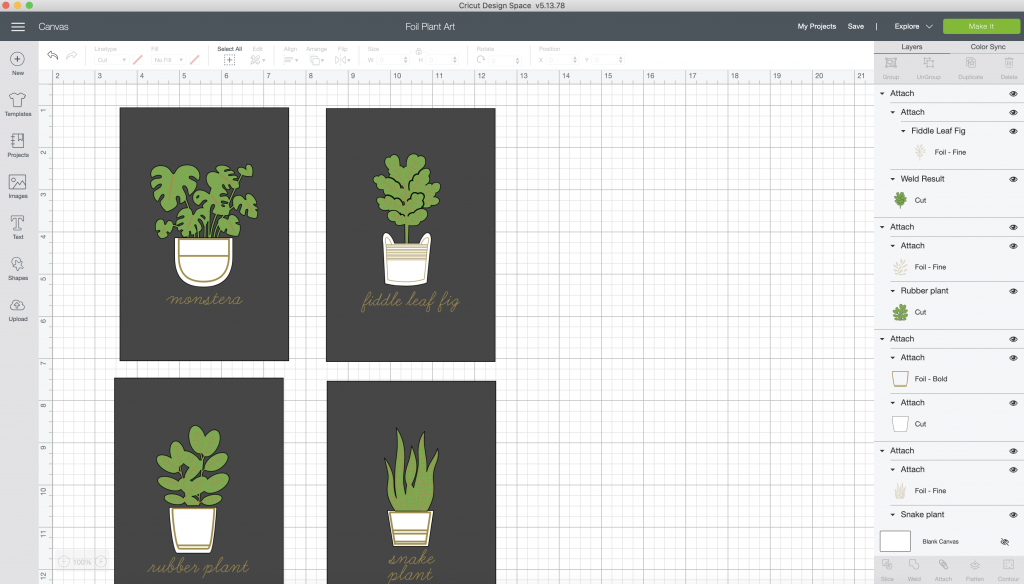
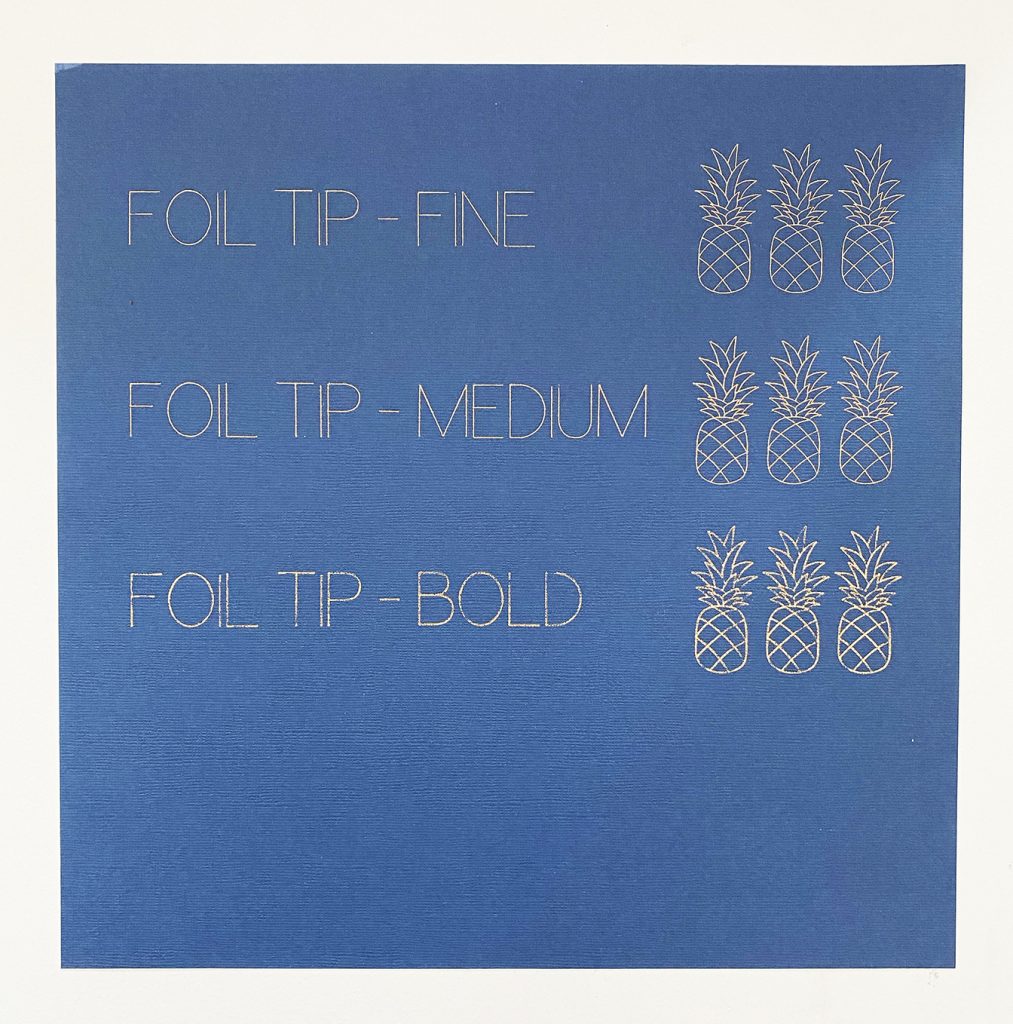
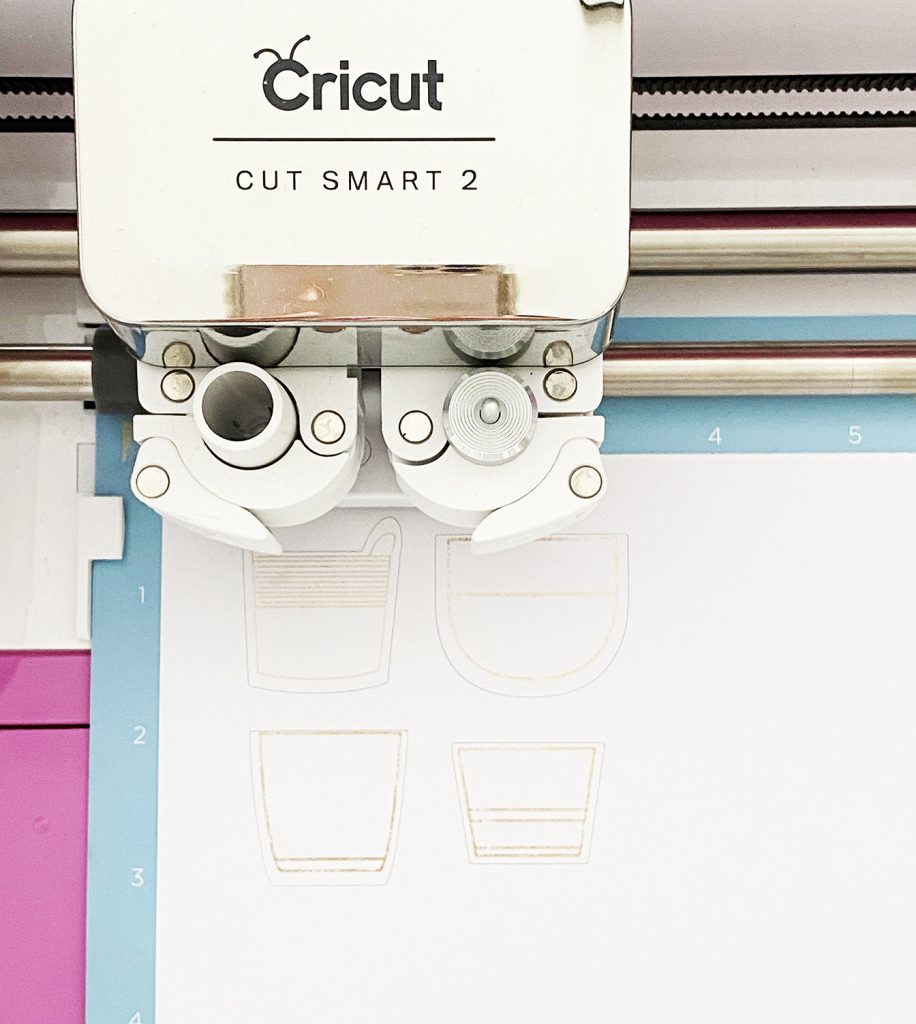
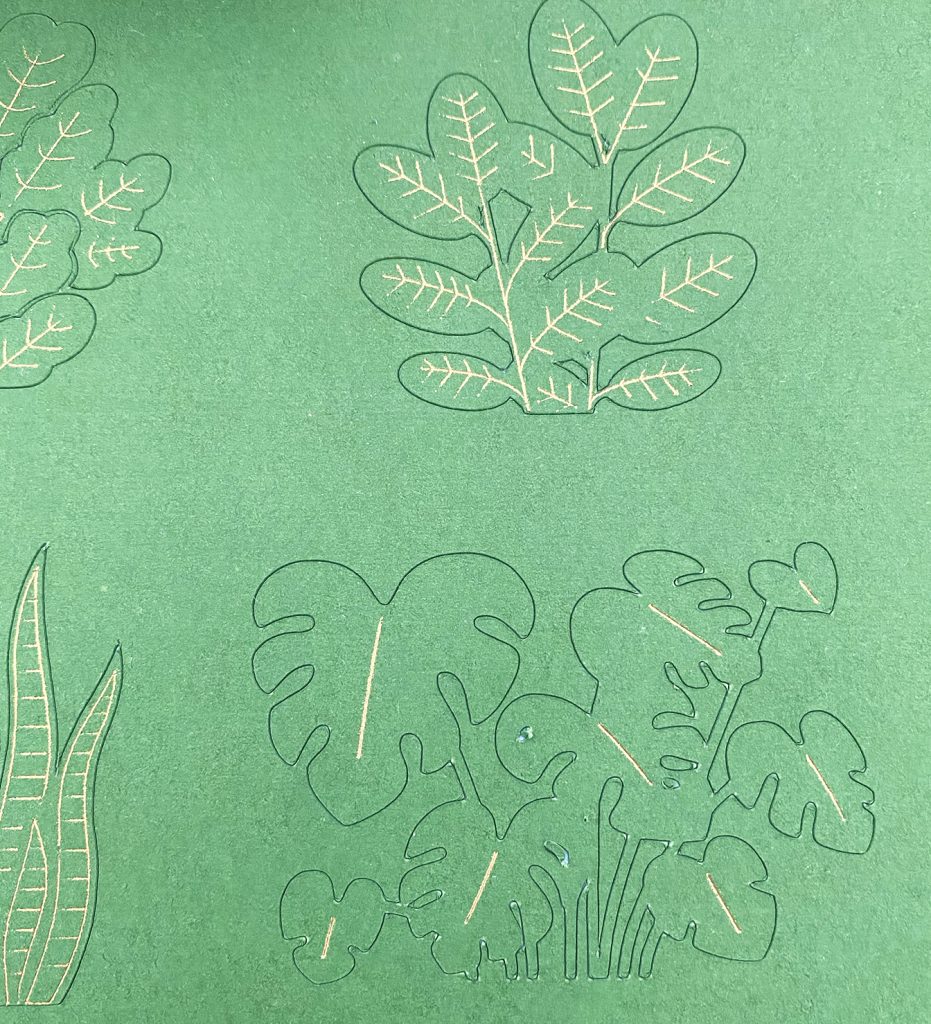
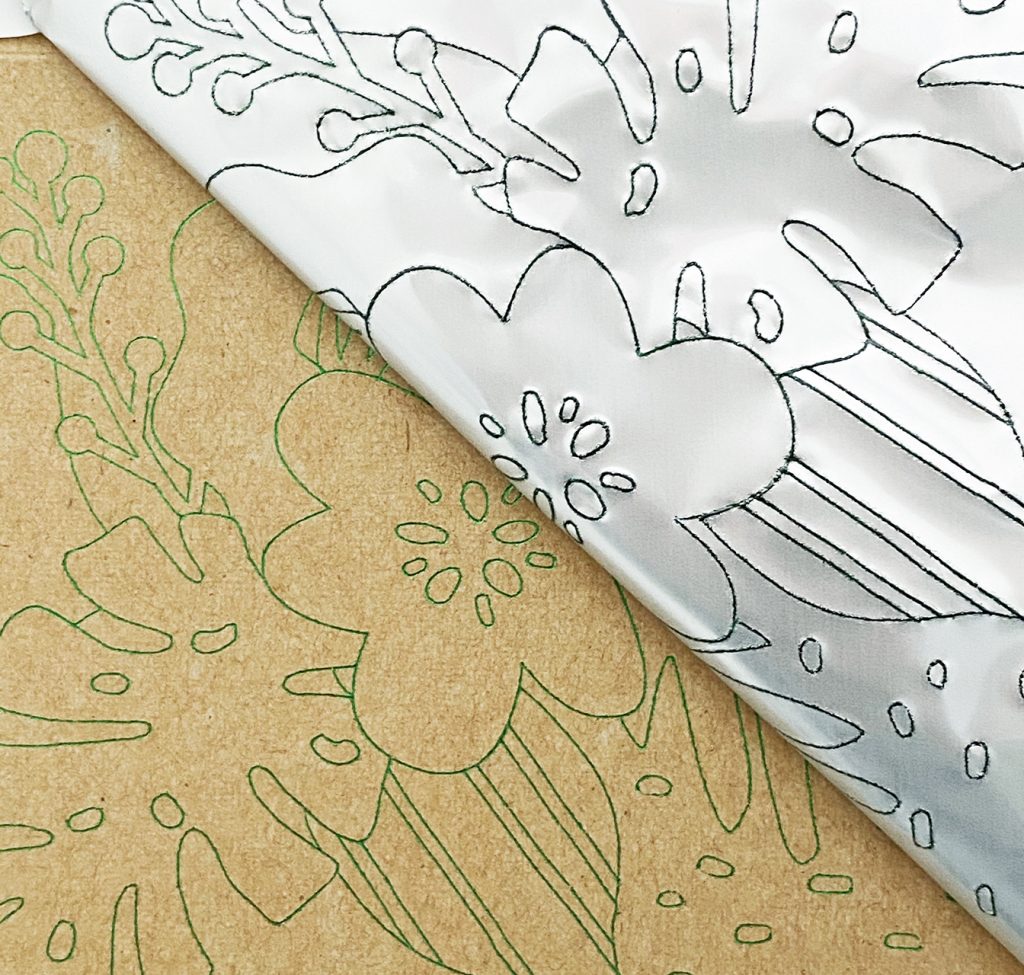
To give my designs a little visual interest, I changed some of the foil accents to different widths. Between the 4 plant art pieces, I used fine, medium, and bold lines.
You can see the differences in the line widths below:
IMPORTANT: Your foil design will need to be ATTACHED to the cut layer in order for the project to work correctly. This is the same as when you’re making a Draw project with the Cricut Pens.
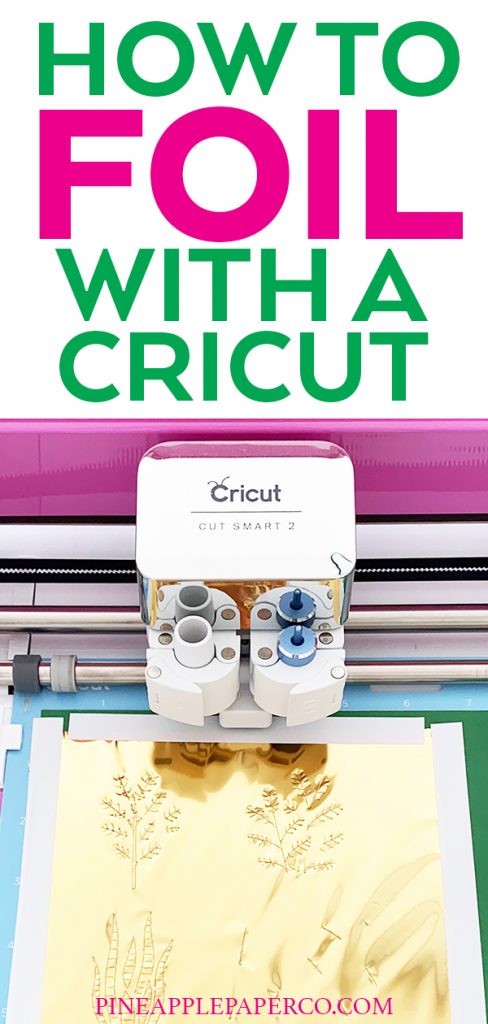
How to Foil with your Cricut
I used my Cricut Explore Air 2 to make both of these projects, but you can use any Explore Series machine or Cricut Maker!
When you’re ready to make your design, click the green “Make It” button.
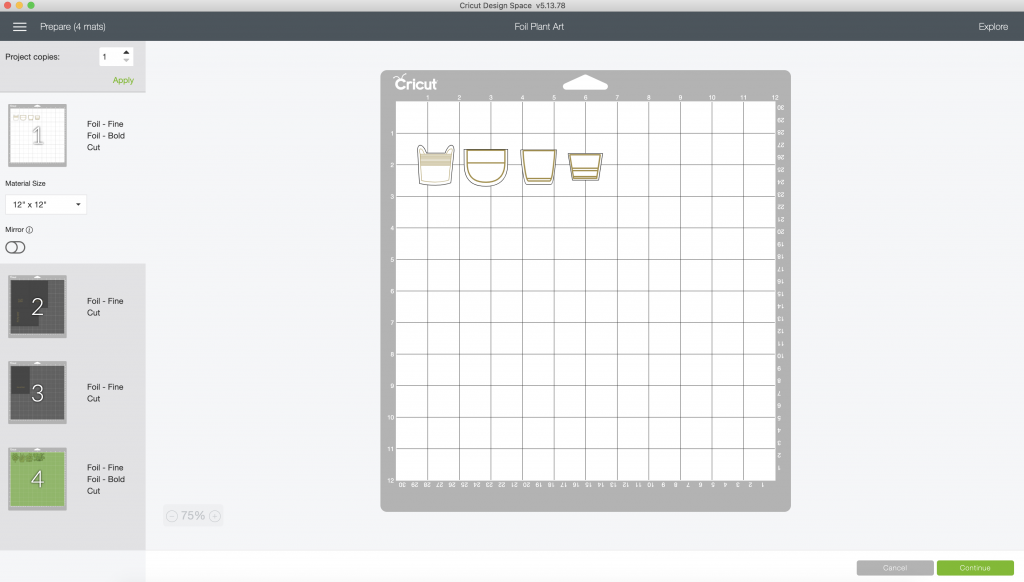
The first step is to make sure that you have enough room to apply and remove the foil pieces to your material. In the first screen, click on your design so a box appears around it. This allows you to move your design around the mat (such a great tip for other projects, too!) Move your designs a little bit towards the center of the mat, if applicable.
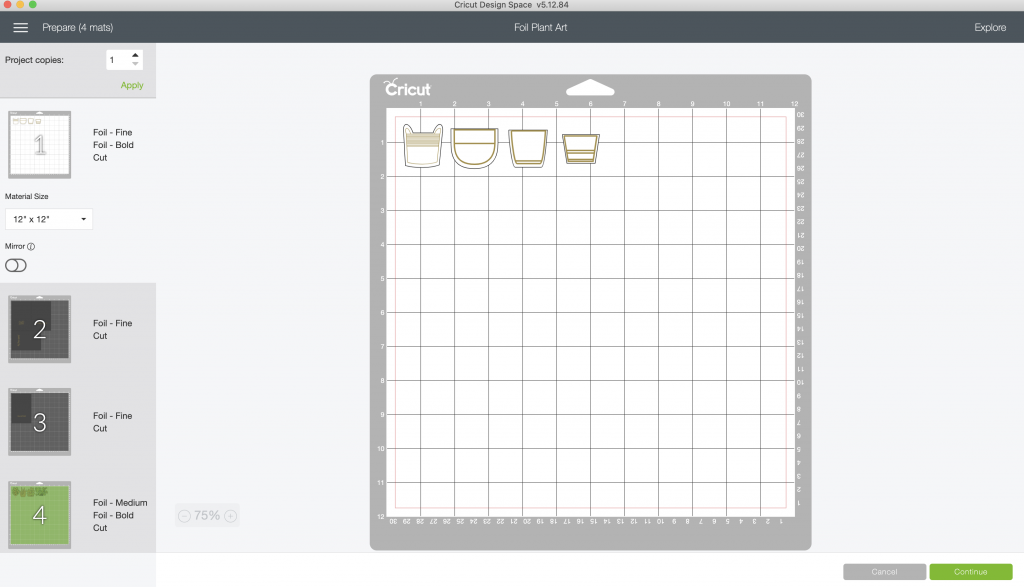
You only need to move them slightly down on the mat, so the top of your tape will be exposed when the machine pauses for you to switch tools.
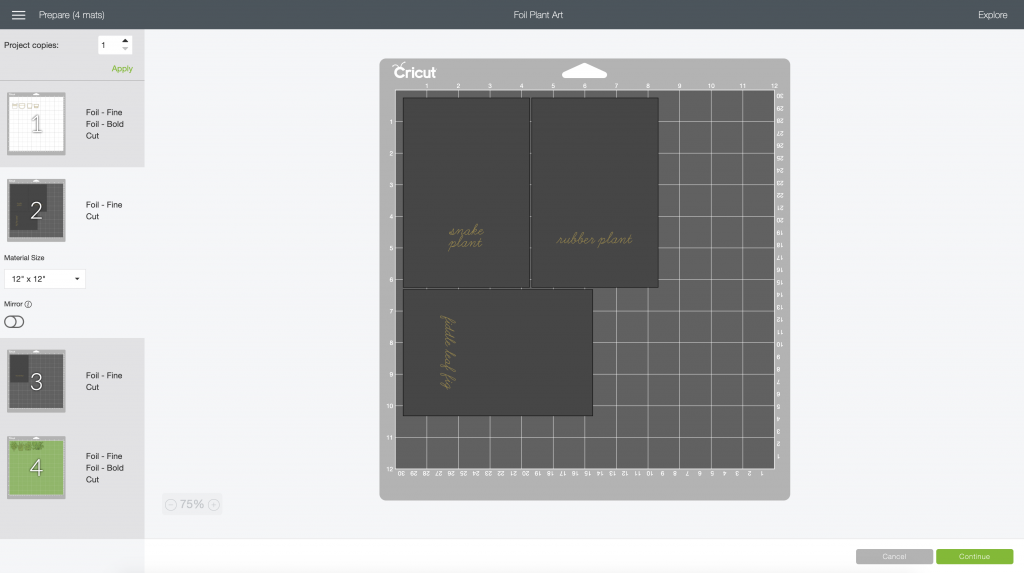
For the foil script lettering on the black kraft board, the foil pieces are already away from the top of the mat, so I left them in their original positions.
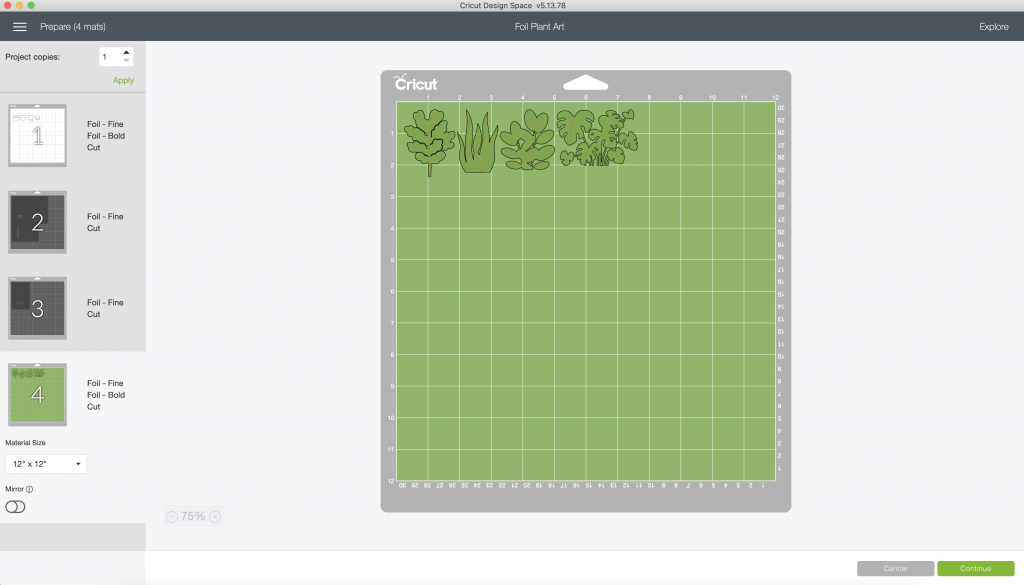
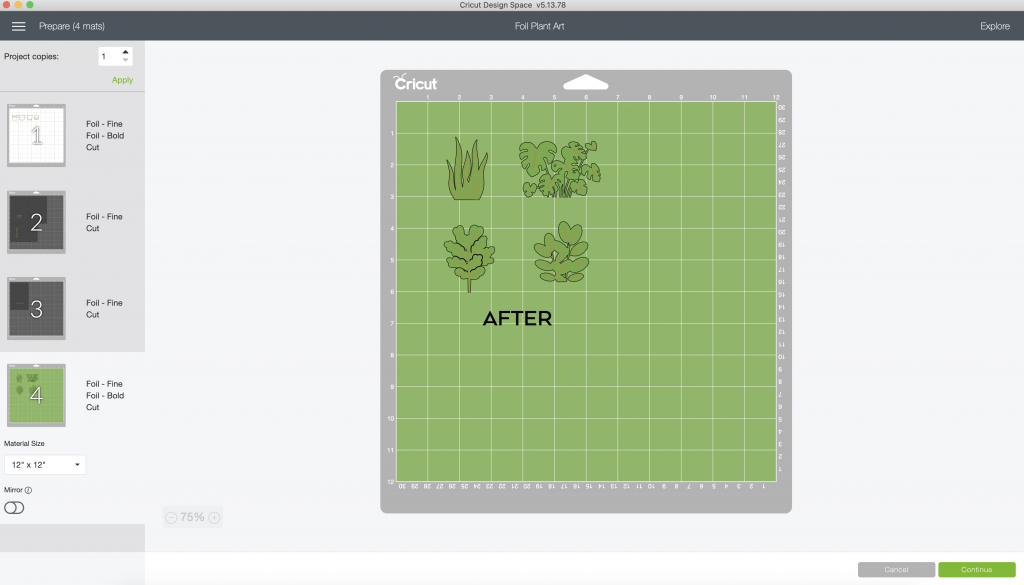
Here is how I moved the leaves so they were in a small group on the mat.
Select continue, and proceed to select your material. You’ll notice that a lot of your “favorite materials” will be grayed out.
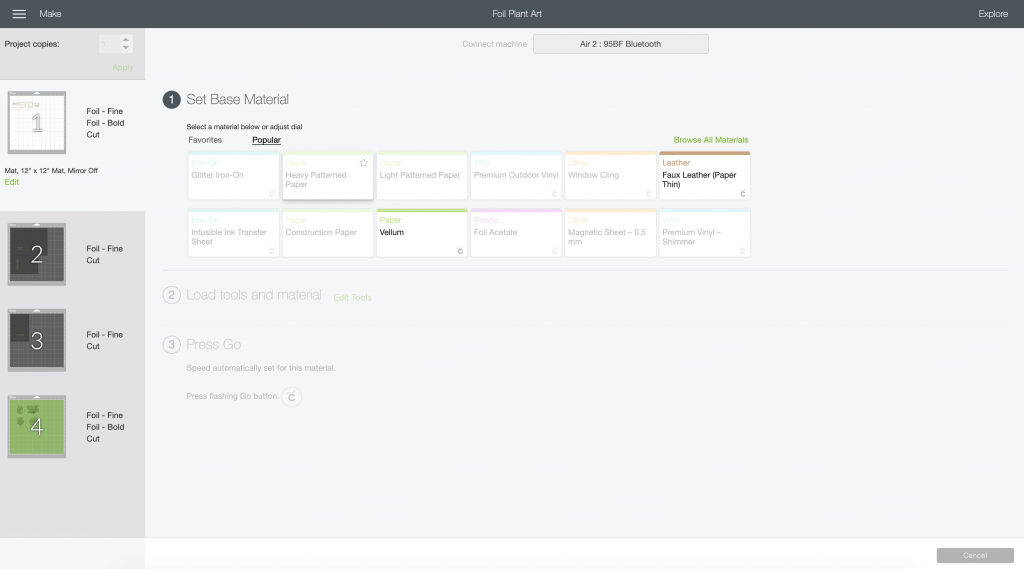
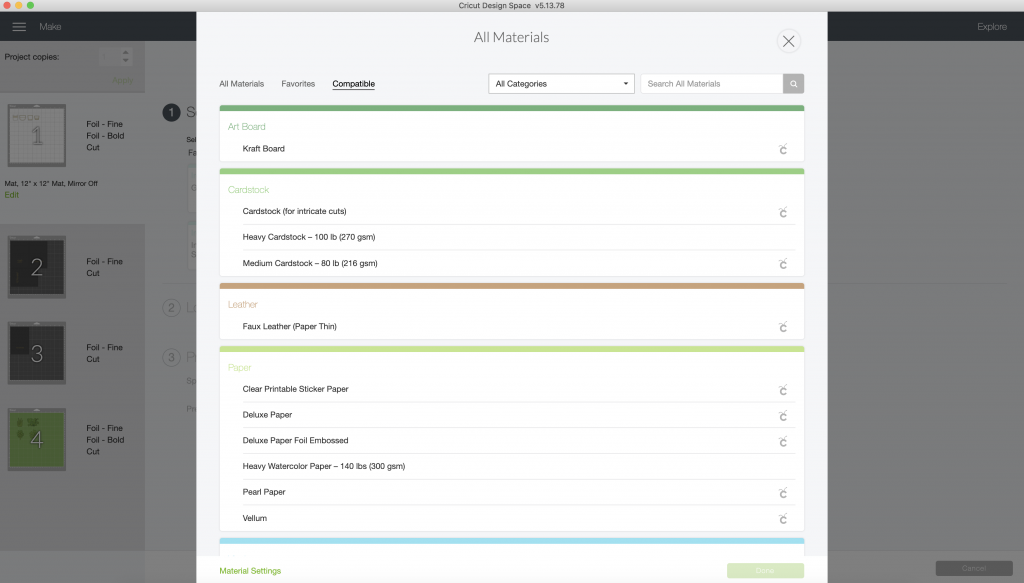
When you click on “Browse All Materials,” Design Space will provide a selection of materials that are tested to work with the foil transfer system.
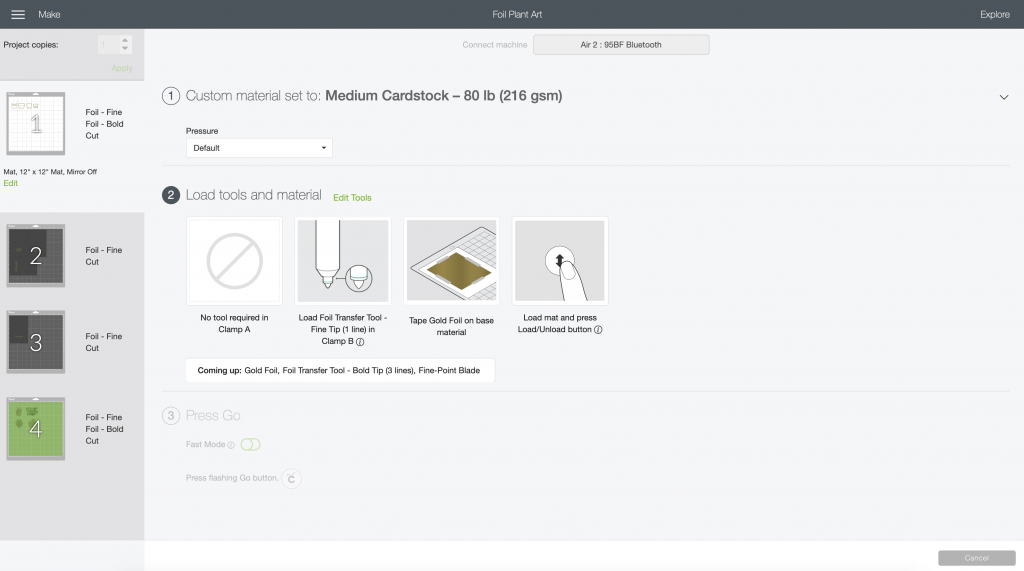
For this project, the first mat (white pots) are cardstock. Pay special attention to the order in which your project will be created by your Cricut, to make sure you have the appropriate tool in the machine housing. A small “Coming Up” box in the center of the screen will show the tools you’ll need to prepare for your project.
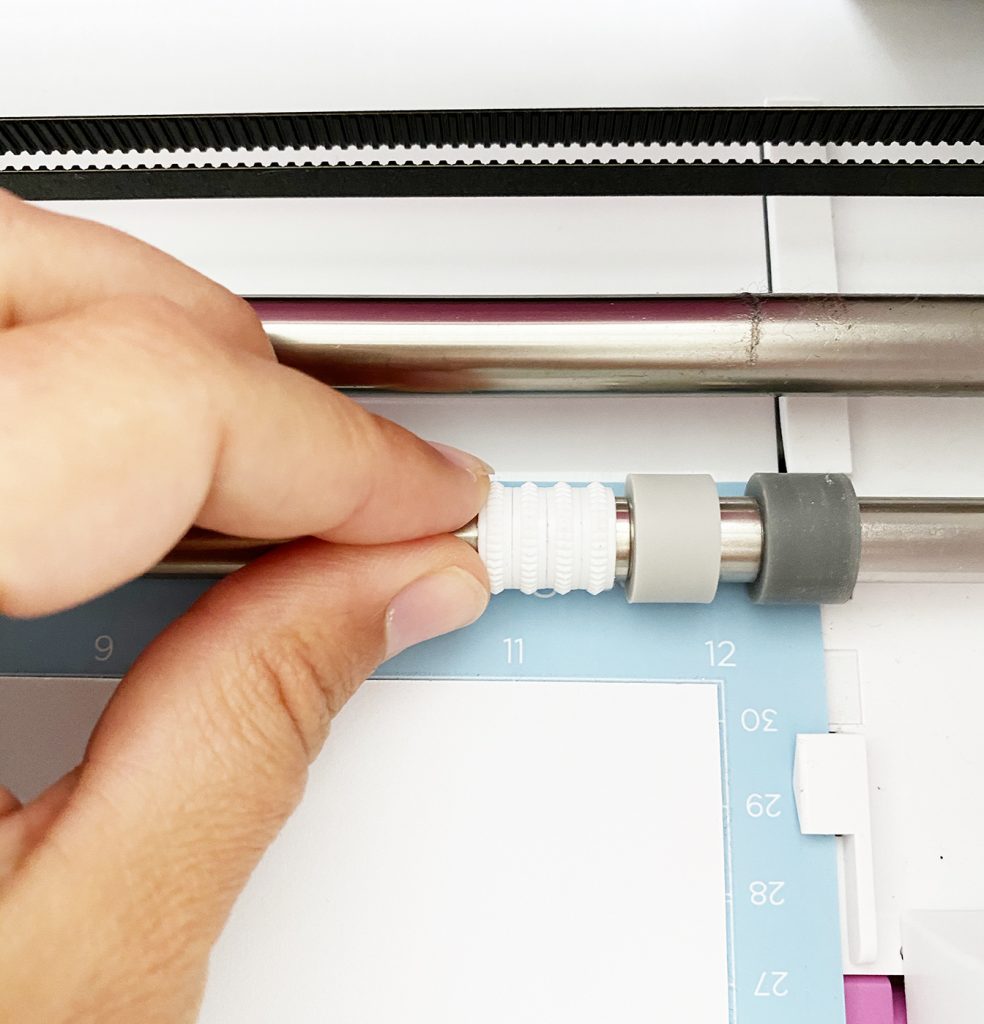
IMPORTANT: Make sure the wheels of your Cricut machine are pushed ALL THE WAY to the right side of the machine. This will prevent them from potentially marking the surface of the foil onto your project.
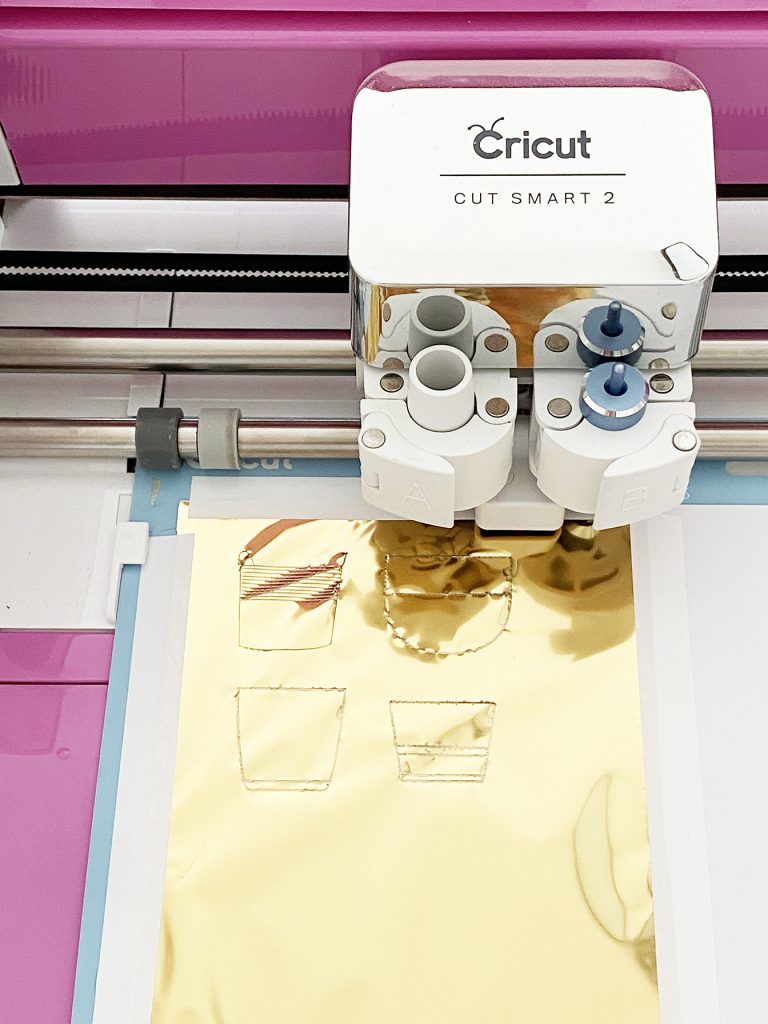
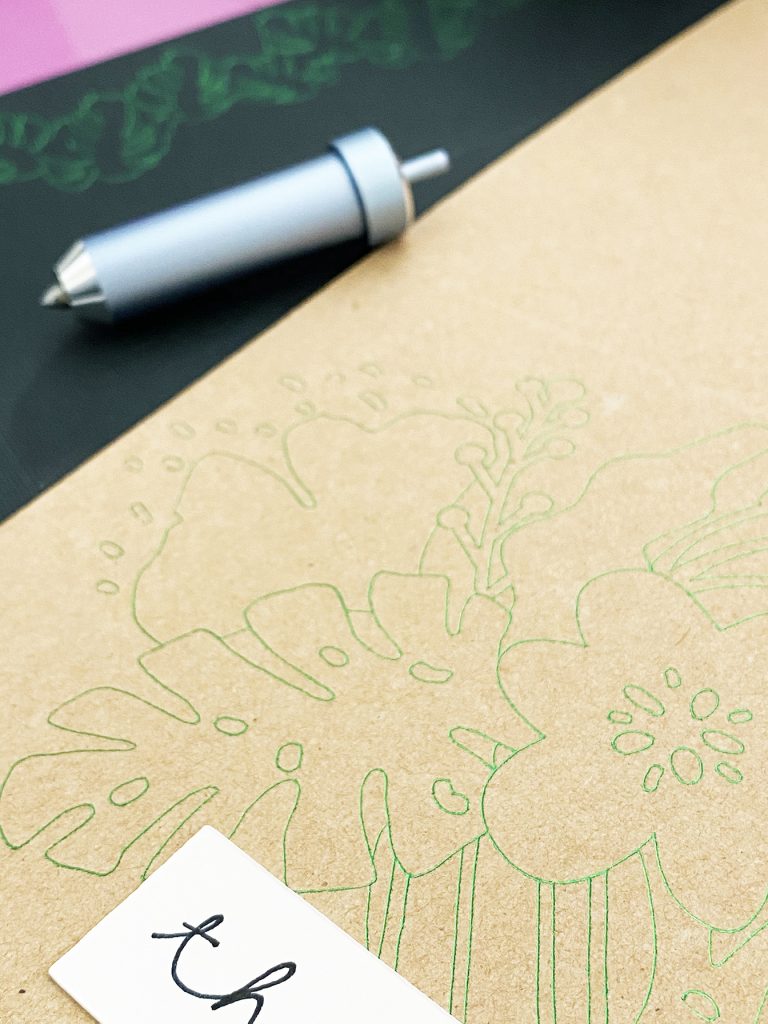
As directed by Design Space, tape the foil to the white cardstock and insert the Fine Tip in Clamp B. Insert the mat and press go! The machine will proceed to “draw” the fine foil lines to apply the foil to the cardstock.
When it is time to switch to the “Bold” tip, the machine will pause itself and eject the mat EVER SO SLIGHTLY (DON’T unload the mat!) so that you can change the foil (as necessary if the design overlaps) and change the tip.
To change the Cricut Foil Tip, press down on the plunger at the top of the housing:
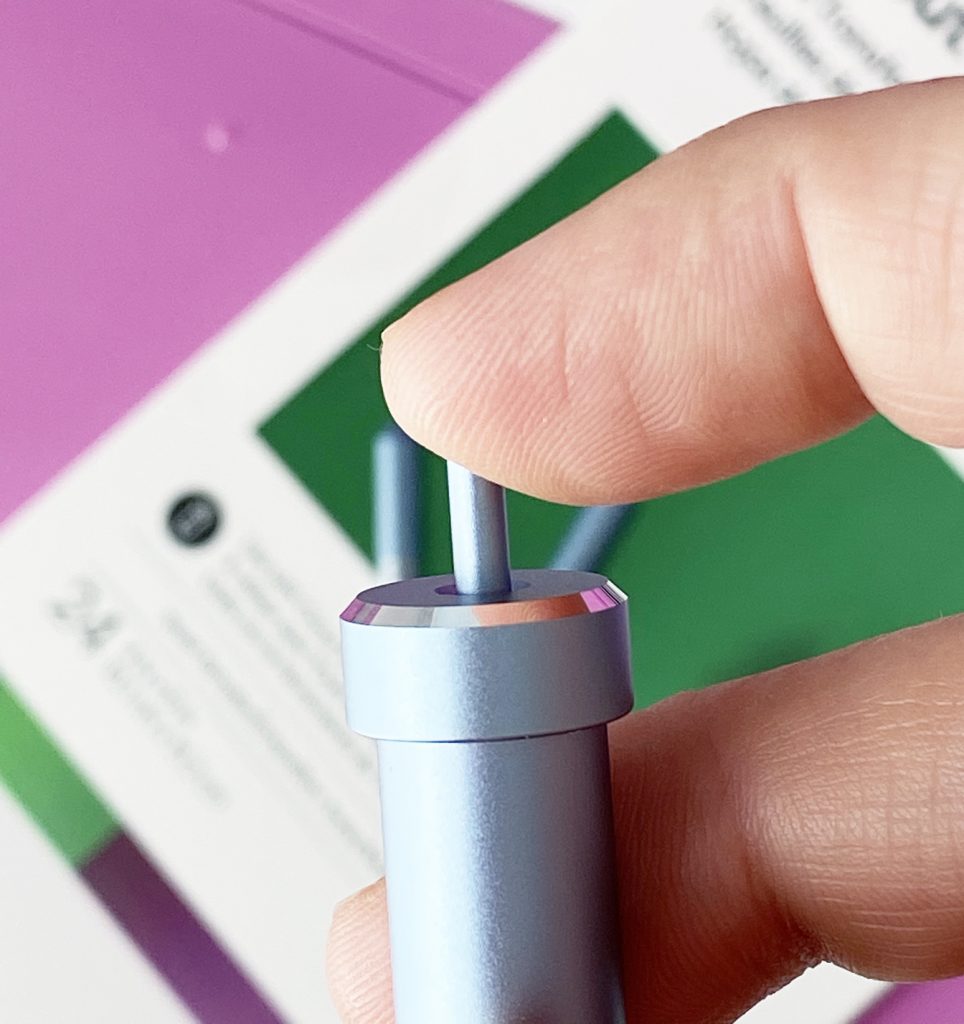
The tip will eject. Gently pull out the fine tip and while still depressing the plunger, insert the bold tip (marked with three lines).
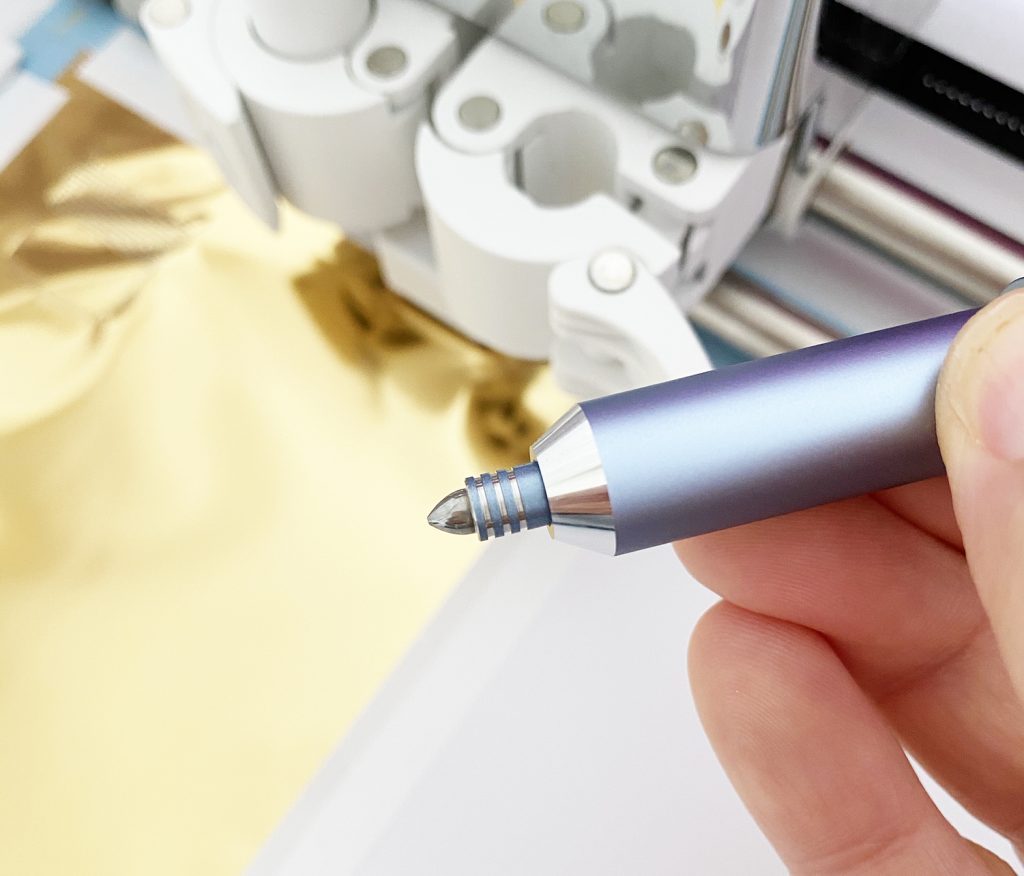
Insert the foil tip back into the machine clamp and press the “Go” button. Your Cricut will continue onto the next step!
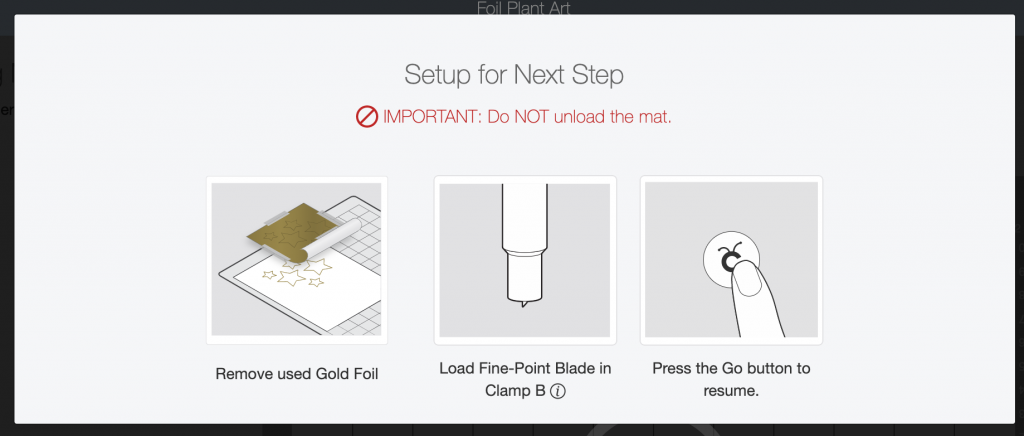
After the machine has finished the foiling process, Design Space will again move the mat down and prompt you to remove the foil and insert the fine point blade. This prompt will appear on your screen:
Your Cricut will cut the pieces and then prompt you to then eject the mat to start the next mat of the project.
Before you insert your next mat, you can change your material as necessary and double check that you have the proper tool inserted for the next step.
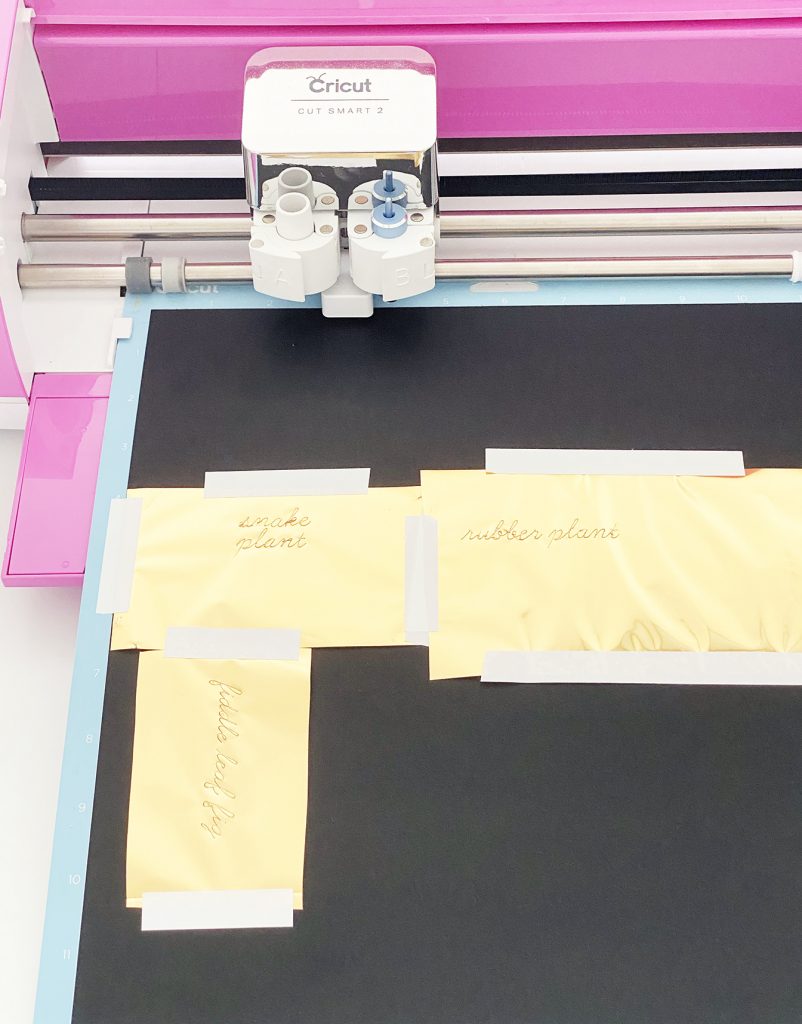
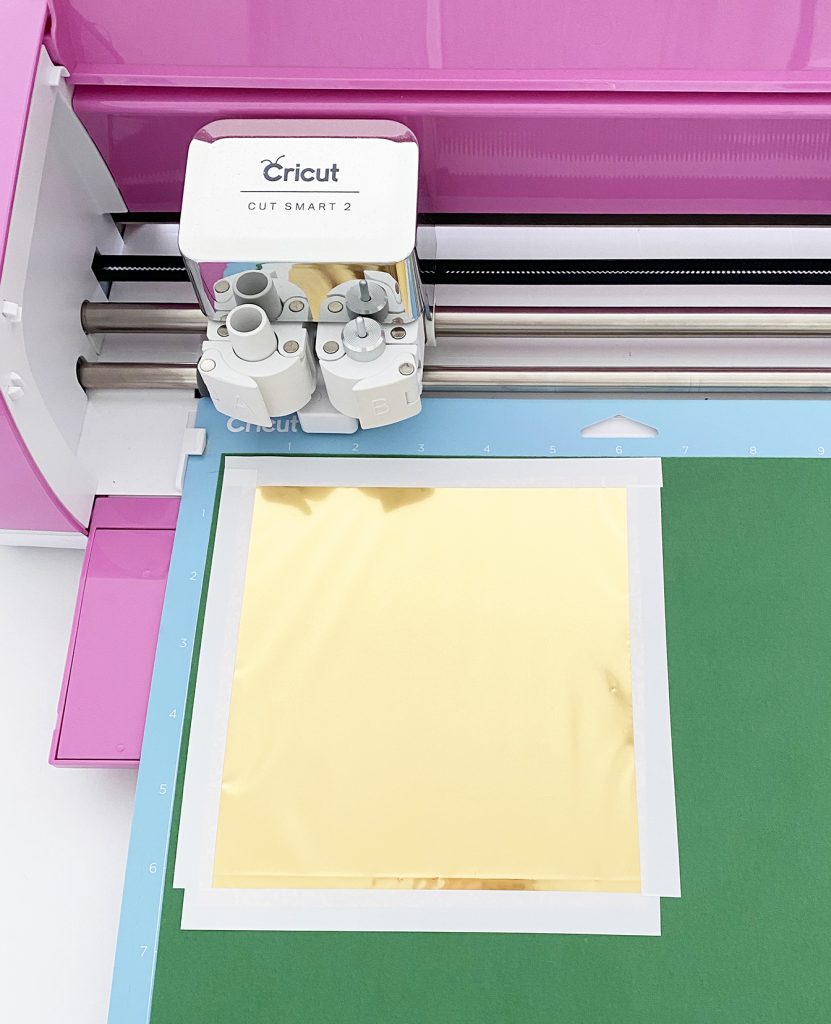
In order to conserve foil, I cut smaller pieces of foil from a large 12×12″ piece and taped them to entirely cover the areas that would be foiled. You can see where the foil needs to be placed based on the measurements on the mat – compare them from your screen to your actual mat and place the foil accordingly. Tape the foil securely down to the mat on all sides.
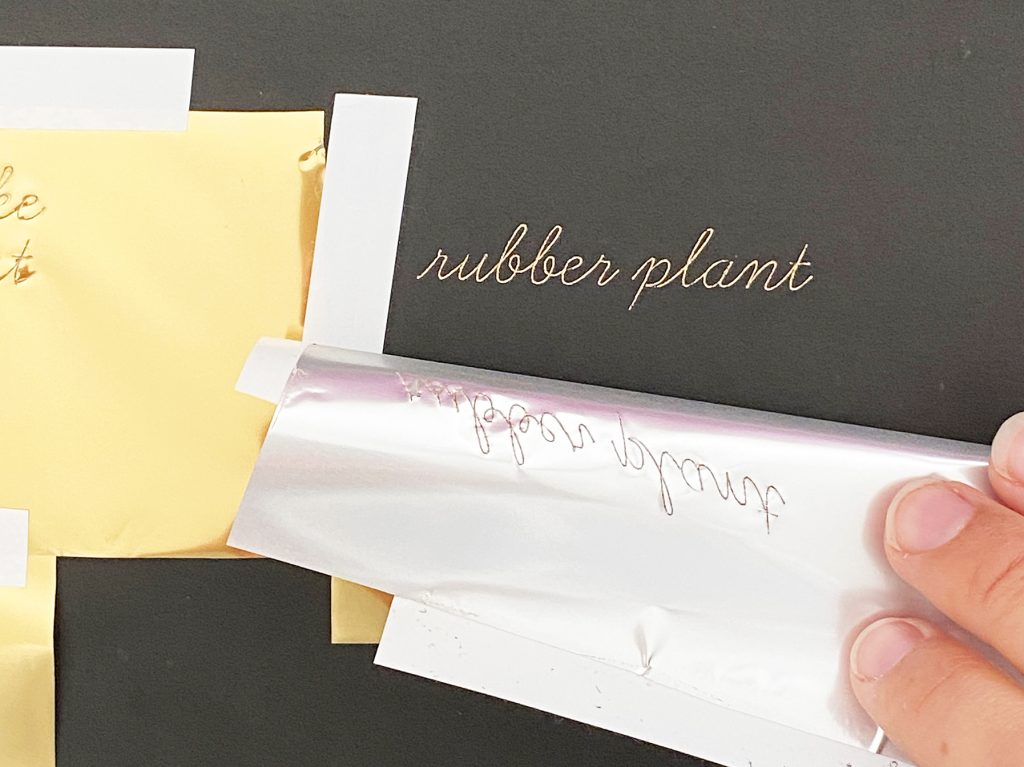
I love how clear the gold foil is on black kraft board! Just peel the foil off to reveal your design – it’s super easy!
The last piece of this project is the green plant pieces.
Follow the same instructions above (as prompted by Design Space) to change tools and foil tips.
Use a glue stick or other adhesive to assemble the plants and then insert in a frame!

I was impressed at how easy it was to create this set of prints – it definitely looks like something purchased from a store. The foil gives them a professional (and expensive looking!) touch.
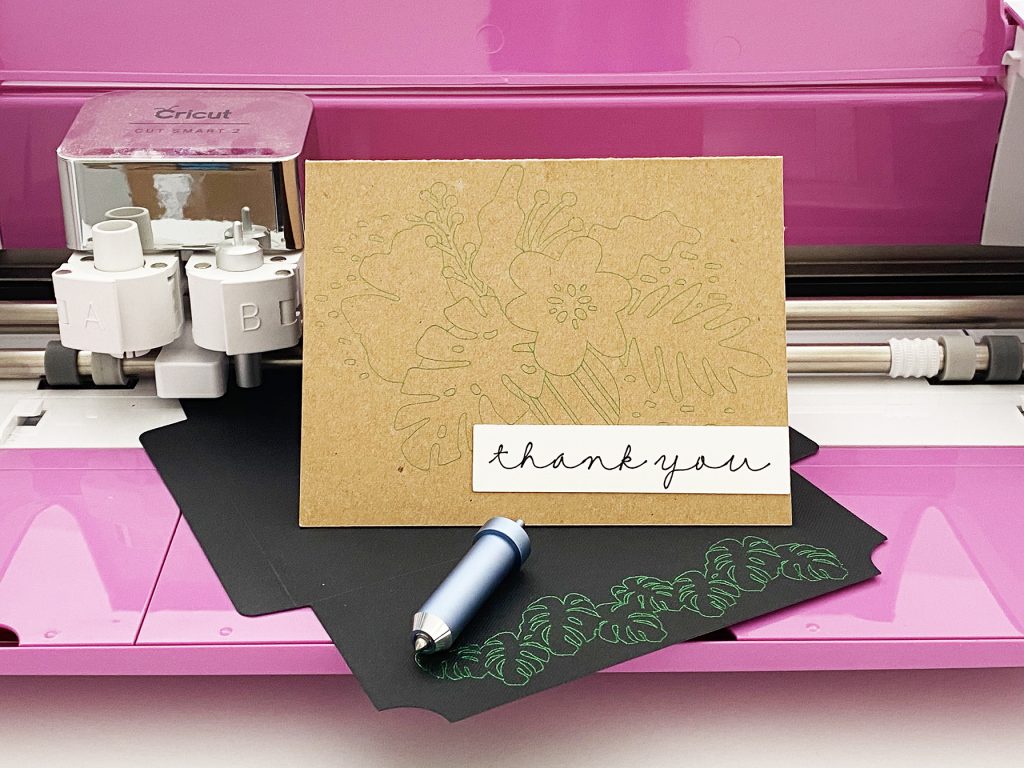
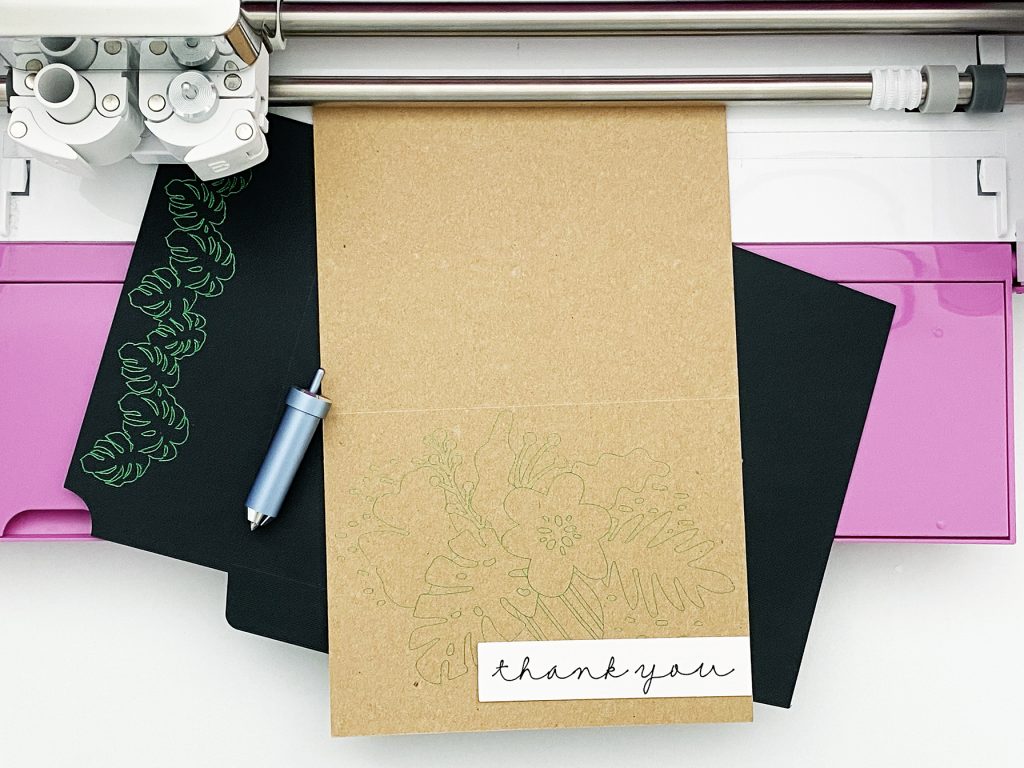
How to Use the Cricut Foil Transfer System to Make a Simple Card
Using the same steps as above, I created a simple “Thank You” Card that you can send to anyone!
Click Here to Access the Cricut Design Space File
For this project I used the green foil from the Jewel Foil Sampler pack. You can even change the Cricut pen script to include a different message!
I love how the green foil looks on the black envelope!
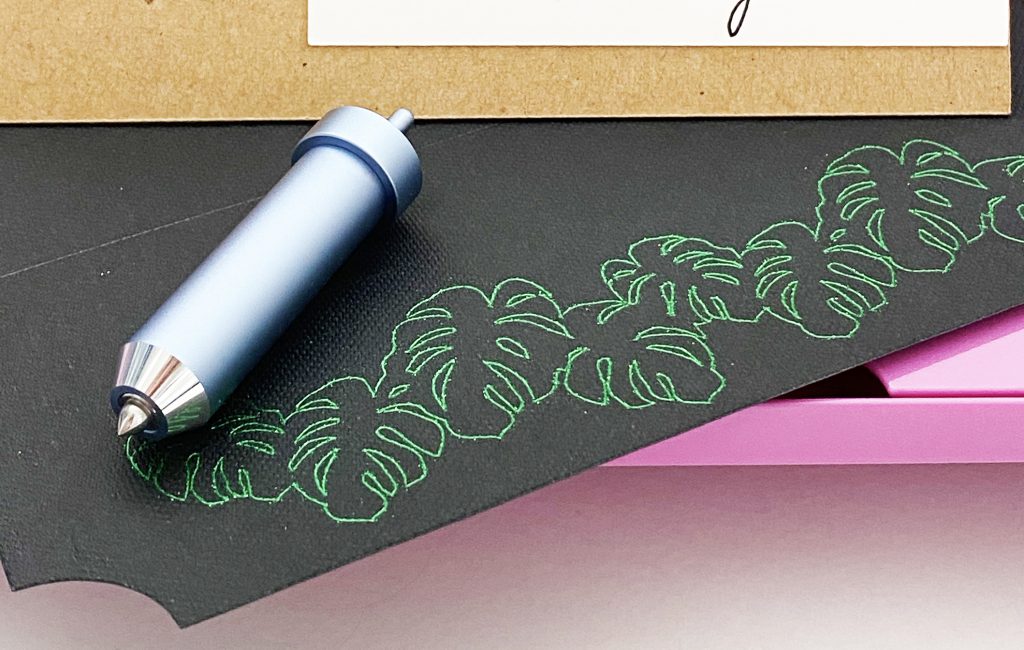
The foil gives a slight sparkle to the envelope that I just love.
The green on the kraft paper is subtle, but looks so good!
I can’t wait to share more Foil projects with you! I love how these two projects turned out. If you have any questions, make sure you leave them in the comments below! I’m happy to answer them.
Pin How to Use the Cricut Foil Transfer System


Thank you so for the tutorial. Question ❓ is there other companies foil you use besides only Cricut’s?
Most foil in the craft market is heat activated, so I’ve only used the Cricut brand with the Foil Transfer System, as it’s pressure activated 🙂 There may be new ones on the market, but I haven’t tried them 🙂