DIY Robot Water Bottle using a Cricut Machine
This post and the photos within it may contain affiliate links. As an Amazon associate I earn from qualifying purchases. If you make a purchase through one or more of the links, I may receive a small commission at no extra cost to you.
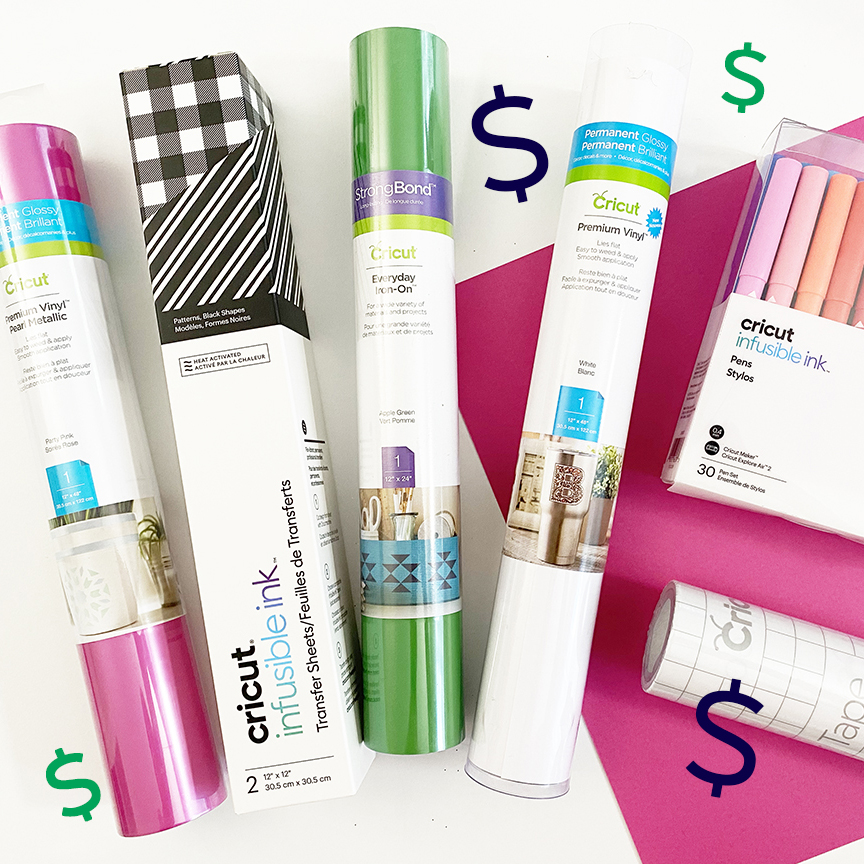
The amazing people over at Cricut sent me products to help create this project, but all of the opinions and feelings about (how awesome) their products are our mine.
This post also contains affiliate links. If you decide to make a purchase through these links, I will receive a small commission, at no additional cost to you. These links help us to keep our blog content free, so thank you!
Last week, while I was impatiently waiting for my Cricut Maker to arrive (it went on sale 8/20! BUY IT HERE!) we went into full Back-to-School crafting mode using the Cricut Explore Air 2.
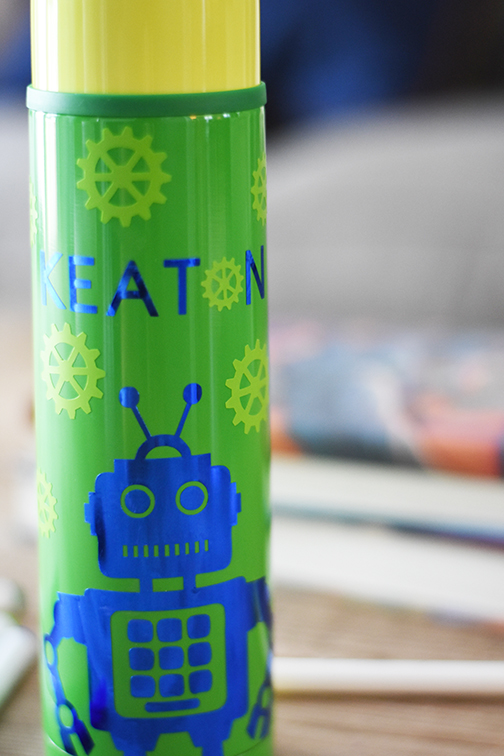
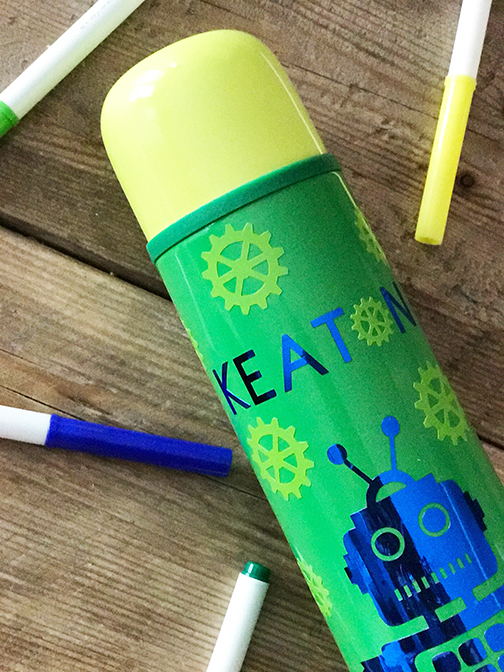
First up was this DIY Robot Water Bottle:
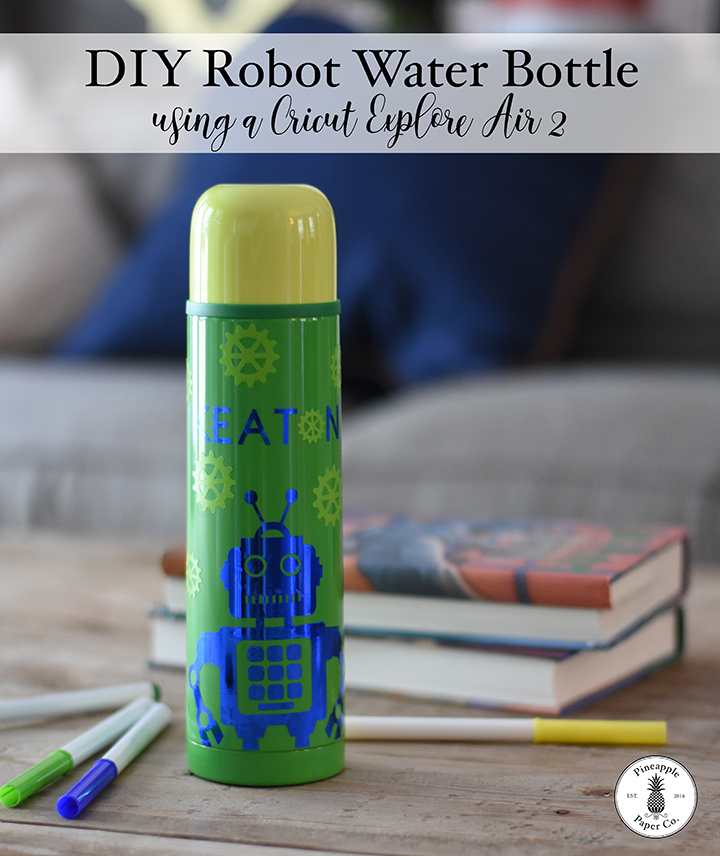
It’s no secret that vinyl is my absolute favorite material to cut on my Cricut Explore Air 2, but Adhesive Foil is a close second! It comes in a variety of colors (although admittedly I use the gold version the most), and this royal blue was perfect for my son’s water bottle.
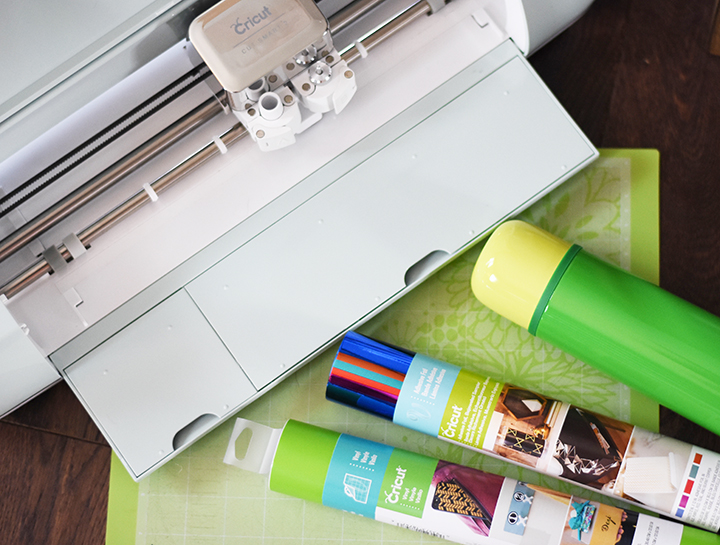
Here are the supplies you need:
-Cricut Machine (Explore Air 2 or the NEW Cricut Maker–BUY ONE HERE)
-Cricut Brand Vinyl and Adhesive Foil
-Cricut Brand Transfer Tape
-Cricut Essential Tools Set
*Cricut Supplies are currently 30% off so now is a great time to stock up! (BUY MATERALS HERE)
-Water Bottle of your Choice (I found this one at IKEA)
To make this project really easy, I have made the design I used available in Cricut Design Space: CLICK HERE FOR LINK TO ROBOT PATTERN. You just have to change the name (and delete the extra gear I used for the “O” in “Keaton.”)
This project will use two mats, one for each material. When you get to the cut screen, it will look like this:
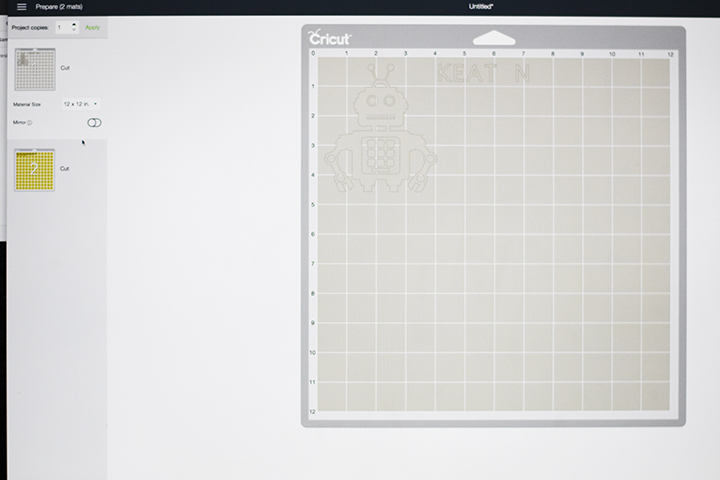
You can see on the Left Side the two different mats, one for the robot and name (Adhesive Foil setting), and one for the gear graphics (Vinyl). *If using Foil AND Vinyl like I did, just make sure that before you cut the second mat you change your cut setting dial to “Vinyl” on your Cricut Explore Air 2. The Maker will automatically adjust the settings from the computer.
Once your Cricut has cut all of your designs, it’s time to weed out all of the extra vinyl you don’t need. We cut all of our gears apart for ease of transfer, and this is what everything looks like after being weeded:
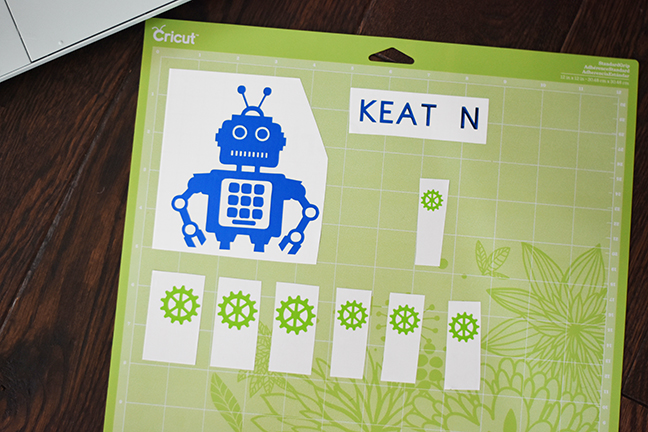
After you finish your cutting function, your screen will go back to the design file so you can see the layout of the gears.
Using your transfer tape, place all of the design elements on the water bottle, and you’re done!
One of our favorite things about designing in Cricut Design Space is Cricut Access. It’s a subscription-based plan that gives you access to 1000s of images and projects to use with your Cricut. And you also get 10% off all Cricut products, including the new Cricut Maker! (GET CRICUT ACCESS HERE).


ABOUT CHARYNN
Hi, y’all! I’m Charynn, the owner and designer of Pineapple Paper Co. I’m a mom of four kids (two girls and two boys) living in Pittsburgh. I love hand lettering, anything southern, cocktails, and of course, pineapples! I am excited to share my SVG files, printables, and craft projects with you! The pineapple is a symbol of hospitality, and I welcome y’all to my little corner of the internet. Read more…