Make a Halloween Cake Topper with the Cricut
This post and the photos within it may contain affiliate links. As an Amazon associate I earn from qualifying purchases. If you make a purchase through one or more of the links, I may receive a small commission at no extra cost to you.
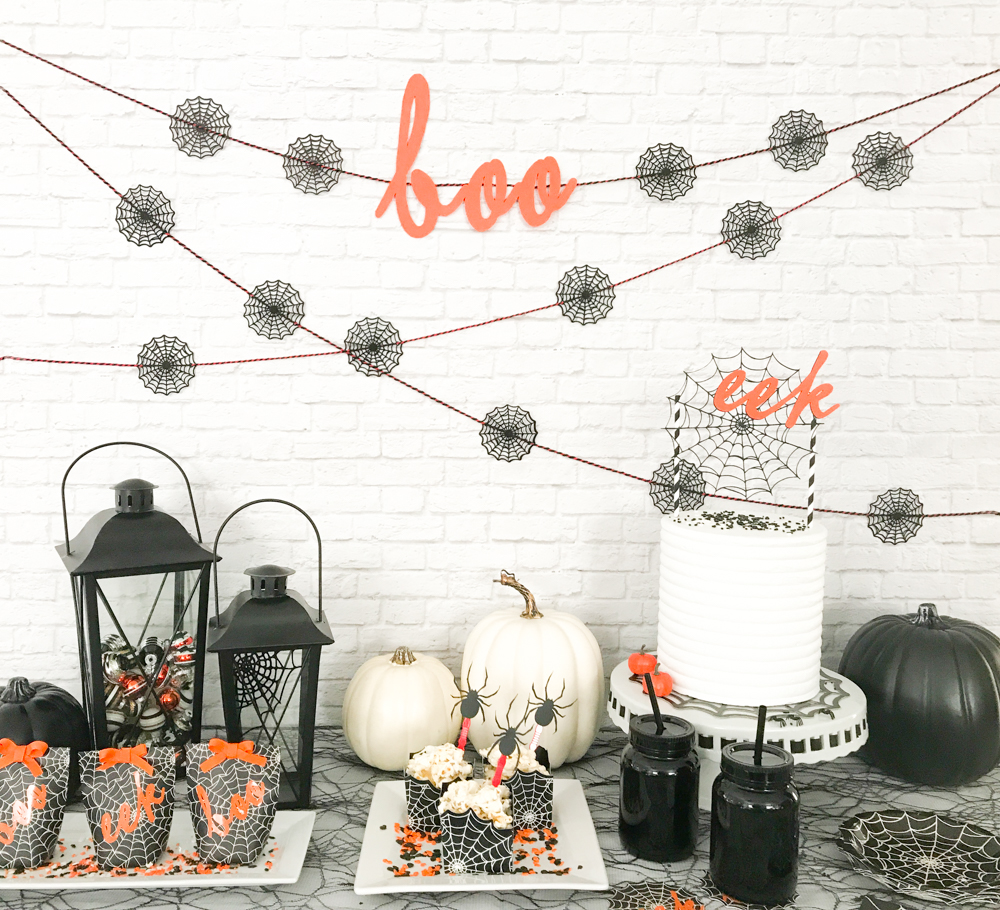
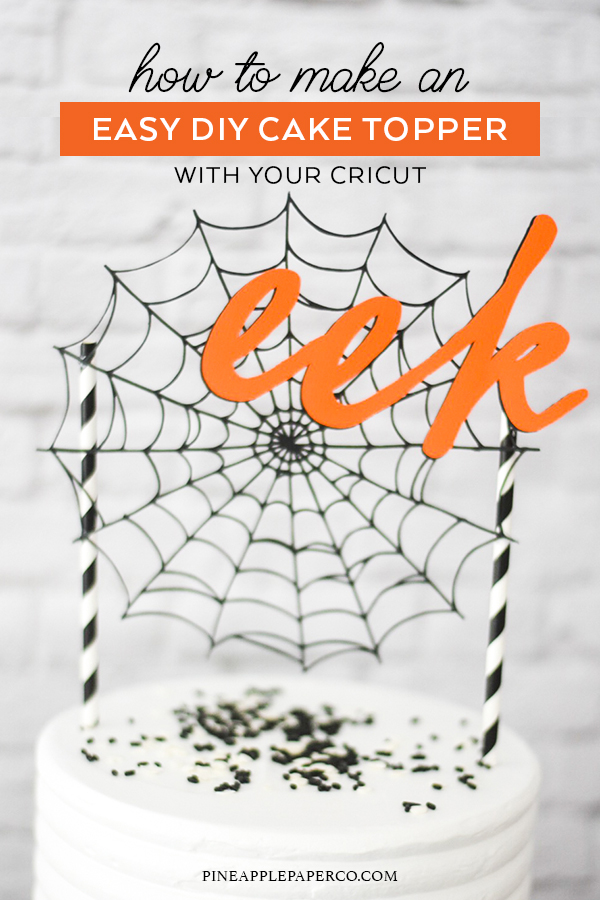
Plan your DIY Halloween party supplies with Cricut, Martha Stewart, and Michaels. Make this easy Halloween DIY cake topper for Halloween parties, or make a smaller version for Halloween cupcakes! This Halloween cake decoration is super easy to make with your Cricut machine and some card stock!

How to Make an Easy Halloween Cake Topper with a Cricut Machine
I used some of the Halloween party decor from Michaels and created a spooky (but modern!) Halloween party with tons of DIY Halloween Decorations! Today I’m going to share how to make an EASY DIY Halloween Cake Topper.
RELATED POST: Hocus Pocus Party Ideas
Cake toppers are one of my favorite things to design for a party! For a long time I designed fondant cake and cupcake decorations, so creating cake toppers with my Cricut machine is similar – but way less expensive! This DIY Halloween cake topper required just a few supplies that can be easily found at your local Michaels store.
What you Need to Make a Halloween Cake Topper
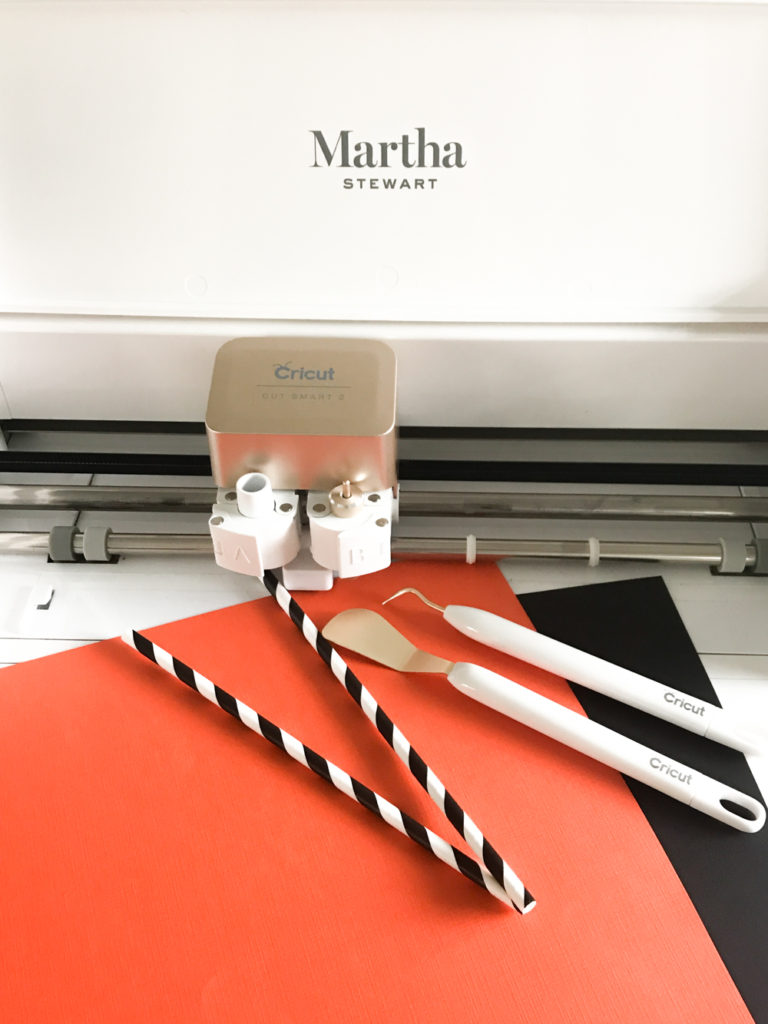
-Cricut Essential Tool Set
–Glue Stick to attach “eek” to the spiderweb
-Halloween Party Decor to Decorate Cake Stand and Halloween Party Table
–Black and White Sprinkles to decorate cake
In addition to the FREE Martha Stewart designs that you get with the purchase of your Martha Stewart Cricut, there are some really awesome additional Martha Stewart Cricut cartridges that are specific to holidays, including the Halloween Martha Stewart Cricut cartridge. I love the spiderweb image from the collection that I used for the cake topper!
Since we designed the Halloween Cake Topper right in Cricut Design Space, you can access and cut or customize the design by heading to the public design on Cricut Design Space
CLICK HERE TO ACCESS SPIDERWEB CAKE TOPPER ON CRICUT DESIGN SPACE
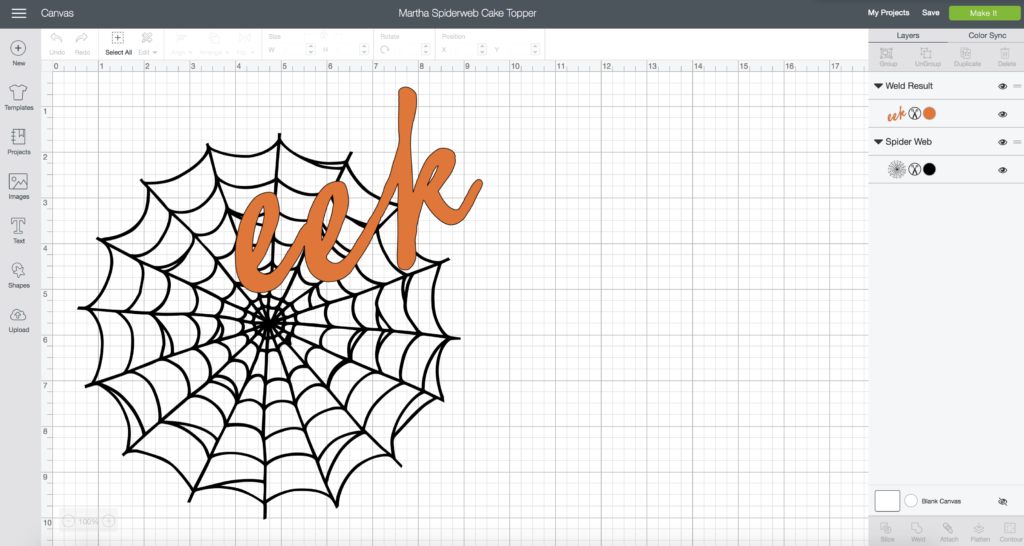
The larger you can cut the spider web, the better, because it contains very delicate cuts. I wanted mine to be about the same size as the top of my cake, so I designed it to be a little over 8 inches wide. You can resize the whole image by clicking “select all” and sizing the image to fit your project. When you are ready to cut it out, click “Make It.”
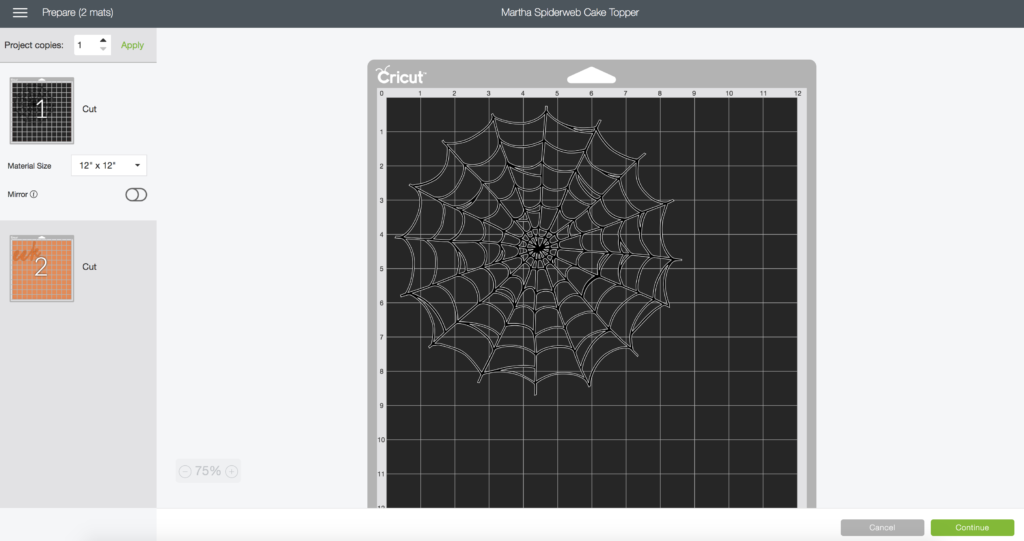
I cut my cake topper out of a single layer of Cricut cardstock, because I knew I wanted to use two paper straws as supports, and that was enough to hold the single layer. If you choose to do a different style of support, I would recommend cutting two spider webs to glue together..
Also, the lightest “grip” mat that your cardstock will stick to is the way to go. It will help you in the end. I used the blue “Light Grip” Mat.
The spider web is really tricky to remove from the mat! I recommend peeling the excess paper off first with the weeder or tweezers, and then using the spatula to GENTLY lift the web off the mat.
How to Put Together the Halloween Cake Topper
Secure the “Eek” script design with a light glue (like a glue stick) so you don’t weigh the spider web down.
Next, secure the edges of the spider web to the paper straws with hot glue, making sure to pull the spiderweb so it is tight.
Insert into the top of your cake just before serving or displaying. The paper straws will absorb the moisture of the icing and it will weaken the paper. Another option is to put a skewer inside the paper straw to hold the topper more securely.
LATEST POSTS:
- Wicked Coloring Pages to Print for Free
- Free Thanksgiving Turkey Coloring Page Printable
- Free Printable Thanksgiving Meal Planner & Grocery List
- xTool M1 Ultra Beginner’s Guide and Review
- Free Best Dad Ever Father’s Day Coloring Page
I have a ton of DIY Halloween Ideas – I think you’ll love these posts:
Kids Trick or Treat Halloween Party Ideas
FREE Halloween SVG – Hocus Pocus Cat
FREE Halloween Printable Gift Tags and Sign
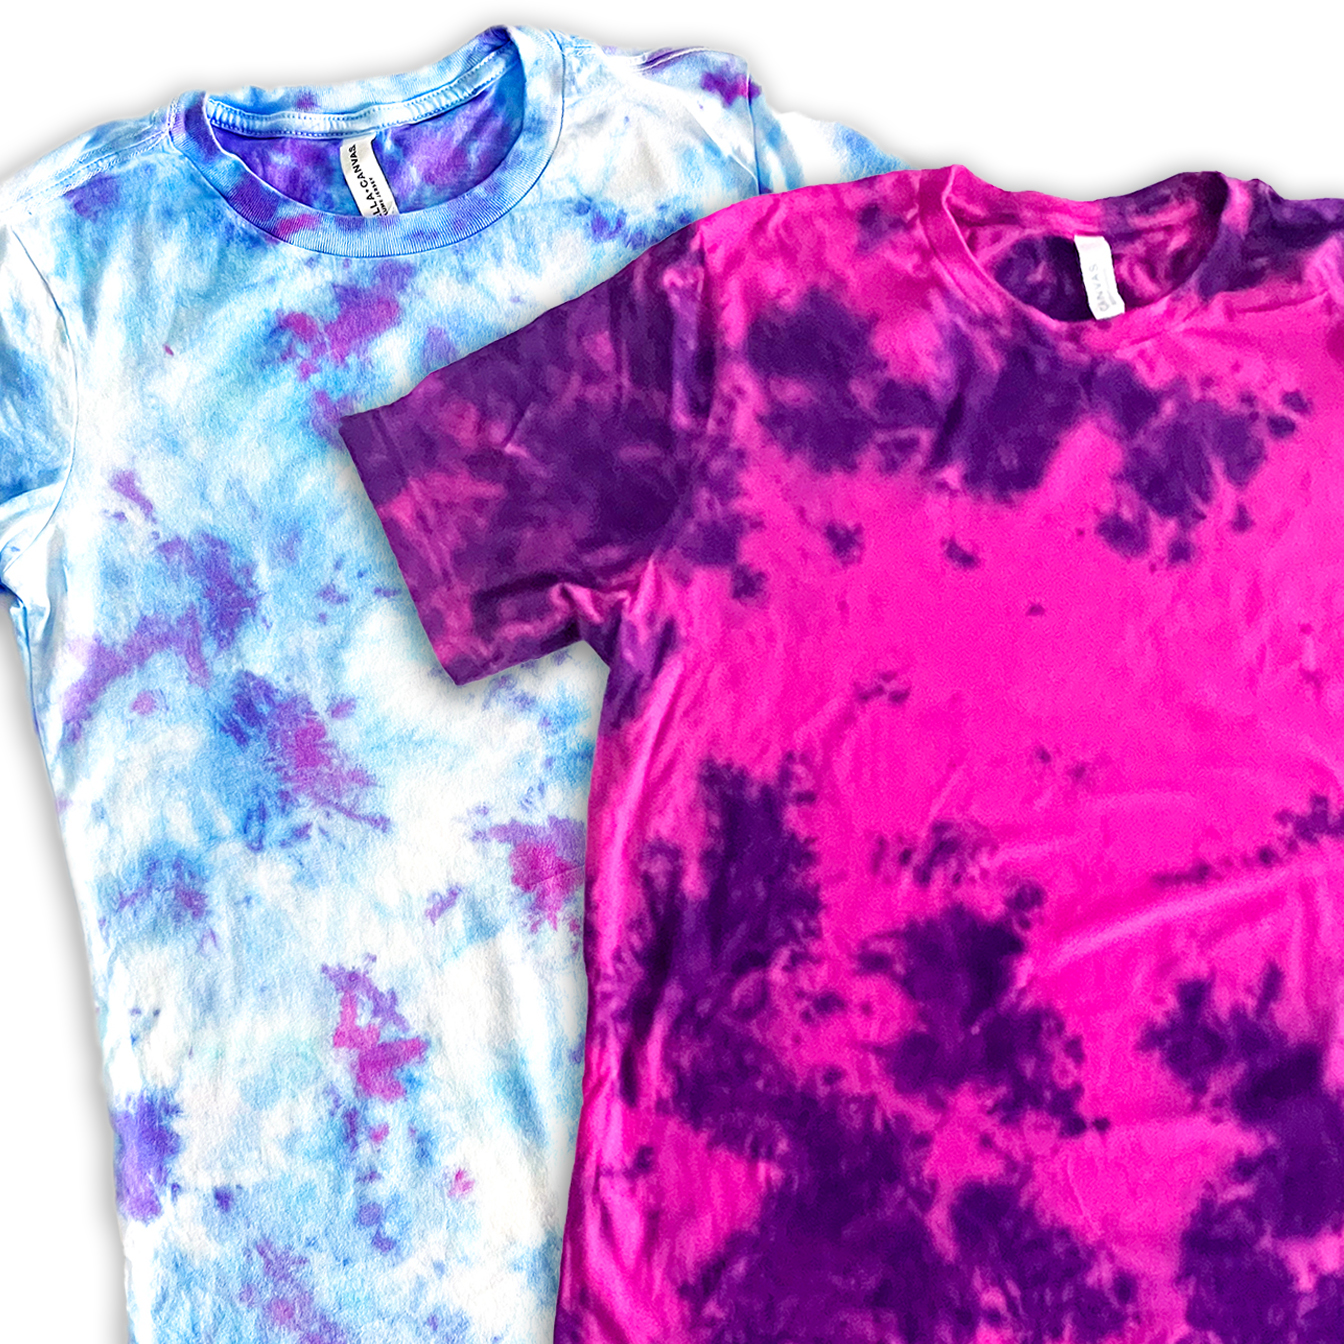
10 FREE Halloween SVGs + How to Make a DIY Halloween Shirt
Where to Buy the Best Halloween Supplies
This is a sponsored conversation written by me on behalf of Cricut. The opinions and text are all mine.


ABOUT CHARYNN
Hi, y’all! I’m Charynn, the owner and designer of Pineapple Paper Co. I’m a mom of four kids (two girls and two boys) living in Pittsburgh. I love hand lettering, anything southern, cocktails, and of course, pineapples! I am excited to share my SVG files, printables, and craft projects with you! The pineapple is a symbol of hospitality, and I welcome y’all to my little corner of the internet. Read more…