Free Golden Girls SVG
This post and the photos within it may contain affiliate links. As an Amazon associate I earn from qualifying purchases. If you make a purchase through one or more of the links, I may receive a small commission at no extra cost to you.
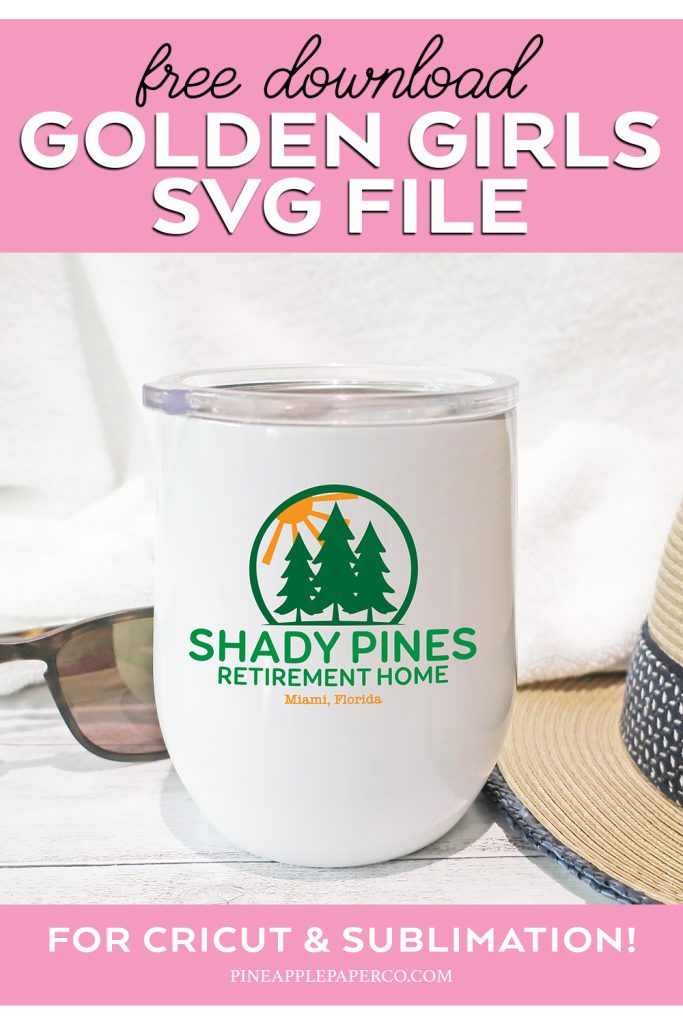
Are you a Golden Girls fan? Download this Golden Girls SVG File – it’s FREE for Cricut and Silhouette machines, and works great for sublimation, too! Whether you are a Dorothy, Rose, Blanche, or Sophia, you will be saying “Shady Pines, Ma!” all of the time!
Golden Girls is one of my favorite shows of all time. I used to watch reruns when I was in college with my great aunt when she was nearly homebound. Spending time and laughing at all of the jokes are some of my favorite memories I have with her.
In fact, I used to call her and the older ladies who lived around her the Golden Girls! I’d like to think that my aunt was like no-nonsense Sophia! I think we all have a woman in our lives that acts like one of the Golden Girls! I’ve been thinking about her a lot lately, and I designed this new SVG in her memory.
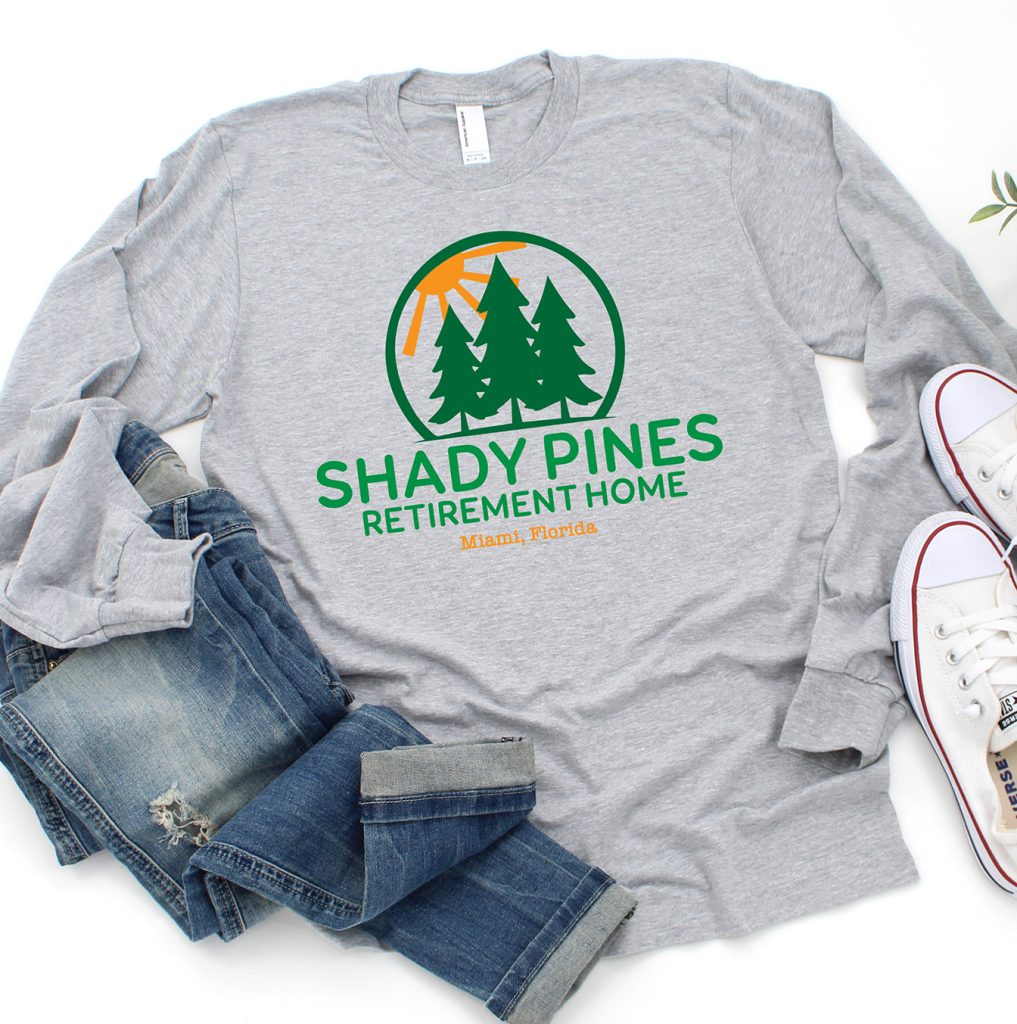
I love wearing fan shirts, but I also love when they appear to be regular shirts. Only true fans can appreciate this shirt and when they notice it they’ll mutter, “Shady Pines, Ma!”
Related Post: DIY Sublimation Mugs – the Ultimate Guide
For all non-super fans, Dorothy always threatens to send Sophia to Shady Pines to keep her in line (when she’s being typical Sophia). There are tons of Shady Pines Ma memes and it shows up in a lot of episodes.
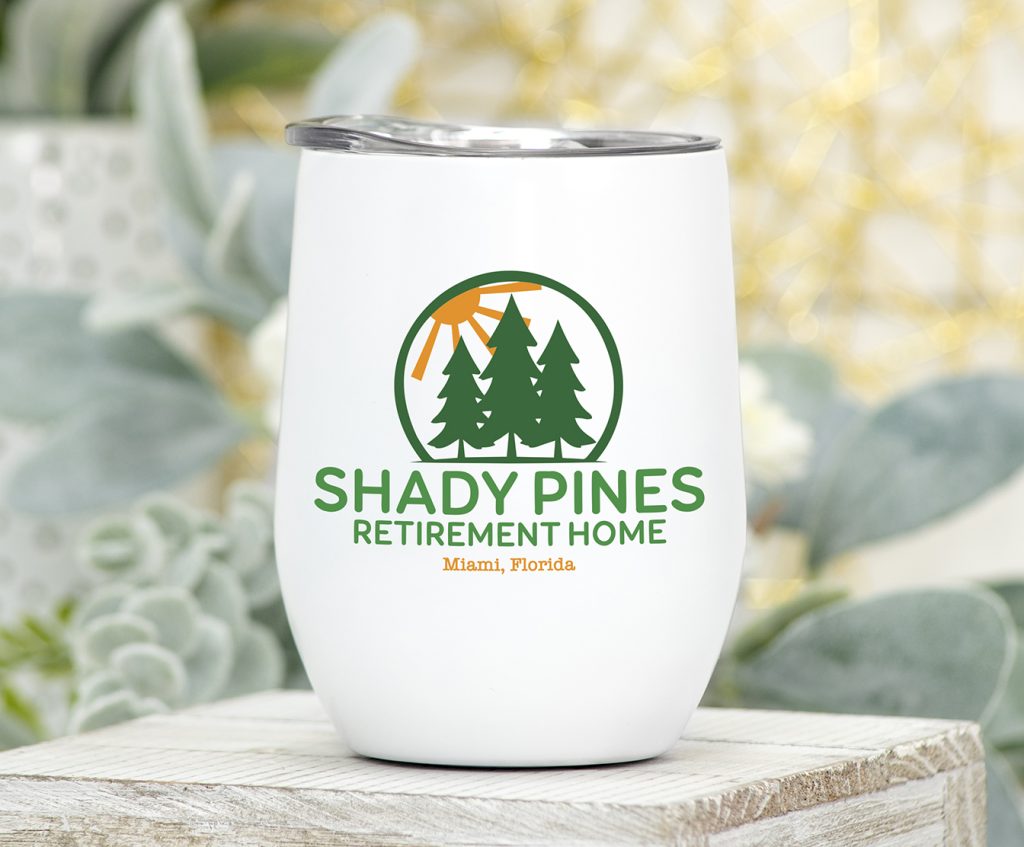
This Golden Girls inspired SVG file is perfect for making mugs, shirts, tanks, and even wine tumblers! AND, you can use the file for sublimation, not just with vinyl! It’s perfect for making wine tumblers!

Basic Supplies You Need to Use SVG Files
Here are the materials I use all of the with SVG files – in addition to these, I use my converted Epson ET 2720 Printer for sublimation, which is really easy to do.
- Cutting Machine (Buy a Cricut on Amazon | Cricut | Michaels)
- Adhesive Vinyl from Cricut | Expressions Vinyl | Michaels | Heat Transfer Warehouse
- Transfer Tape from Amazon | Cricut | Expressions Vinyl | Michaels | Heat Transfer Warehouse
- Iron On Vinyl (HTV) from Cricut | Expressions Vinyl | Michaels | Heat Transfer Warehouse
- Cricut EasyPress from Cricut | Michaels or Heat Press from Heat Transfer Warehouse
- Infusible Ink Sheets for Sublimation Projects at Cricut | Michaels
- Cricut Mug Press (if you’re using Infusible Ink, it’s a must own!)
- Printable Vinyl is what I recommend for Stickers from Michaels | Expressions Vinyl
- 12×12″ Craft Printer for Print the Cut Projects
- SVG (Get the Library Password)
Instructions for How to Use an SVG File
If you’re new to using SVG files with your Cricut machine, make sure you read my full post on How to Upload an SVG to Cricut Design Space.
To make a shirt:
Upload the Free SVG file to your cutting software and size it to fit your shirt. Make sure to MIRROR the design before cutting, and then cut when ready. The shiny side of the HTV goes DOWN on your mat. Weed away the extra vinyl. For best results, use an EasyPress or Heat Press to press the vinyl design onto the shirt.
If you’re using the Cricut EasyPress, for recommendations based on your materials, you can check out the Cricut EasyPress Recommended Settings.
To make a sublimation wine tumbler (it’s perfect for designs with small details):
Make sure you read my extensive post on How to Make a Sublimation Tumbler. It has everything you need to know before you get started!
Download the Golden Girls SVG for FREE

This file is DOWNLOAD #265 in my FREE DOWNLOADS LIBRARY.
Get the password below! (If you have the password, head over to the library to download the file.
You will NOT receive an email with the download file. SVG files can be used with Cricut Design Space and upgraded versions of Silhouette Studio.
Don’t forget to pin an image to your favorite Cricut, Silhouette, or sublimation board on Pinterest!


Quick Question – when I upload to Cricut and “remove” the background – it leaves me with just one color when I upload to cut. How can I make the colors stay as is without doing print then cut?
I have used the edit button but it just does one color for the whole svg – is there a way to separate the elements so that I can then apply colors?
You should upload the .SVG file to cut. No background removal. If you want to change colors of individual shapes, use the contour tool 🙂
Thank you for all the freebies!! My daughter loves the Golden Girls so I’m excited to make something for her. 🙂