DIY Glitter Leather Tassels
This post and the photos within it may contain affiliate links. As an Amazon associate I earn from qualifying purchases. If you make a purchase through one or more of the links, I may receive a small commission at no extra cost to you.
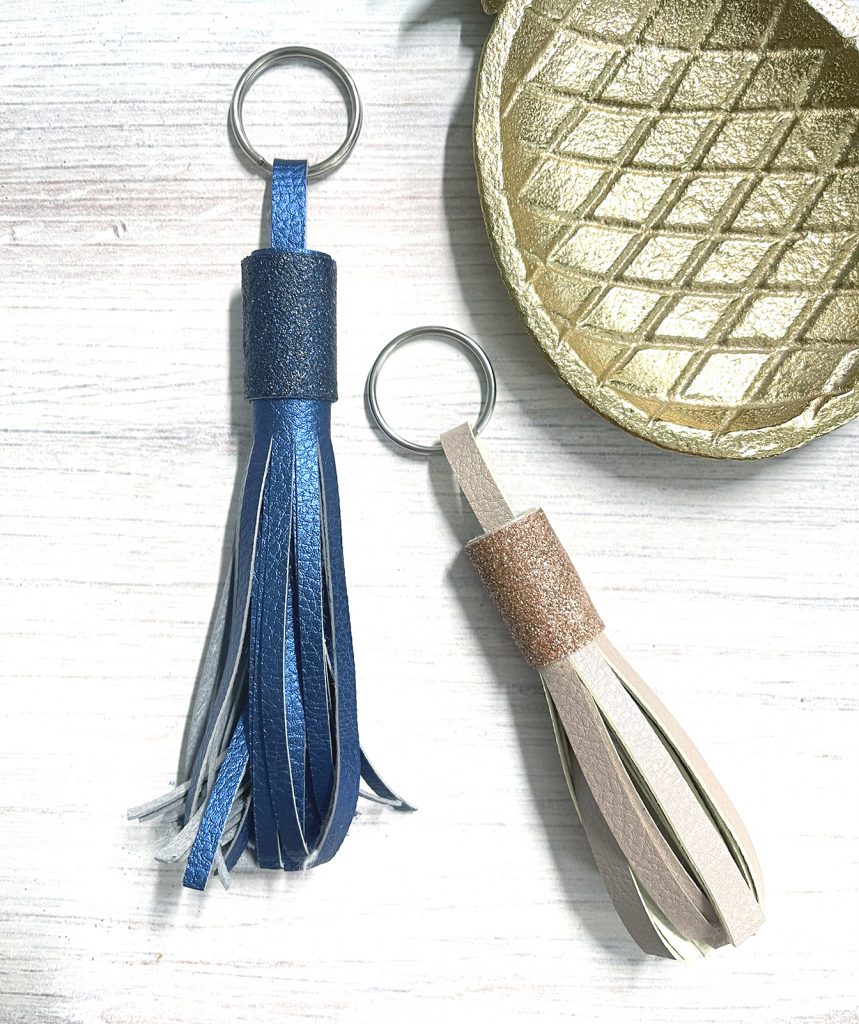
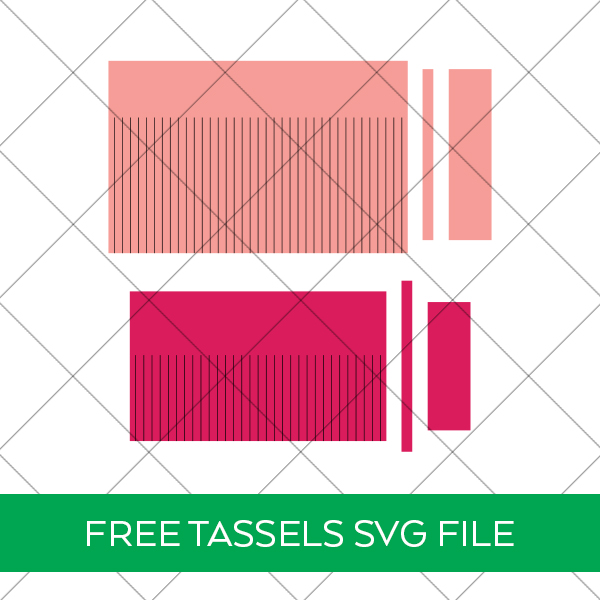
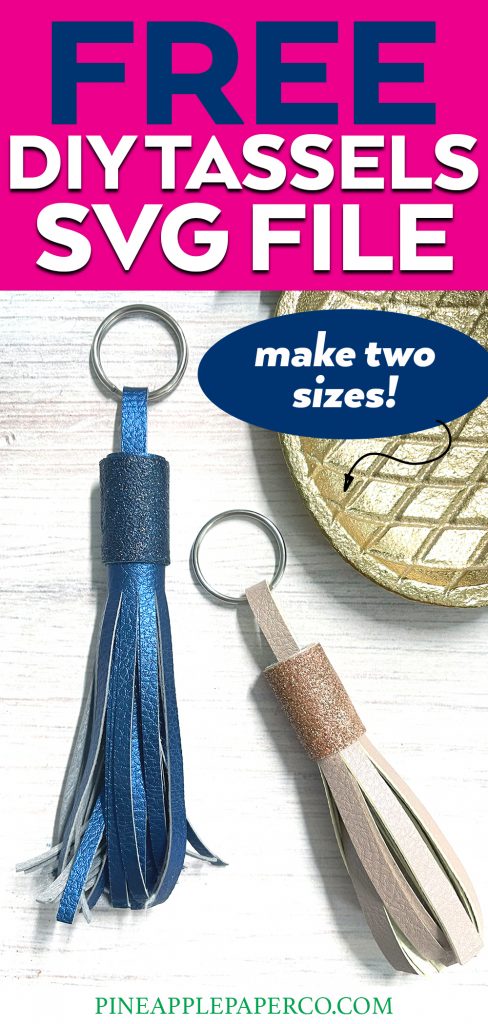
Make your own Leather Tassels with your Cricut! These DIY Tassels get a sparkly upgrade with the addition of glitter! Grab the FREE Leather Tassels SVG to use with your Cricut or Silhouette, or grab some faux leather and make them by hand. They’re easy either way!

If you’re making a keychain gift, luggage tag, or other small craft, add a cute leather tassel! I spotted leather tassels when I was shopping a few weeks ago and I thought “Wow! Those would be easy to make!” But instead of plain leather, I decided to use metallic faux leather and added a little bit of glitter to make the tassels extra special.
Tassels are a favorite decoration of mine – they add something extra to otherwise simple crafts. You can make tassels from a ton of different materials, even yarn and embroidery floss! I made these bright and fun DIY Tassel Drink Tags and use them all of the time in the summer.
These DIY Leather Tassels are just as easy to make as with other materials, especially if you use paper-thin faux leather that you can cut with your Cricut or Silhouette machine. Cricut Faux Leather will cut with a fine point blade but it also works really well with the Rotary Blade that is compatible with the Cricut Maker! Grab the FREE SVG for two sizes of tassels at the end of the post!
But don’t worry, this craft is just as easy to make by hand! I’ll give you all of the dimensions and instructions below.
Supplies to Make Leather Tassels with Glitter
To Make DIY Tassels with your Cricut:
- Cricut (Explore Series or Cricut Maker if you’re using the Rotary Blade)
- Standard Grip Mat
- Fine Point Blade or Rotary Blade
- Faux Leather (Paper Thin)
- Beacon Adhesives Fabri-Tac or Hot Glue Gun
- Mod Podge
- Fine Glitter
- Keychain Ring
To Make DIY Leather Tassels by Hand:
- Fabric Scissors or Rotary Cutter
- Self Healing Mat
- Safety Ruler
- Faux Leather or another desired material
- Beacon Adhesives Fabri-Tac or Hot Glue Gun
- Mod Podge
- Fine Glitter
- Keychain Ring
I had Cricut Faux Leather in my craft room, but you can definitely use other materials! Keep in mind that thick materials (like leather) may require the Deep Point Blade or Knife Blade. You could even try felt or other fabric. The options are endless.
RELATED POST: 10+ Tie Dye Patterns & Folding Techniques
How to Make DIY Leather Tassels with your Cricut
If you’re new to using SVG files with your Cricut machine, make sure you read my full post on How to Upload an SVG to Cricut Design Space.
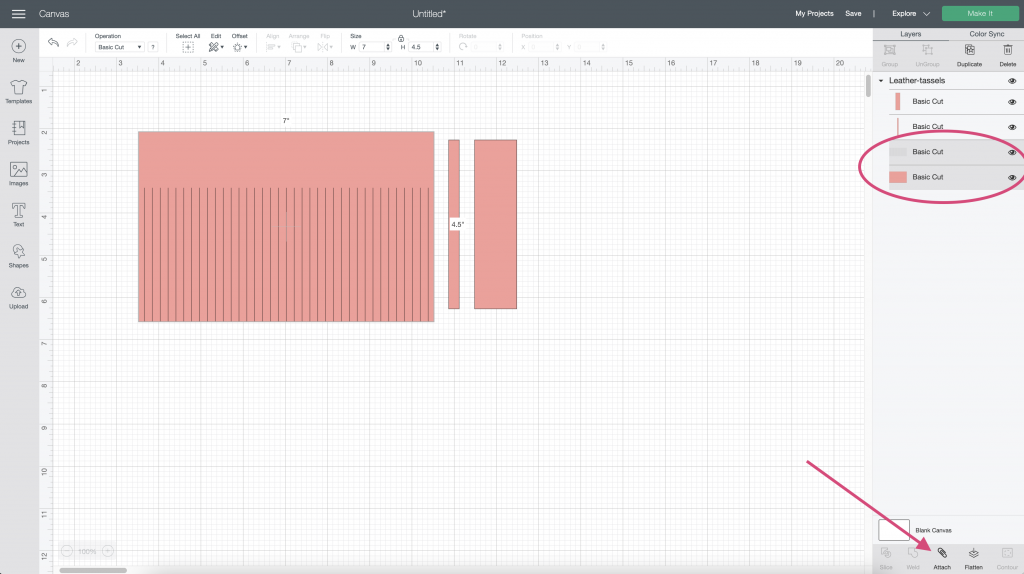
Open the SVG and choose which size tassel you would like to make. Ungroup the tassels and delete to remove a tassel from the canvas.

*Be sure to select the tassel lines and the tassel rectangle and click “ATTACH” so that the lines will be cut.
Click “Make It” when ready and prep your mats. Depending on how “sticky” your mat is, you may need to tape the edges down to get a clean cut.
If you would like to use your Rotary Blade, make sure you have the Maker selected as your machine. The default blade for Faux Leather is the fine point blade, but you can edit the material settings to cut with the rotary blade. I have had success with both blades but have found that faux leather and similar materials sometimes wrinkle when the fine point blade is being used.
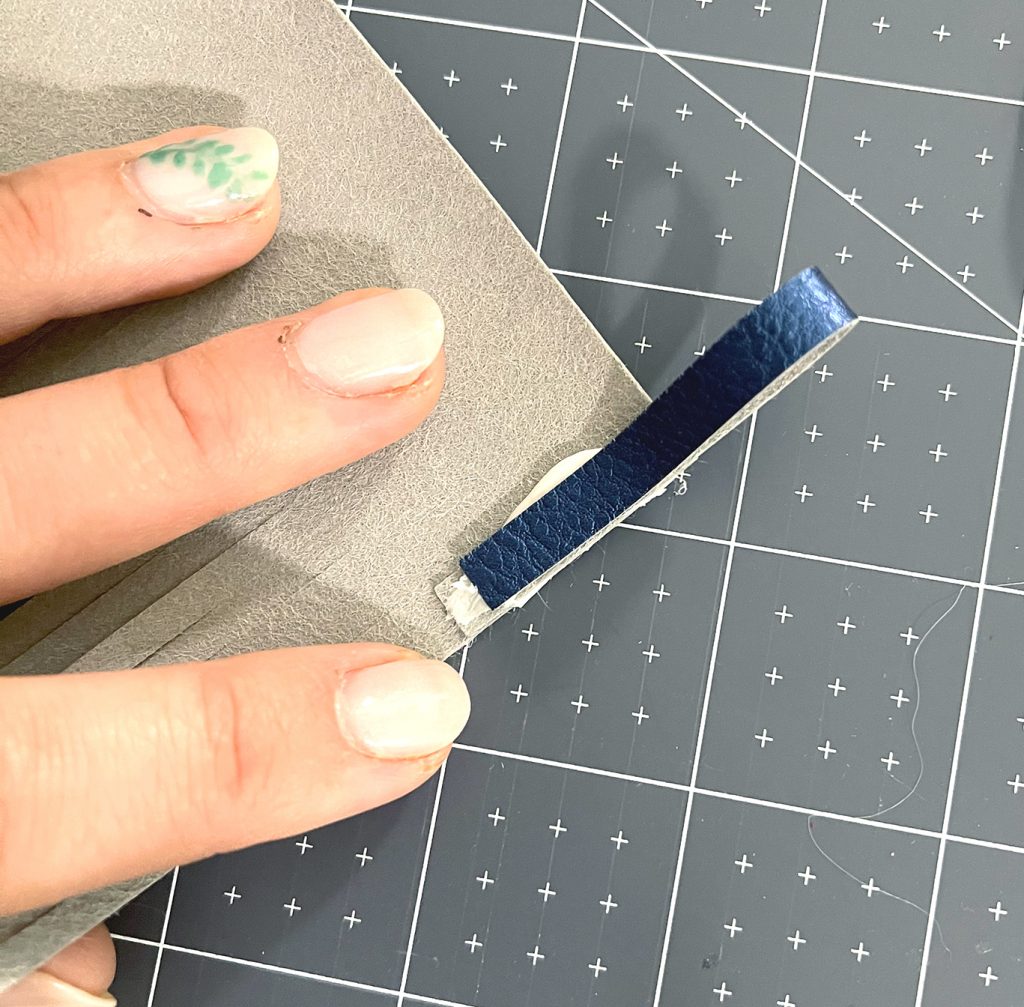
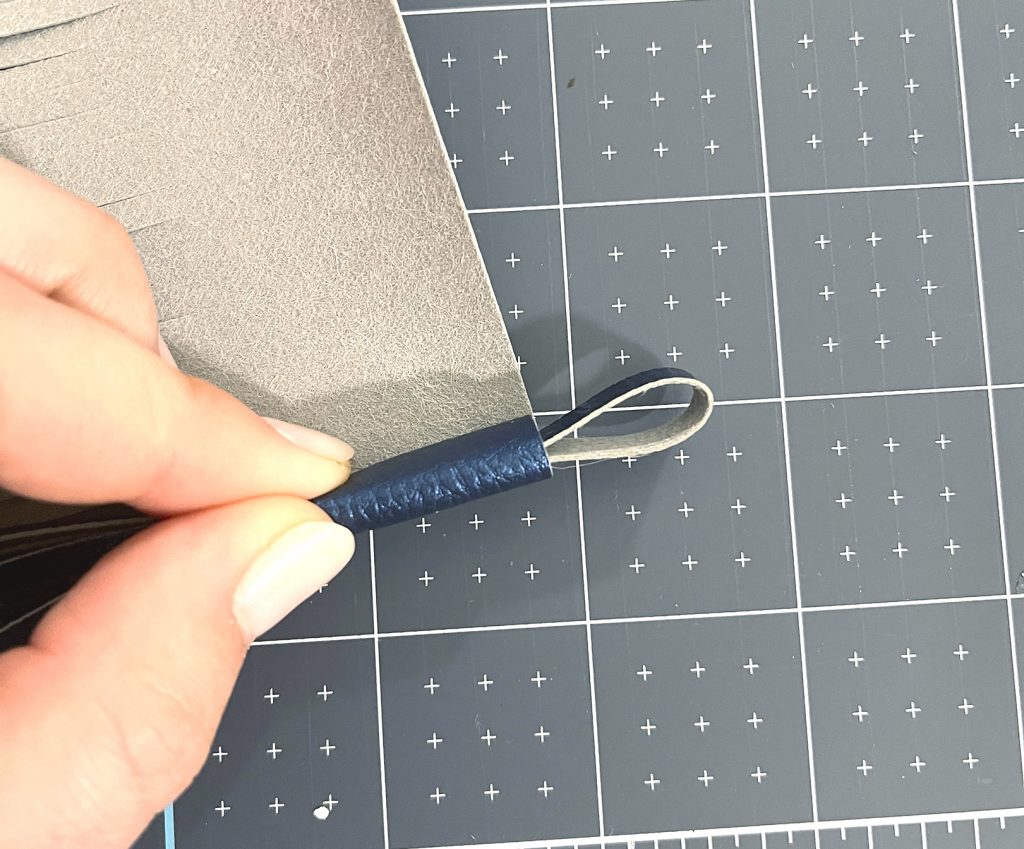
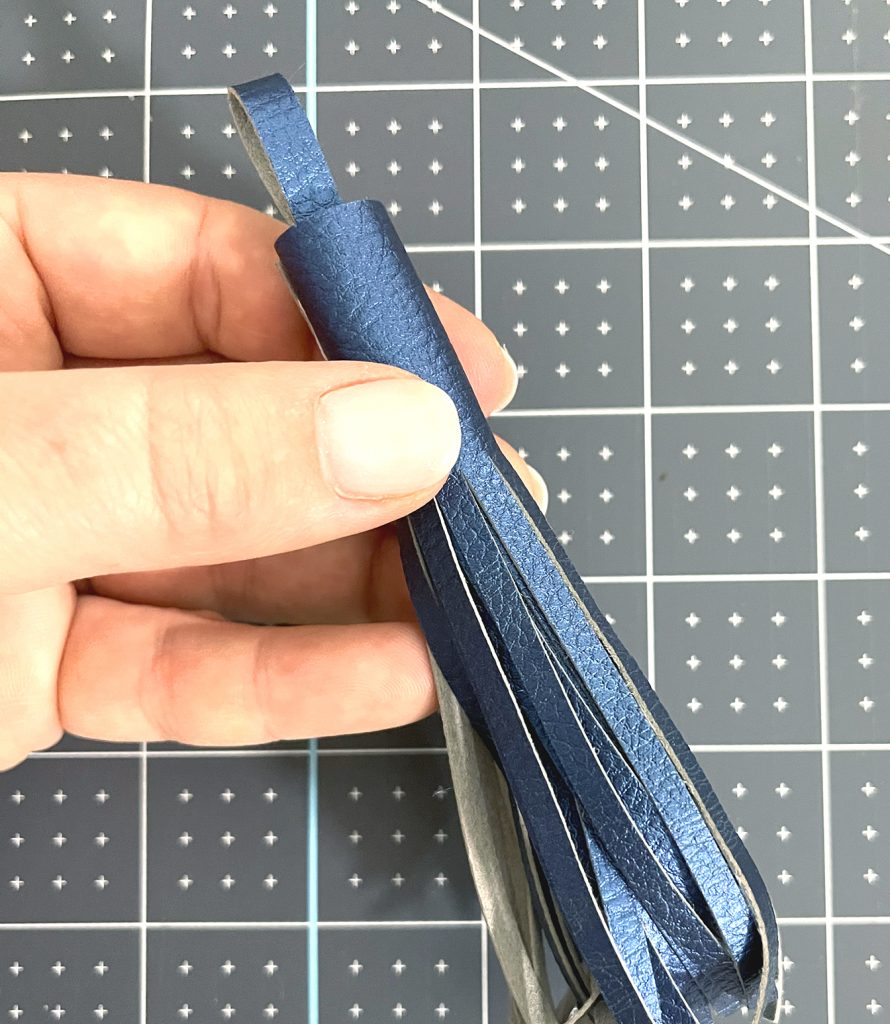
Remove the cut pieces from the mat and prepare to assemble. The long, thin piece of leather will be used for the tassel loop. Fold the strip of material in half to form a loop and then glue it down to one edge of the cut tassel top.
Roll the tassel around the loop so the loop is left in the middle of the entire tassel.
Then use the other small piece of leather to wrap around the top of the tassel. Use glue to hold in place. Allow to dry.
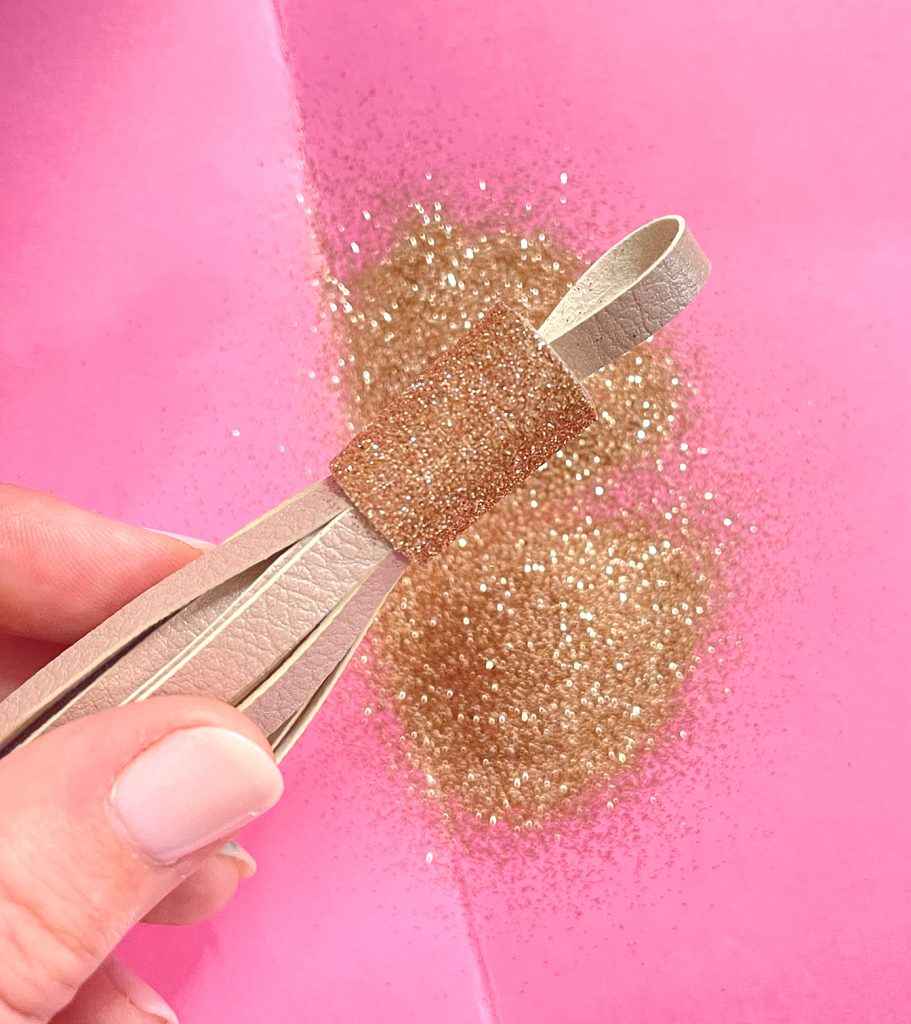
After the tassel is totally dry, it’s time to add glitter!
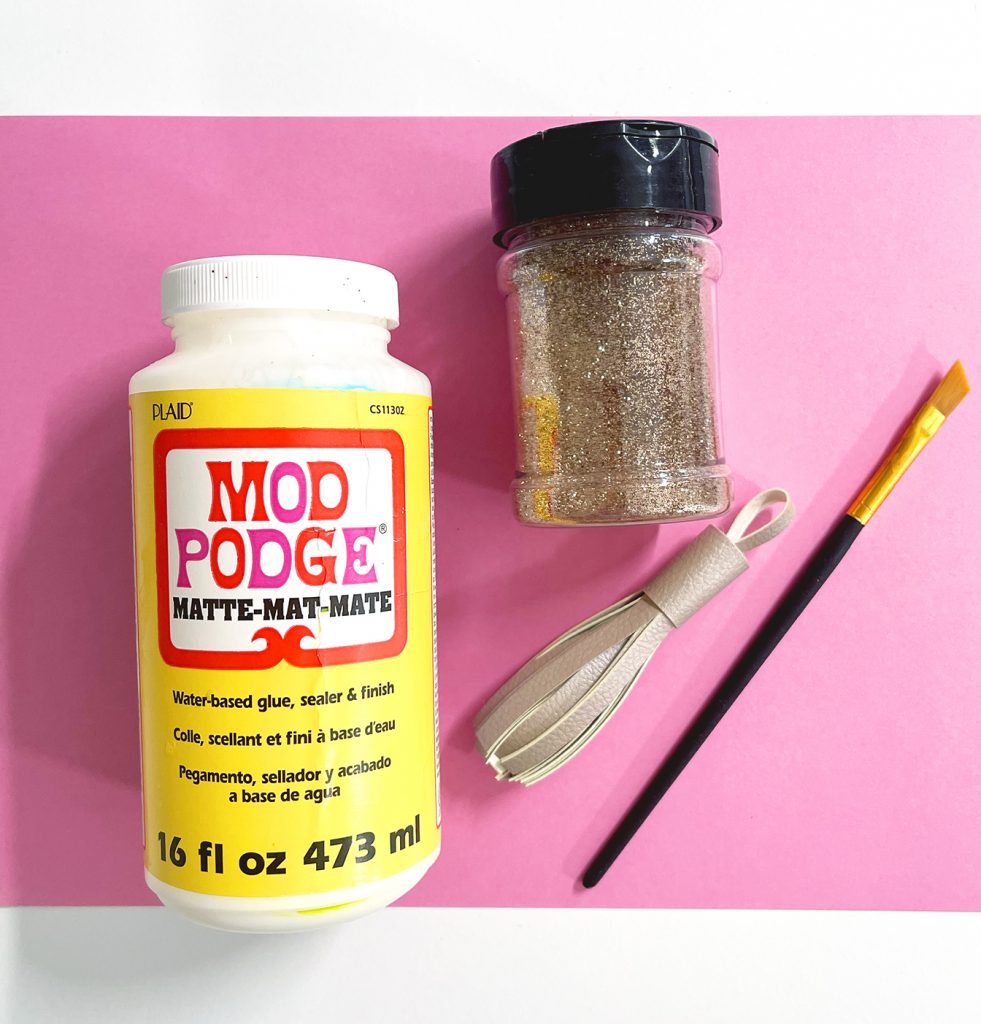
Use a small brush to cover the top of the tassel with Mod Podge. Sprinkle glitter to coat. Allow to dry and repeat with additional layers of glitter as necessary. Finish with a top coat of Mod Podge and allow to dry completely.
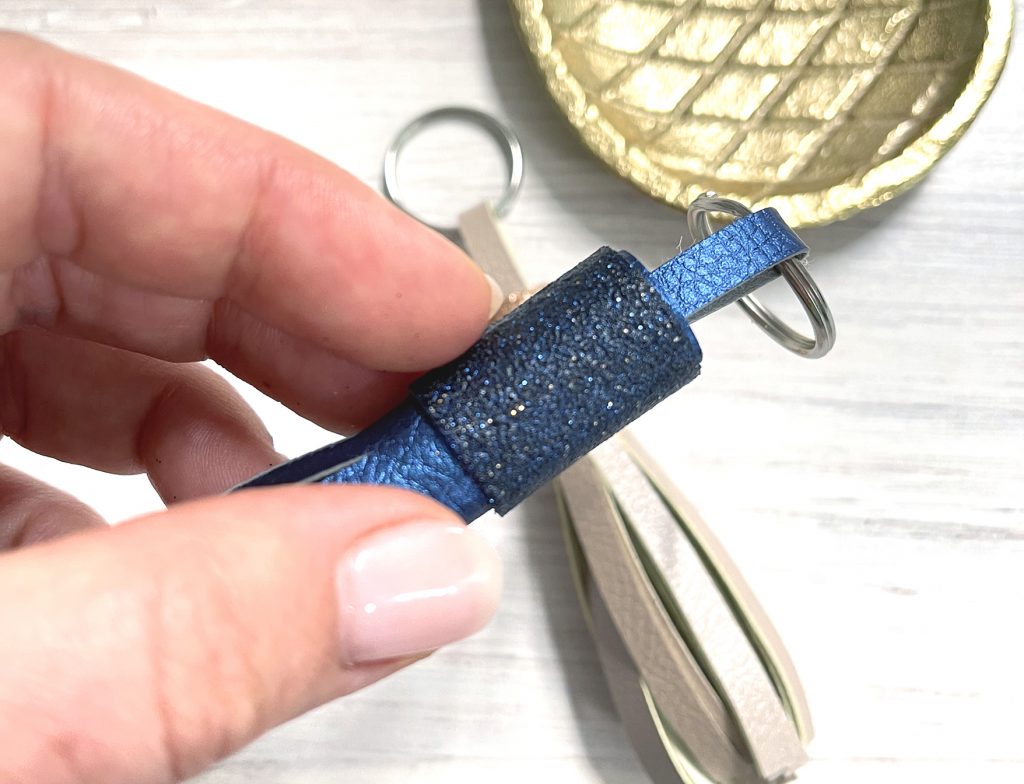
Attach a keyring to tassel loop and use with other keychain accessories, luggage tags, or attach a ribbon and use as a bookmark!
How to Make Glitter Leather Tassels without a Cricut
Select your material and cut to the following dimensions:
- Large Tassel: 4″ x 7″; 1″ x 3″; 1/4″ x 3″
- Small Tassel: 6″ x 3.5″; 1″ x 2.5″; 1/4″ x 3″
Cut the tassels every 1/4-1/3″ while leaving about 1″ at the top of each piece. Follow the directions above to assemble.

LATEST POSTS:
- Wicked Coloring Pages to Print for Free
- Free Thanksgiving Turkey Coloring Page Printable
- Free Printable Thanksgiving Meal Planner & Grocery List
- xTool M1 Ultra Beginner’s Guide and Review
- Free Best Dad Ever Father’s Day Coloring Page
Download Free Leather Tassels SVG File
This file is DOWNLOAD #239 in my FREE DOWNLOADS LIBRARY.
Get the password below! (If you have the password, head over to the library to download the file.
Free SVG files available for download are for PERSONAL USE ONLY. SVG and DXF files are included to use with Cricut Design Space & Silhouette Studio. Upgraded versions of Silhouette Studio can import SVG files.
Pin DIY Glitter Leather Tassels Tutorial


ABOUT CHARYNN
Hi, y’all! I’m Charynn, the owner and designer of Pineapple Paper Co. I’m a mom of four kids (two girls and two boys) living in Pittsburgh. I love hand lettering, anything southern, cocktails, and of course, pineapples! I am excited to share my SVG files, printables, and craft projects with you! The pineapple is a symbol of hospitality, and I welcome y’all to my little corner of the internet. Read more…