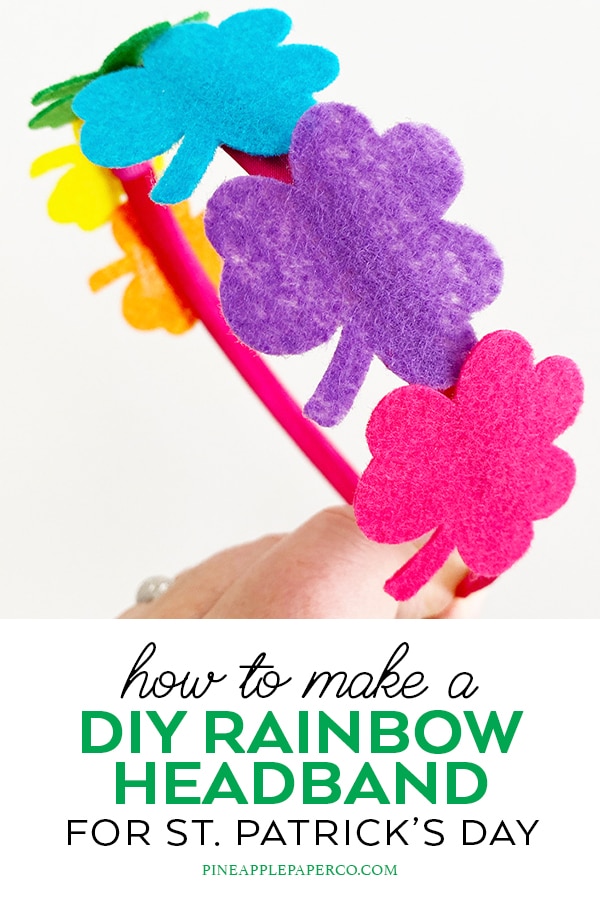
DIY Rainbow Shamrock Felt Headband
This post and the photos within it may contain affiliate links. As an Amazon associate I earn from qualifying purchases. If you make a purchase through one or more of the links, I may receive a small commission at no extra cost to you.
Need an easy rainbow craft for St. Patrick’s Day? Make this DIY Rainbow Shamrock Headband in just a few minutes with a spare headband and some scrap felt. Use an electronic cutting machine like your Cricut or Silhouette and make it even easier!
St. Patrick’s Day is just around the corner, and even if you’re celebrating at home this year, this rainbow craft is sure to brighten your day. It’s an easy craft that you can file away for St. Patrick’s Day parties next year, just like my easy Pot O’ Gold Craft.
This shamrock craft is part of a National Craft Week celebration with some of my blogger friends. Today’s CRAFTWEEK post is sponsored by Fairfield World. Make sure to stop by my Instagram to see all of the projects, or scroll to the bottom of the post – I’m sharing them all!
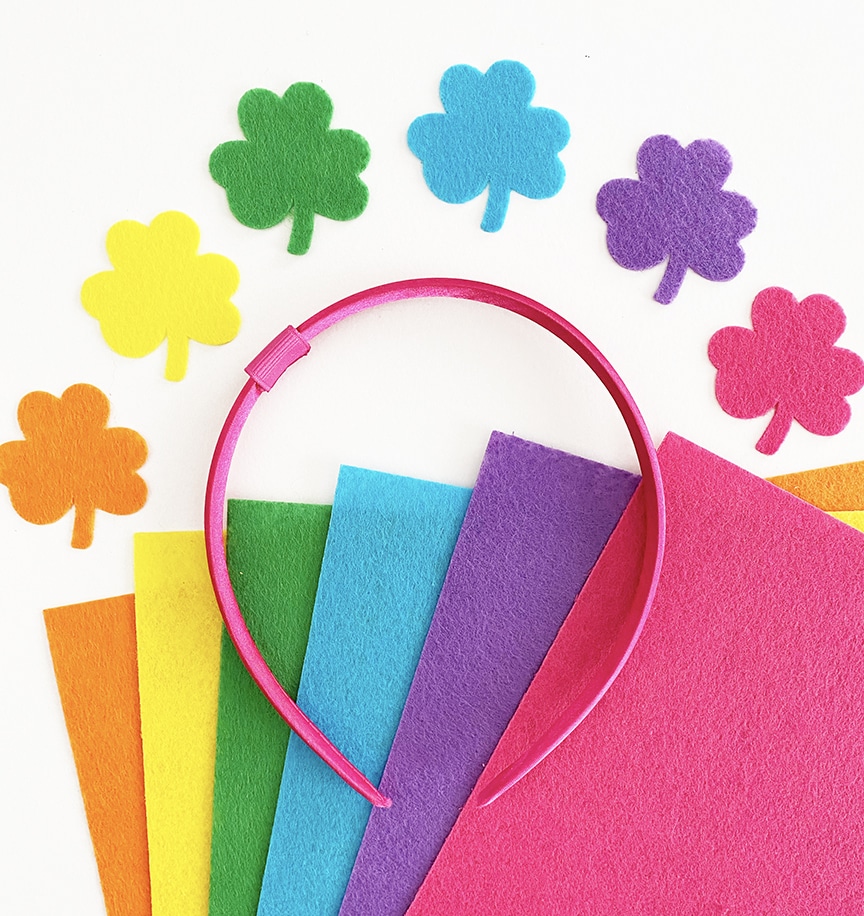
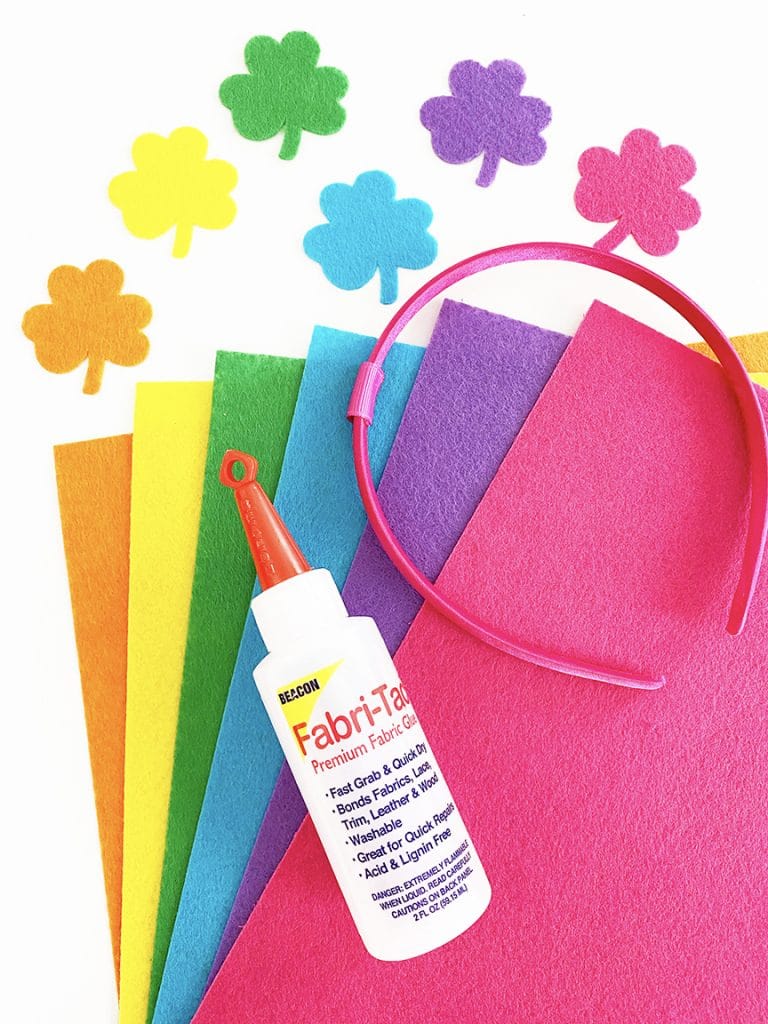
I used a variety of craft felt for this project which I cut in a few minutes using my Cricut machine. You only need a few supplies!
What you Need to Make a Felt Rainbow Shamrock Headband
- Cricut Machine
- StandardGrip Cutting Mat
- Brayer or Extra Large Scraper
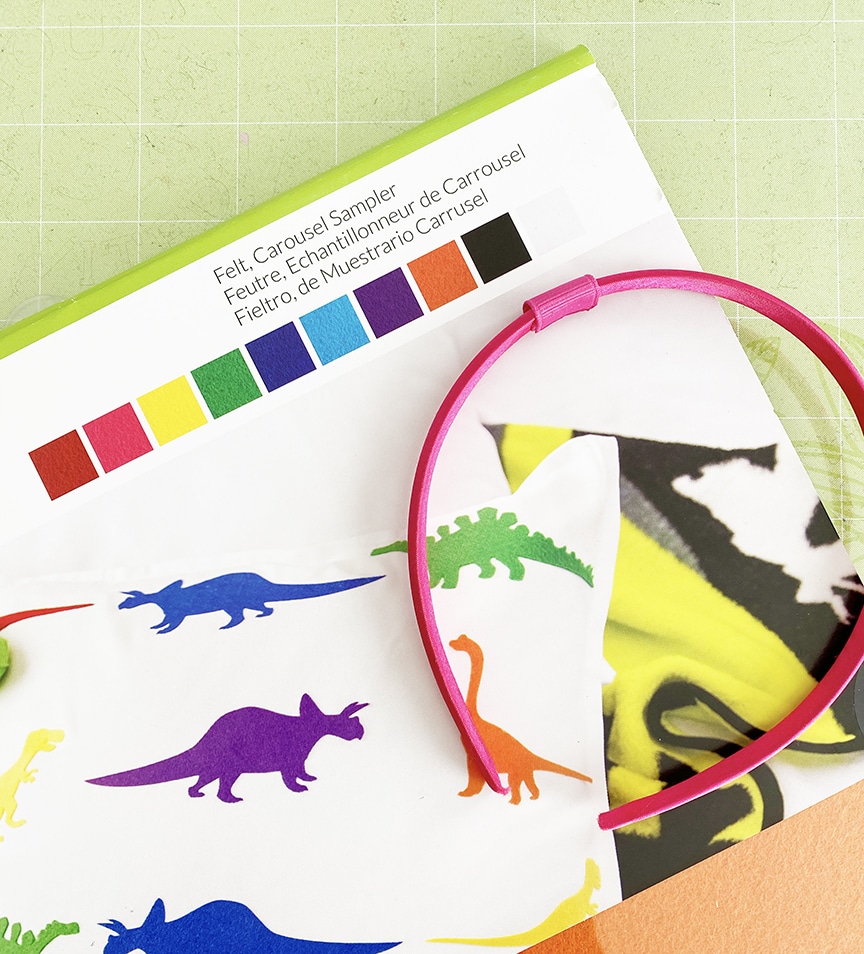
- Craft Felt in a rainbow variety of colors (the Carousel Felt Sampler Pack is a great option) – if using a Cricut, consider purchasing Cricut brand felt. It cuts cleanly with just the regular fine point blade.
- Headband
- Adhesive (Hot Glue or Fabri-Tac are great options)
This craft could easily be adapted to a hair clip, too. My daughter loved it as a headband though and can’t wait to wear it next week.
How to Make a DIY Felt Shamrock Headband
Start by gathering the felt that you’ll need. Depending on the size of headband and shamrocks you use, this is a perfect craft to use up some of your scrap pieces (if you’re a scrap hoarder like I am!)
Upload a shamrock or clover shape into Cricut Design Space, or choose a design directly from the software. There are plenty of great shamrock shapes available, especially if you are a Cricut Access subscriber. If not, you should definitely read more about it!
If you uploaded a single shamrock or used an image from Cricut Design Space, copy and paste the shape until you have enough shamrocks to fill your headband. Then change the colors of the shamrocks on the canvas so that you know how many mats you’ll need. Personally, I think switching the mat a few times is preferable to cutting down and placing all of the felt on one sheet.
Size your shamrocks to the desired size to fit your headband.
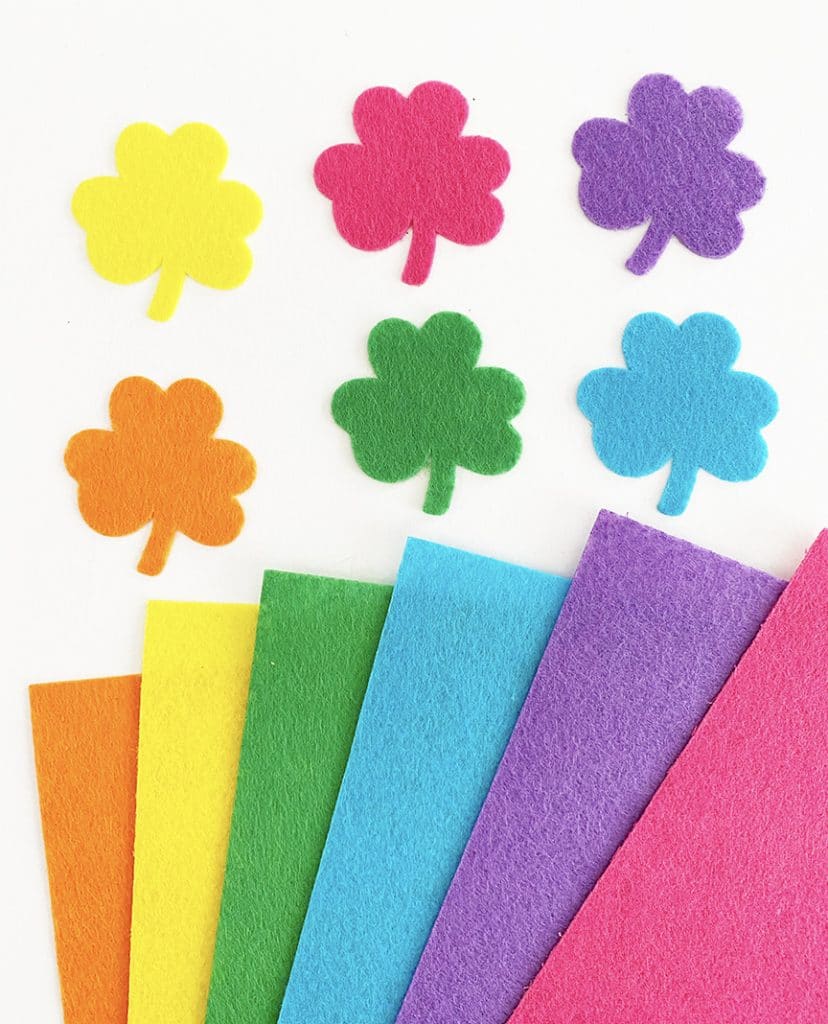
Click the green “Make It” button when you’re ready to cut, and proceed with the on screen instructions to cut out each of the colors of felt. If you’re using scrap pieces of felt, it will be easiest to use all of the same brand, so you’re not constantly changing cut settings.
Use a brayer or an XL scraper with a little pressure to make sure that the felt is securely adhered to the cutting mat. If you don’t have either of those, a credit card works as well.
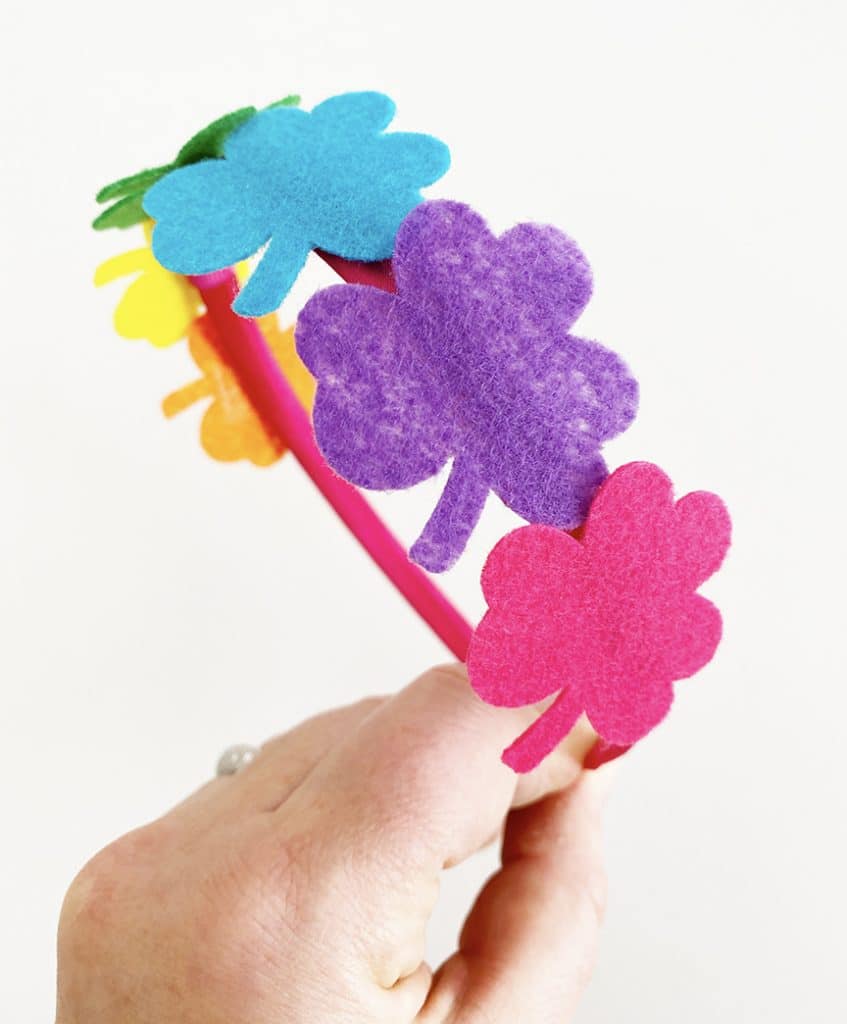
Cut all of the pieces and prepare to adhere them to the headband. If you’re in a hurry, hot glue works perfectly, but Fabri-Tac is a great option for a more professional hold.
Attach the shamrocks and let cool or dry completely, depending on the adhesive method you used.
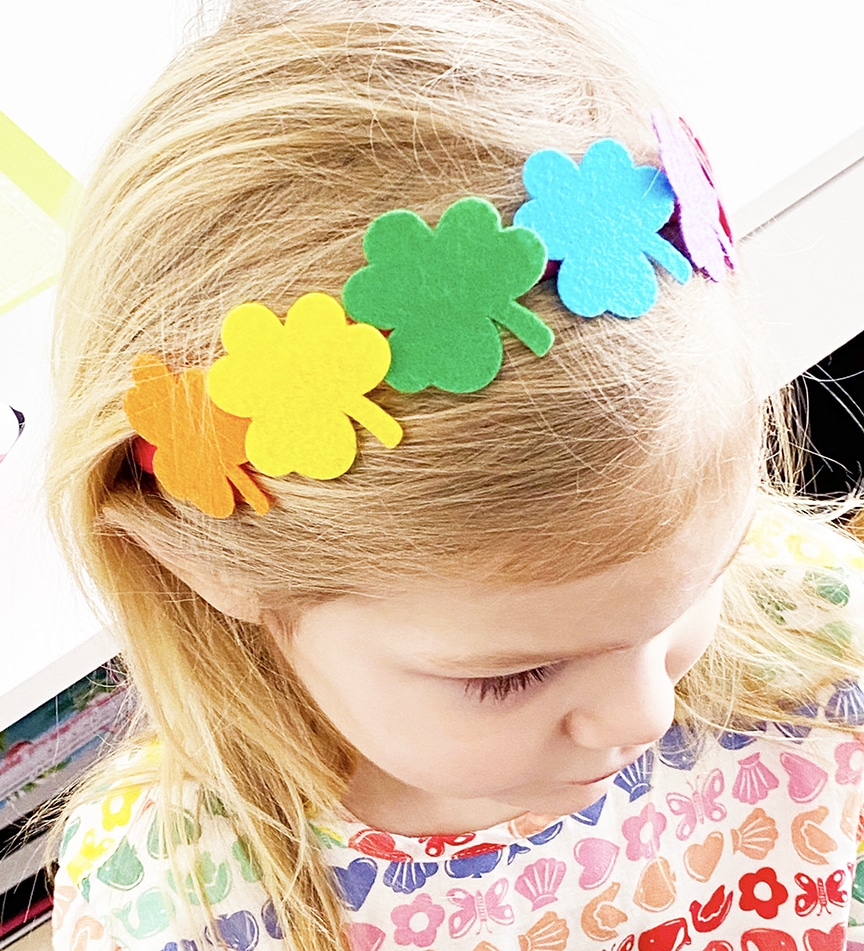
My daughter loved it, and it completed her St. Patrick’s Day outfit! Bring on all of the rainbows!
LATEST POSTS:
- Wicked Coloring Pages to Print for Free
- Free Thanksgiving Turkey Coloring Page Printable
- Free Printable Thanksgiving Meal Planner & Grocery List
- xTool M1 Ultra Beginner’s Guide and Review
- Free Best Dad Ever Father’s Day Coloring Page
To see all of the great fiber crafts my friends are making for Craft Week, check out the following links:
- No Sew Pouch – 100 Directions
- DIY Cosmetic Bags – The Country Chic Cottage
- DIY Strawberry Pincushion – Tried and True
- Bunny Butt Easter Pillow – 365 Days of Crafts
- Easter Chick Felt Plush – Beginner Sewing Projects
- Crochet Bunny Pillow – Underground Crafter
- How to Make a T Shirt into a Pillow – Try It Like It Create It
- DIY Pom Pom Blanket – Songbird Blog
- Starfish & Sand Dollar Denim Pillows – Creatively Beth
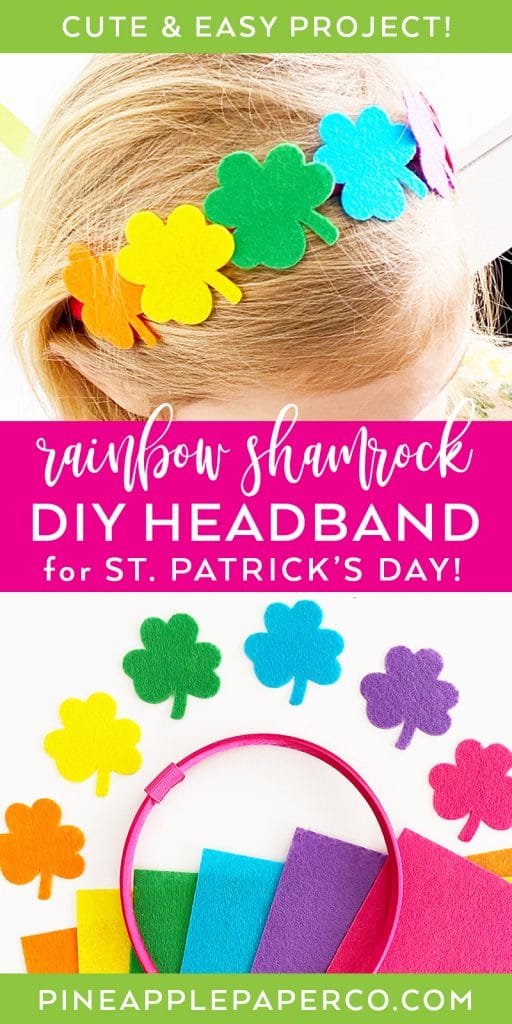
And don’t forget to pin this post for later (or next year!)
Pin DIY St. Patrick’s Day Rainbow Felt Headband


ABOUT CHARYNN
Hi, y’all! I’m Charynn, the owner and designer of Pineapple Paper Co. I’m a mom of four kids (two girls and two boys) living in Pittsburgh. I love hand lettering, anything southern, cocktails, and of course, pineapples! I am excited to share my SVG files, printables, and craft projects with you! The pineapple is a symbol of hospitality, and I welcome y’all to my little corner of the internet. Read more…