Minnie Mouse Birthday Party Banner with Cricut
This post and the photos within it may contain affiliate links. As an Amazon associate I earn from qualifying purchases. If you make a purchase through one or more of the links, I may receive a small commission at no extra cost to you.
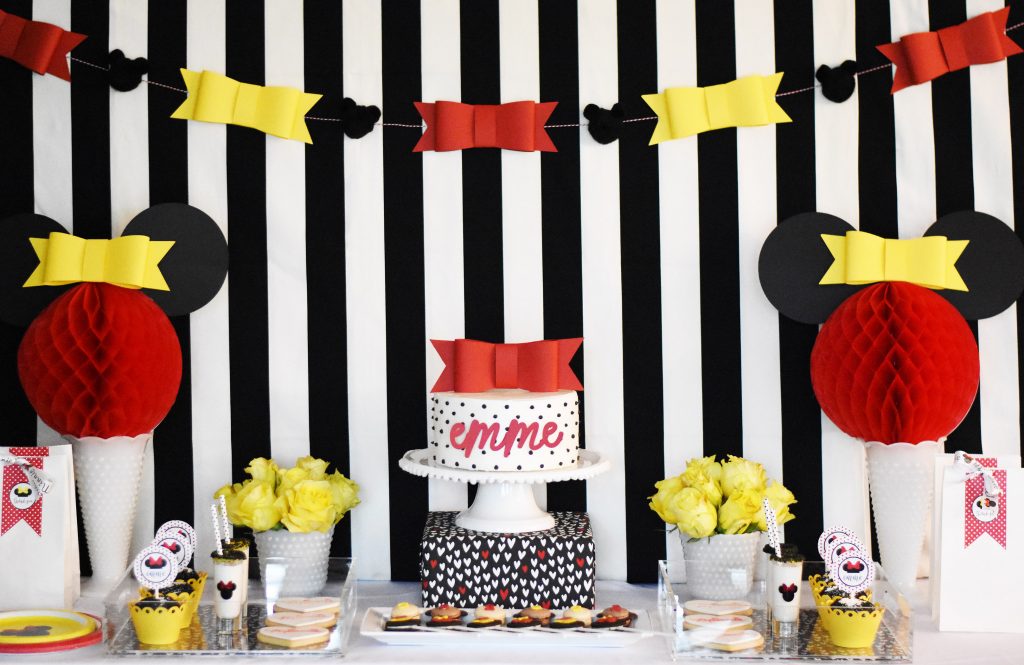
Looking for Minnie Mouse Birthday Party Ideas? Yesterday we shared the adorable Minnie Mouse birthday party that we designed using the Cricut Explore Air 2. Well today I’m going to share how to make the 3D Bow and Minnie Birthday Banner that I used for the dessert table! Making Minnie Mouse Birthday Party supplies can be easy – and still make a huge impact! Keep reading to make this Minnie Birthday Banner!
Make your Own Minnie Mouse Birthday Party Banner Decoration
This post and the photos within it may contain affiliate links. If you make a purchase through one or more of the links, I may receive a small commission at no extra cost to you.
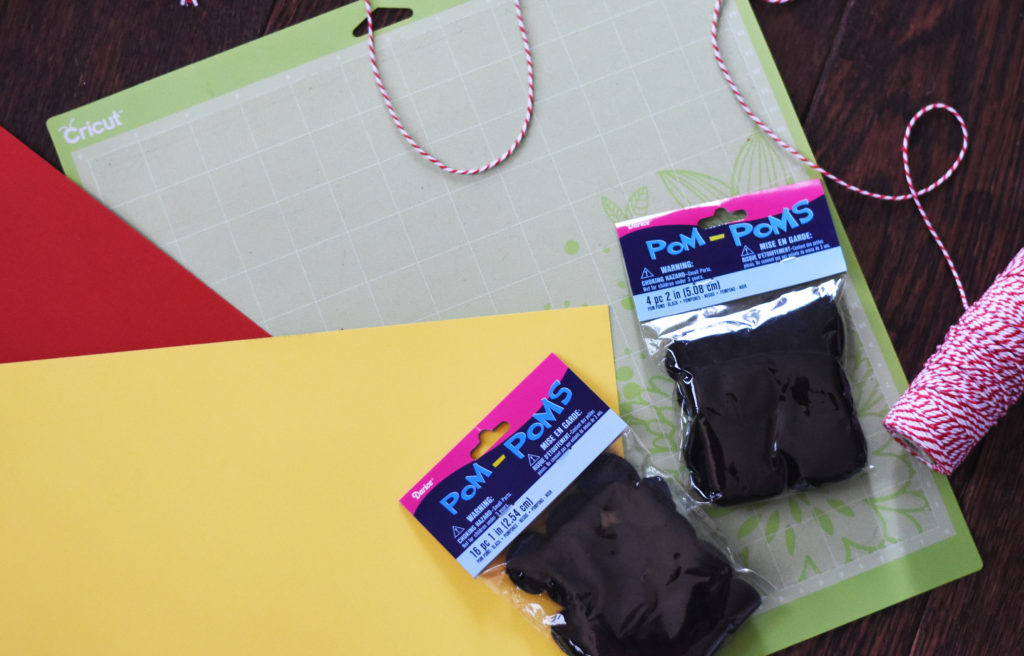
Supplies you Need to make a Minnie Mouse Birthday Banner Decoration:
- Cricut Explore Air 2 or Cricut Maker (Shop Cricut Maker on Cricut | Amazon)
- 12×12″ Cricut cutting mat
- Red and Yellow Cardstock
- Black Pom Poms (in 2 sizes–2″ for the Mickey silhouette head, and 1″ for the ears)
- Twine/Ribbon/something to string your banner on
- Hot glue gun
Related Post: DIY Minnie Mouse Birthday Party Ideas with FREE MINNIE SVG
DIY Minnie Birthday Banner Tutorial
First, you need to cut all of the 3D bow pieces out. I used a Cricut Design Space Cartridge file called “Leather Bows” which had a 3D bow that fit the look I wanted. In order to make the bows oversized, you need to squeeze as much space out of the 12×12″ Cricut mat that you can. This is what my Design Space cut file looked like:
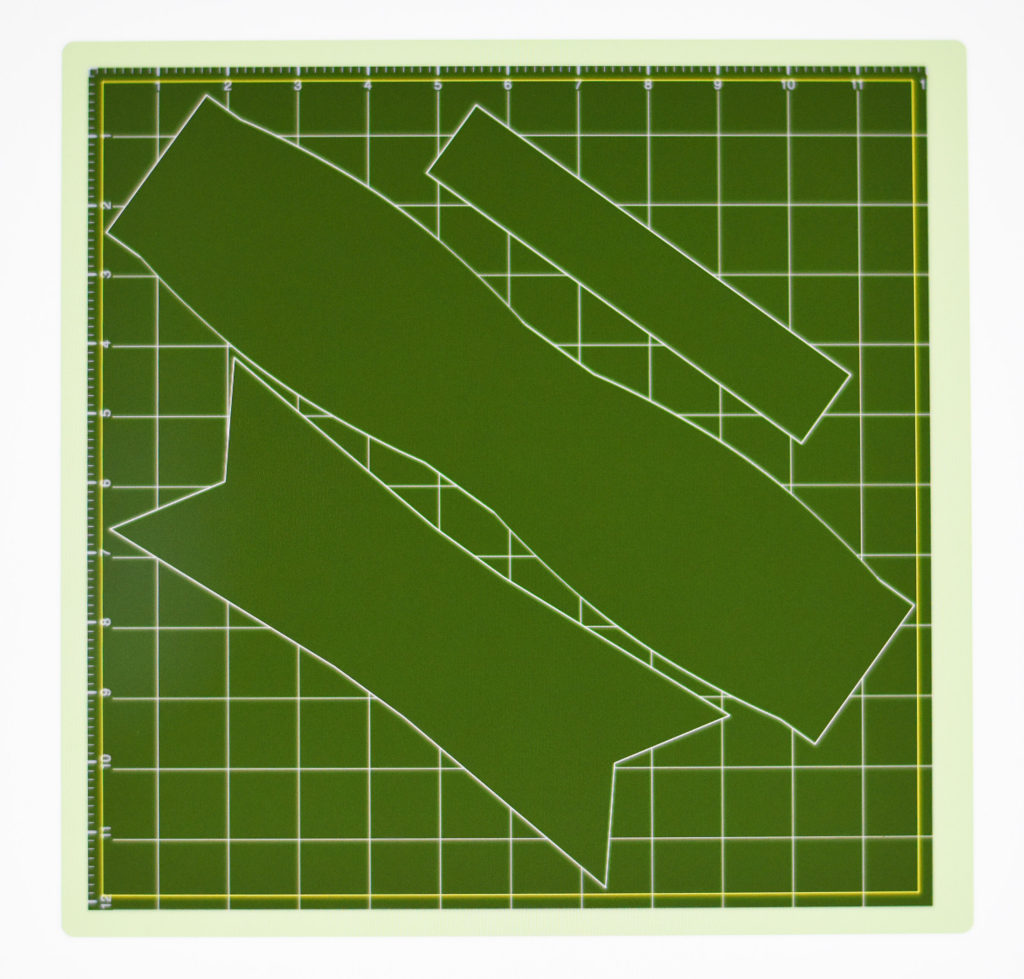
You can always gain a little more real estate on your mat by placing your cut file at a diagonal 🙂
For the banner, I cut out 3 red bows, and 2 yellow bows. Now break out the glue gun and start assembling your bows:
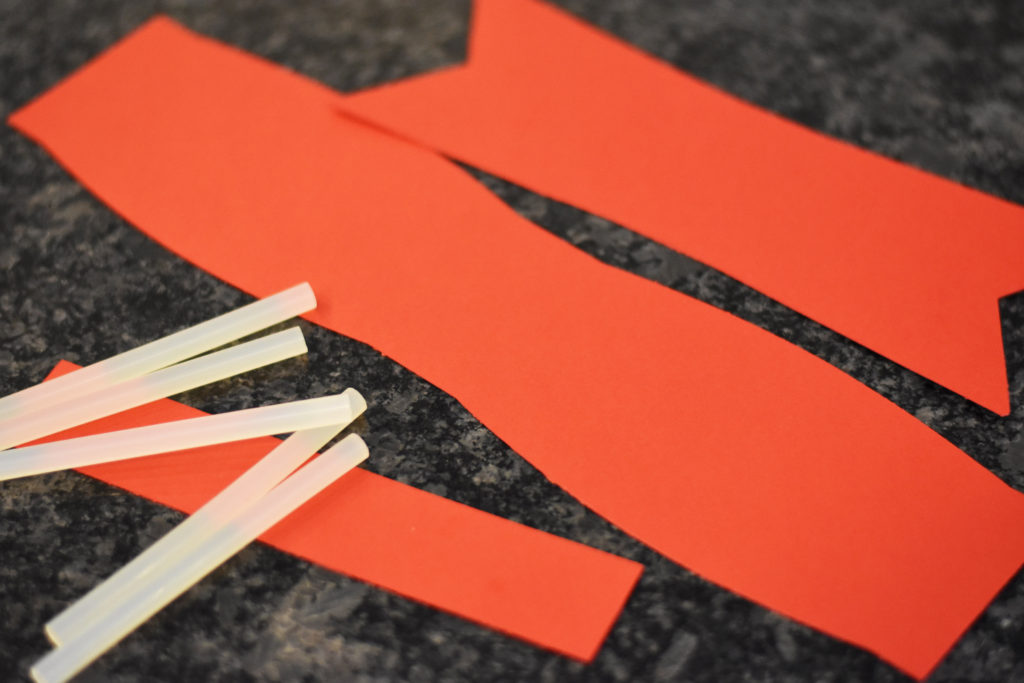
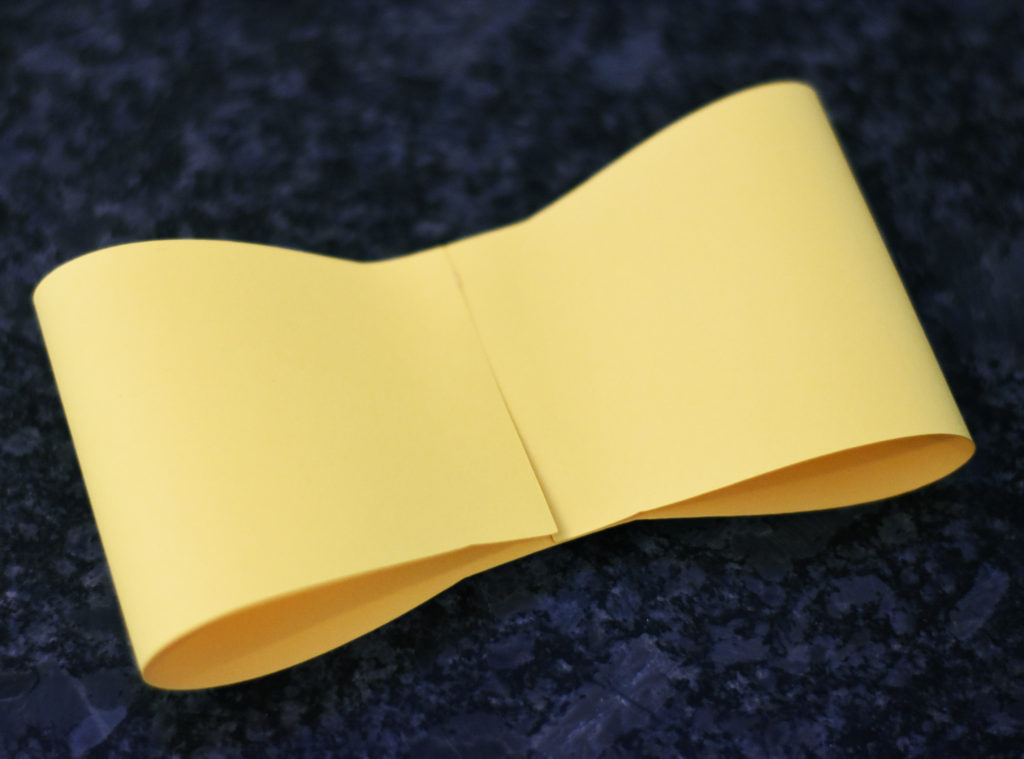
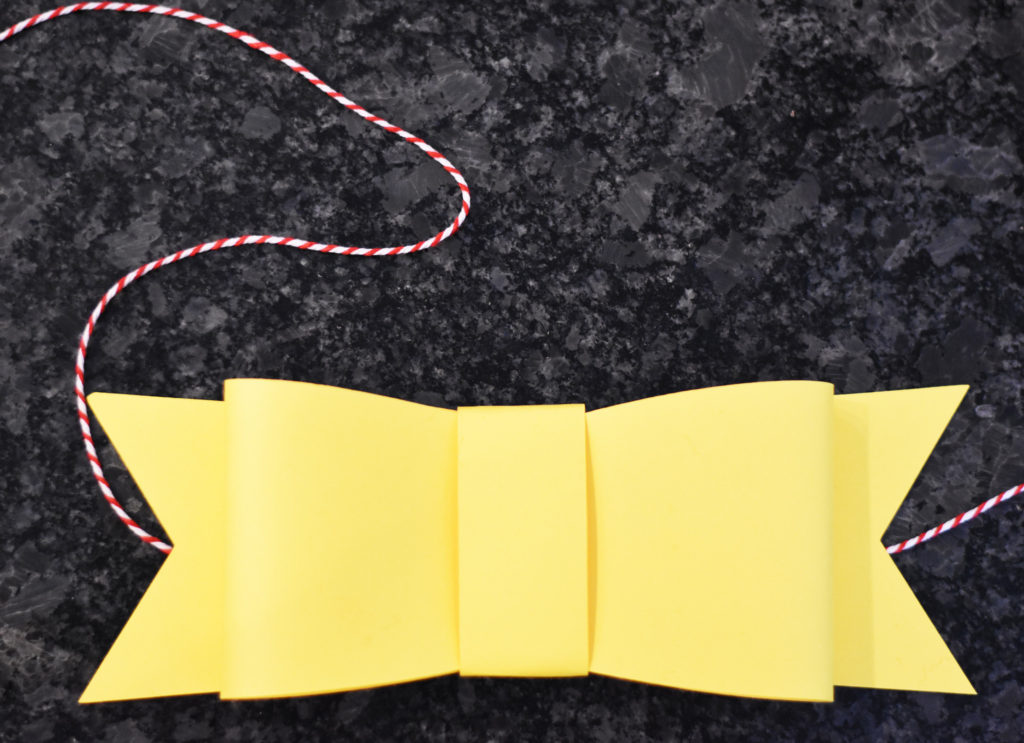
Start with the largest section of the bow and glue the ends into the middle, forming the bow loops:
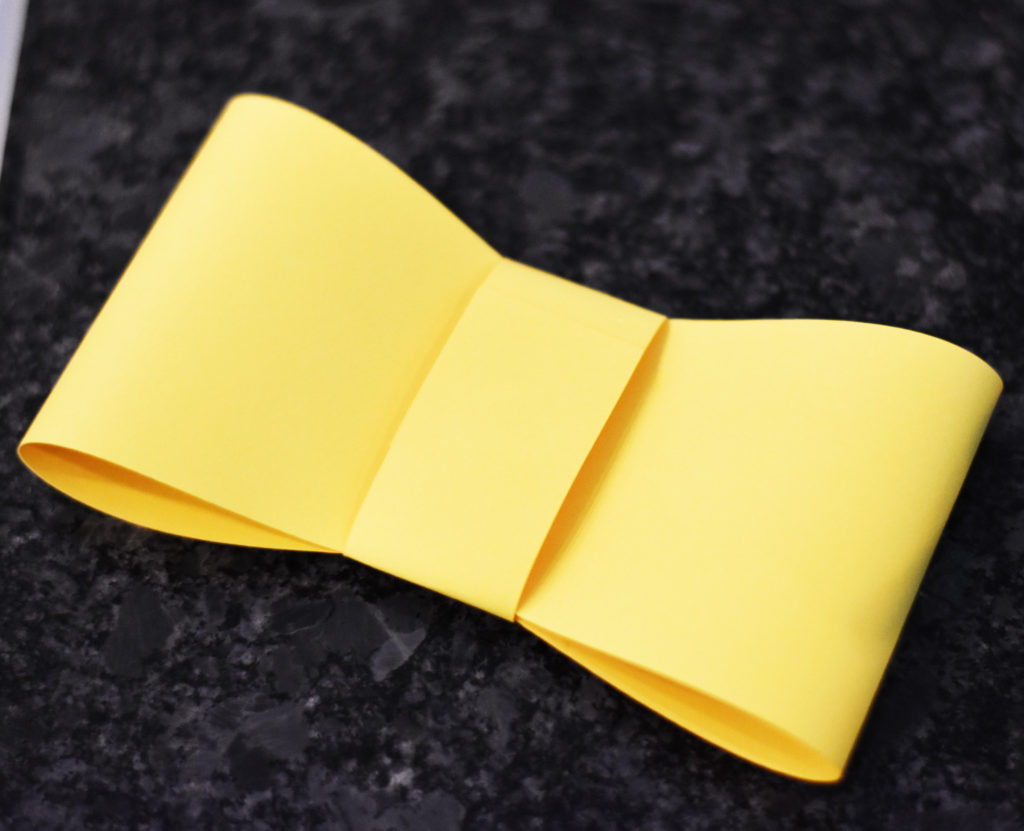
Next, attach the bow “band” by looping it around the middle, and gluing in the overlap (you can see the seam toward the top of the placed band):
Then flip it over so the seams are down and glue the bow to the ribbon “end” piece, right in the center:
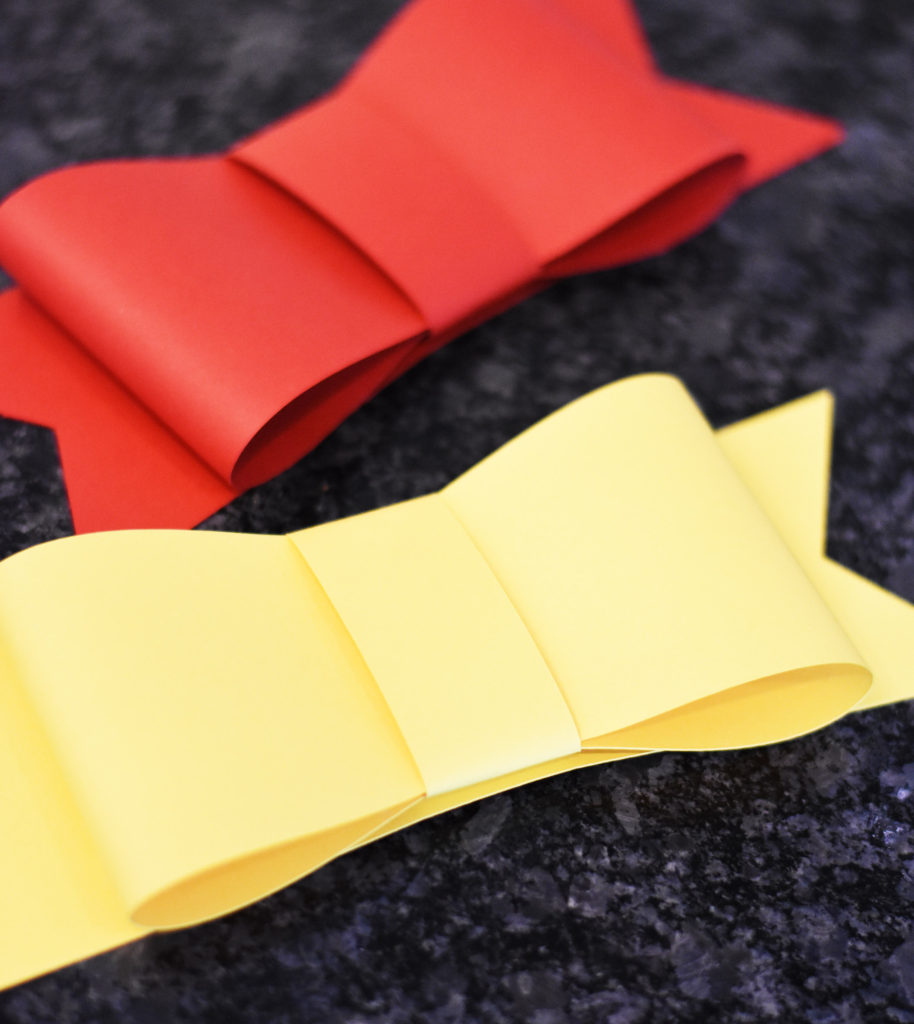
Repeat until all 5 bows are complete!
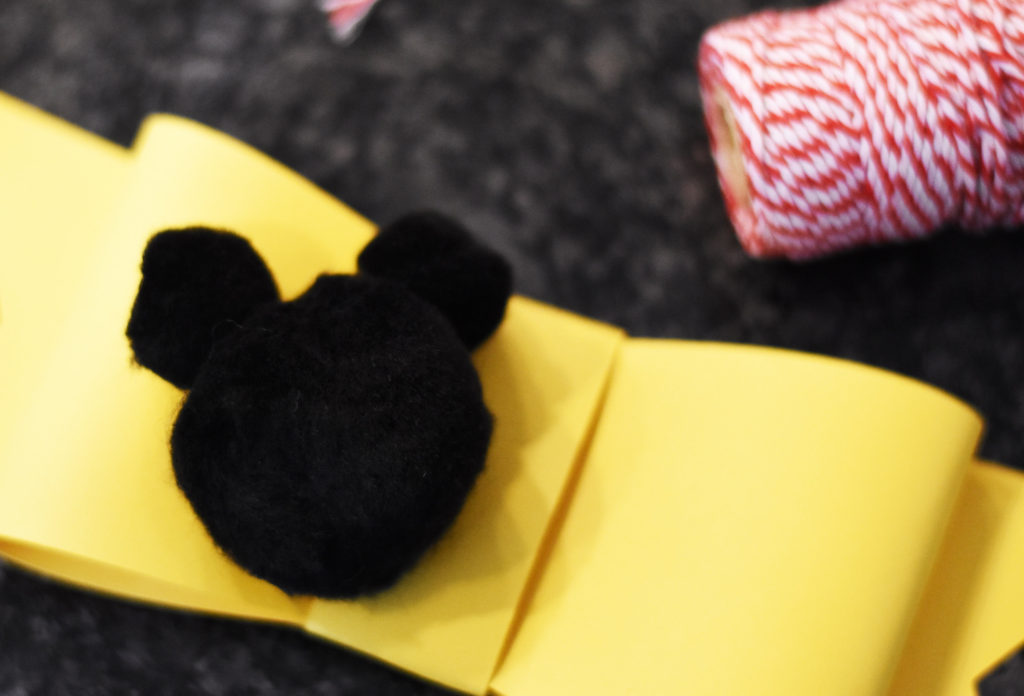
Next, glue the small black pom pom balls onto the larger one to resemble a Mickey silhouette:
Measure out how much twine or ribbon you need for your dessert table, and lay out the 3D bows and pom pom Mickeys to get them even before you glue them on. Then, using hot glue, attach all of the pieces to make a banner:
Attach to your dessert table backdrop, and you’re set!

I would have never attempted to make a banner like this on my own before getting my Cricut machine! It truly did not take more than 30 minutes or so to assemble the banner, and I loved how it turned out!
LOOKING FOR MORE PARTY IDEAS? I THINK YOU’LL LOVE THESE POSTS:
Magical Unicorn Birthday Party with Martha Stewart, Cricut, and Michaels
Host an Outdoor Party with Martha Stewart, Cricut, and Michaels
Flamingo and Pineapple First Birthday Party Ideas
Dinosaur Birthday Party with Martha Stewart, Cricut, and Michaels
American Girl Birthday Party Ideas
The Best Mermaid Birthday Party Ideas


This turned out fab!!
Love it!