Make a DIY Christmas Merry and Bright Sign + FREE SVG
This post and the photos within it may contain affiliate links. As an Amazon associate I earn from qualifying purchases. If you make a purchase through one or more of the links, I may receive a small commission at no extra cost to you.
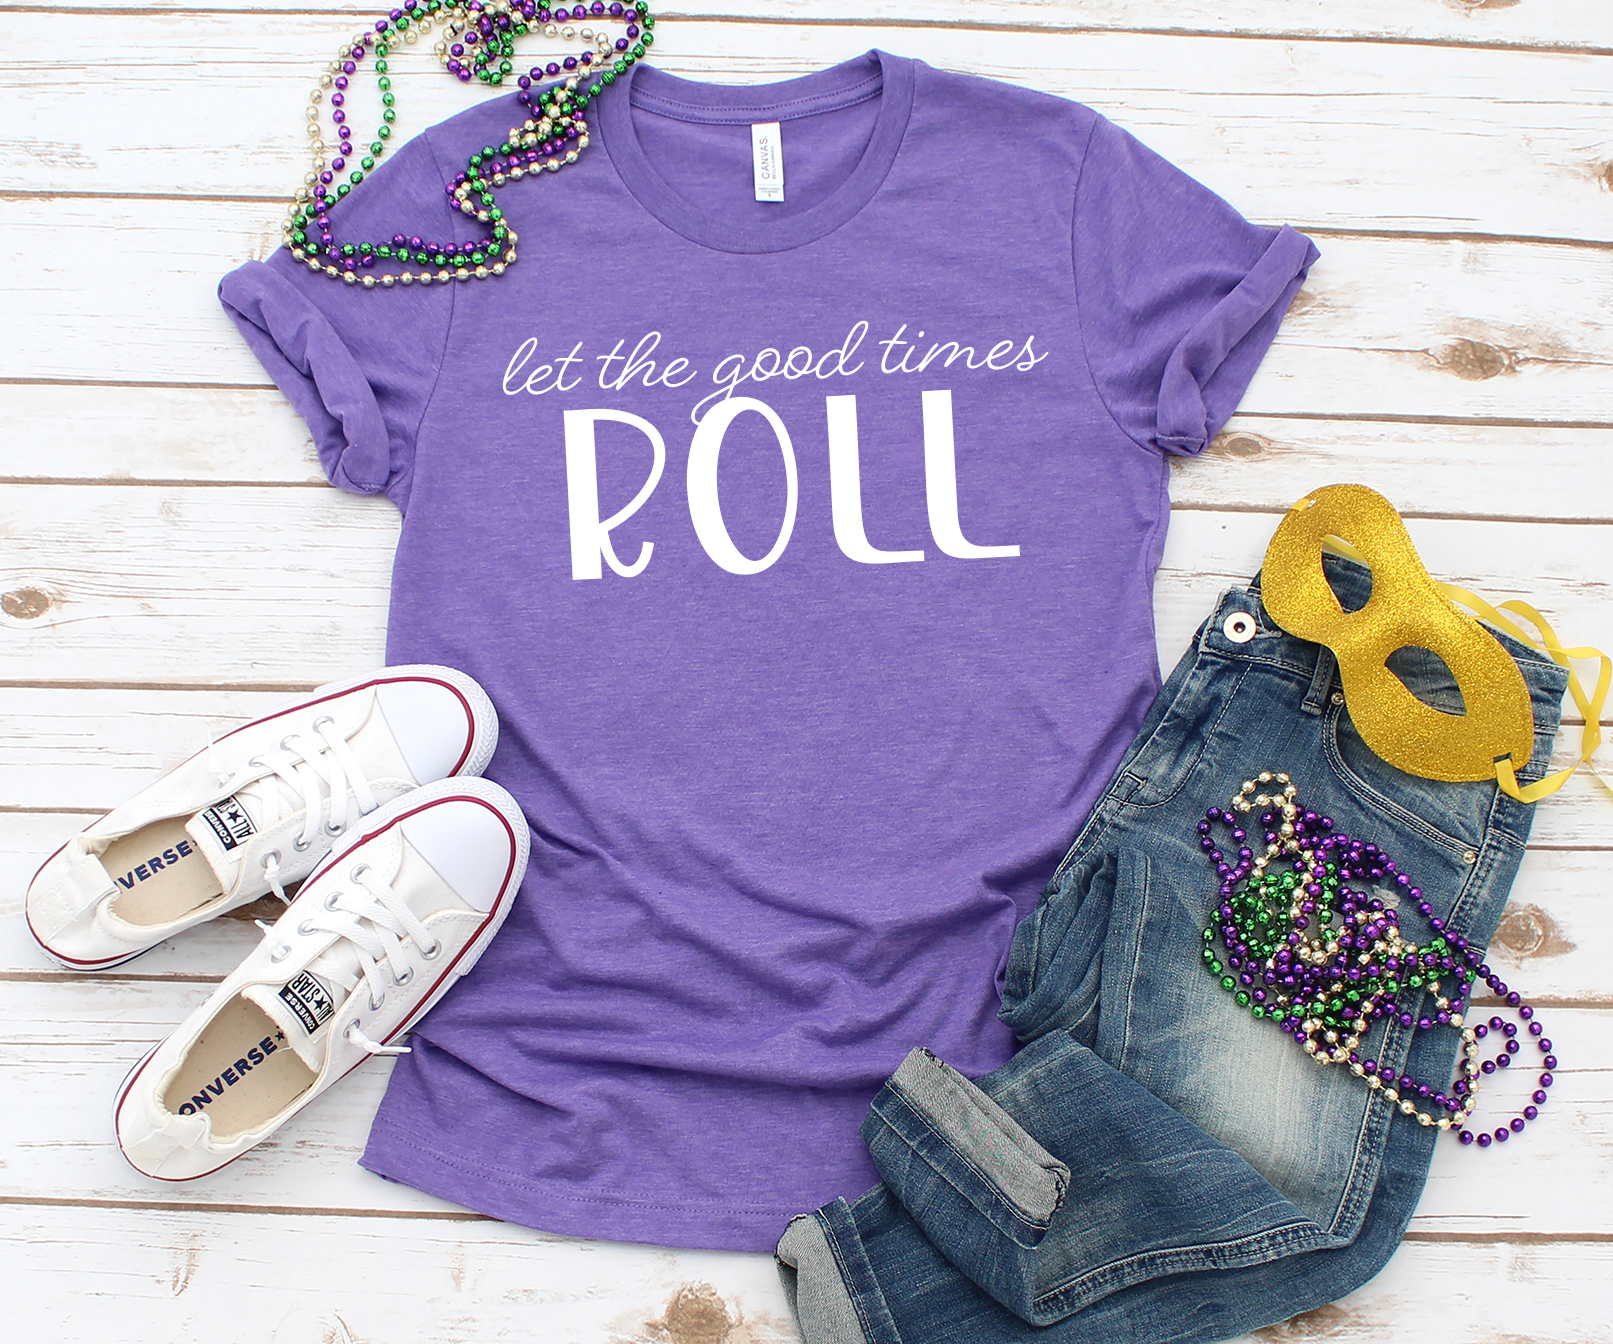
Use our FREE Merry & Bright Christmas SVG to make this DIY Flamingo Christmas Merry and Bright Sign, DIY Christmas Shirts and tons of other DIY Christmas crafts with your Cricut or Silhouette cutting machine.

This post and the photos within it may contain affiliate links. If you make a purchase through one or more of the links, I may receive a small commission at no extra cost to you.
One of my favorite activities throughout the year is participating in Craft Lightning because who doesn’t love quick crafts? This time the event is being hosted by my friends and fellow bloggers: Angie from The Country Chic Cottage, Carolina from 30 Minute Crafts, Jen from 100 Directions, and Jessica from Mad in Crafts. They gather a group of bloggers that each submit crafts and then we all link them up so you can have tons of DIY craft inspiration. This month we are all sharing Holiday crafts made with our Cricut machine! I made this darling Christmas Merry and Bright sign with a Flamingo Santa! You can make this DIY Christmas Sign with our FREE Merry & Bright Christmas SVG and a flamingo image from Cricut Design Space.
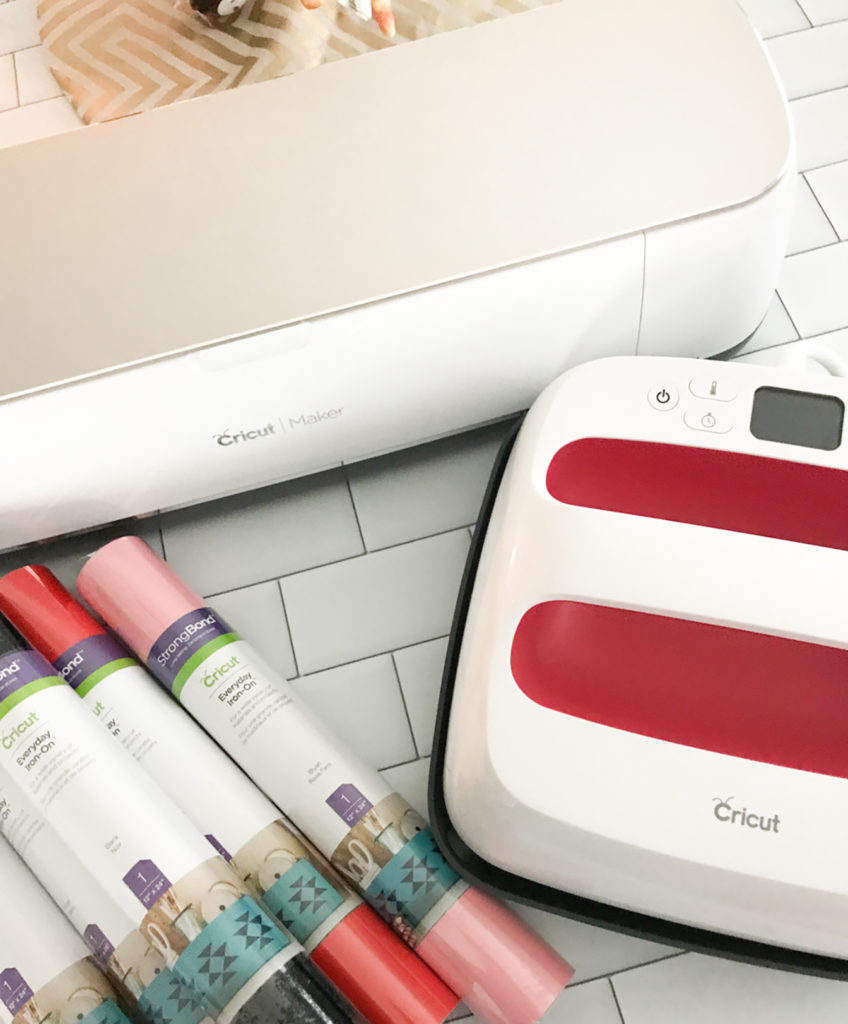
What you Need to Make this DIY Christmas Merry and Bright Sign
–Cricut Iron On in the following colors: Pink, Blush, Red, Black, and White
–Blank or Pre-Finished Wooden Sign
–Black and White Ribbon, or other colored ribbon
How to Make a DIY Christmas Merry and Bright Sign
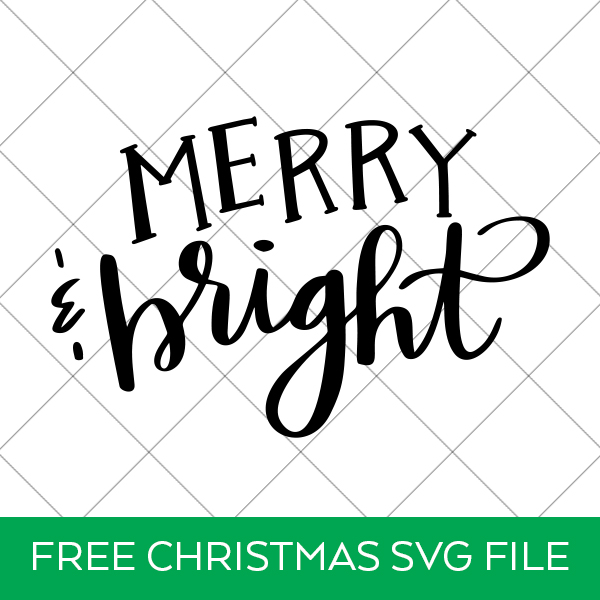
This Merry and Bright Sign will consist of two different images: the Santa Flamingo image from Cricut Design Space, plus the Merry and Bright SVG that you can upload below. I have created the Merry and Bright SVG as a single unit so that it can be used by itself for tons of other DIY Christmas Crafts!
Download Merry and Bright FREE Christmas SVG
This file is DOWNLOAD #008 in my FREE DOWNLOADS LIBRARY.
Get the password below! (If you have the password, head over to the library to download the file.
Please use this FREE Christmas SVG for Personal Use Only
After downloading the SVG File, you’ll need to upload it into Cricut Design Space by clicking the “Upload” button in the left column. Should you wish to make the DIY Christmas Sign as pictured, you’ll need to slice the “Merry and Bright” image to make it into two separate pieces. Then add the flamingo Santa image from Cricut Design Space. You can also access the Flamingo Santa image that I have optimized for layering iron-on vinyl HERE.
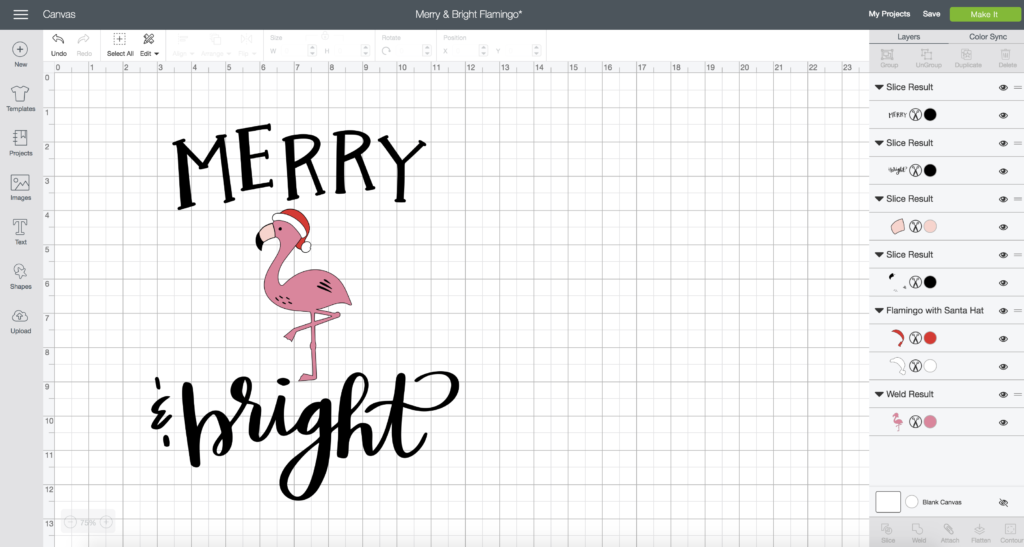
Size the whole image to fit your sign (or shirt!) by clicking “Select All” (in the top bar) and then dragging to resize.
When you’re ready to cut your design, click “Make It.”
*Make sure that you Mirror ALL of the mats/colors before cutting if you are using Iron On!*
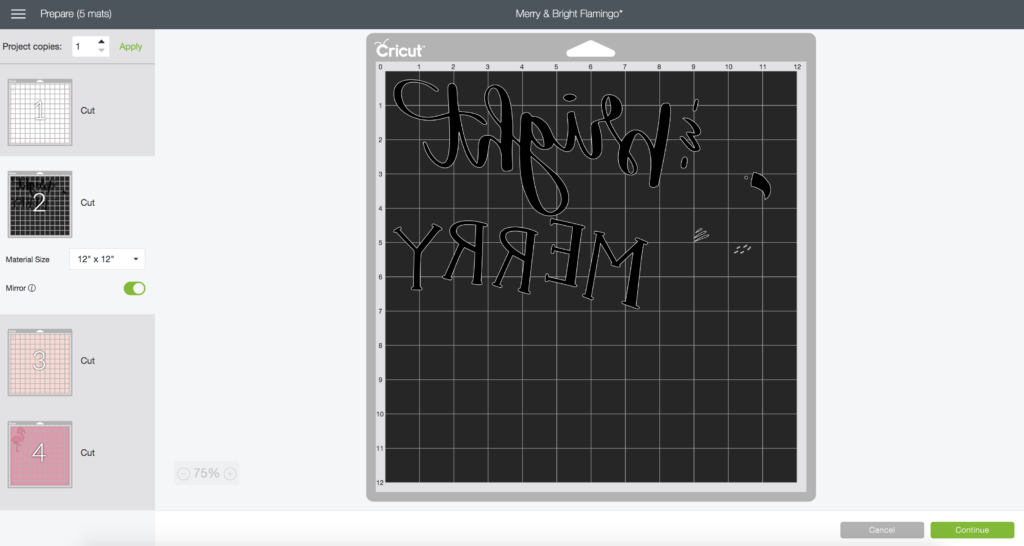
After you’ve cut out all of the design pieces, weed away all of the unneeded Iron On.
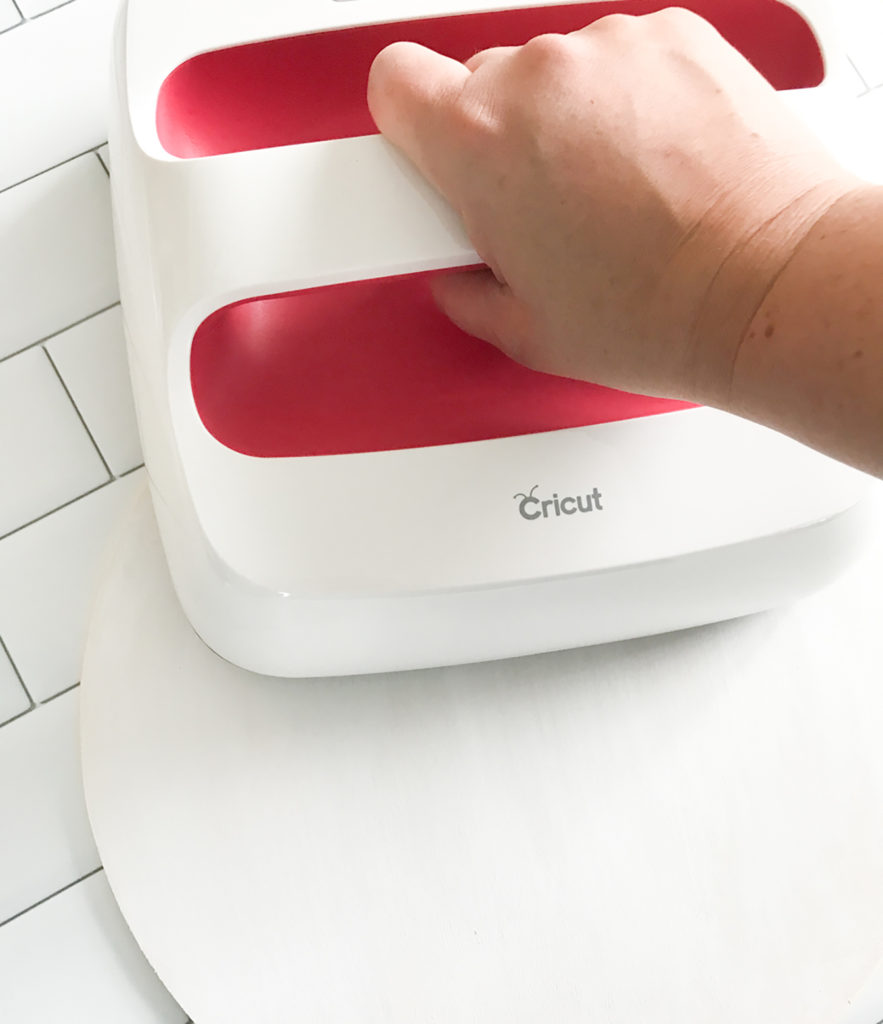
Preheat your EasyPress to 300 degrees if you’re using Iron On + wood. If you’re using other materials, check the Cricut EasyPress Recommended Settings chart HERE.
Place the images on your wood sign (bottom layer first).
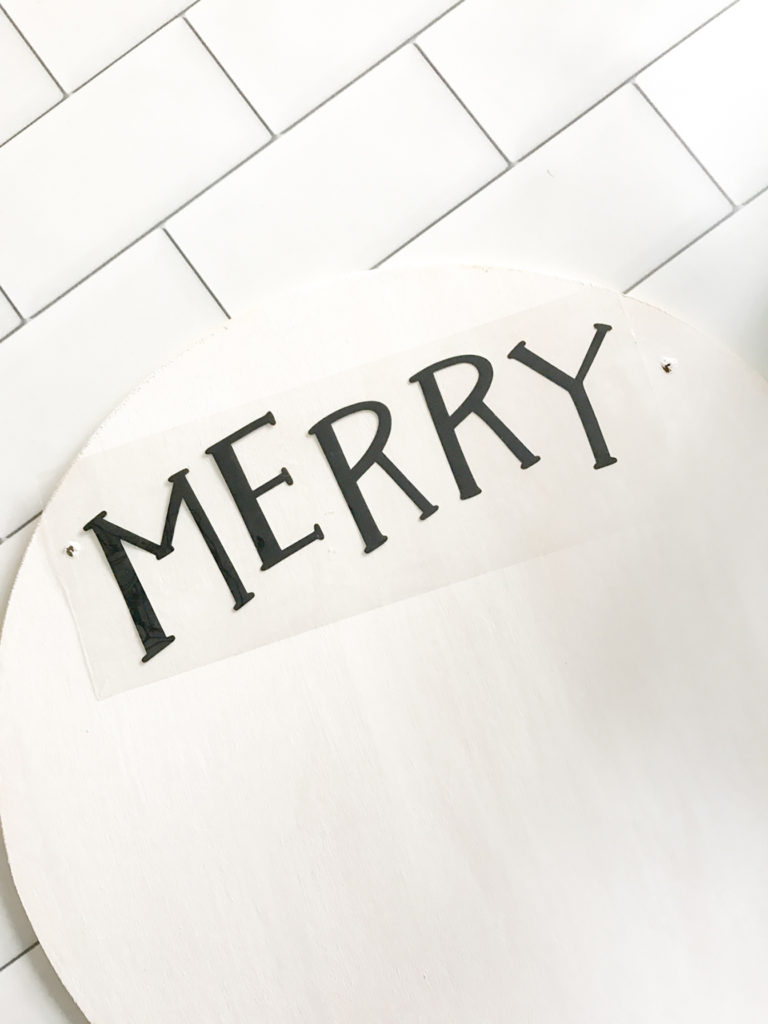
Press on the wood for 40 seconds using the EasyPress.
Continue with the iron on layers. Use the Cricut Iron On Protective Sheet to cover the bottom layers as you iron on the top to make sure that you don’t accidentally overlap any of the plastic carrier sheets under the upper layers of Iron On.
Place ribbon in the holes and hang your sign!
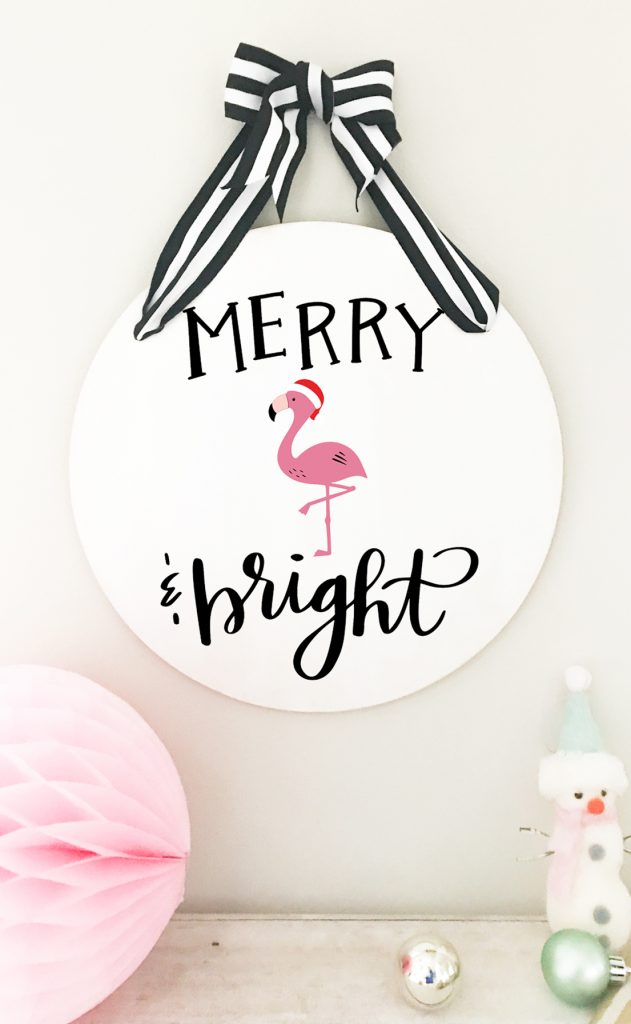
I adore how this DIY Merry and Bright Sign came out! It’s perfect for a non-traditional Christmas display, or even for a kid’s room!
Looking for more Christmas DIY Crafts? I think you’ll love these other posts:
Craft Lightning DIY Christmas Tags
12 Days of Christmas Sock Countdown Calendar
Christmas Monogrammed Tote Bag
Find the rest of our FREE SVG Files in our FREE DOWNLOAD SECTION


Love that little Santa flamingo!
Thank you! I’m a sucker for flamingoes!
Love your Merry & Bright Flamingo sign. The question I have is when I purchase the unfinished disc and paint it, is there a special paint that you have to use in order for the HTV to adhere. I’m new to the crafting with my Cricut. I was thinking of painting the disc either a satin or glossy white. Your thoughts would be greatly appreciated!!! 🙂
I used Martha Stewart White Acrylic Craft Paint and it sort of sinks into the wood a little bit with the first coat, and then I applied a second. I don’t have much experience using other kinds of paint, but I would avoid anything that goes on really thick, because you don’t want it to get weird when you heat it. Let me know if you have any other questions! Happy Crafting!
I love this design! But it won’t let me download 🙁 Can you tell me what the fonts are?
I just emailed you! It’s a hand lettered design 🙂