DIY Fall Pillow Using the Cricut Easy Press
This post and the photos within it may contain affiliate links. As an Amazon associate I earn from qualifying purchases. If you make a purchase through one or more of the links, I may receive a small commission at no extra cost to you.
Decorating for Fall is one of my favorite things to do this time of year. Today I’m sharing one of my favorite DIY projects I’ve done so far with my new Cricut Maker: a fall pillow! For this project, I was so excited to use the brand new Cricut Easy Press, which is a portable heat press that has the consistency of a standard heat press, but the portability of a household iron. (Update!!! The EasyPress 2 is now available with 3 different sizes!) Using both of these new crafting tools, I was able to make a professional looking pillow in about a half hour. However, it’s not as versatile as some of the more durable products on the market. If you’re planning a heat press for things like cups, hats, and plates then check out this Mophorn Heat Press Review. However, if you’re keeping it simple for pillows then it won’t matter which you use.

This post and the photos within it may contain affiliate links. If you make a purchase through one or more of the links, I may receive a small commission at no extra cost to you.
Materials used for this DIY Fall Pillow:
-Pillow Cover (18×18″) – HERE’S the one I used.
–18″ Pillow Insert
–Cricut Maker
–Cricut Easy Press
–Cricut Iron-On Vinyl, White
–Cricut Weeding Tool Kit (to make my life way easier)
For this DIY, I used images and fonts that are available in Cricut Design Space, and are also part of the Cricut Access subscription, which allows you to use 1000s of designs at no extra charge, as well as gives you a 10% discount on online Cricut purchases.
If you already have Design Space, here is the link for the “Hello Fall” design we made:
CLICK HERE FOR HELLO FALL DESIGN
I sized it as big as will fit on a 12×12 mat, so about 11.5″ square. As you can see above, that size works well on the 18″ pillow cover after the pillow is stuffed in it. First you need to cut the design out of the white iron-on vinyl, making sure your cut is set to “mirror.” After the Maker has done it’s job, you have to peel off all of the extra vinyl that’s not part of the design (“weed” the design). When you’re finished weeding, your vinyl design will look like this:
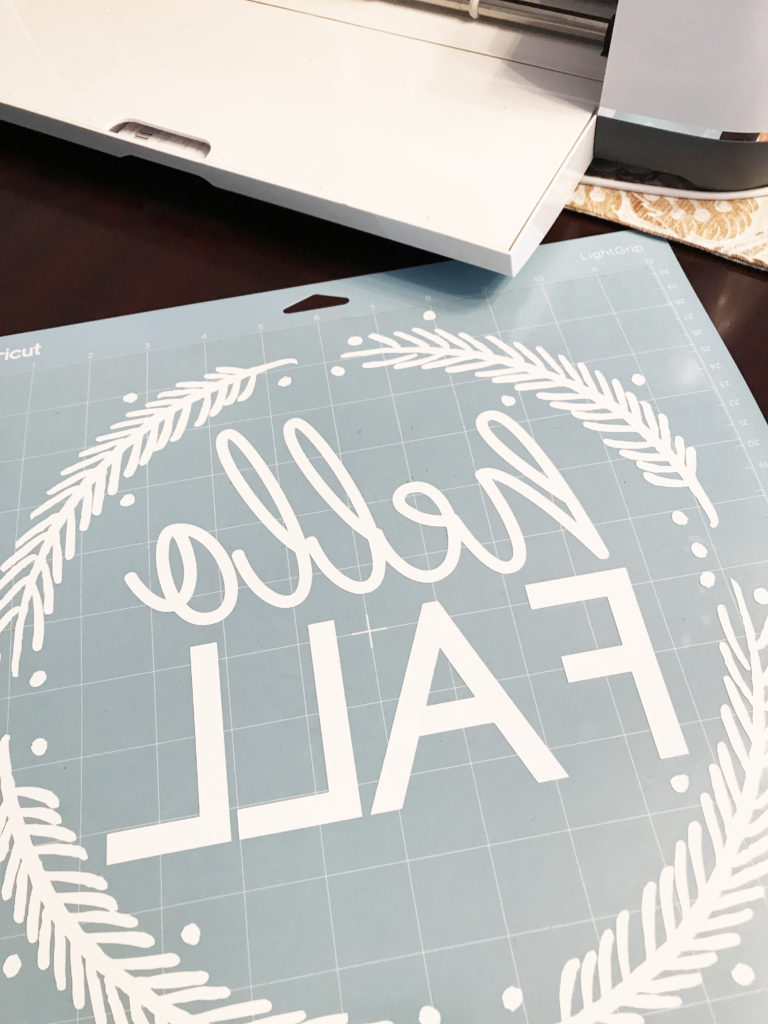
(I left it on the mat to weed it so the material wouldn’t slide around).
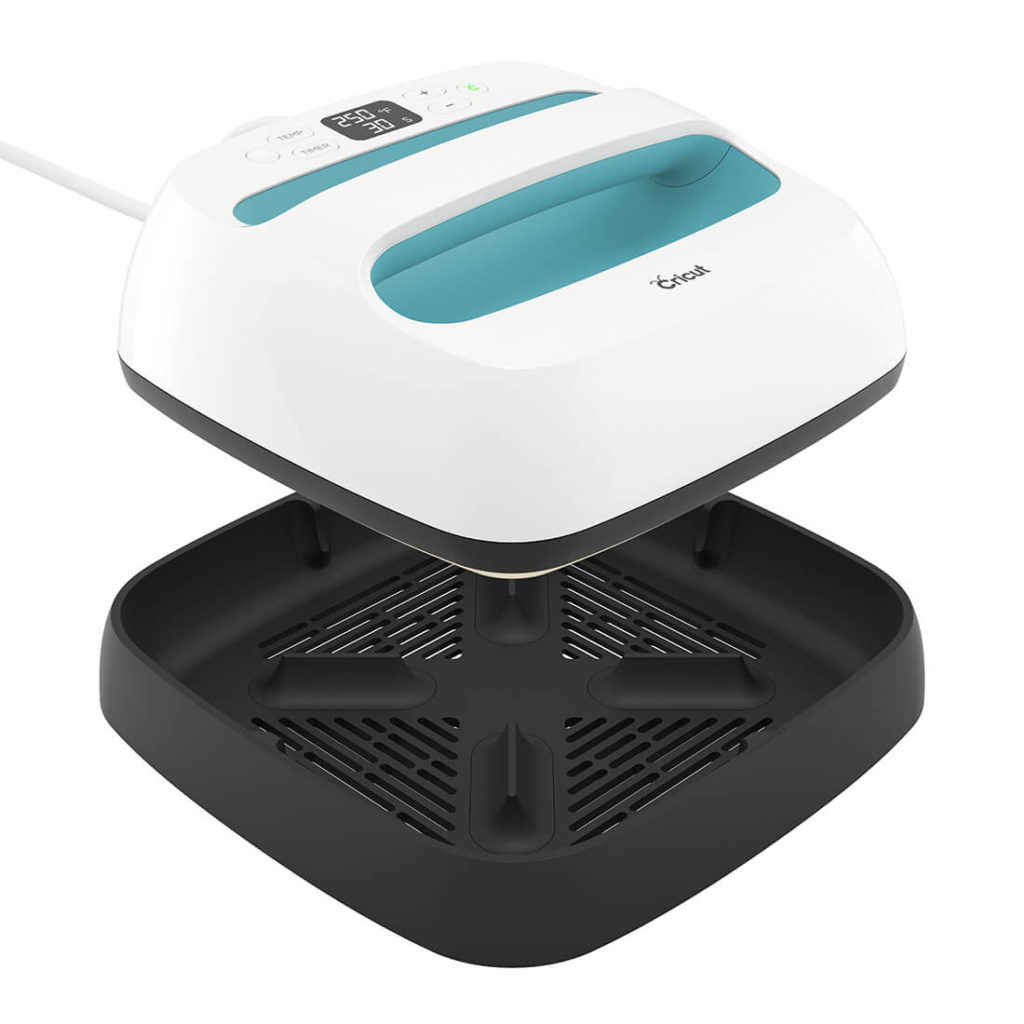
Next, comes the Easy Press! The Cricut Easy Press comes as you see below, with a base that it sits on while it’s heating, and a handle on top of ease of use. All of the temperature and time controls are on top as well.
The Easy Press comes with a Quick Reference Guide that shows temperature and time settings for commonly used materials. After setting my Easy Press to 305 degrees and a 30 second timer (I wasn’t quite sure what kind of material my pillow case, I just knew it was a fabric blend), I set it on the counter in it’s base to heat up. And it reached the temperature I needed QUICKLY, in only a couple of minutes! I thought that was really great, because even a regular iron doesn’t heat up quickly enough for my impatient personality haha.
I set up my Easy Press station on my kitchen counter. An ironing board is NOT recommended for using the Easy Press, as it conducts too much heat away from the Easy Press plate, as well as some ironing boards may not be hard enough of a surface. I have granite countertops in my kitchen, which work perfectly with a kitchen towel under the pillow cover. I set up the project to press from bottom to top: countertop–towel–pillow cover–vinyl design, sticky side down. I also warmed up the pillow cover just a little bit with the Easy Press so when I put my vinyl design down, it would stick a little easier and didn’t curl up on me. Then I got to pressing! Because my design as almost 12×12″ and the Easy Press plate is only 9×9″ square, I pressed my design in 4 sections.
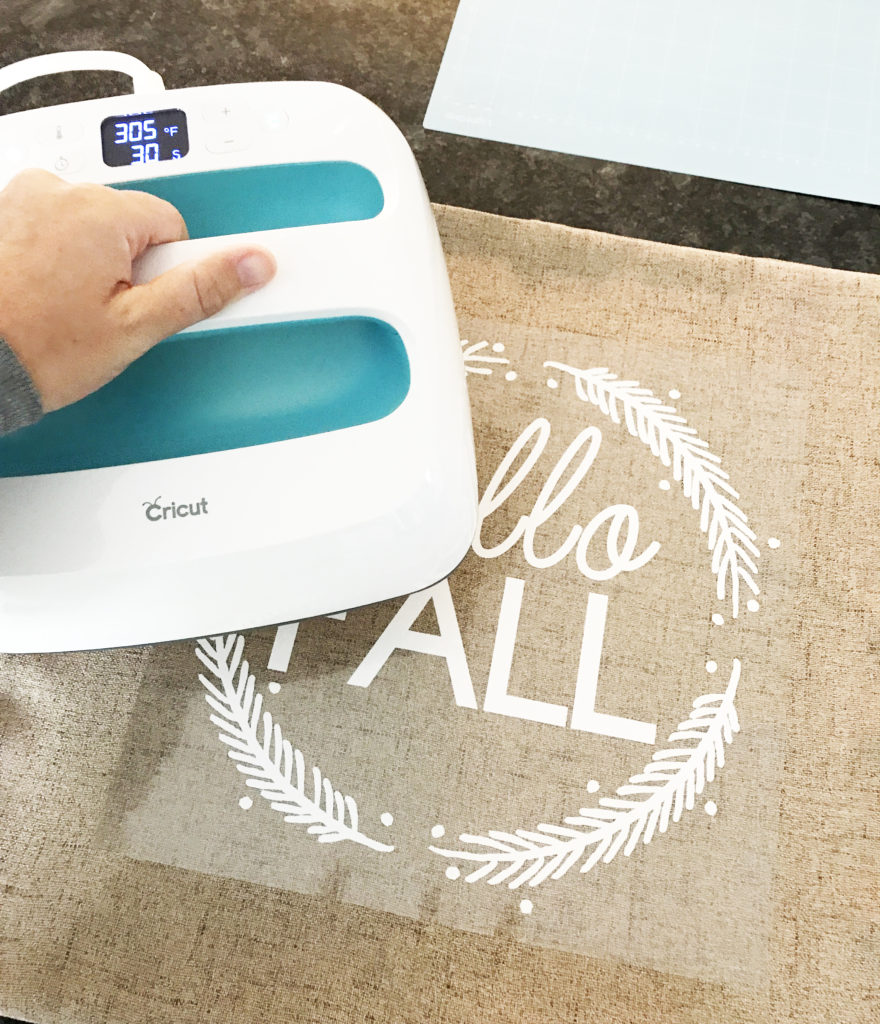
Pressing on the vinyl is really easy: just set the Easy Press on the design, and push the “C” button to start the timer. Apply gentle pressure, and when the timer stops, repeat with the other sections. After all sections were pressed, I waited for the vinyl design to cool a little bit before peeling off the plastic material.
I was so impressed with how quick and easy the Easy Press applied the design, and the results were incredible. Here’s a close up of the vinyl on the pillow:
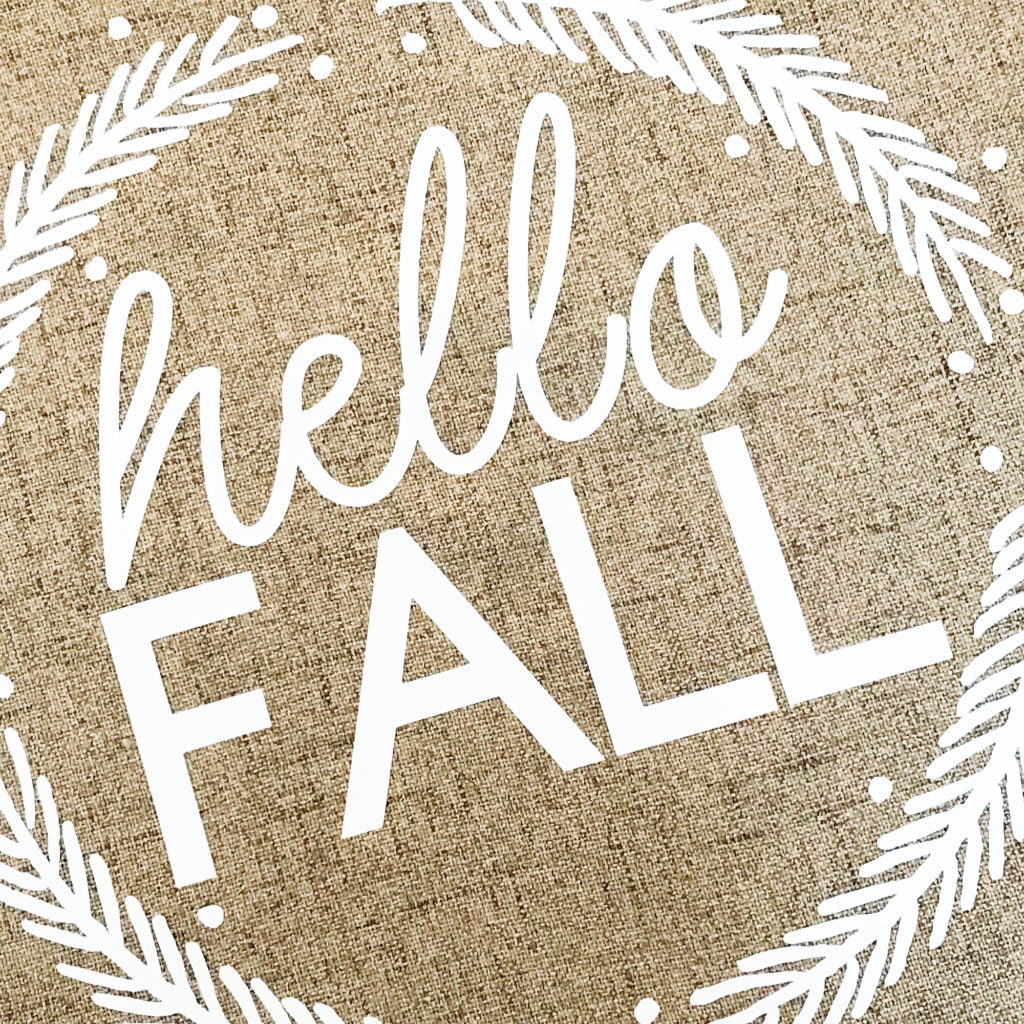
The vinyl is so well adhered to the pillow cover that it is difficult to tell that it is vinyl–it almost looks like screen printing. I’m ecstatic about the results and have gotten a ton of compliments already! And it looks great with my herringbone pumpkin pillows that I found last year 🙂

If you craft with iron-on vinyl a lot, the Cricut Easy Press is something you HAVE to look into. Making this pillow proved that it is a game changer for my crafting. I’ve already ordered blank shirts for all of my kids to make Halloween shirts. With the professional results I achieved on this pillow (and from other reviews I’ve read), I can’t wait to see how easy and durable the shirts are! I’ll be making those shirts in the coming weeks and can’t wait to share them with you.
If you liked this Fall DIY Pillow, check out some of our favorite Fall Crafts:
DIY Fall Porch Ideas Perfect for Thanksgiving
Use a Pumpkin SVG 3 Different Ways
Make a Personalized Thanksgiving Wood Tray
This post contains affiliate links. If you choose to purchase a product through one of our links, we will receive compensation, although your purchase price will not change.
This is a sponsored conversation written by me on behalf of Cricut. The opinions and text are all mine.


ABOUT CHARYNN
Hi, y’all! I’m Charynn, the owner and designer of Pineapple Paper Co. I’m a mom of four kids (two girls and two boys) living in Pittsburgh. I love hand lettering, anything southern, cocktails, and of course, pineapples! I am excited to share my SVG files, printables, and craft projects with you! The pineapple is a symbol of hospitality, and I welcome y’all to my little corner of the internet. Read more…