Fall Apple Party with the Cricut Maker
This post and the photos within it may contain affiliate links. As an Amazon associate I earn from qualifying purchases. If you make a purchase through one or more of the links, I may receive a small commission at no extra cost to you.
The amazing people over at Cricut gave me resources to create this post, but all of the opinions and feelings about (how awesome) their products are our mine.
This post also contains affiliate links. If you decide to make a purchase through these links, I will receive a small commission, at no additional cost to you. These links help us to keep our blog content free, so thank you!
It’s officially September! I love Fall–the fall weather, the colors, the *pumpkin spice lattes!*, and of course, the parties. Last week on the blog (READ THE POST HERE) we shared some inspiration from around the web for apple parties, and today we’re back with our own spin on a Fall-themed Apple Party! The best (and time-saving) part of this party is that I got to use the NEW Cricut Maker cutting machine! If you haven’t seen the machine in action yet, head over to check out our Facebook page (FOLLOW US HERE), Pinterest page (FOLLOW US HERE), and Instagram page (FOLLOW US HERE) to see all how the machine works, and project ideas for the Maker. You can get one now at the Cricut.com shop (BUY THE MAKER HERE.)
For this party, we created a few different kinds of crafts, so you can see how versatile the Cricut Maker is, cutting everything from vinyl, to thick card stock, to fabric (with the new rotary blade!!) Here is the table we set up outside to host our guests:
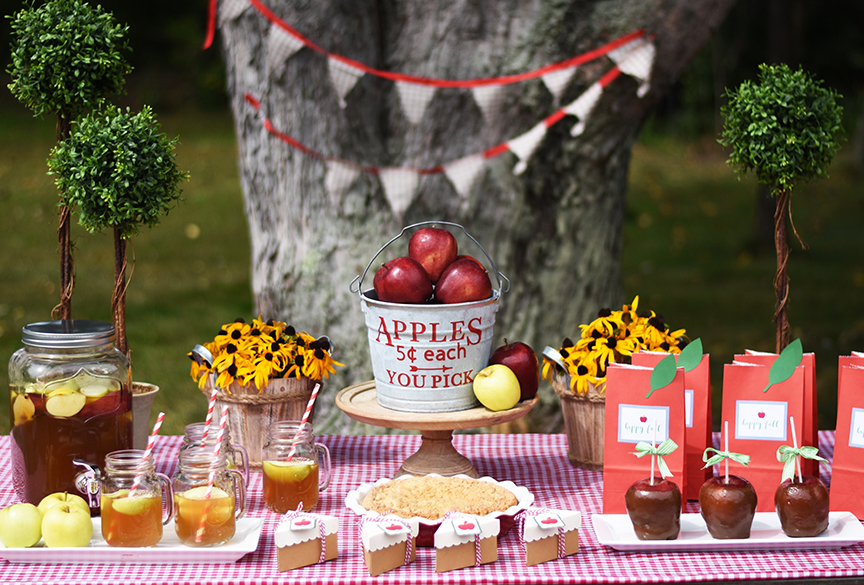
This party would be perfect for an apple-picking day, or just a way to entertain friends while the weather is still nice! We created Apple treat bags (for your guests to take home their homemade caramel apples), boxes to take home pie slices, the metal apple bucket, as well as the gingham banner, all with the Cricut Maker! You can see a few of the projects here:

If you’d like to recreate these projects, here are the supplies you’ll need:
–Cricut Maker (the newest machine, and the best at cutting fabric)
-Cricut-brand Red Outdoor Vinyl
-Red Paper bags
-Cricut brand card stock (in red, green, cream/white, and kraft)
-Twine
-Red grosgrain ribbon
-Approximately 1/2-1yd of gingham fabric, depending on the size and how big you’d like to make your banner)
-12×24″ Pink Cricut cutting mat
-Glue
*You can buy all of your Cricut brand materials by clicking HERE.*
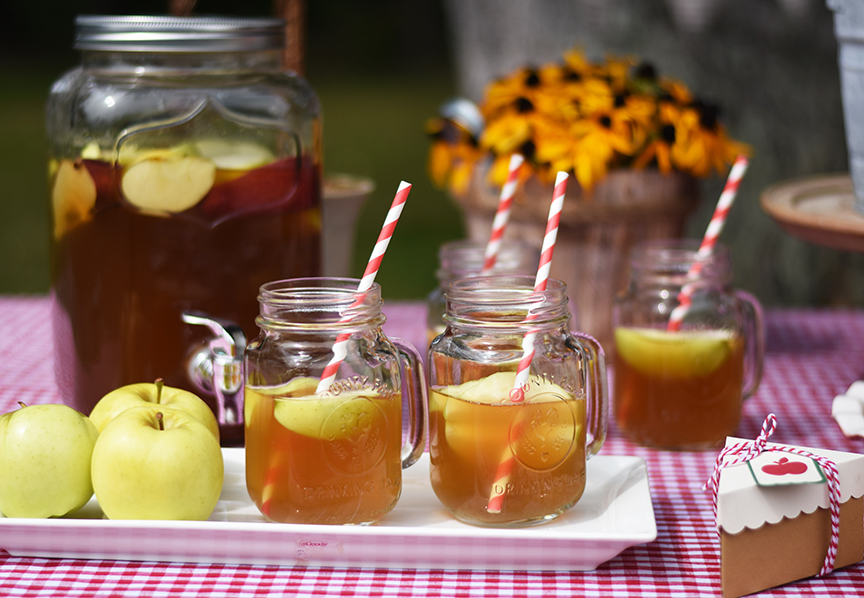
We had apple cider for everyone to enjoy in these cute little mason jar mugs:
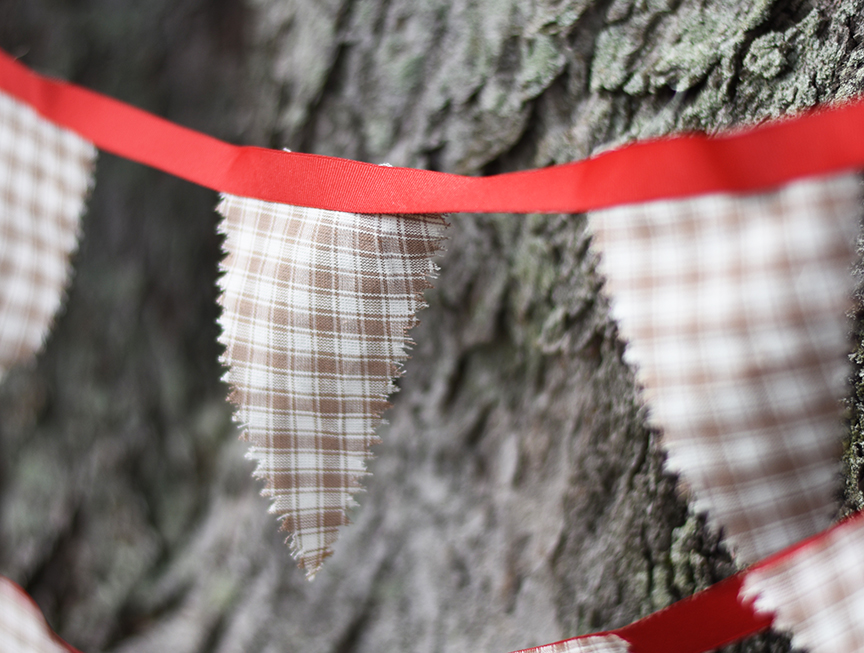
Here is a close up of the fabric banner that we made in about 15 minutes! Since the Cricut Maker has been updated to make cutting ALL kinds of fabrics with ease, we designed and used the Maker to cut all of the triangles (with a rustic pinking edge) on a 12×24″ pink mat, and then glued the triangles to the red grosgrain ribbon before attaching to the tree.
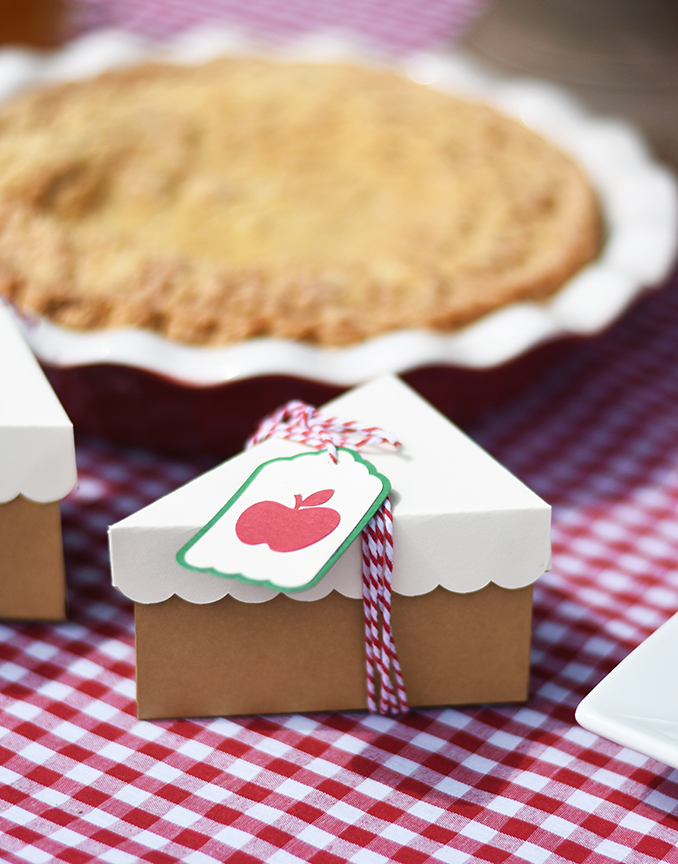
These adorable pie slice boxes were one of my favorite projects. If you would like to make them exactly as you see in the picture, check out our Cricut Design Space file (CLICK HERE.) We created the file to make four boxes at a time, and it’s so cool that the Cricut will tell you how many mats you need to prepare! And while you’re over there, consider getting Cricut Access, which is the subscription plan that allows you to use 1000s of Cricut designs at no additional charge! And, as an added benefit, you get 10% off all purchases at Cricut.com (including the Maker!) if you have Access! (GET CRICUT ACCESS HERE.)
SEE MORE OF OUR APPLE PARTY AND CRICUT PROJECTS ON THE NEXT PAGE:


ABOUT CHARYNN
Hi, y’all! I’m Charynn, the owner and designer of Pineapple Paper Co. I’m a mom of four kids (two girls and two boys) living in Pittsburgh. I love hand lettering, anything southern, cocktails, and of course, pineapples! I am excited to share my SVG files, printables, and craft projects with you! The pineapple is a symbol of hospitality, and I welcome y’all to my little corner of the internet. Read more…
2 Comments